Let the mourning period begin. I put the little guy through a lot, but I’m still annoyed and disappointed that it only lasted three years.
Beginnings and Upgrades
Out of the box I was more or less satisfied with the performance of the planer, but as time wore on my patience wore thin. Nicks in the straight knives resulted in horrible surfaces, and I didn’t relish dropping $50 every few months when another blade got nicked by a knot or wayward staple.
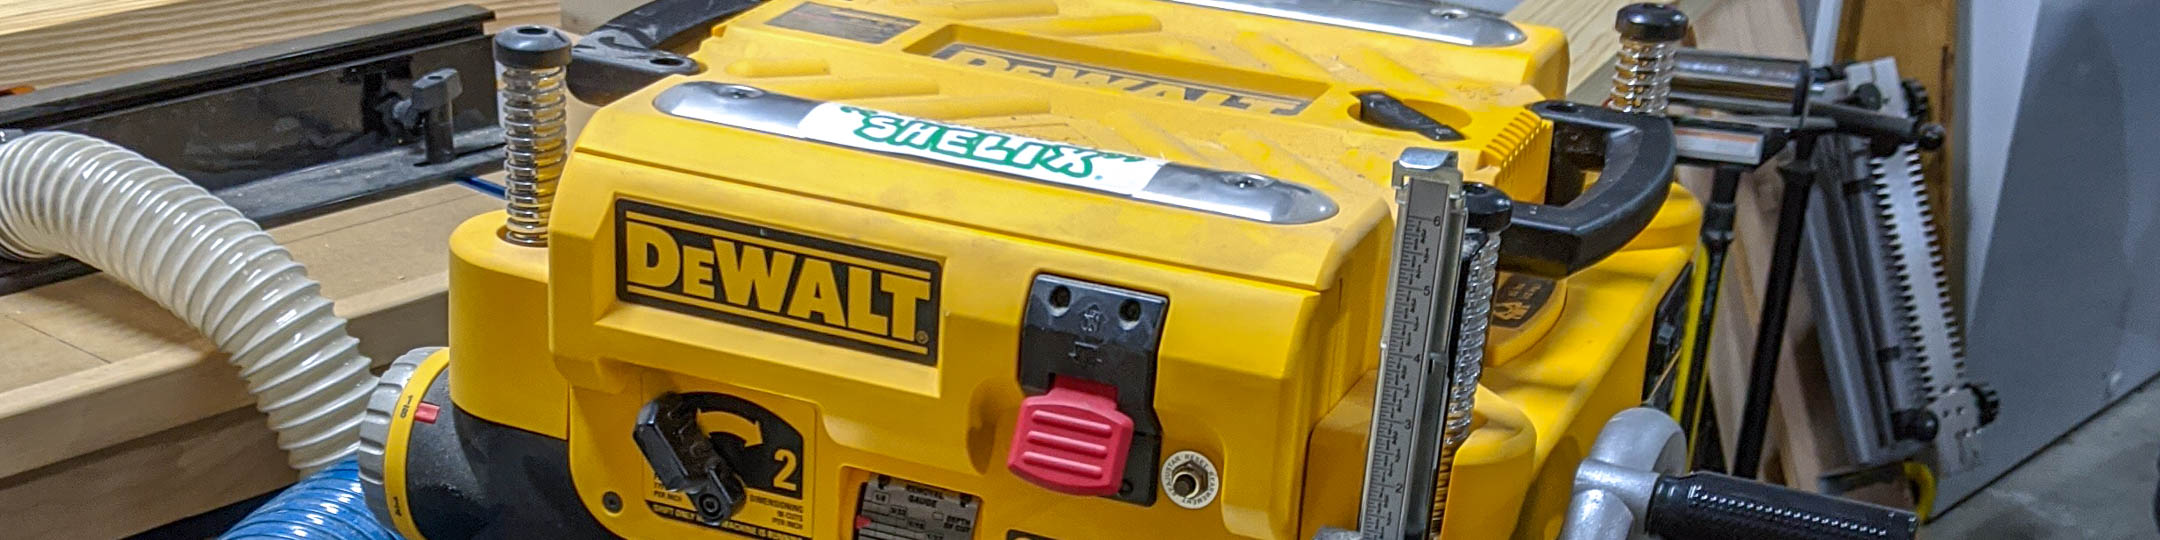
I ended up swapping out the straight knives for a Shelix helical cutterhead. The improvements were immediate and I loved it, but I majorly voided any warranty by destroying the factory bushings knocking the original planer head out. Things worked well after that for more than a year of heavy usage, and I ended up adding an aftermarket digital thickness gauge early last year to get more consistent thicknesses.
Giving Up The Ghost
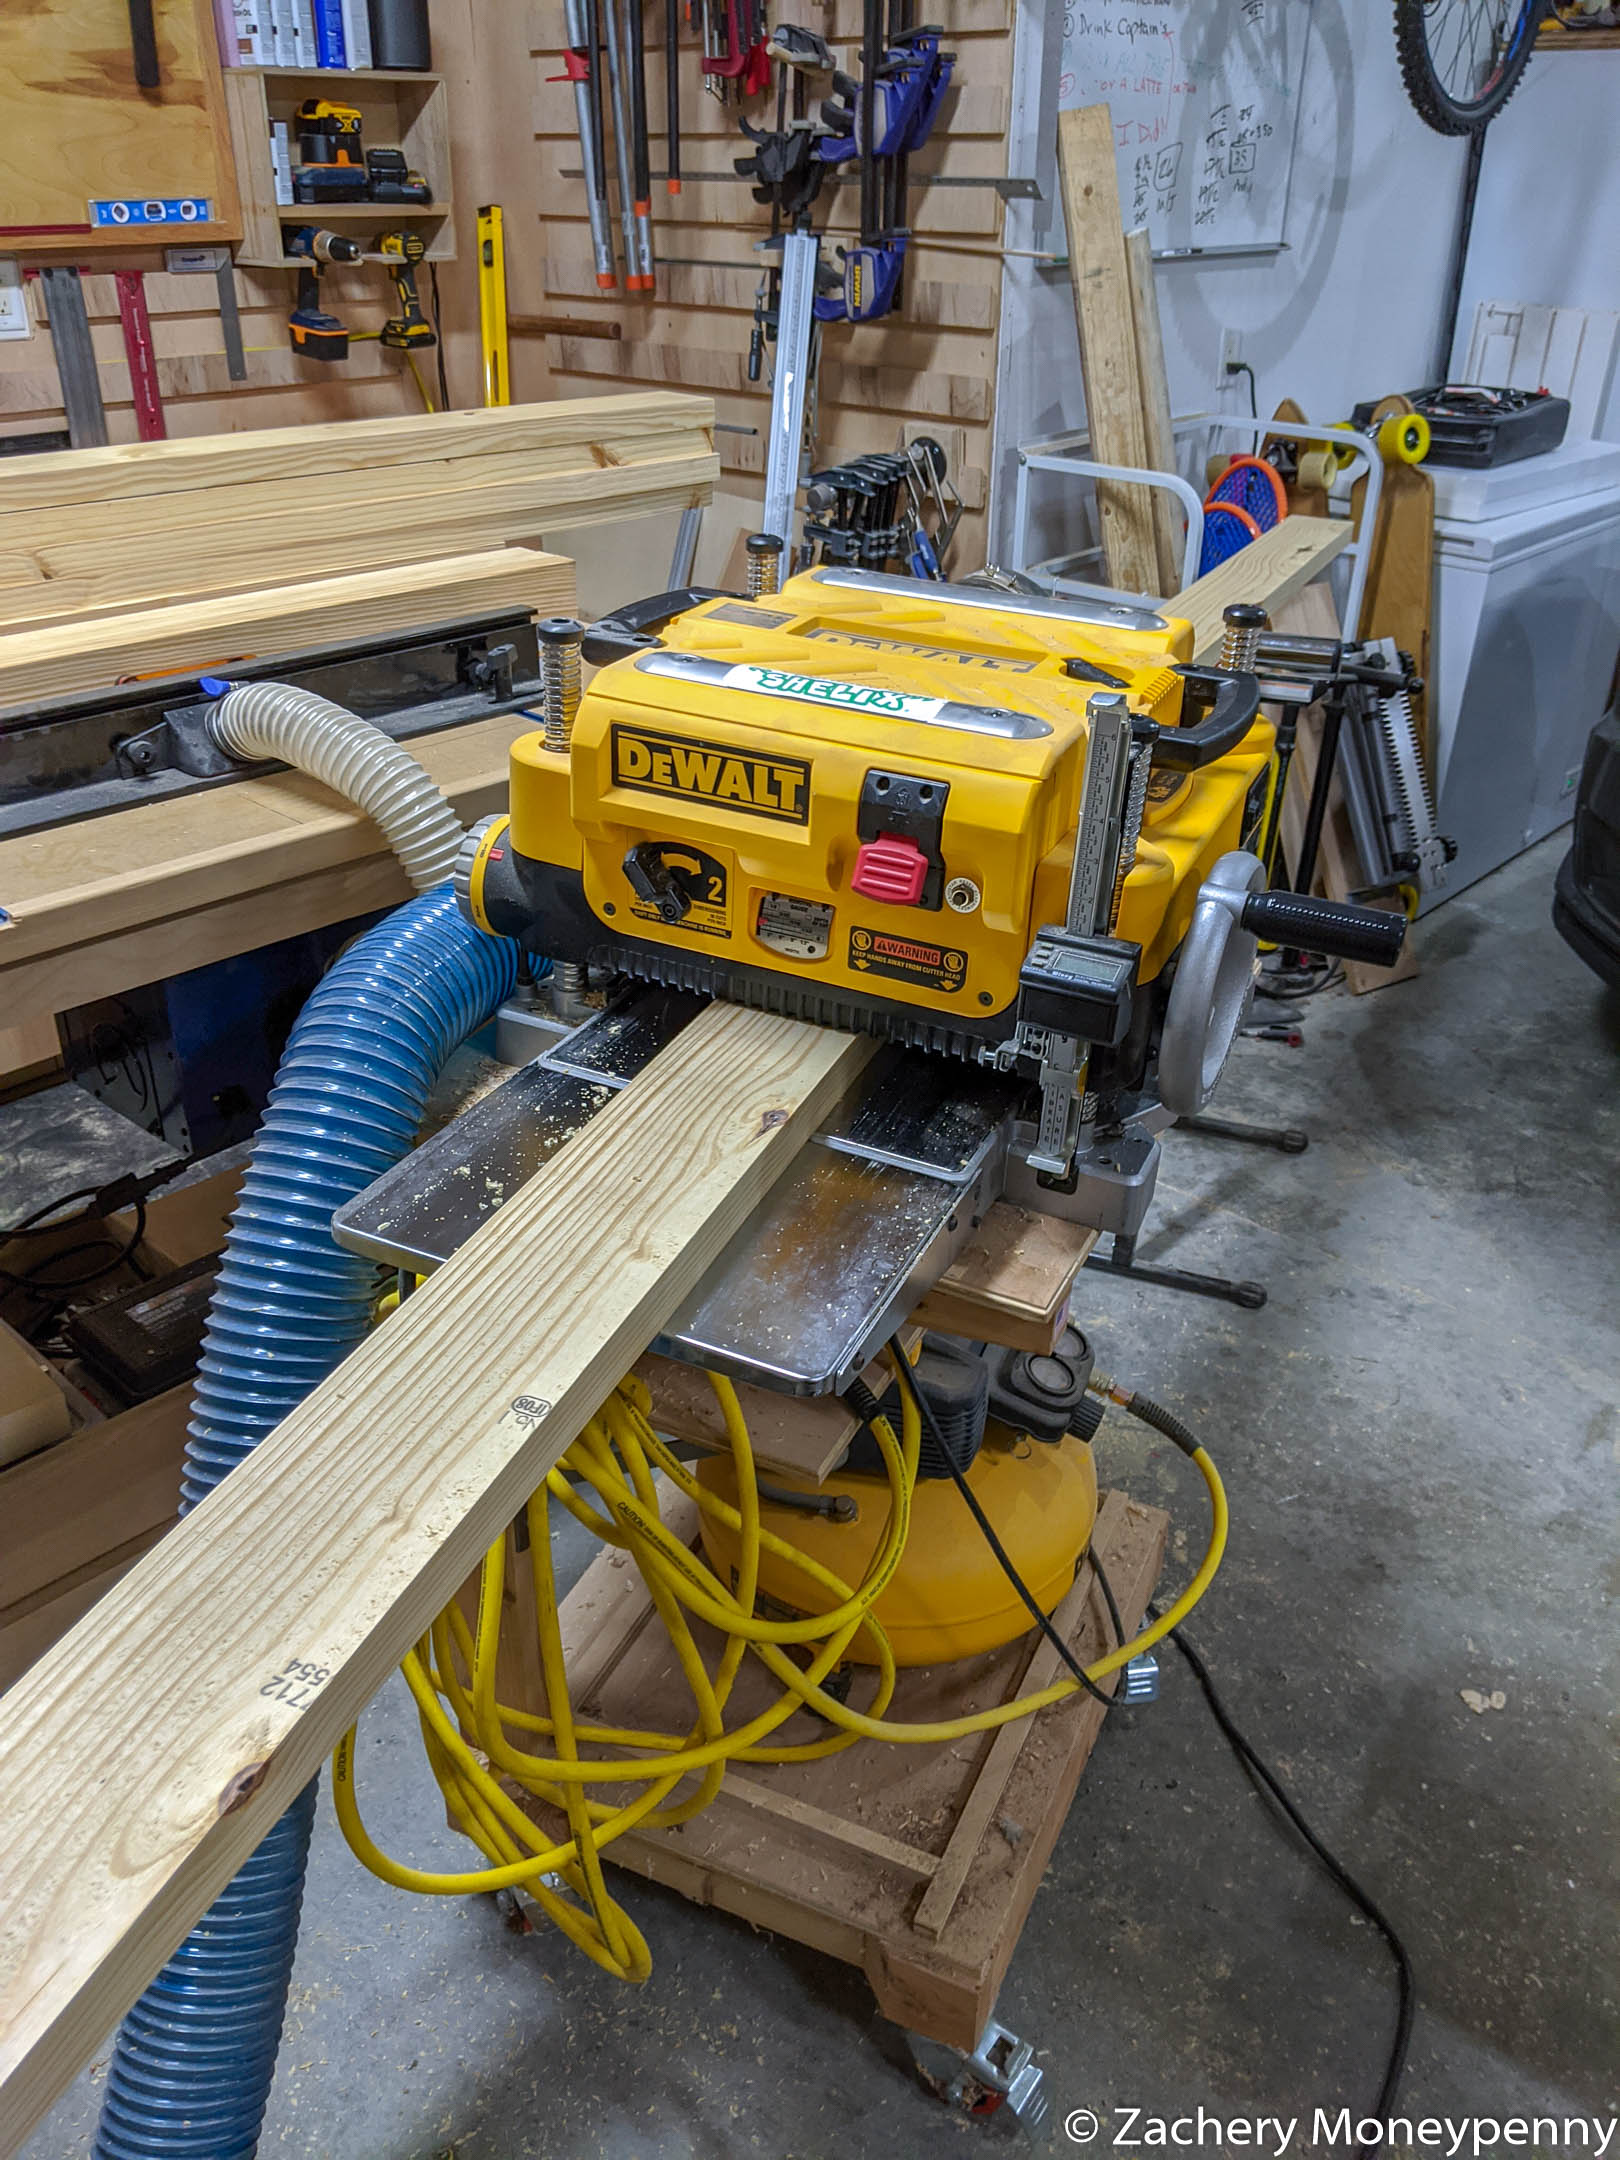
Over the last six months I’ve had a considerable amount of trouble with the planer. It kept burning belts up and I couldn’t figure out why. In preparation for the new workbench build, wherein I’d have to plane more than 100 bd ft of southern yellow pine, I really sat down to try to figure out the problem.
The V-belts on the DeWalt planers are made of a hard, thick plastic. I bought a two-pack of factory ones and it ate one of them immediately. I bought some aftermarket ones as well, and it ate one of those immediately as well.
Then I considered that maybe the problem wasn’t the belt, but the main pulley attached to the planer head. I took it off and guessed that maybe it was unbalanced, causing uneven rotation which was pulling the belt off the pulley into the drive chain and shredding it. After buying and installing a brand-new pulley, however, I was rewarded with another shredded belt. My new diagnosis is, unfortunately that there is something wrong with the planer head itself, and it’s become so unbalanced that no pulleys or belts will fix it. I’ve modded it so much that there are no relevant and helpful threads online on how to fix it.
The new plan is to buy an inexpensive benchtop planer for the time being (looking at this Porter-Cable unit) while I decide whether to stretch and get the Powermatic unit I’ve been drolling over for awhile. I think I’ll keep the 735 around just to be able to completely disassemble it and see if I can eventually fix it. In the meantime, though, I have shit that needs to be planed.
In my recent plans to organize the shop was a project to pull the router lift out of my 4’ x 8’ assembly table and drop it into a dedicated, smaller router table.
Waaaay back in the beginning of building out my shop I made two simple work tables from a single sheet of plywood, per the Jay Bates/Nick Ferry/April Wilkerson collaboration video below.
These were very useful for a long time- they were home to, over the years, my spindle and belt sanders, my small drill press and bandsaw, and as a general work table to set junk on. Early on I tried my hand at making drawers for them and… the drawers did not turn out well. Like, they were sorta functional in a way that drawers should be but the dimensions were bad and I don’t think they were square. Lots of binding and stickiness to them.
The new plan was to disassemble one of the work tables completely and recover the hardware (drawer slides and casters) and turn the other one into a dedicated router table.
Step 1: Remove drawers
I started by removing the ill-constructed drawers from the table, recovering the drawer slides for an upcoming outfeed table build. One of the drawers was a gigantic one I stored all my finishes in, and I’m thinking of “deconstructing” the drawer itself with a reciprocating saw to reclaim and reuse the large plywood panels.
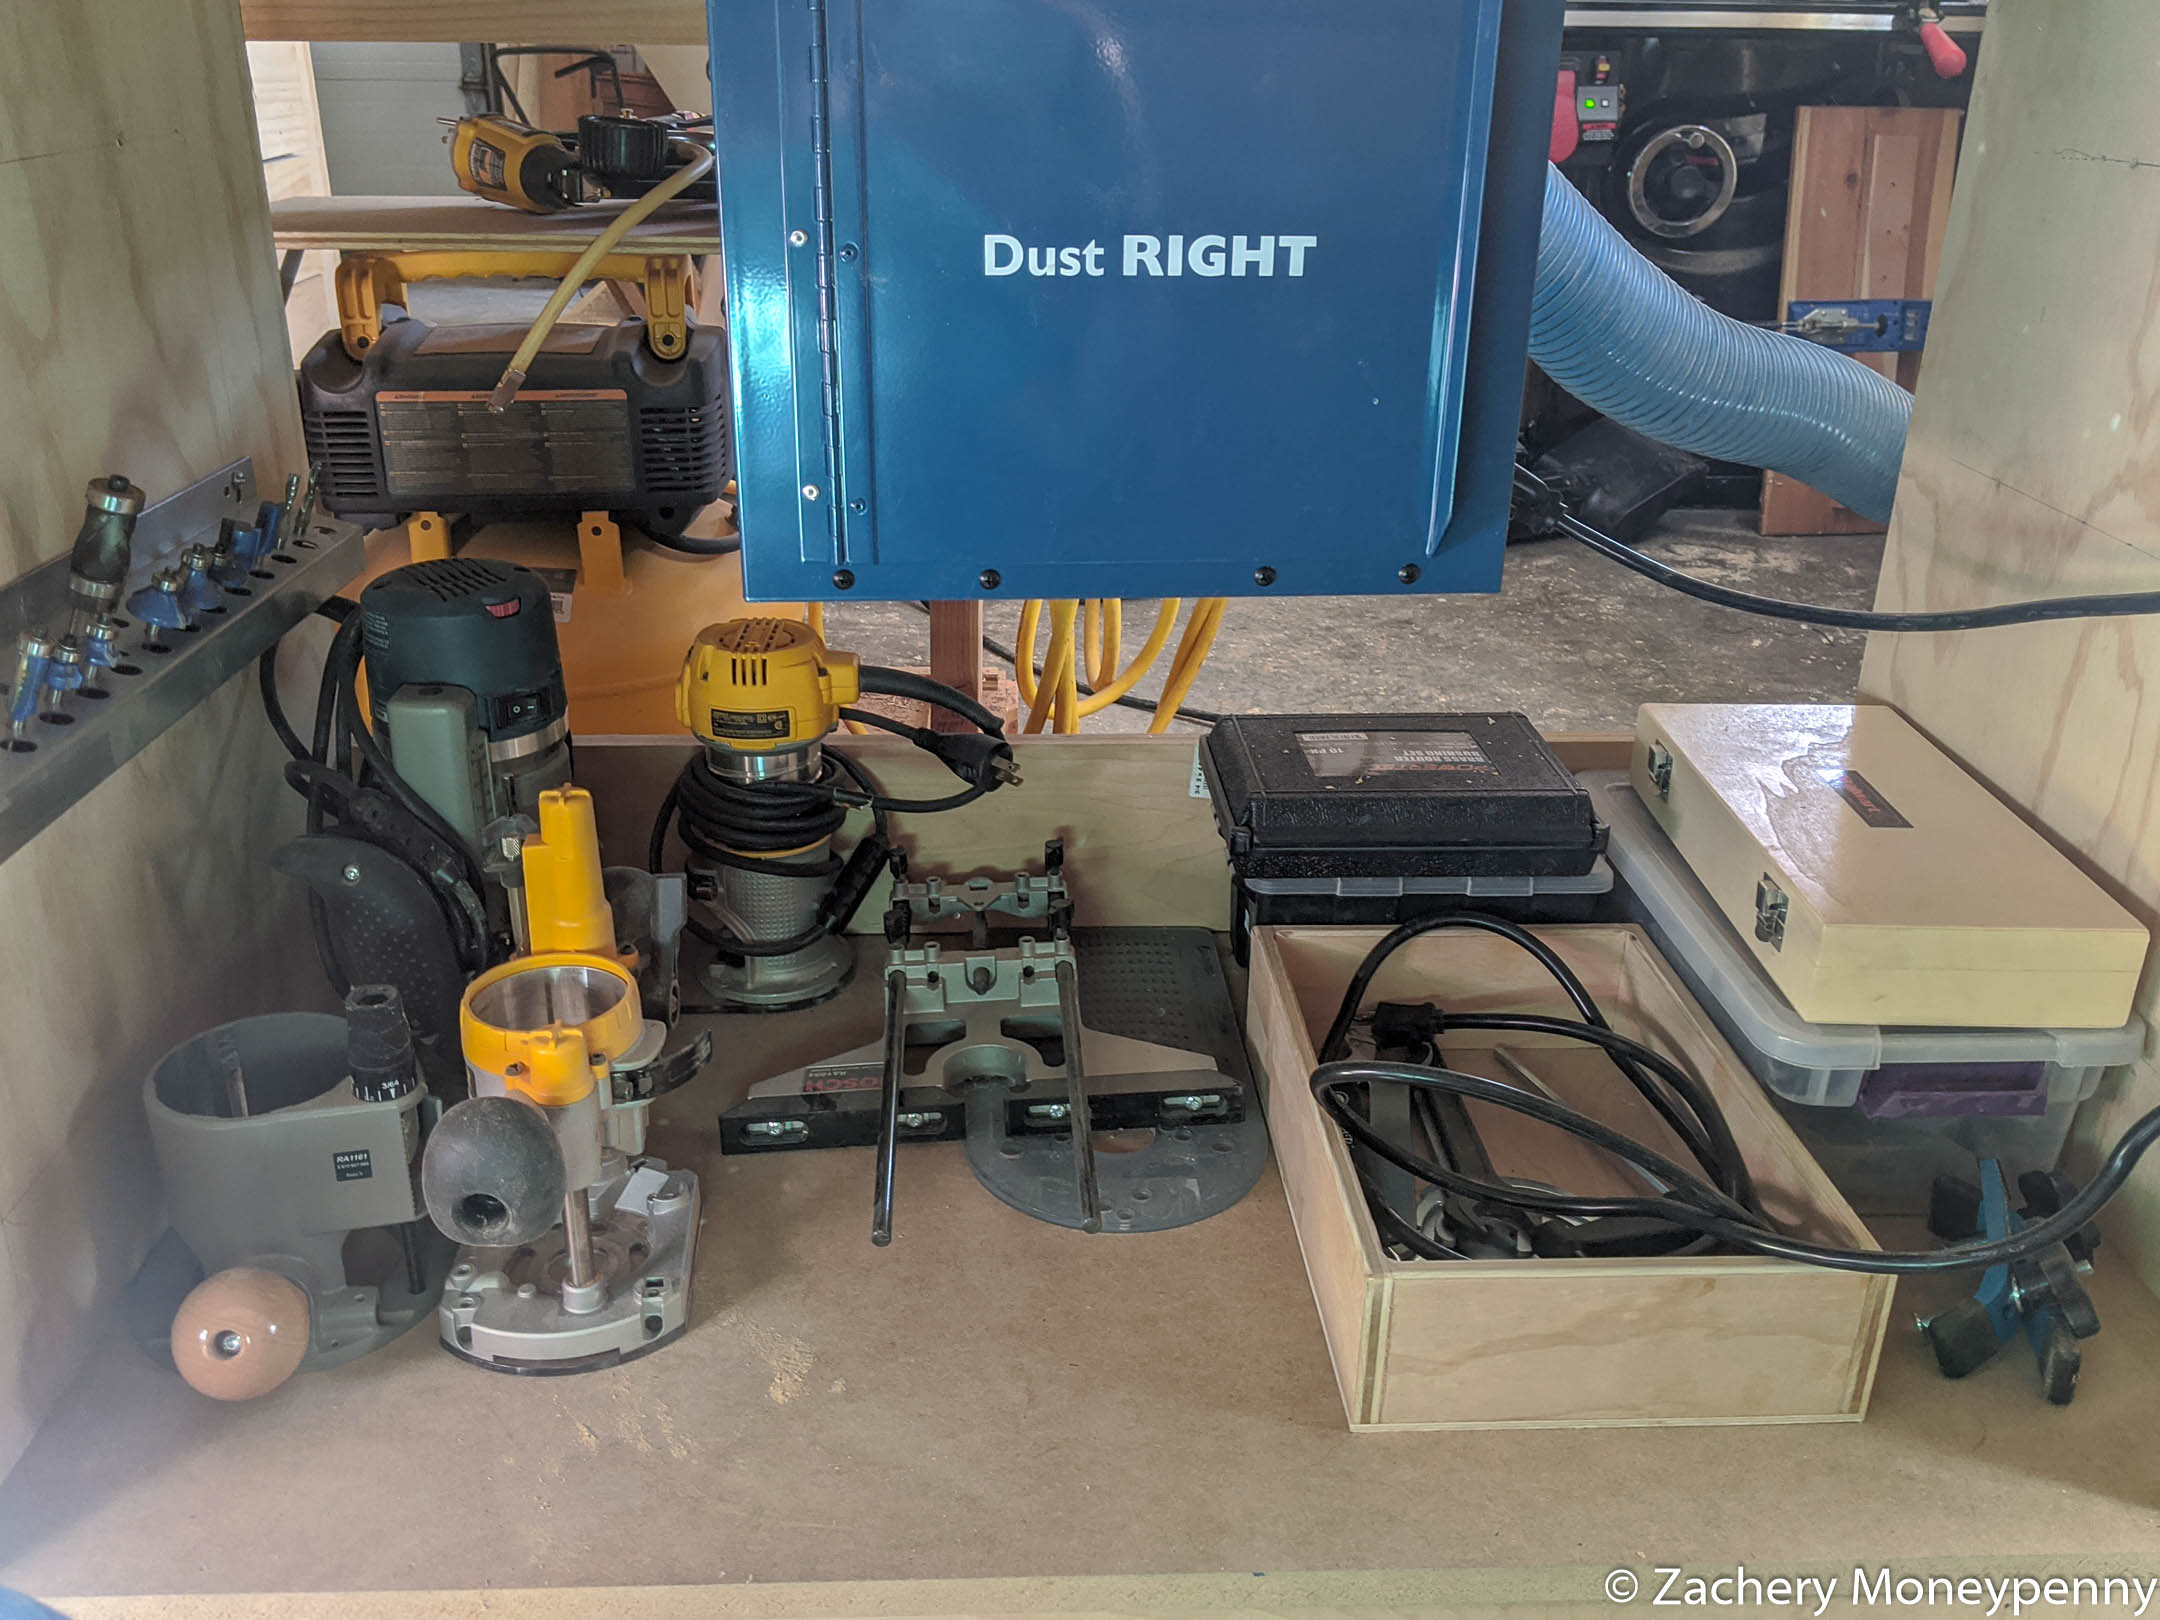
This opened a bunch of space on the lower shelf for storing all my routers and router accessories, both for the beefy Porter-Cable router in the lift as well as for my palm and plunge routers. I’m incredibly excited to be able to store all this stuff in one place, as before it was spread all around my shop in various places.
Step 2: Beef up the Top
The top was already ¾” MDF. The lesson I learned from dropping the lift into the ¾” plywood top of the assembly table was that it wasn’t enough thickness—the lift was held down on a very thin remaining shelf of plywood. I had some extra MDF from the countertop of the shop cabinets I built last fall, so I jigsaw-pieced it into a 1½” thick top.
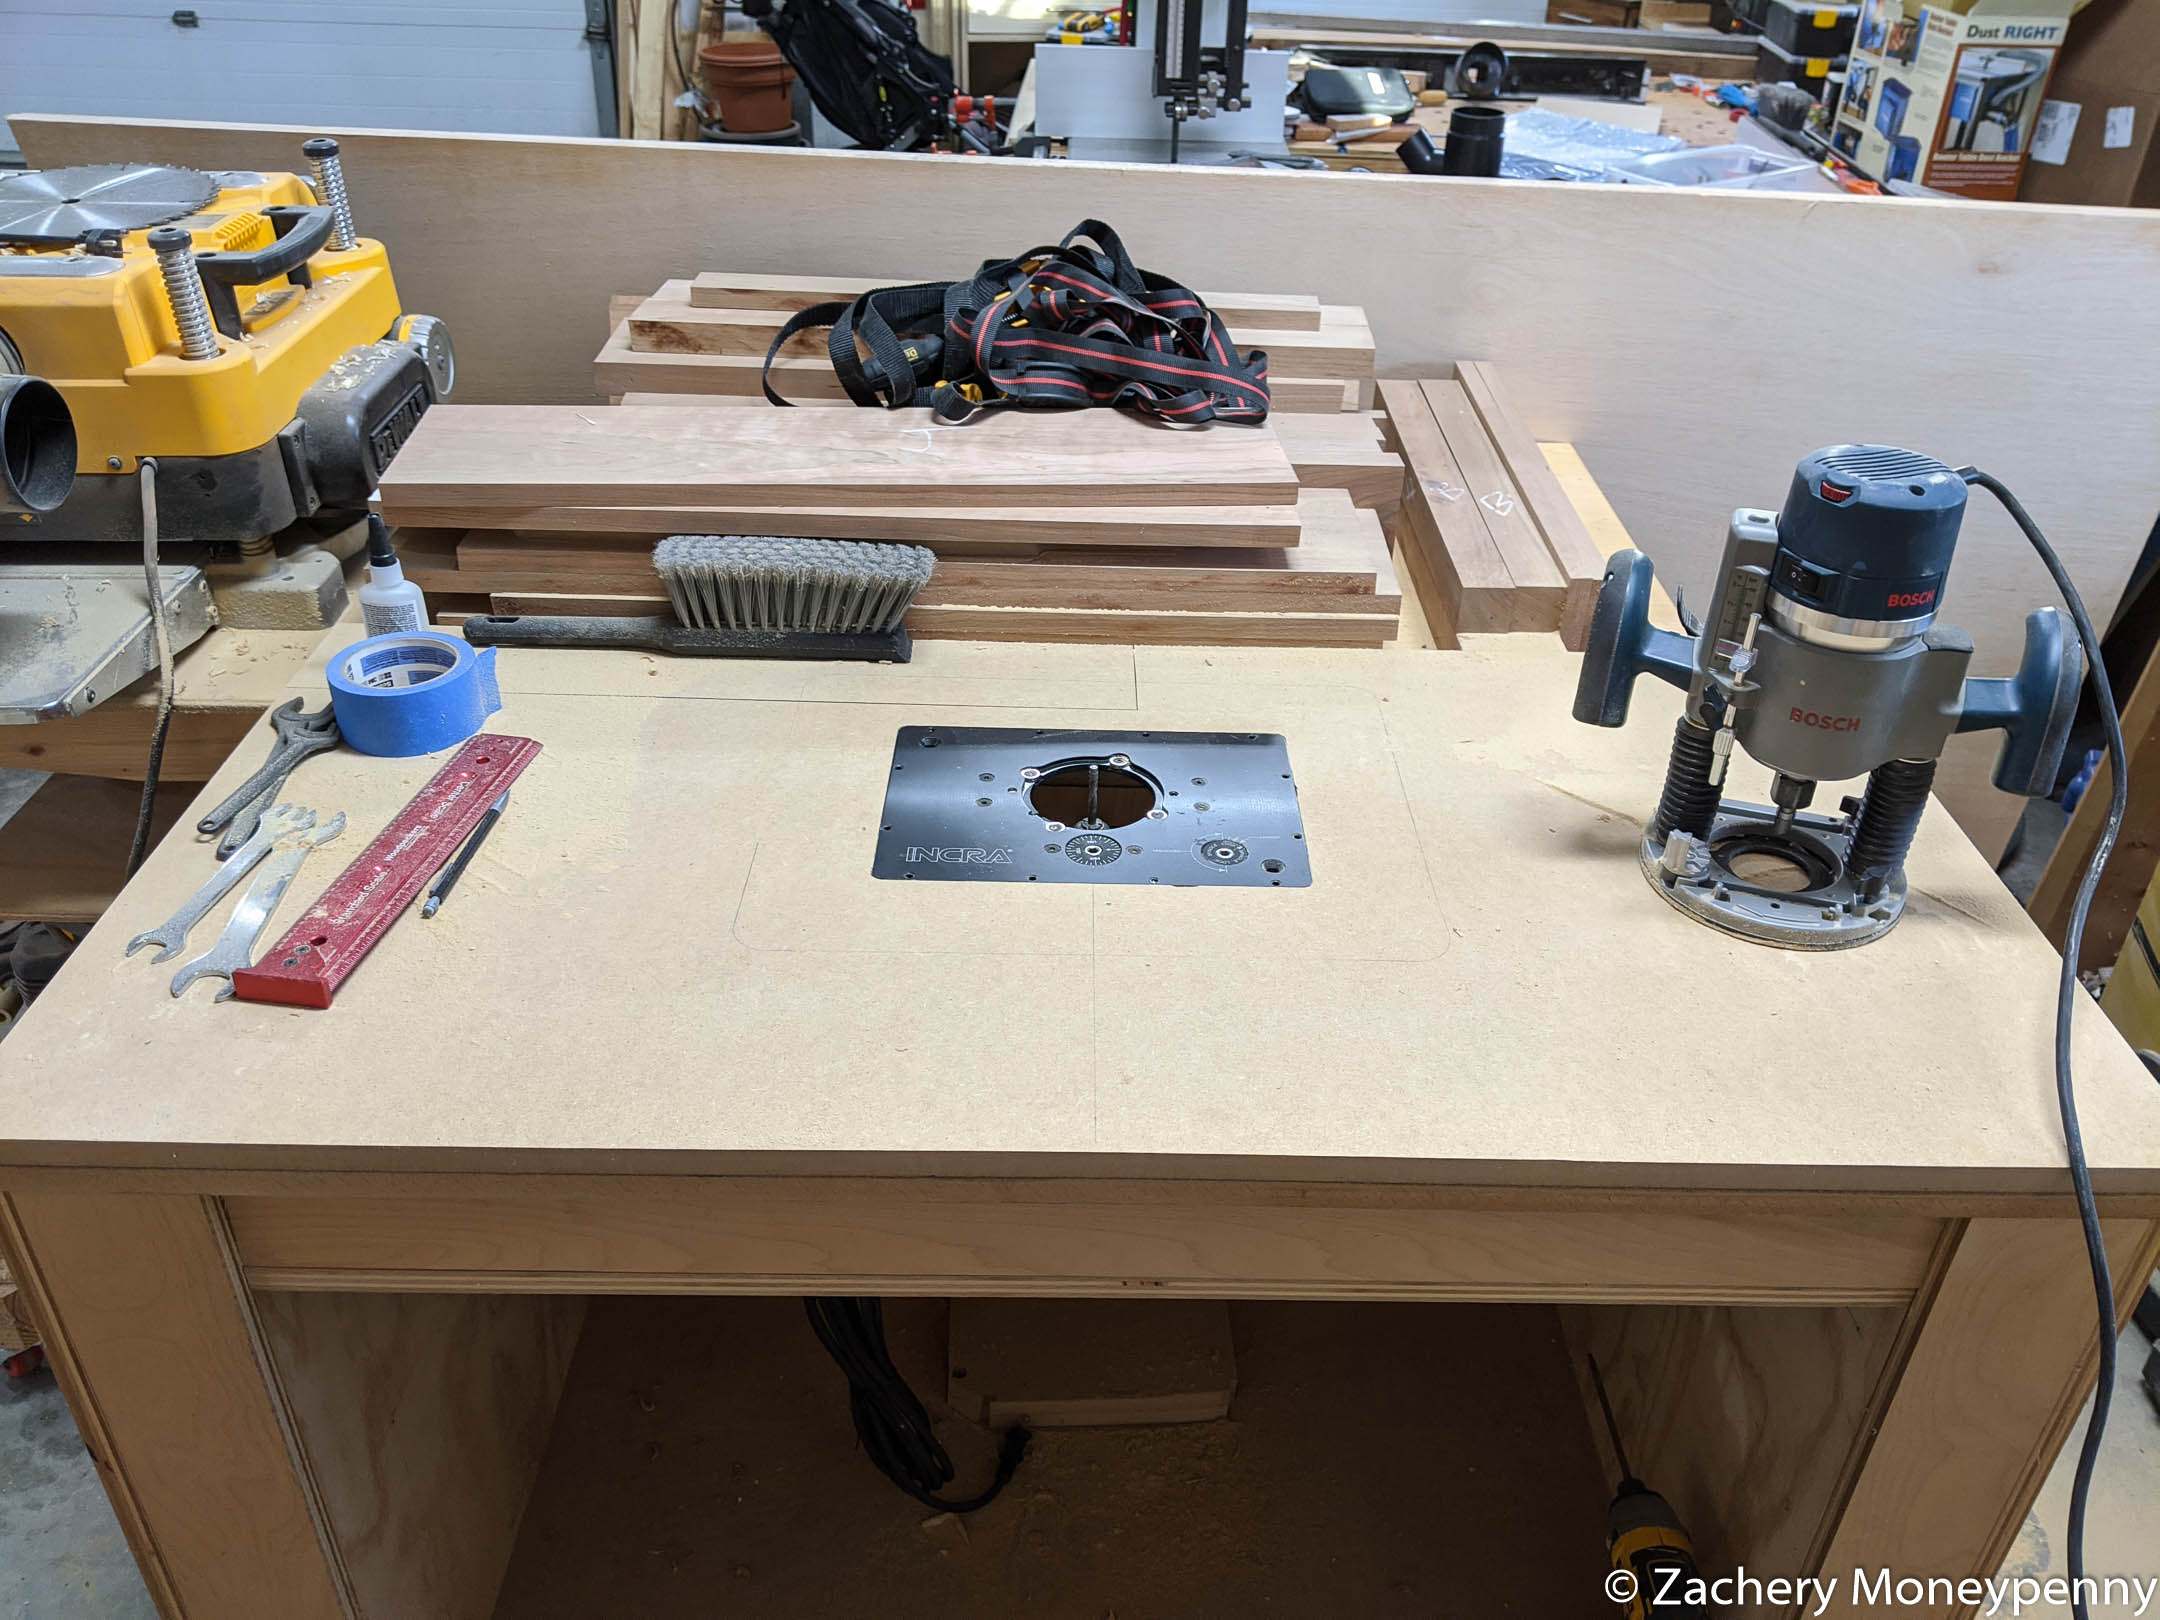
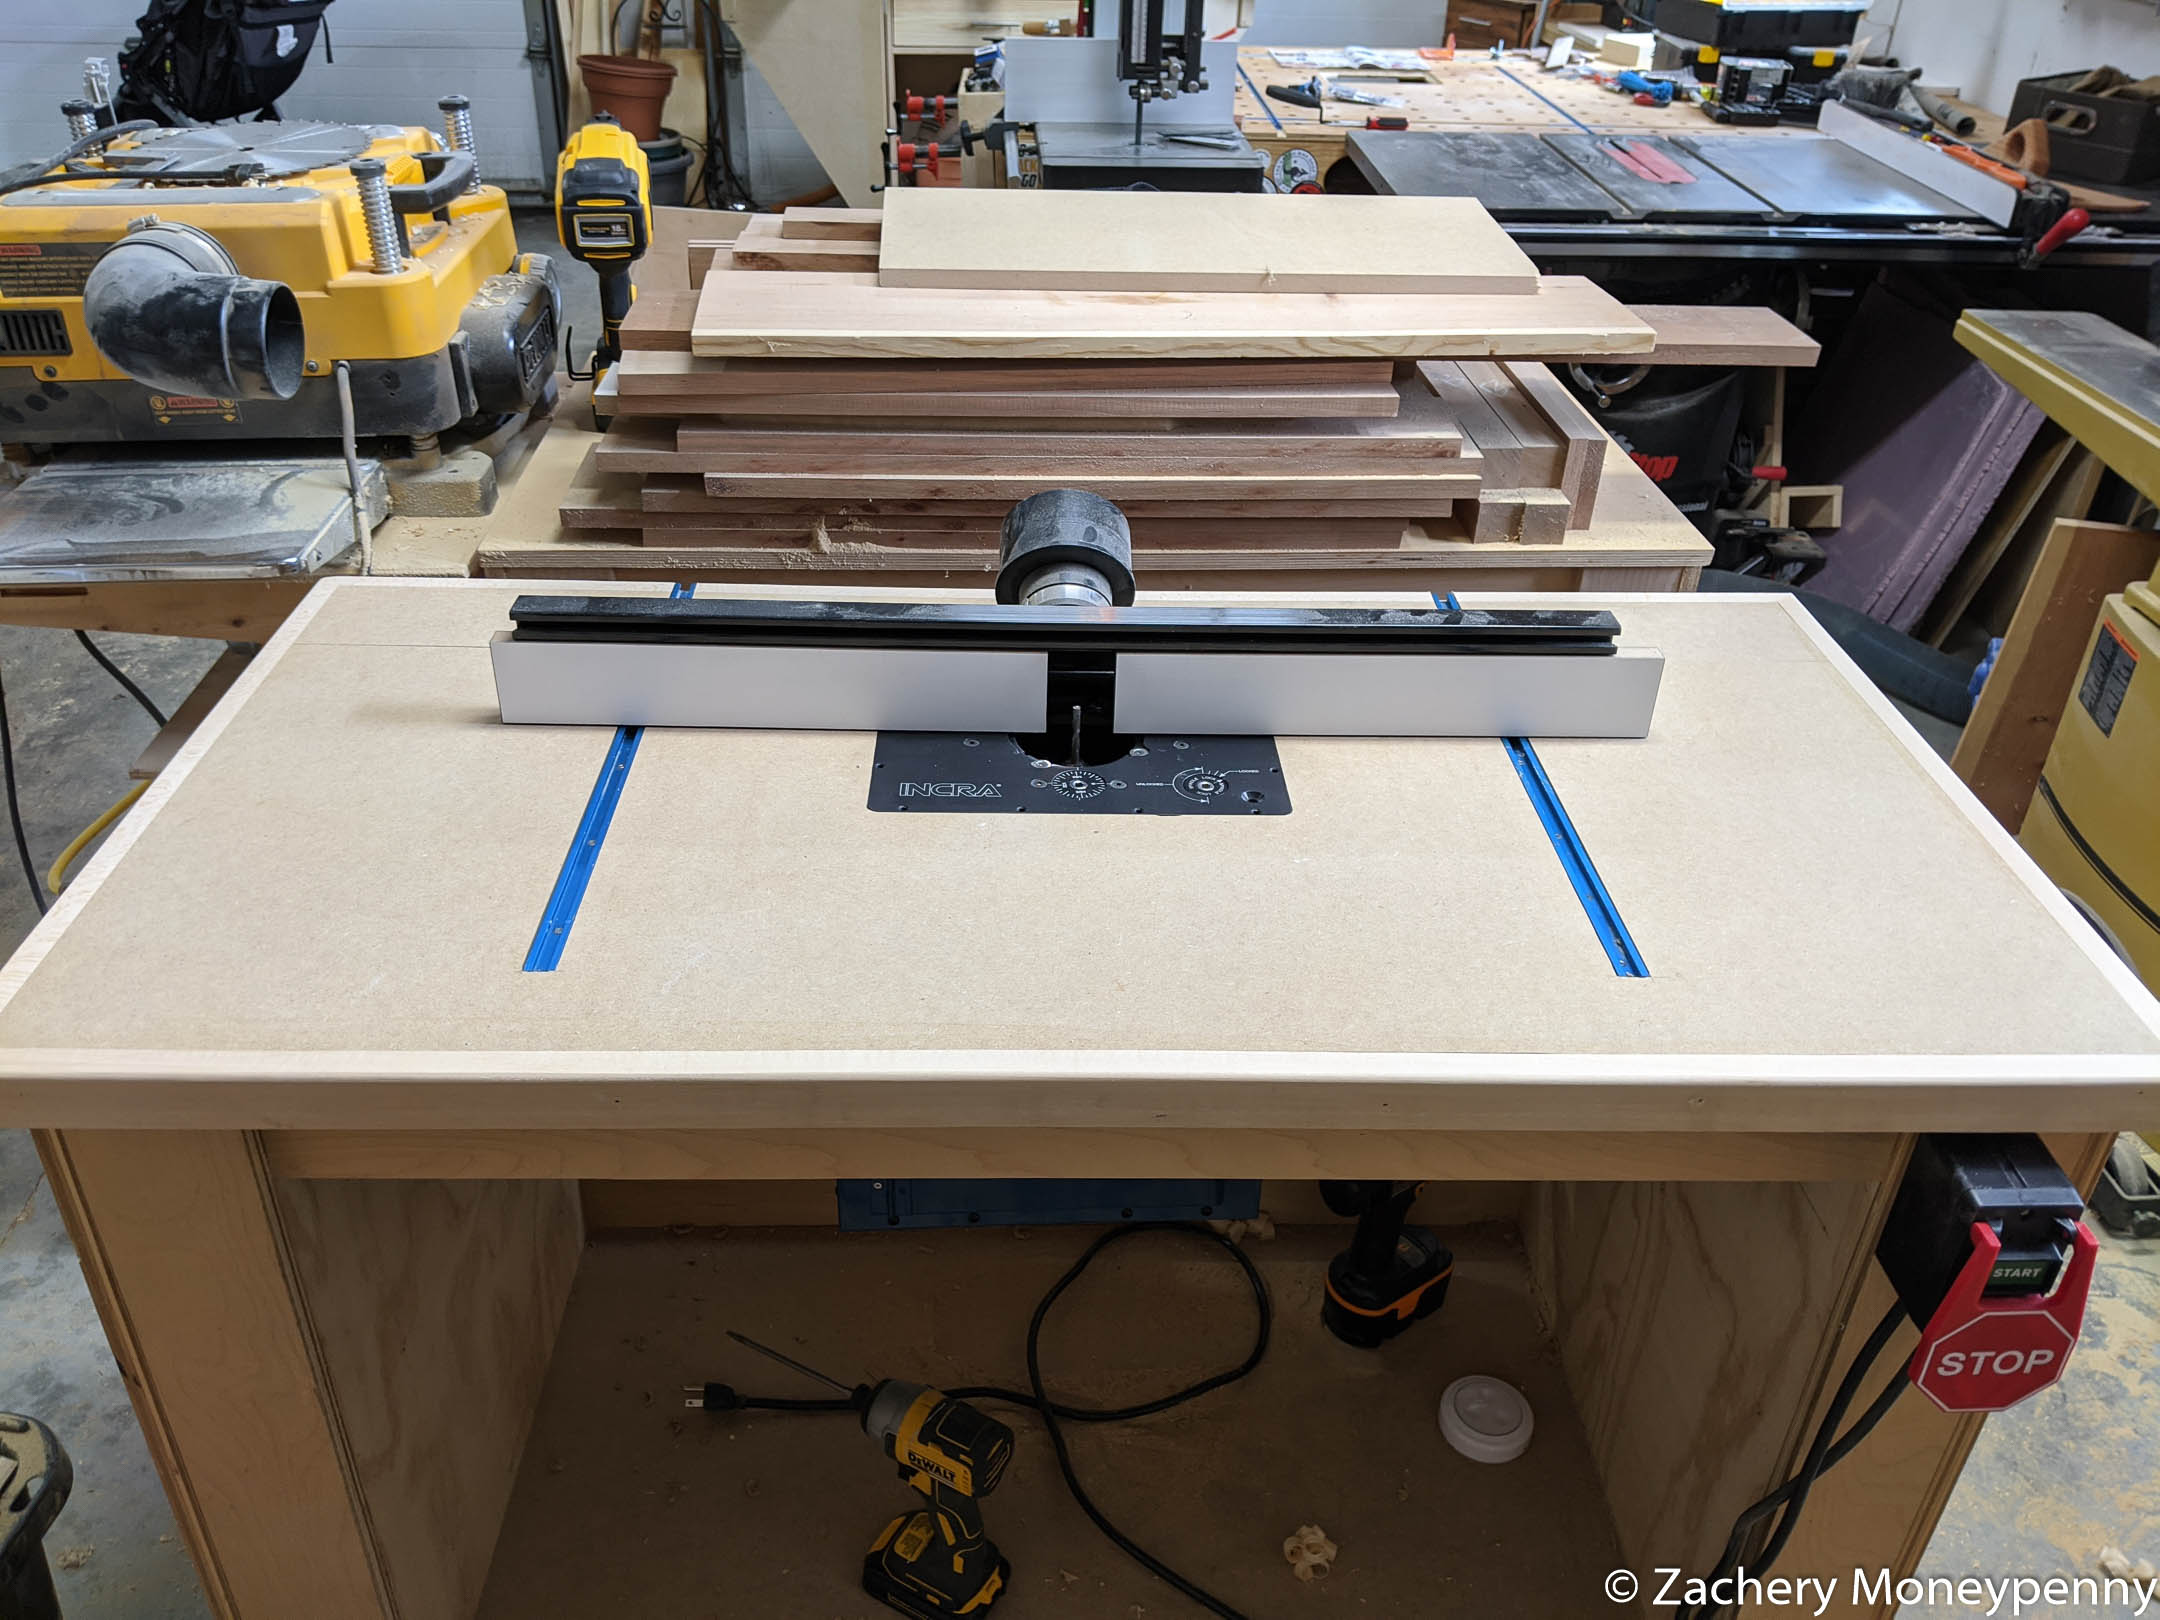
Step 3: Cut Router Lift Hole
My router lift template became near-useless from accidentally cutting into it with the bit. The hole ended up being relatively good looking. I went slightly deeper than necessary so that I could use the leveling set screws to bring it into perfect alignment with the table surface.
Test-fitting the router lift into the hole
Step 4: Add Trim
I had some extra ¾” basswood from some cutting boards I made for gifts over the holidays, and so I cut it into 1½” strips to use as edge banding on the table. I mitered the corners for a nice look, and then hit it with a roundover router bit in the palm router. More sanding and things were looking really good.
Once the trim was on, I could also attached the Stop/Start paddle to the front of the table.
Step 5: Route Dados for T-Track
Next up I had to route the dados in the top to accept the T-tracks that the router fence would ride in. It was fairly uneventful, with the added note that I should really get a ¾” straight bit for routing dados for things like T-track and to accept plywood thicknesses.
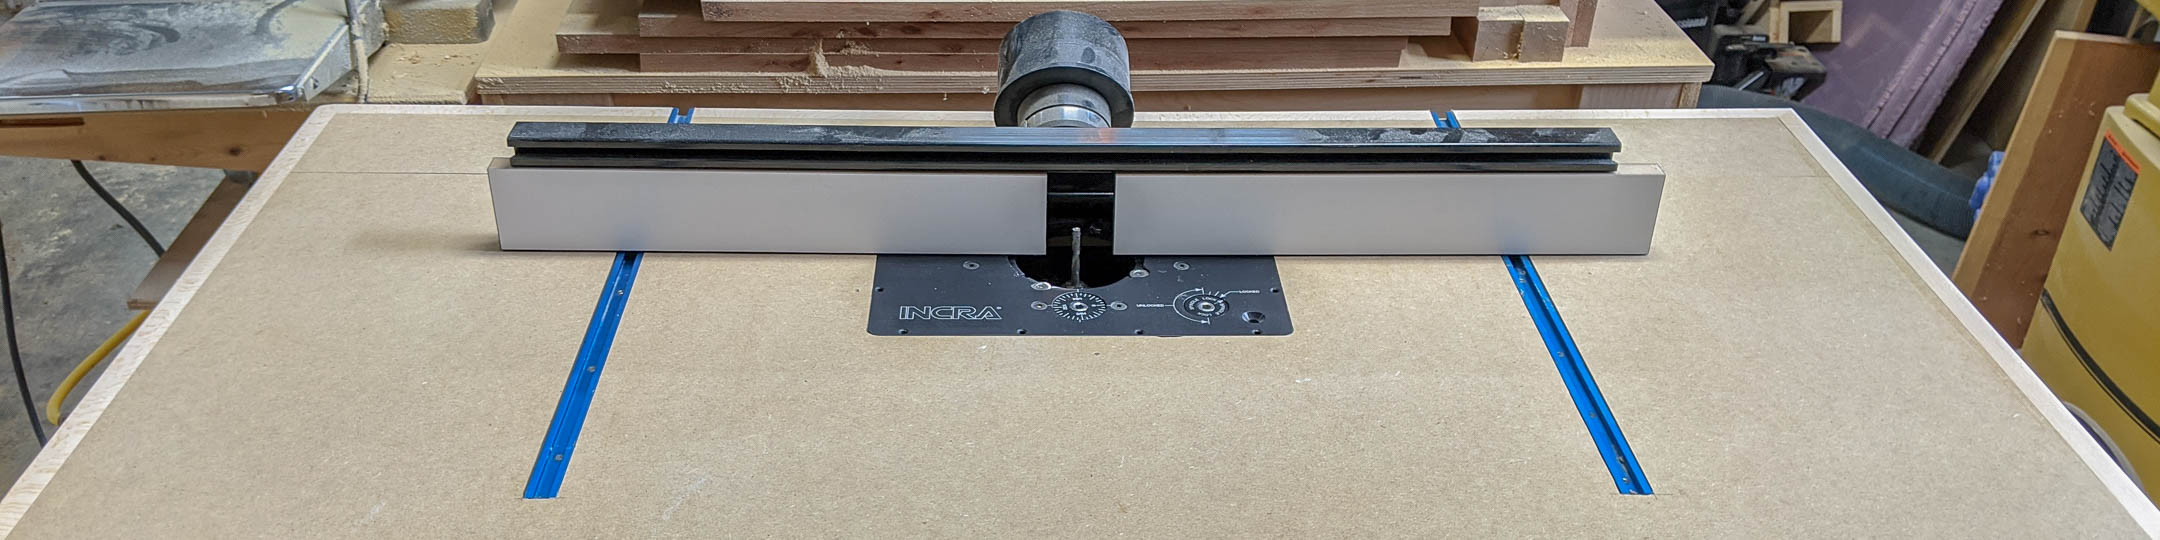
Test-fitting router fence into installed T-tracks
Step 6: Assemble Dust Box
Dust collection for the router lift embedded in the assembly table was never good. I hooked up my Dust Right quick connect hose to the fence, but 100% of the dust and chips that fell below the table just collected in a pile I’d have to suck up every so often.
I was determined to get better dust management for the new table, so I picked up a Rockler Dust Bucket to manage the dust and chip situation under neath the lift. It went together easy, but was not the easiest thing to get attached underneath the table. Once installed, however, it’s been fantastic. I can quick connect my hose to the back, and from there I get 2-in-1 suction both from the fence and from below the table.
Assembled dust box + router and router accessory storage.
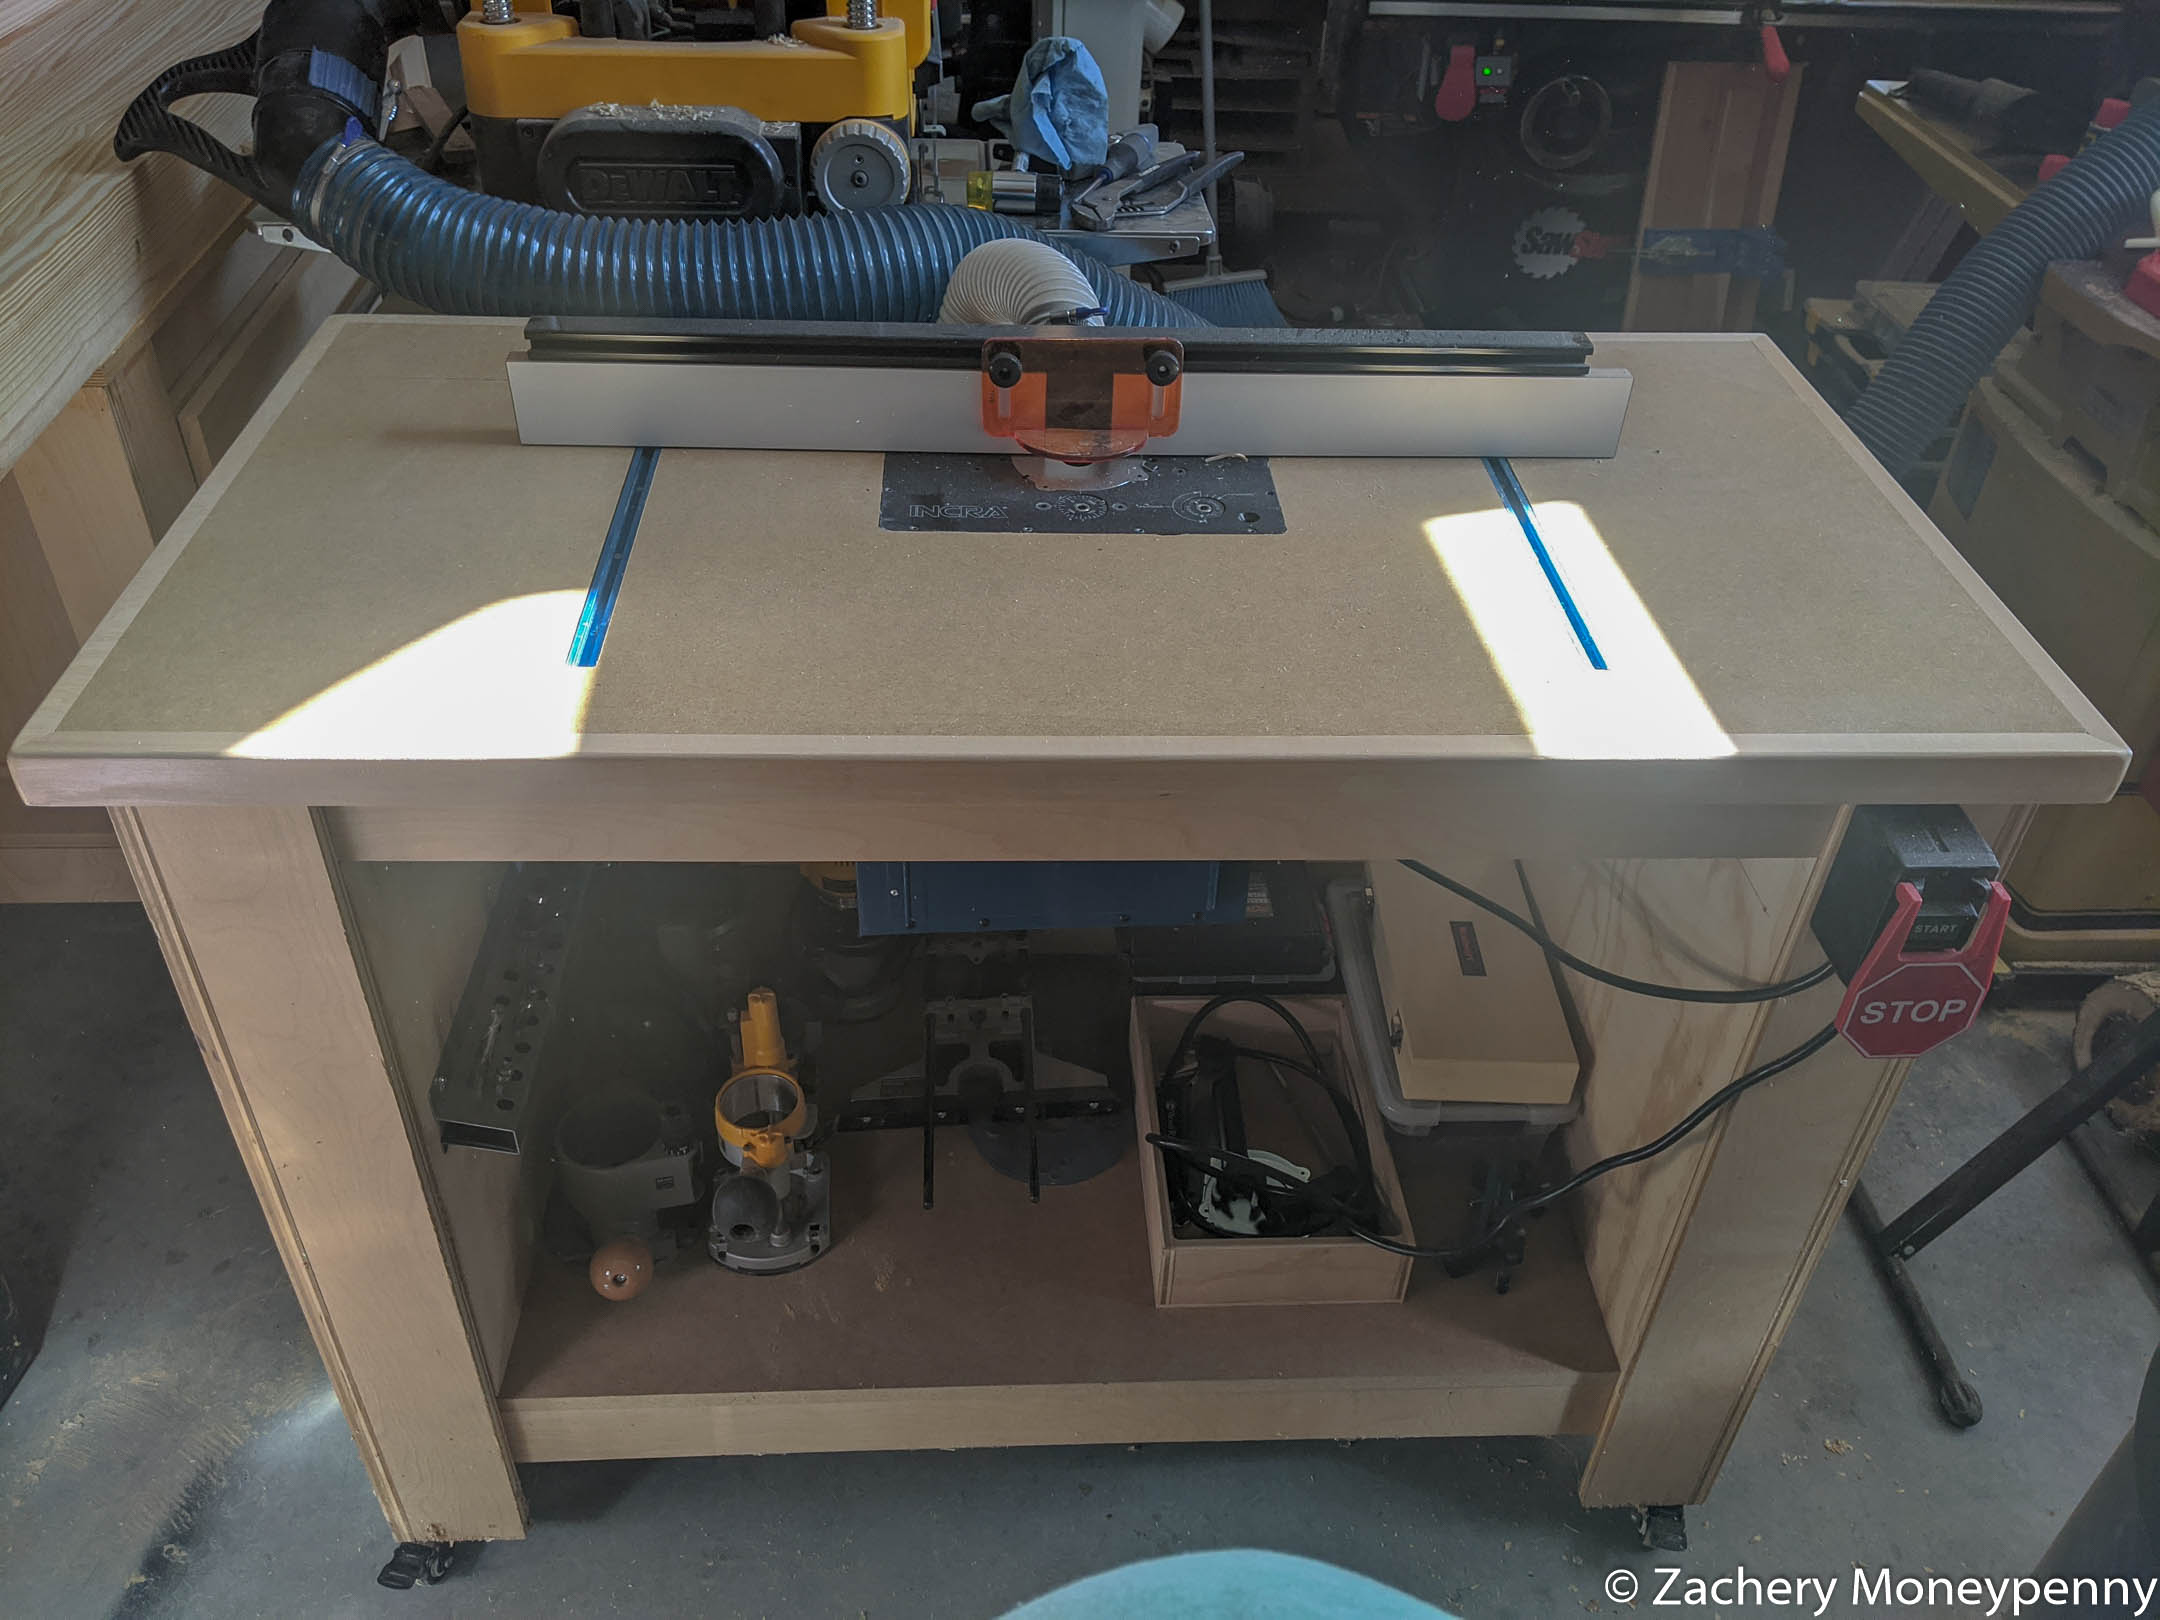
Step 7: Finish
Finally, I wanted to get a nice finish on there. I ended up putting four coats of water-based polyurethane over the op, once I’d taped off the t-tracks and router lift surface. I gave a light sanding after the third coat and then some steel wool after the 4th coat.
Up and Running
I’ve already used the table to do some flush trimming of some small tool trays I’d made a long time ago but never refined or finished- I’d just been throwing wrenches and screwdrivers in there. It was a delight to use, and I’m looking forward to using the table with my new monster flush trim bit on some templated pieces.
My workshop is about 2½ years old at this point, and I’ve come to a
crossroads. I spend less and less time there, and I haven’t been working on
the projects I aspire to. Of late I’ve been doing a lot of plywood stuff
(cabinets and shop furniture) and not as much aspirational home furniture.
I’ve thought a lot about why my engagement has flagged…
No workbench. The 4’⨉8’ modified Paulk
workbench
I built as one of the very first things in the shop has served me well, but
it’s difficult to use it to build fine furniture. It has too much bounce to
chisel well, it doesn’t have good vise options to hold work pieces and it
moves too much to hand-plane pieces on it. It’s also too big relevant to size
of my shop—in a 20’⨉40’ shop it would be a great assembly table with lots of
room to work. As the the sole working surface in a small shop, however, it
doesn’t suit my needs.
Bad flow. When you don’t want to use your jointer, planer, or bandsaw
because it’s such a pain in the ass to move them into a position where you
could use them you know your shop has bad flow. Related to the above point,
when you can’t rearrange things for better flow because your giant assembly
table dominates the available space then something has to change.
I could list other reasons, but they’ll really just relate back to the above two.
Move router table from paulk assembly table to its own housing. In order to try and reclaim space last summer I modified the paulk assembly table to include a router lift. It worked ok, but I had no dust collection options and it was hard to swap it back and forth when I wanted to go from router table to assembly table functions. The plan is to move the router lift to another smaller 2’⨉4’ work table I made a long time ago.
Build simple hand tool workbench. I’ve purchased some southern yellow pine to use to build a simple hand tool workbench. My goal is to add at least two vises (if not three) to this workbench to give me maximum ability to hold workpieces.
Break down paulk workbench and reclaim usable lumber and components. The next step to take apart the large paulk assembly table and salvage as much lumber and hardware as I can. I can reclaim drawer slides, casters and some nontrivial cuts of lumber. This will free up a large amount of floor space in the shop.
Build small outfeed table. Using the recovered materials from the large assembly table the plan is to build a much smaller outfeed table to sit near the table saw. I’m thinking I’ll pattern it after the shop cabinets I made but on casters so I can maximize the drawer space.
Junk all excess crap. Once all this is done I’m going to order a dumpster to be placed in the driveway so I can junk all the excess stuff in the shop, including old materials that are getting in the way, as well as the other small work table I built way back at the beginning.
Once all this is done I should have more discrete work surfaces available,
with better vise options and more ability to move things around and free up
space. I do have dreams of acquiring a small lathe and a drum sander, which
would never fit in the current layout but may fit once I clear away the
footprint of the big assembly table.
In order to improve the storage and functional options in my home gym, as a
lifter, I want better cable storage and a plyo box.
Since I’ve gotten back into weightlifting I’ve spent a lot of time in the
unfinished part of my basement. Spending five hours a week in a room with
concrete floors and no walls makes me start to do Fantasy Interior Design in
between sets.
In between jobs I did a week-long project to build a new set of cabinets out
in my shop, and I ended up with one full 4’ x 8’ sheet of ¾” birch plywood
left over. I’d been wanting a plyo box for workouts for awhile, mainly for
box squats and
step-ups. Rogue sells a
CNC-cut one for $135 plus
shipping (!) but I wasn’t about to buy when I could build.
There are a variety of build videos on youtube for making plyo boxes; I liked
the one below specifically because of the effective cut-list diagram at 13s
into the video; it helped for easy breaking down of the plywood sheet.
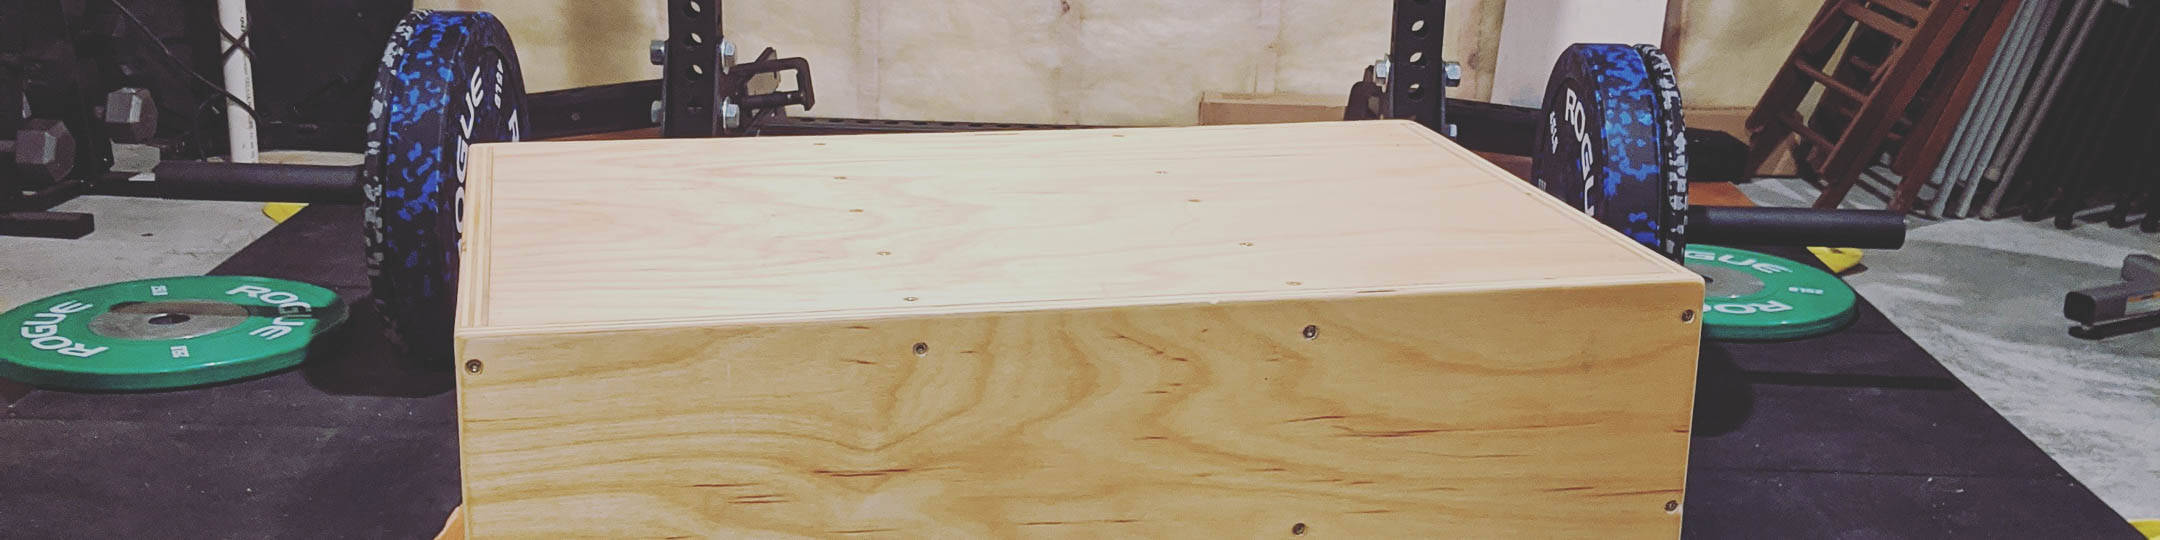
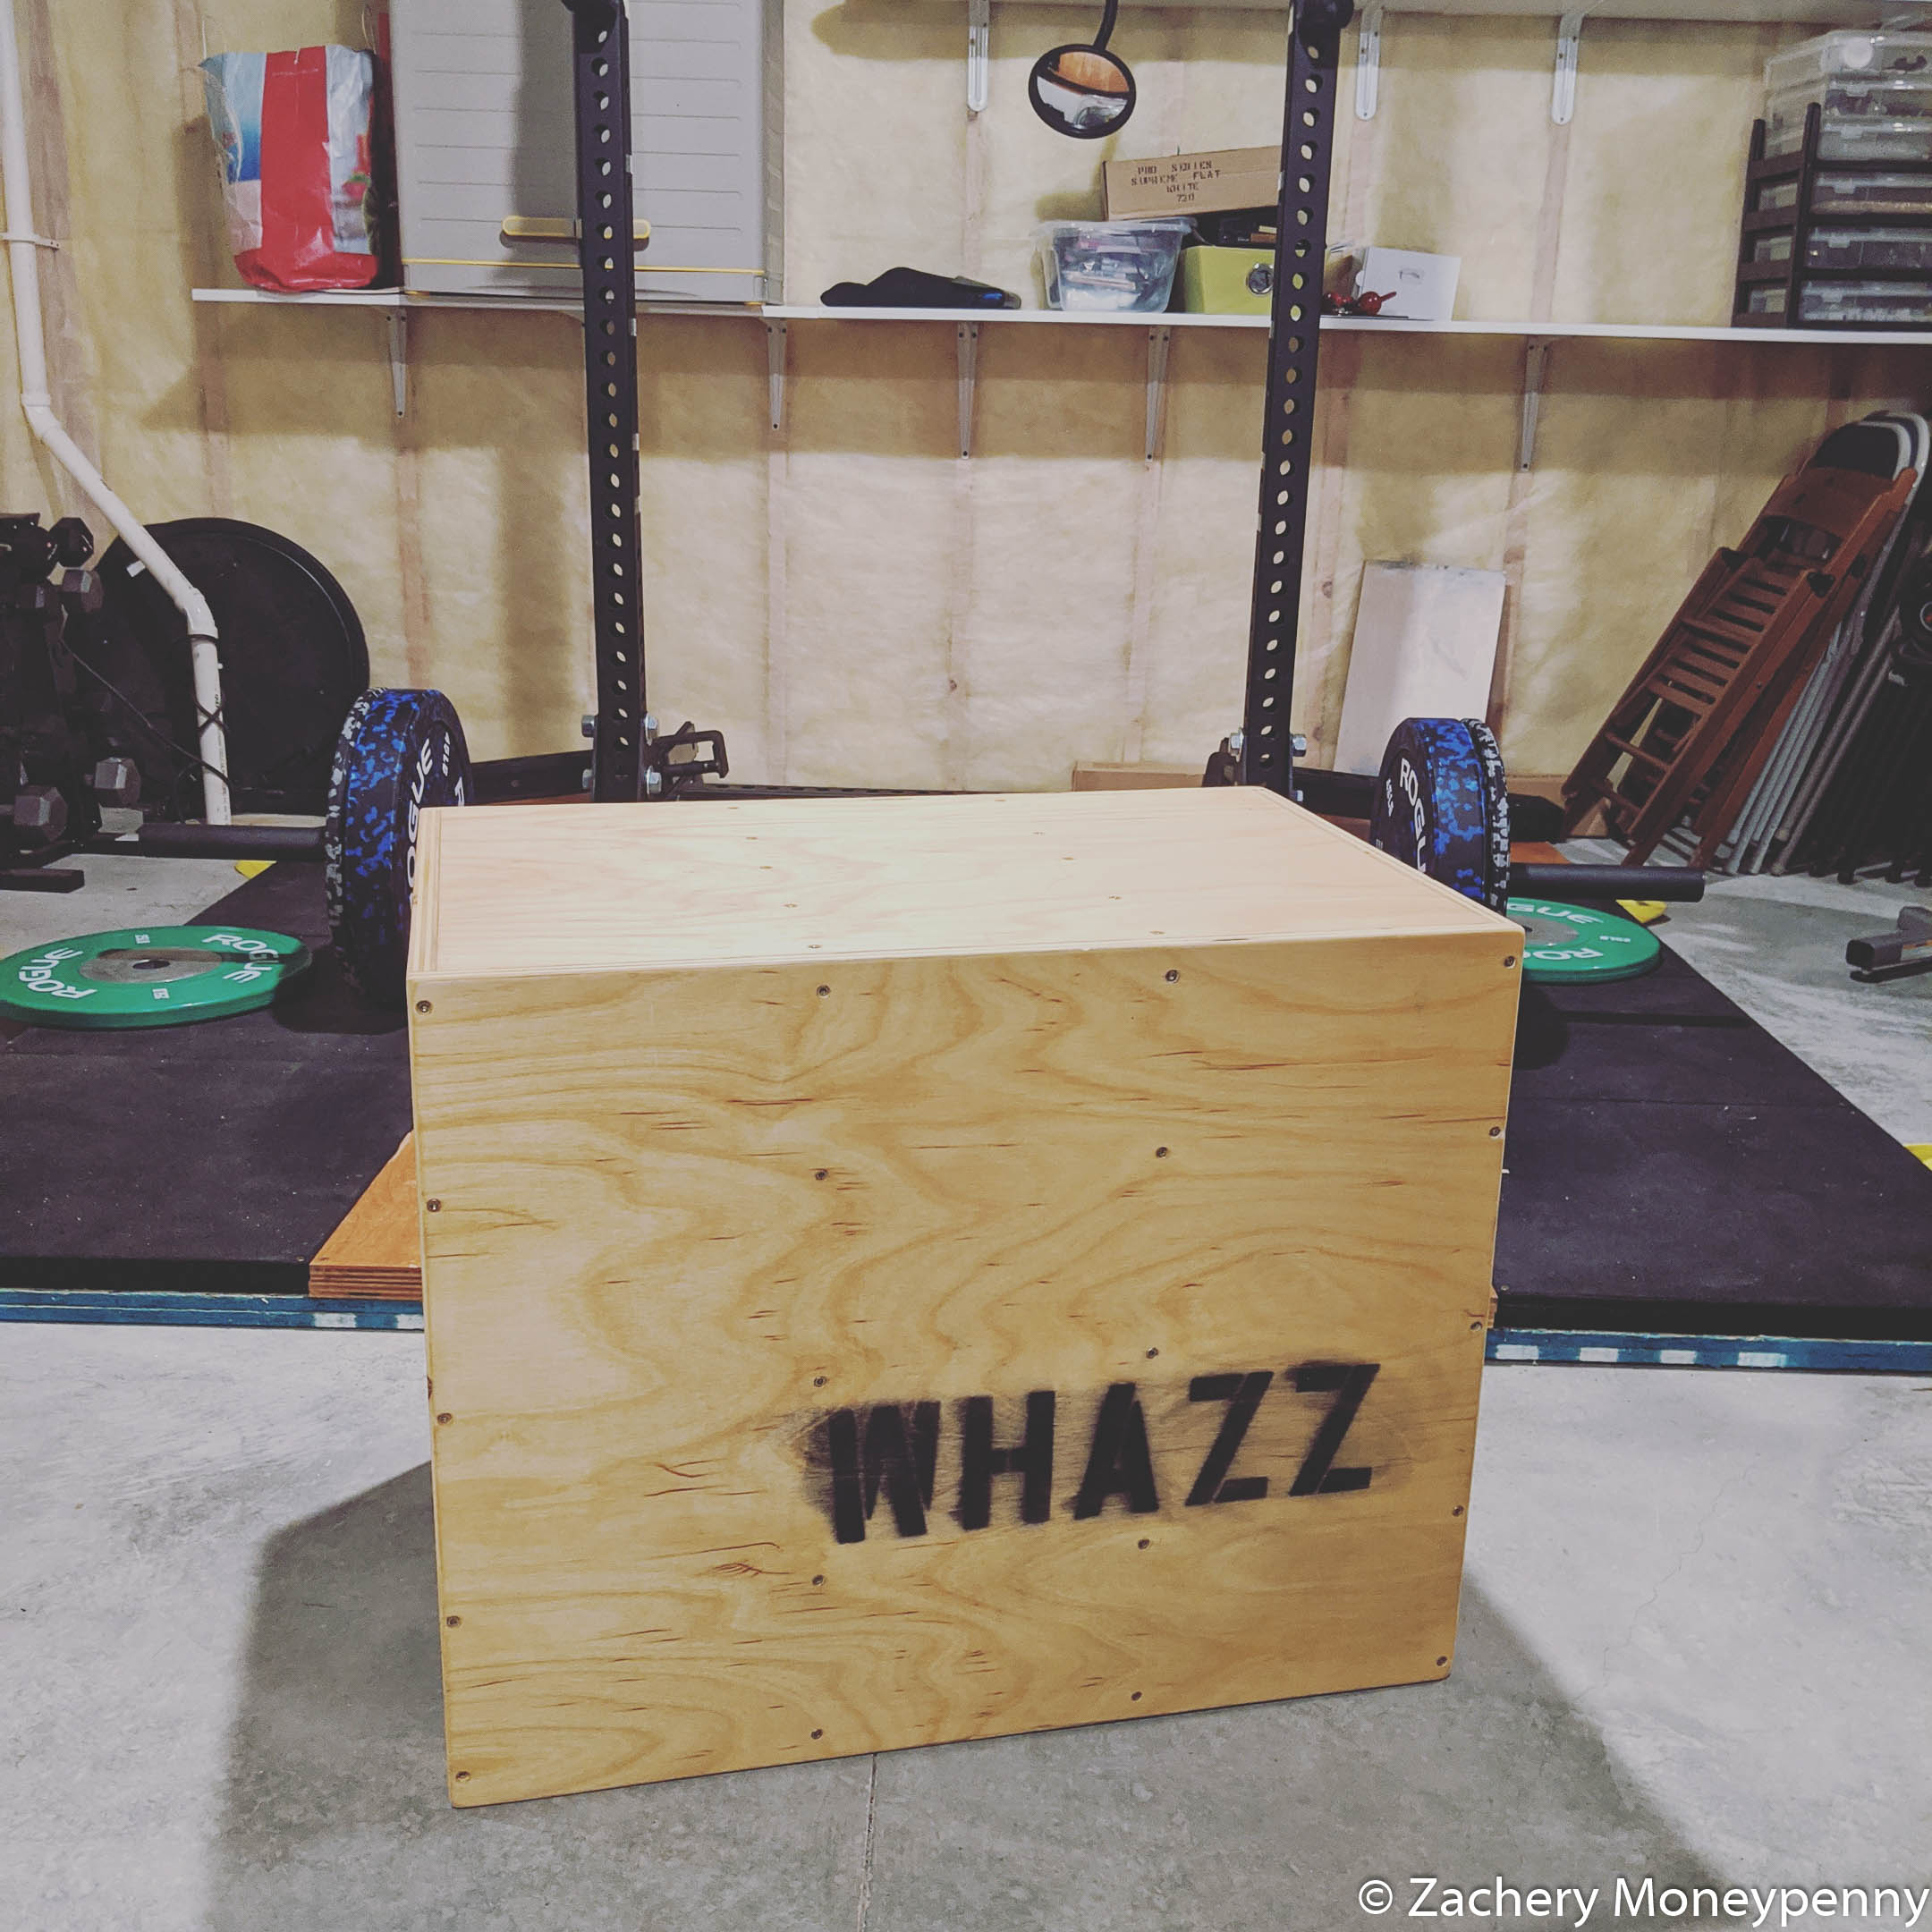
It went together easily, though when I tried to add a whazz stencil I didn’t
apply the stencils correctly and got quite a bit of paint bleed. The stencil
pieces are just paper, and I didn’t think to mask with blue painter’s tape
first and then tape stencil over and cut out the tape to match the stencil.
I’d do that next time to get a much better effect.
30in x 24in x 20in wood plyo box
Once the stencil dried I added two coats of Watco Exterior Finish, both
because it was on-hand and because I expected it would get some rougher
treatment. I’m going to wait until it’s seen a bit of use and then decide
whether to add a few coats of polyurethane.
Once that was done, I still had some plywood scrap leftover, and a problem to
solve.
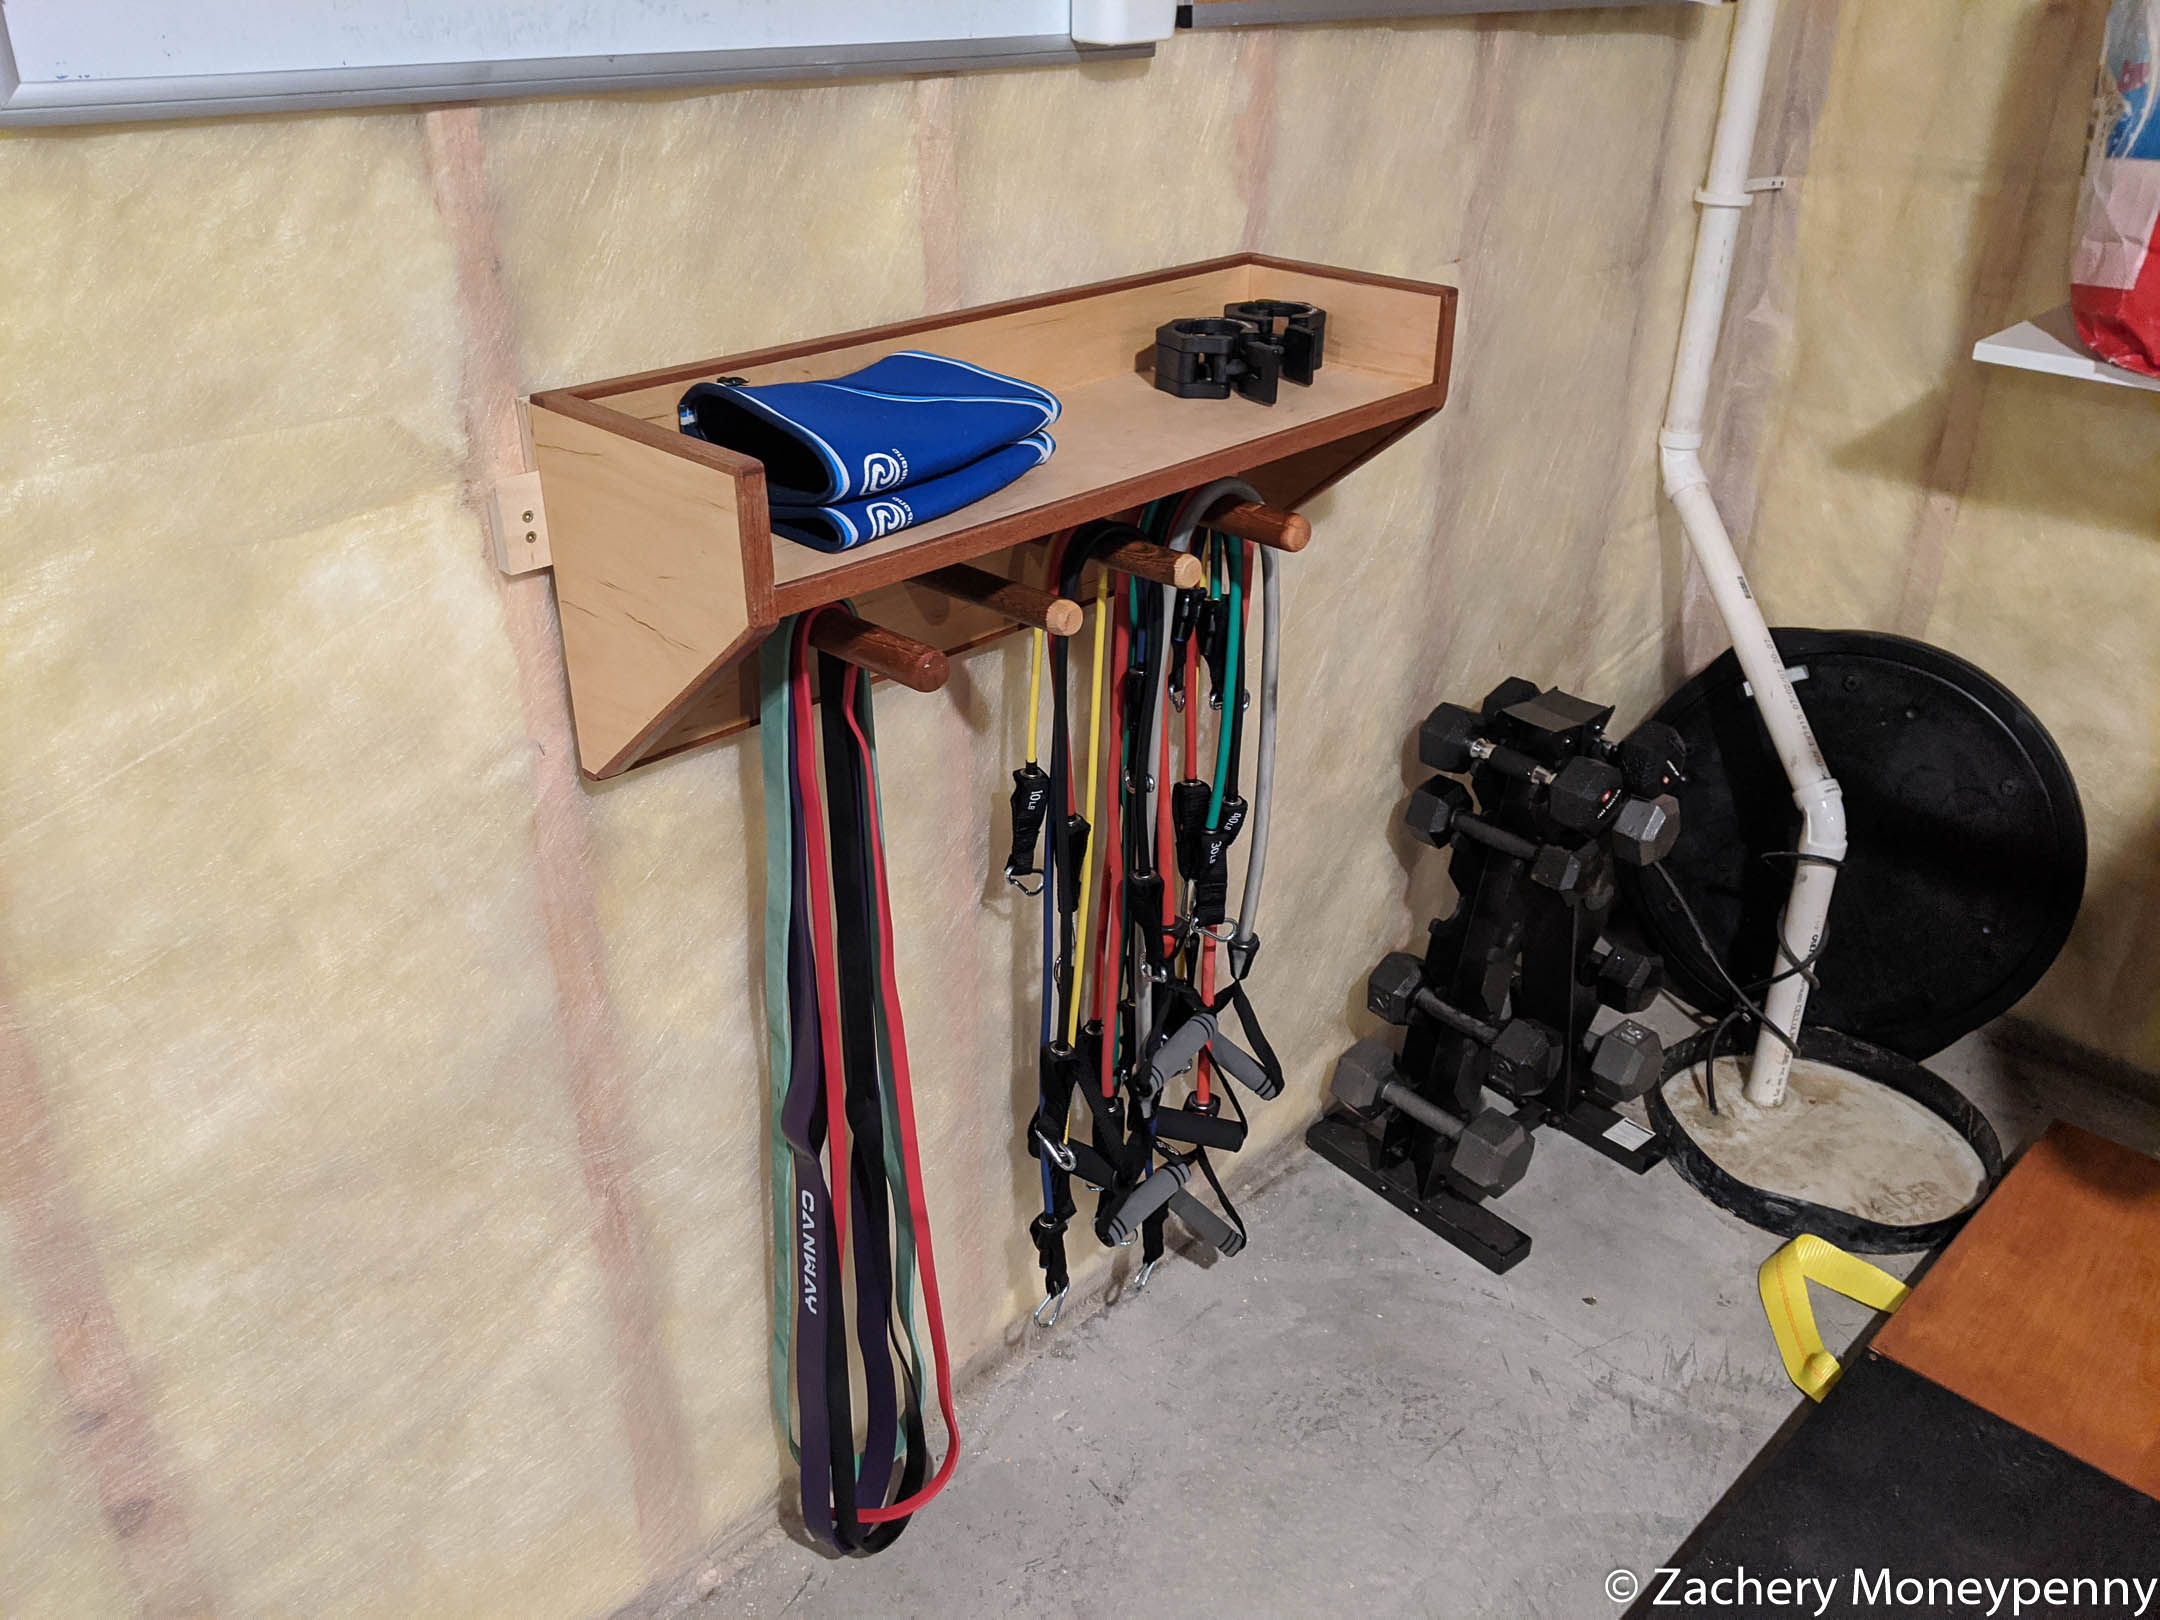
I have a variety of bands that my wife and I use for different exercises, and
as I’ve accumulated them I just throw them over the multi-purpose storage
rack. Now,
however, there are a ton of bands draped over the thing and they’re getting
in the way.
I sketched out a simple wall rack to hold them, and thought it would be nice
if I could get a small shelf on there also, to hold notebooks, drink cups,
bar collars, and markers for the dry erase board. Basically a little work
center for in-between sets.
The size and shapes were largely dictated by how much scrap I had, so I fit
the dimensions to the pieces of plywood rather than the other way around. I
also wanted to trim it with some kind of dark hardwood but I’m loathe to
start chopping up the nice 8/4 walnut for a project like this. I had some
spare sapele from a box I made awhile back, though, and it worked perfectly.
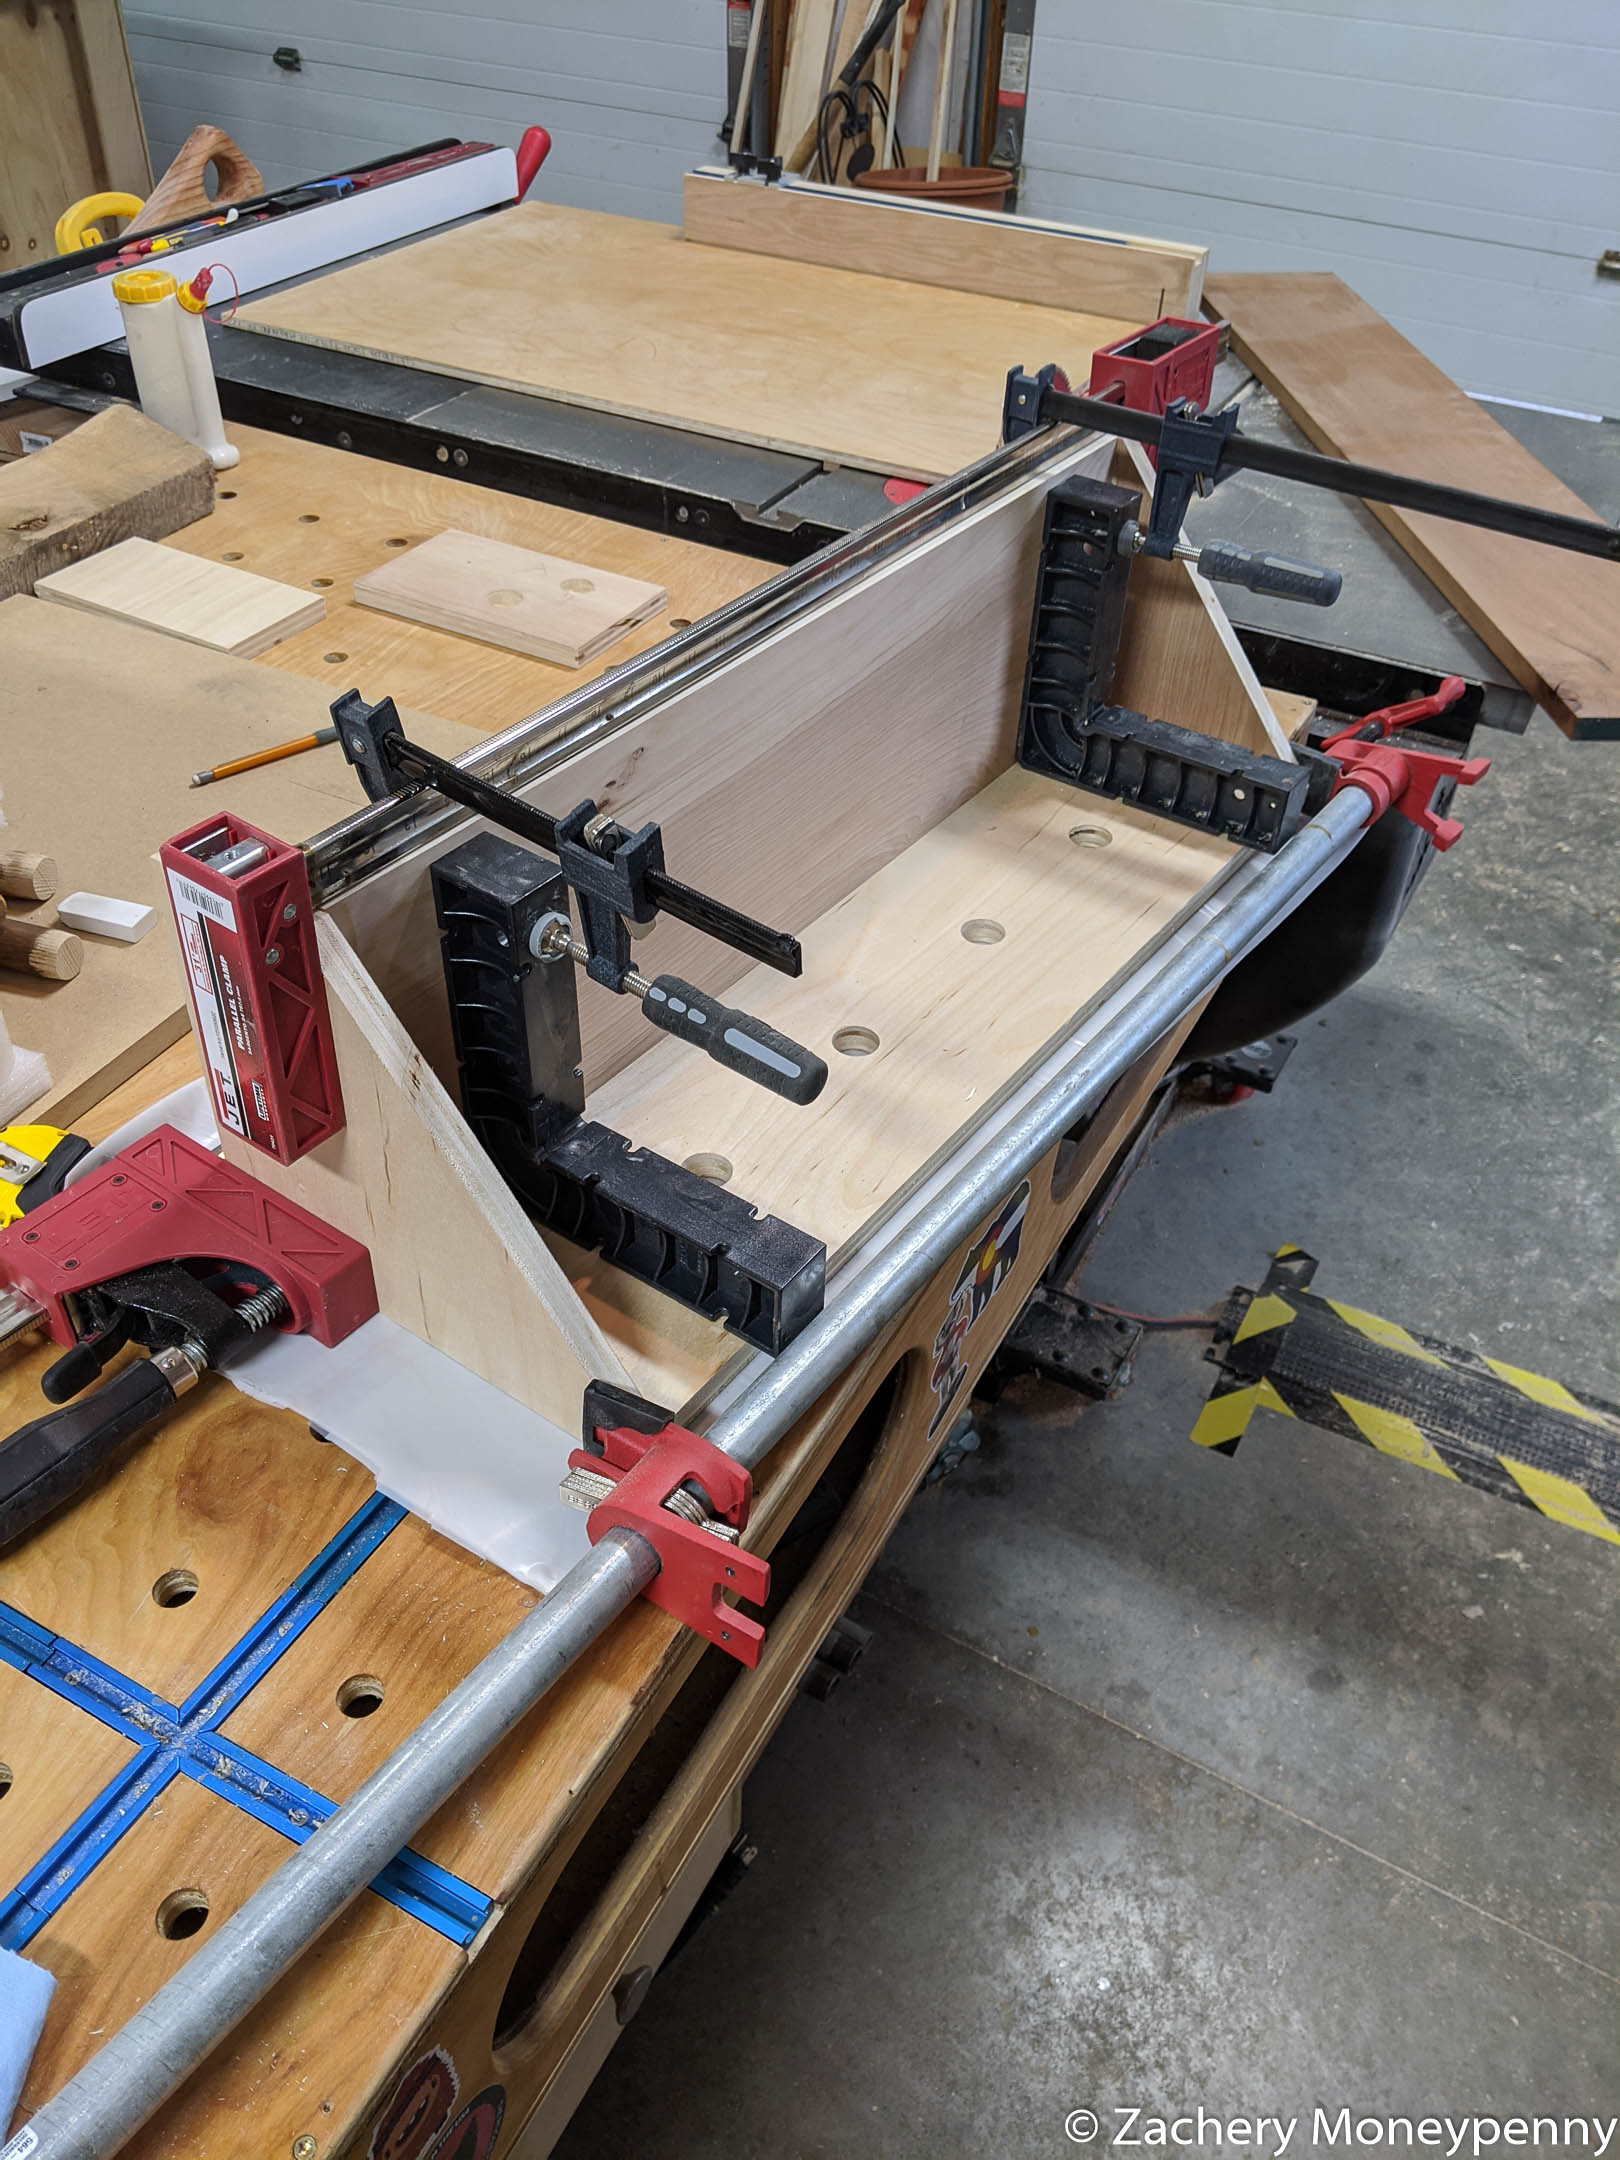
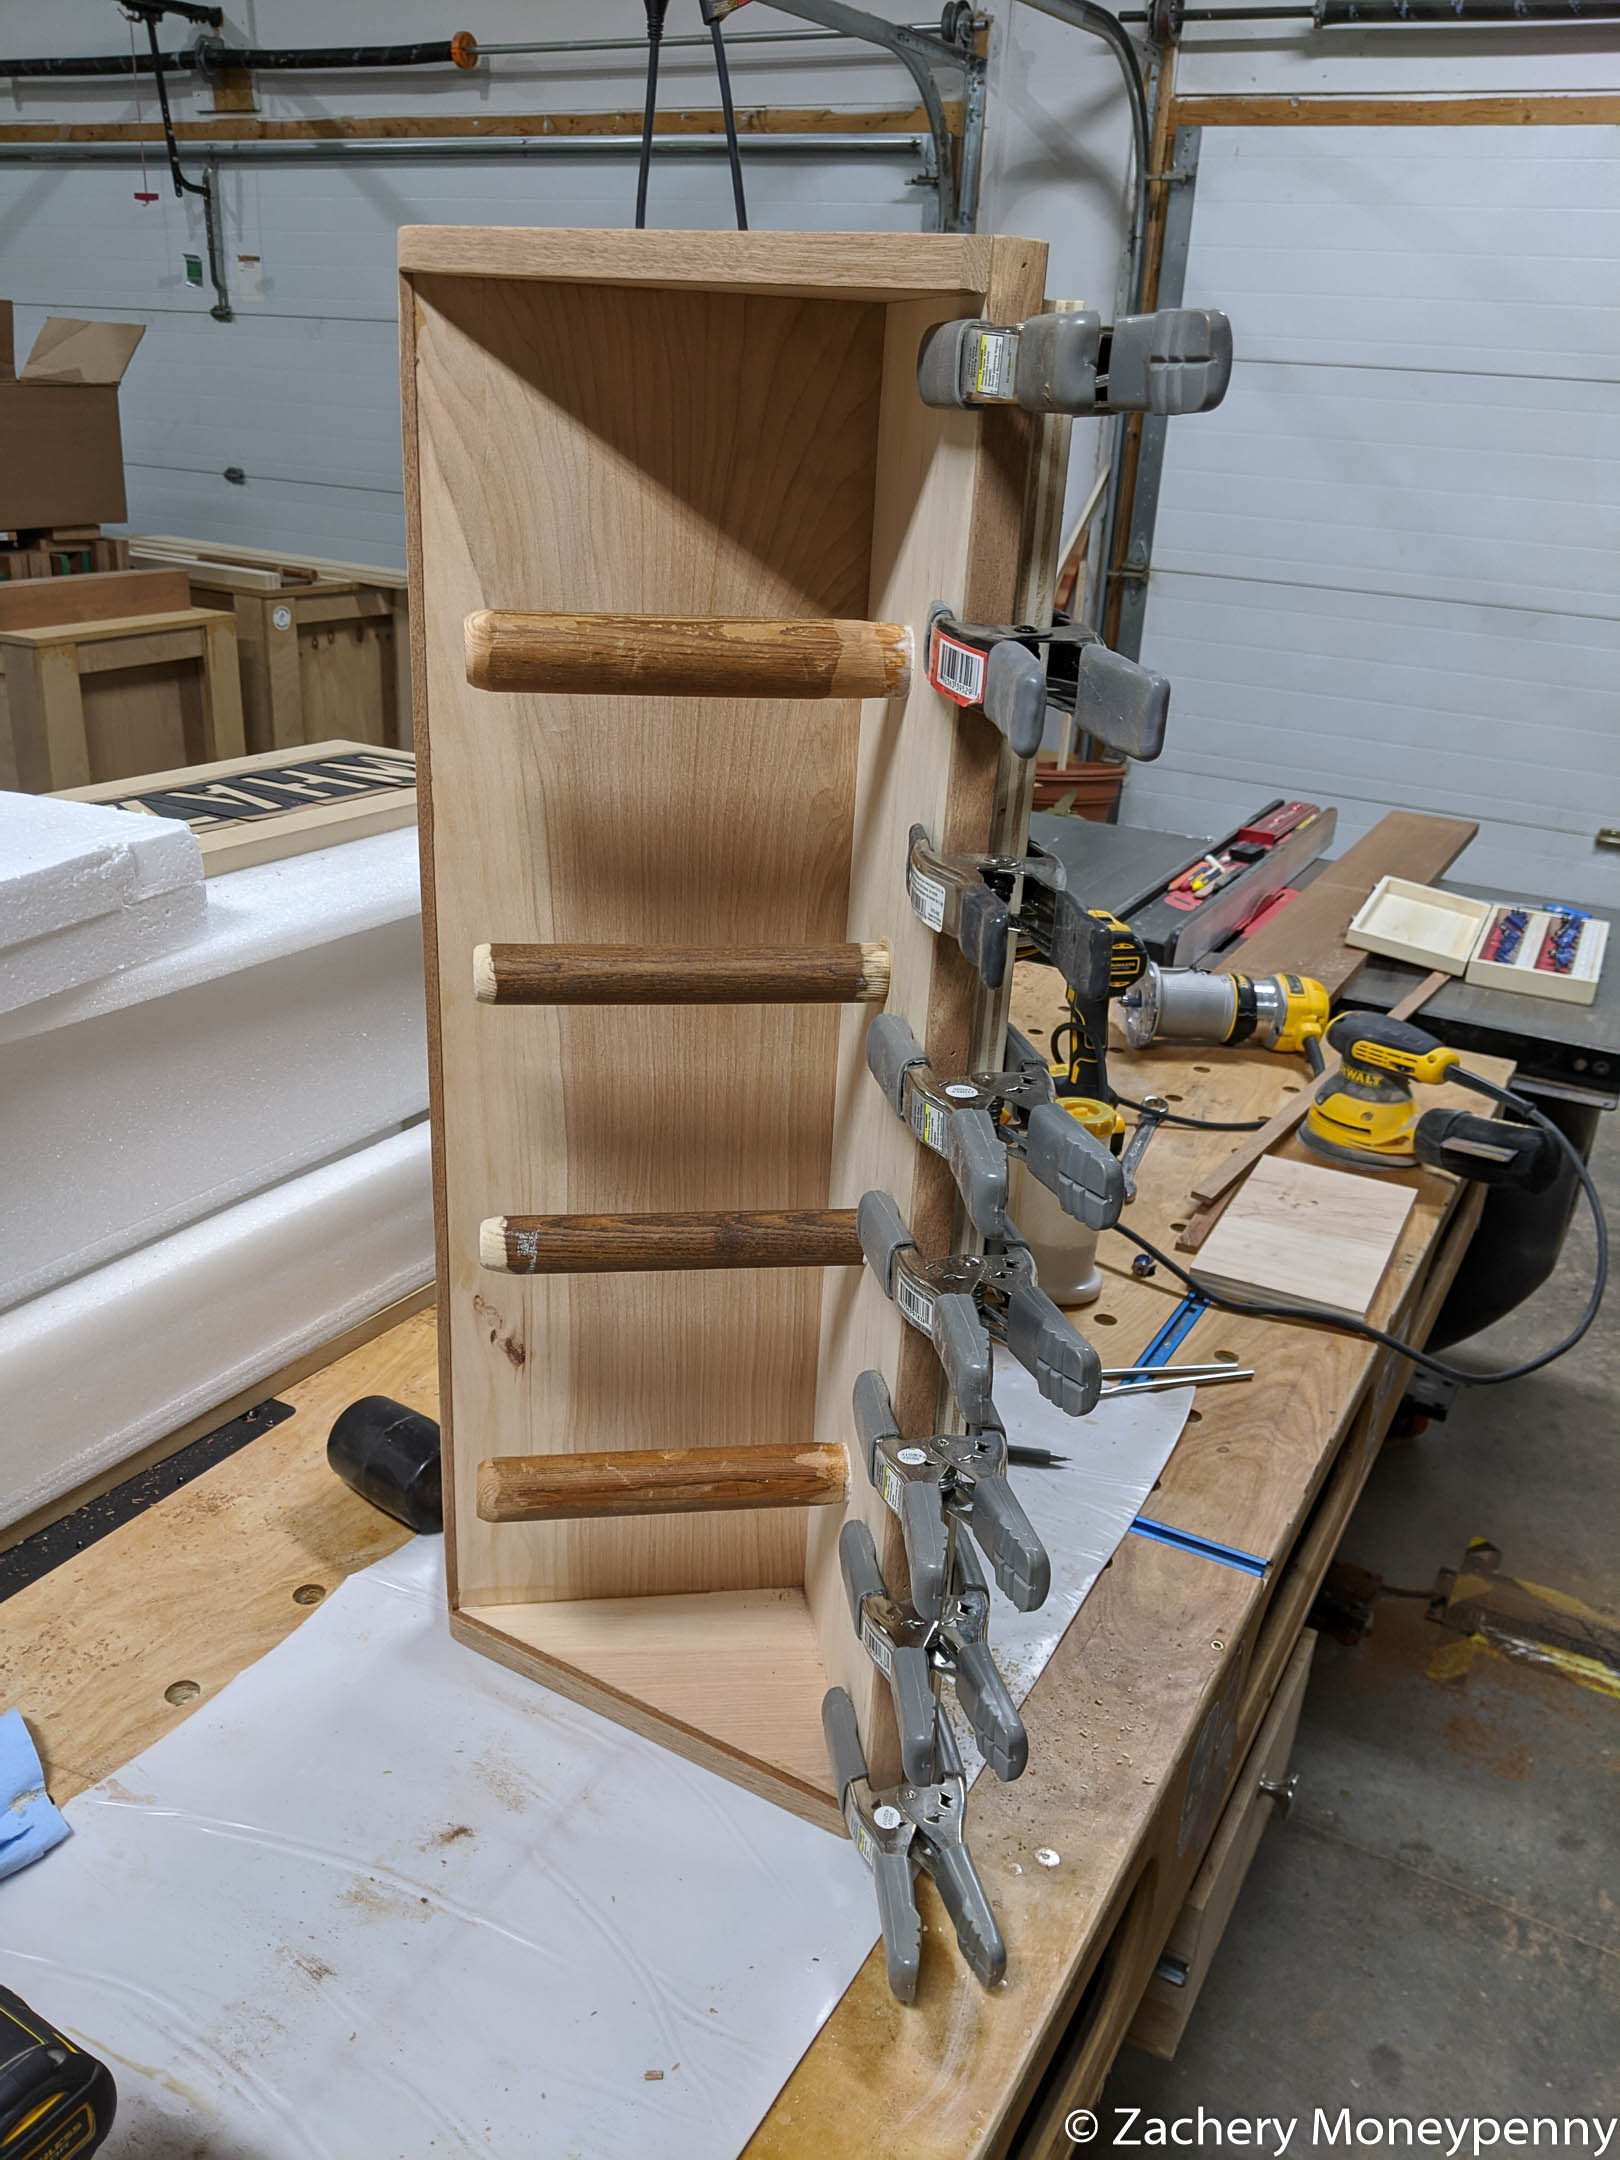
Gluing up the main assembly
I cut dados in the sides and back to hold the shelf in a little better, then
glued everything up after using a Forstener bit to drill out the holes for
the pegs to hold the bands.
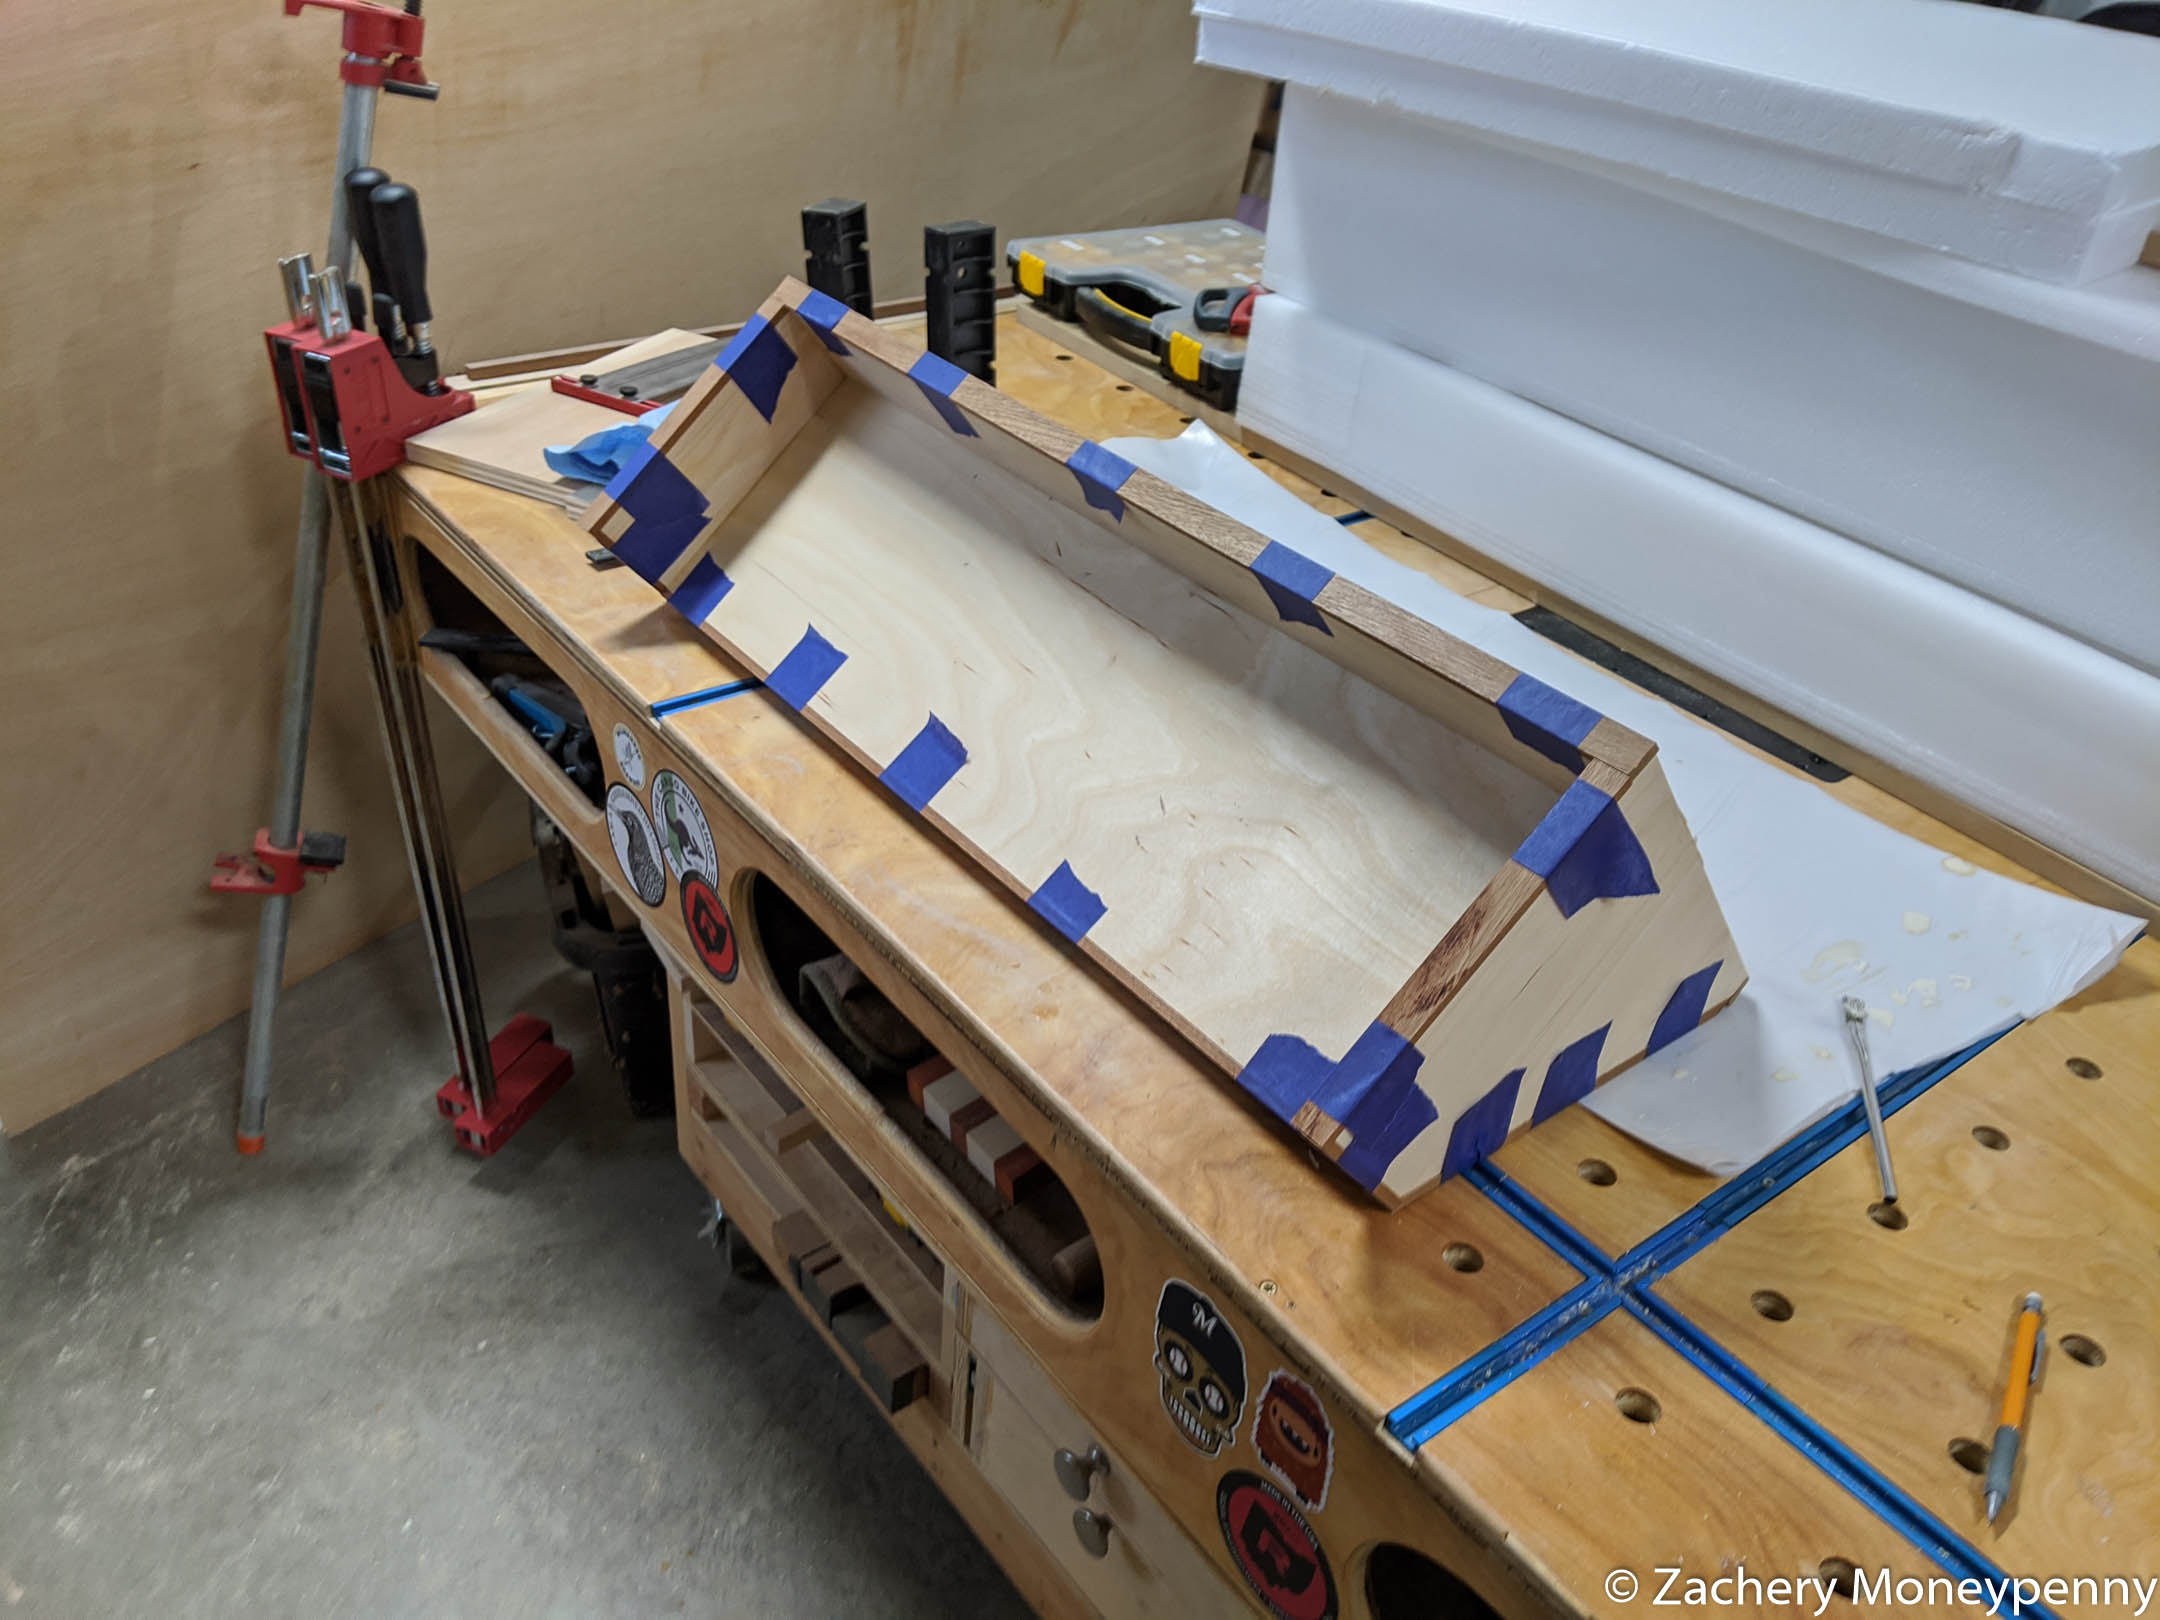
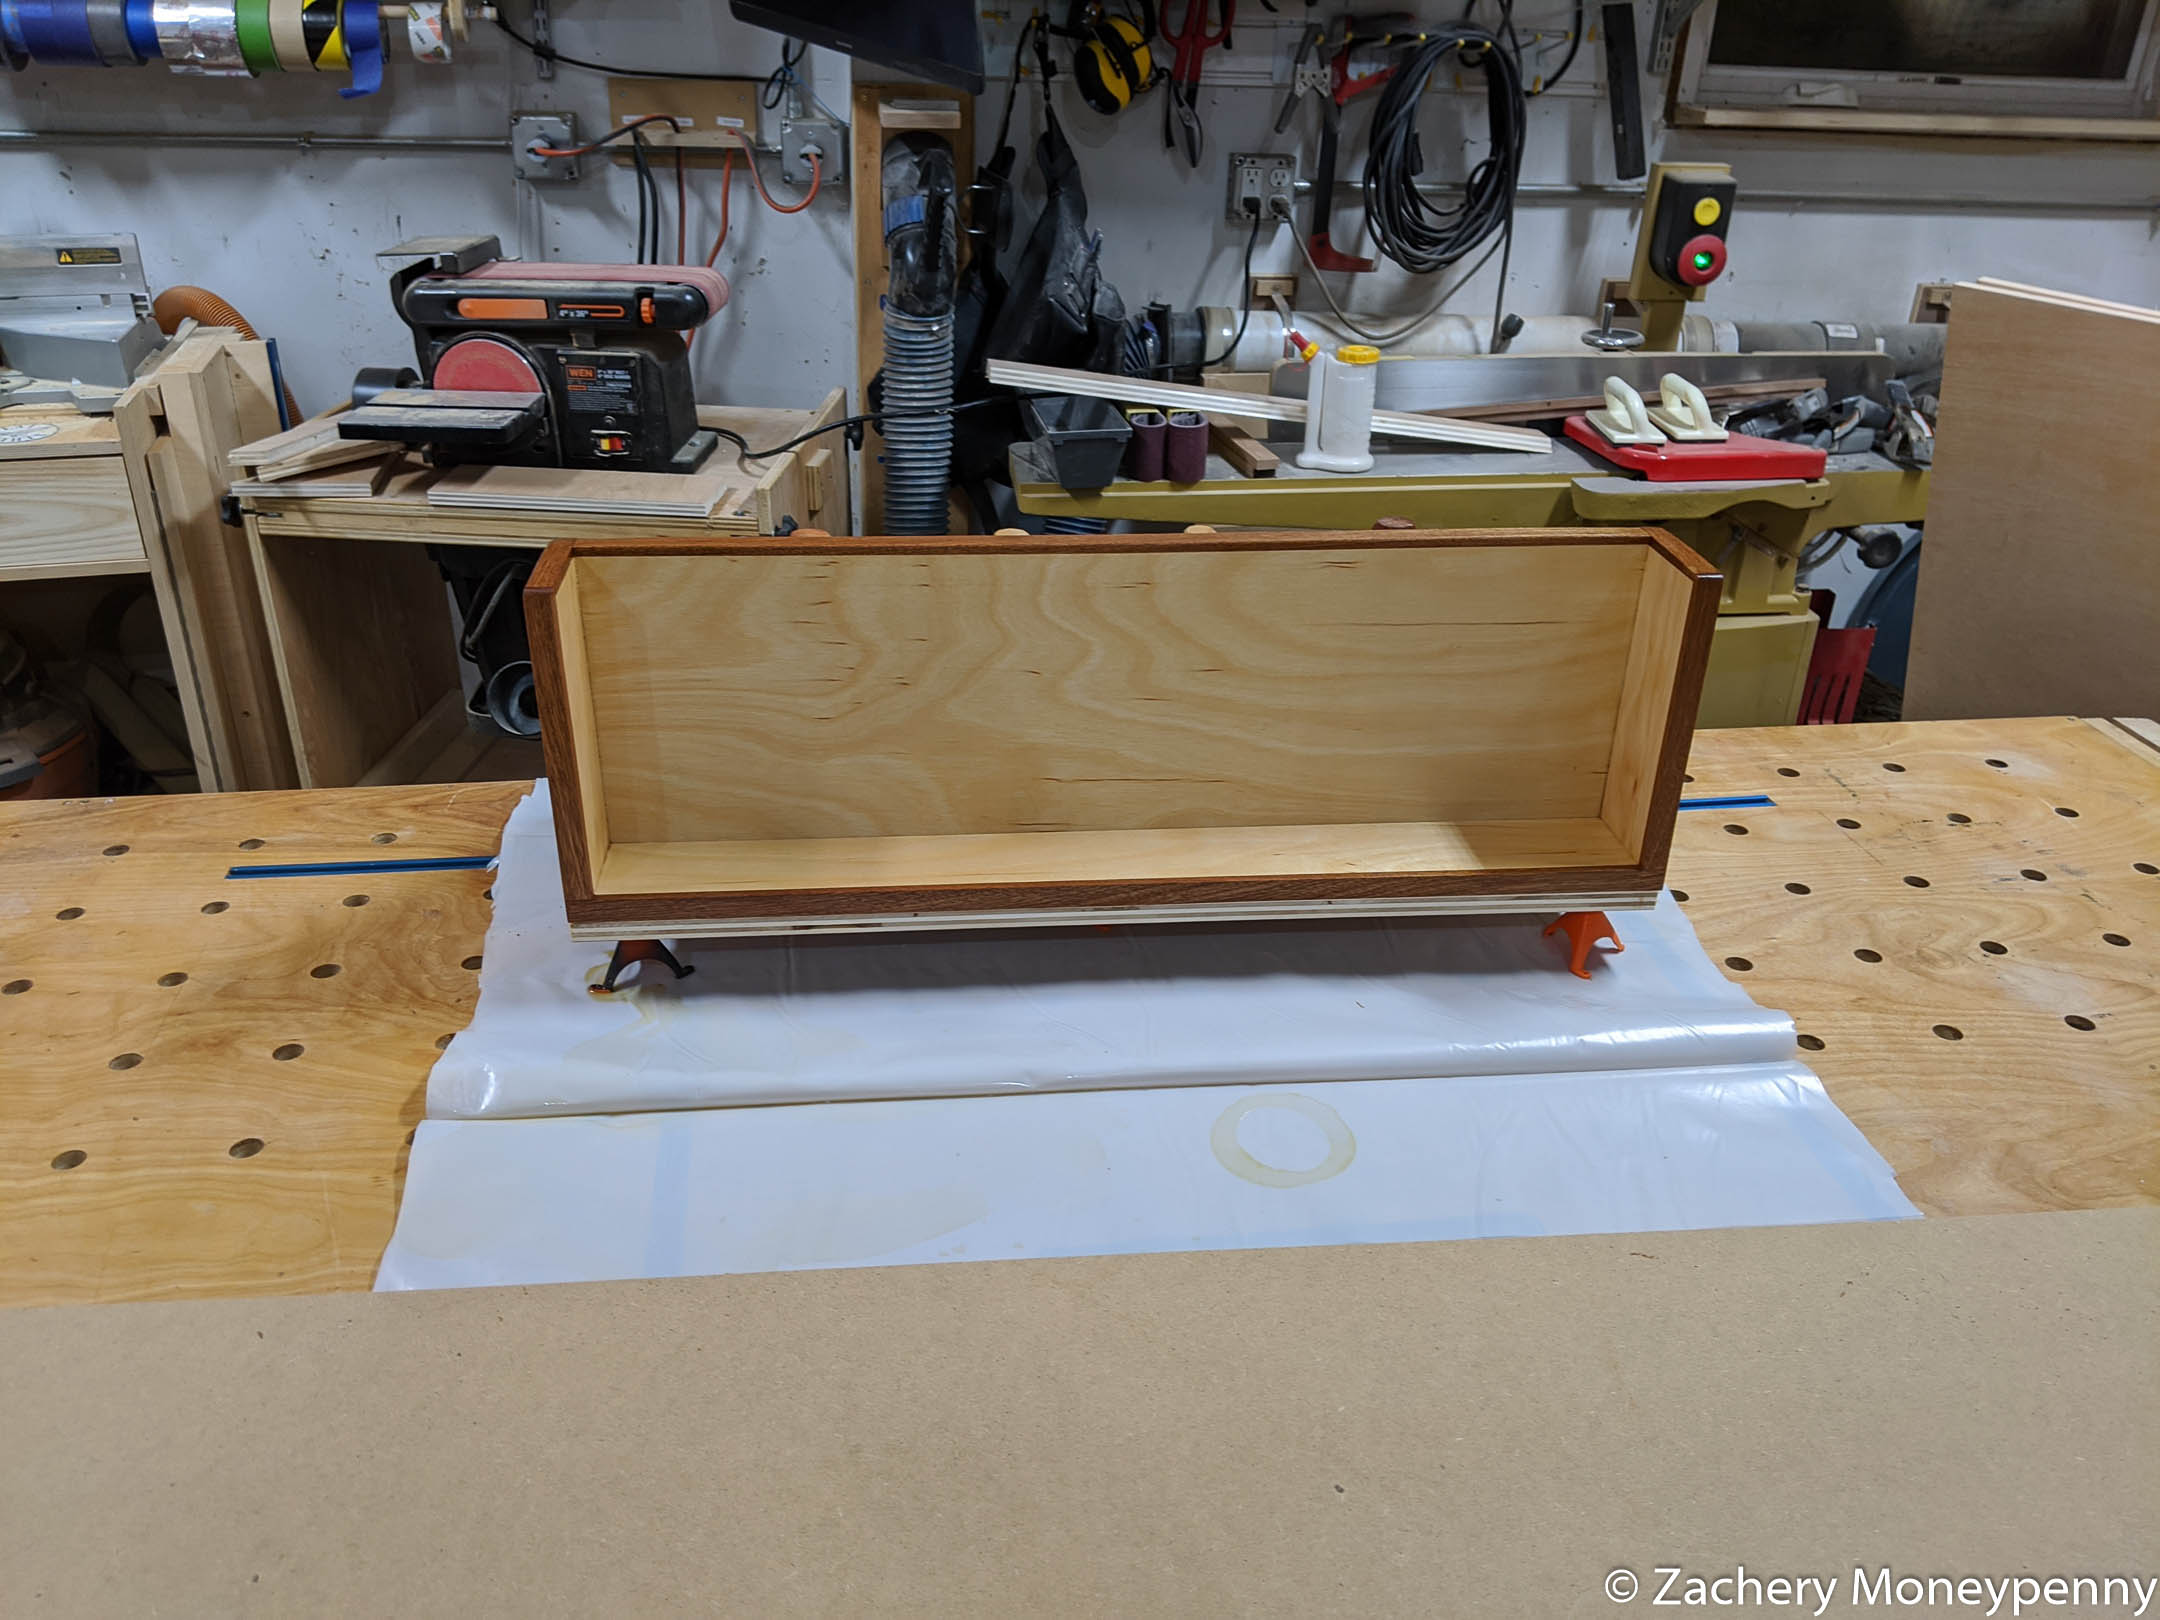
Gluing on the hardwood banding
The sapele was already planed to just over ¾” thick, so I ripped ¼” thick
strips. This worked well because it was slightly wider than the plywood
edges. I glued them on then flushed them up with a flush trim bit in my hand
router.
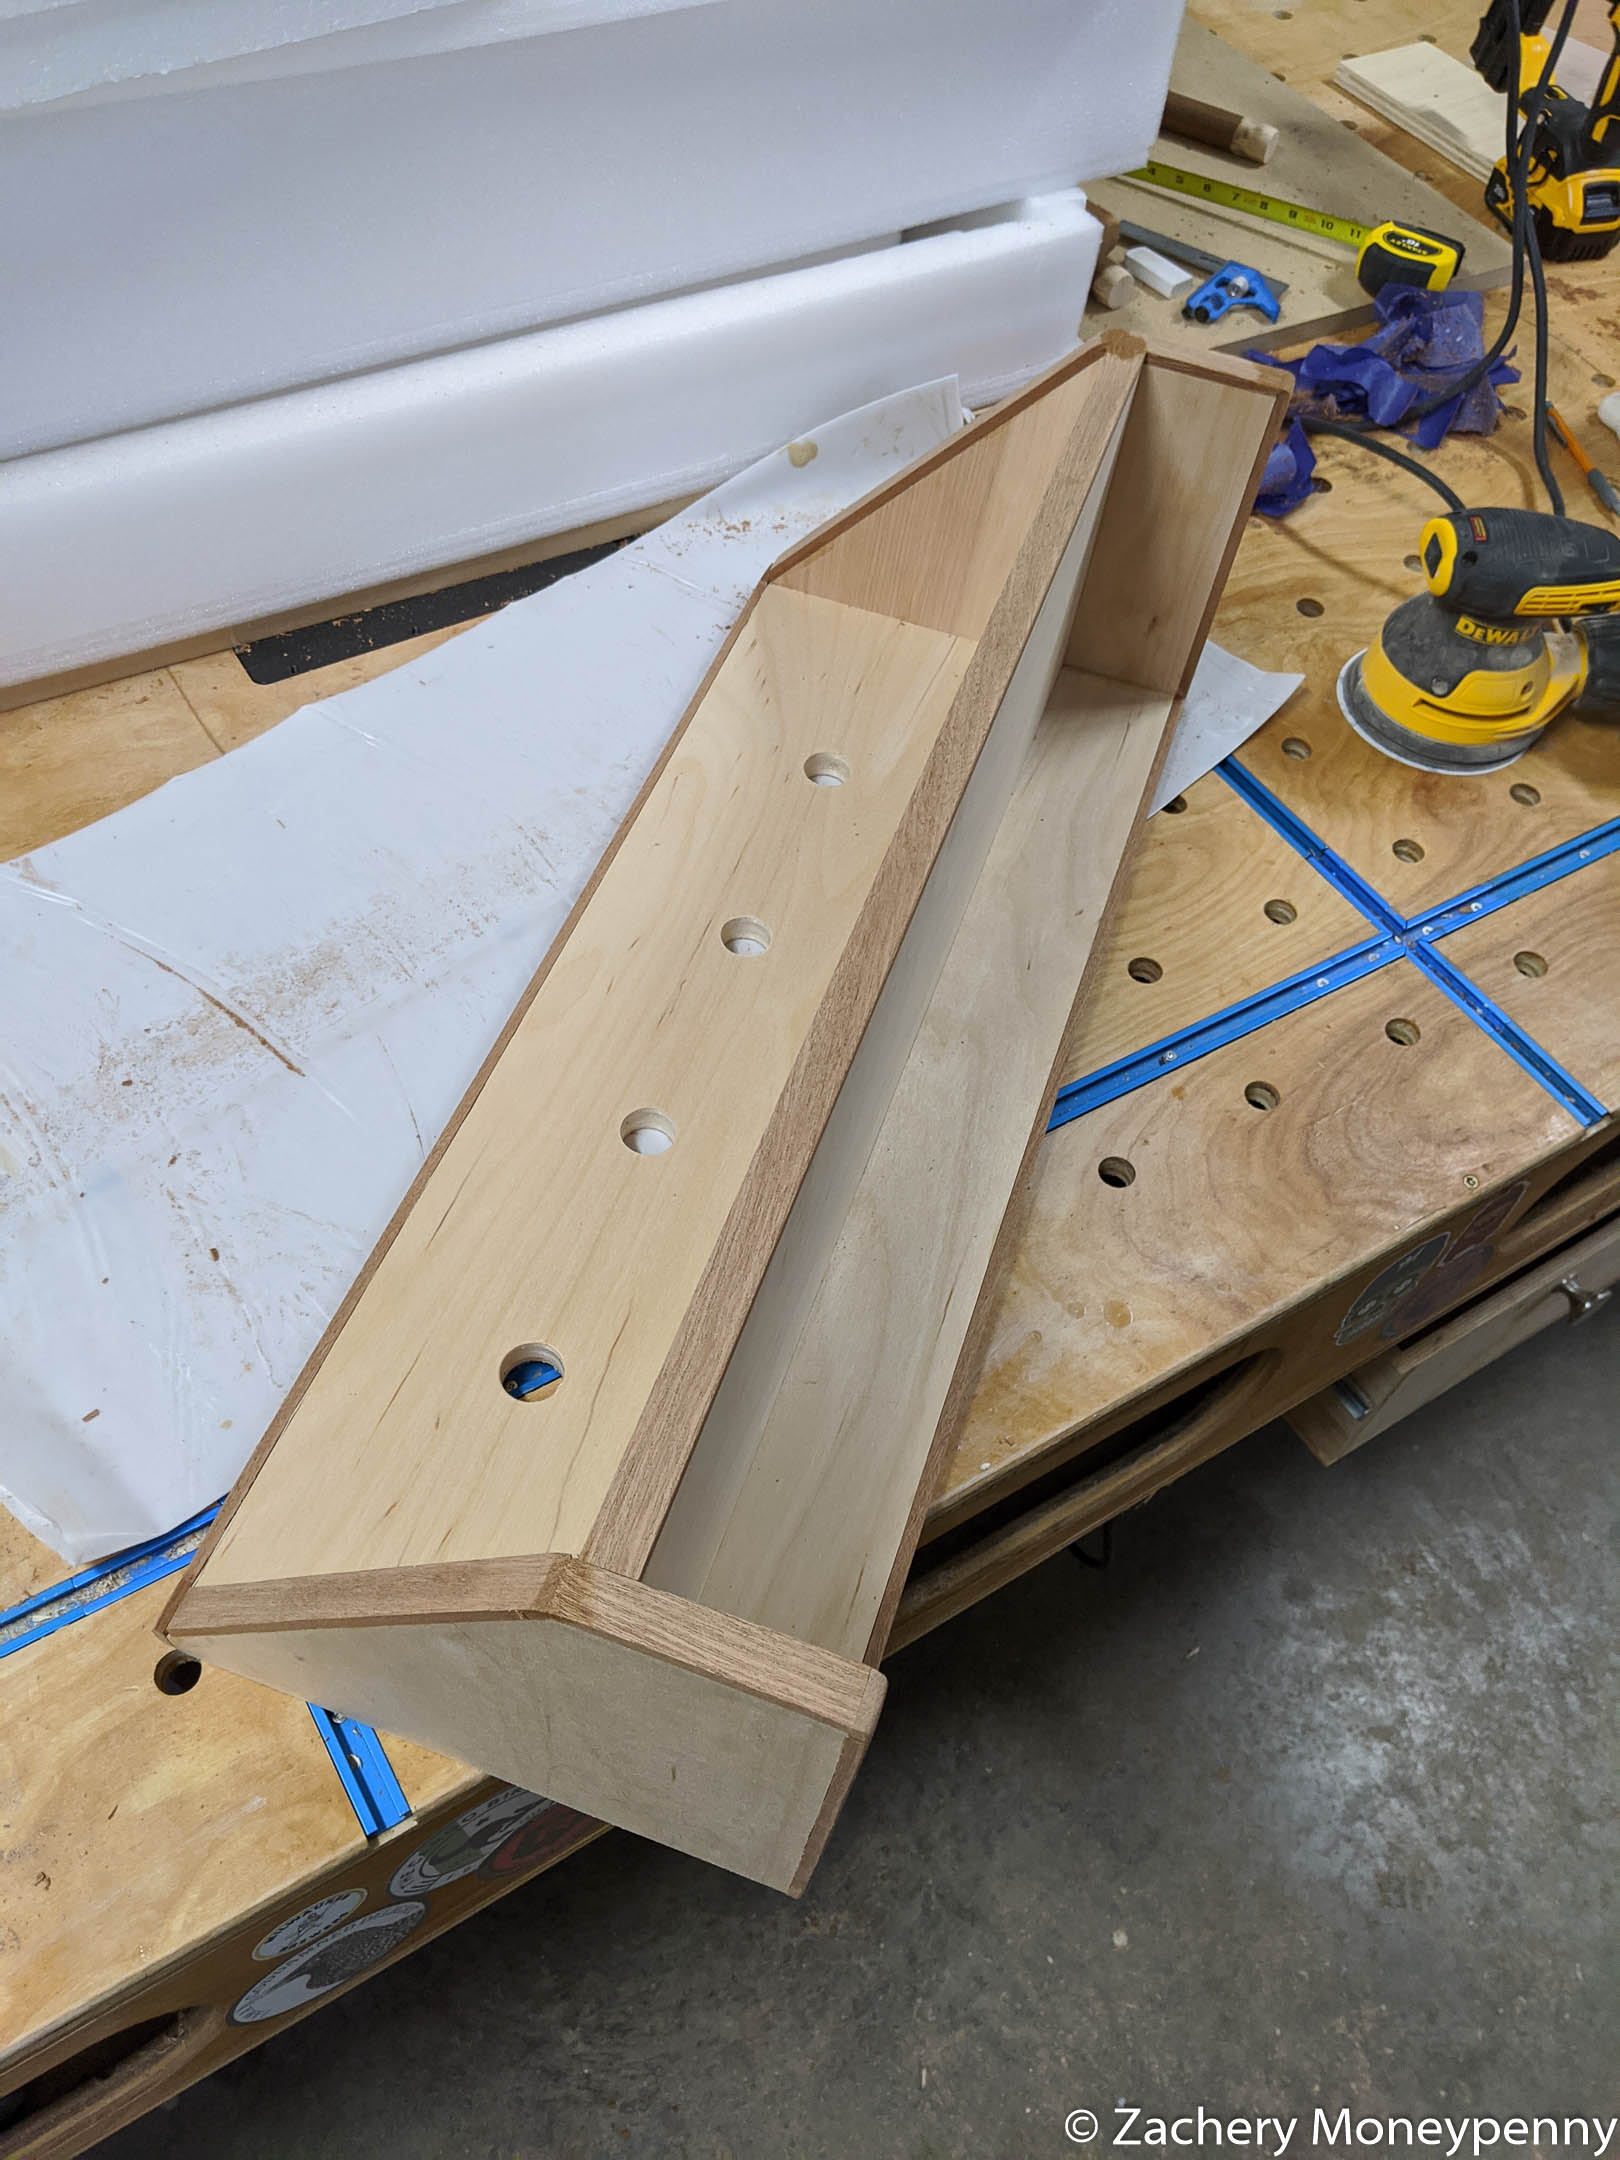
Fill loose joints and cracks with glue and sawdust
Before starting the sanding process, I mixed some glue and sapele sawdust
from cutting the trim to length with my dovetail saw and filled in anywhere
the banding did not meet flush. This worked great to hide some places where
my precision in cutting the banding wasn’t as high as I would have liked.
Glue in the rods
A few years ago someone gave my a couple of old closet rods. Over time I’ve
cut them to lengths at the bandsaw when I needed rods for hanging items in
the shop. This was an opportunity to nearly finish off that stock, but I
didn’t have enough to match them and the rods I had left were two different
diameters. I unfortunately didn’t find that out until I’d already drilled
holes of the smaller size across the bottom of the rack, and so I needed a
way to fit a 1½ inch rod into a 1⅛ inch hole. I ended up using my disc and
belt sanders to narrow one end of each rod until it fit in the hole, then
glued all four in, using a speed square to make sure each was perpendicular
to the base.
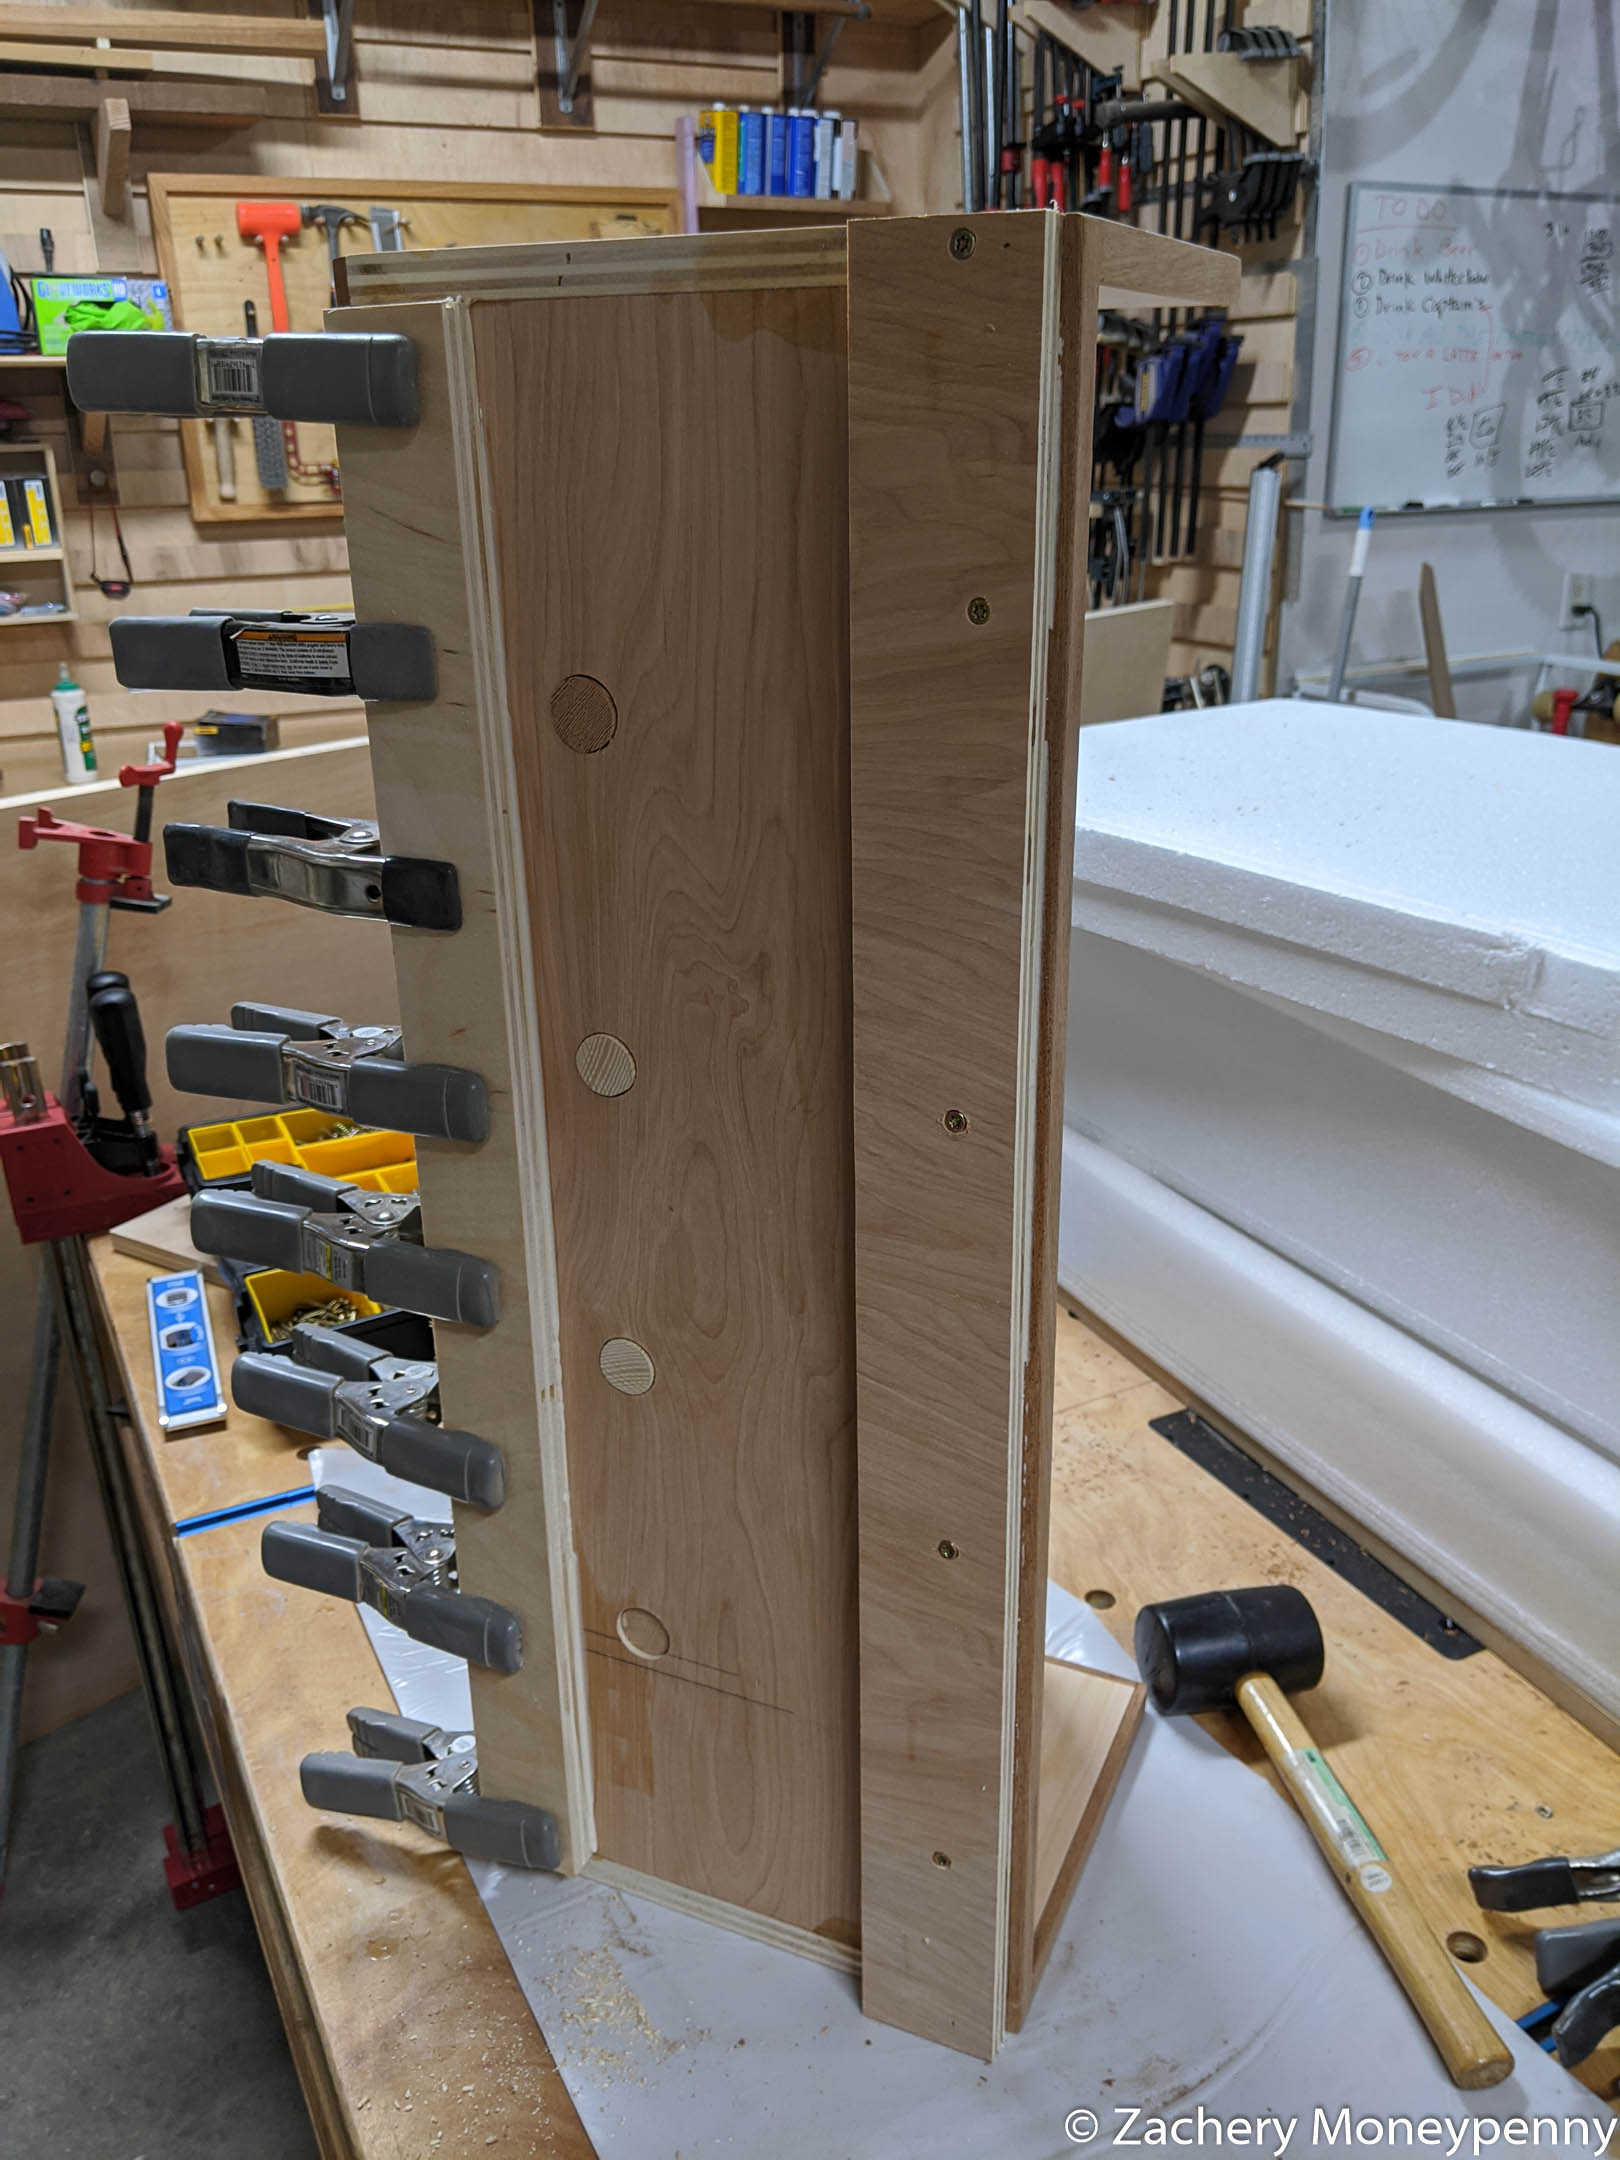
Attaching the cleat
Finally, I added a french cleat to the rear of the rack. Since my studs are
exposed in the basement, it would be easy to mount the wall side of the cleat
and then the rack could easily be hung. I liked that method because then it
would be easy to move around in the basement if we decide to fiddle with the
gym equipment layout.
Finish was shellac and then lacquer
I didn’t do a ton to finish this; I went with two coats of 1.5 pound cut
shellac and then a coat of spray lacquer over the top. Similar to the plyo
box I’m going to see how that holds up given its use in the basement and if
I need to beef up the layers of finish I can take it back in the shop and hit
it again.
Hung next to the deadlift platform in the basement
And that’s it! Each of these items was a one-day build in and of themselves,
and I was able to turn that extra sheet of plywood into some functional
additions to our home gym! Coming soon: EZ curl bar rack made out of
laminated ½” plywood I have in the shop!
It’s the middle of January but things are going really well and let’s start
blogging regularly again!
What’s Changed?
Professionally I’ve moved from Mobile
Doorman to Cars.com. I’m
excited to be working on a high-traffic Elixir site— I’d previously
only worked on it for a small experimental project. Plus lots of folks I work
with are transferring over from a Ruby career, and I’m eager to see training
and adoption of a functional language at scale.
Since about mid-November I’m back on the keto train as well. It was
refreshing to lose 10 pounds between Thanksgiving and New Year’s instead of
gaining 10, and it’s been a helluva lot easier doing it with my wife along
for the ride since I no longer have to make two different dinners every
night.
On a related note, I’m working back into olympic weightlifting again. Still
rediscovering my form and working up slowly in weight, but the change to
working from home has helped immensely in my ability to get into the (home)
gym regularly. In particular, I used to fail because something would be
happening in the morning and I’d have to miss a workout without the ability
to make it up, which left me frustrated and demotivated over time. Now I can
flex my workout in the morning before work, over lunch or at the end of the
day before the family is back from work/day care and it’s been great!
What’s Next?
I’ll have a post coming up about a few utilitarian woodworking projects to
enhance my home gym, and then some musings about getting back on the horse
working on those adirondack chairs as well as some video gaming.
See back here at the end of the week!
PS- Here have this tweet.
My son just sang the lyric "drivin down Rodeo in my mozzarella sports car" and honestly? I'm into it.