Building a standalone router table.
In my recent plans to organize the shop was a project to pull the router lift out of my 4’ x 8’ assembly table and drop it into a dedicated, smaller router table.
Waaaay back in the beginning of building out my shop I made two simple work tables from a single sheet of plywood, per the Jay Bates/Nick Ferry/April Wilkerson collaboration video below.
These were very useful for a long time- they were home to, over the years, my spindle and belt sanders, my small drill press and bandsaw, and as a general work table to set junk on. Early on I tried my hand at making drawers for them and… the drawers did not turn out well. Like, they were sorta functional in a way that drawers should be but the dimensions were bad and I don’t think they were square. Lots of binding and stickiness to them.
The new plan was to disassemble one of the work tables completely and recover the hardware (drawer slides and casters) and turn the other one into a dedicated router table.
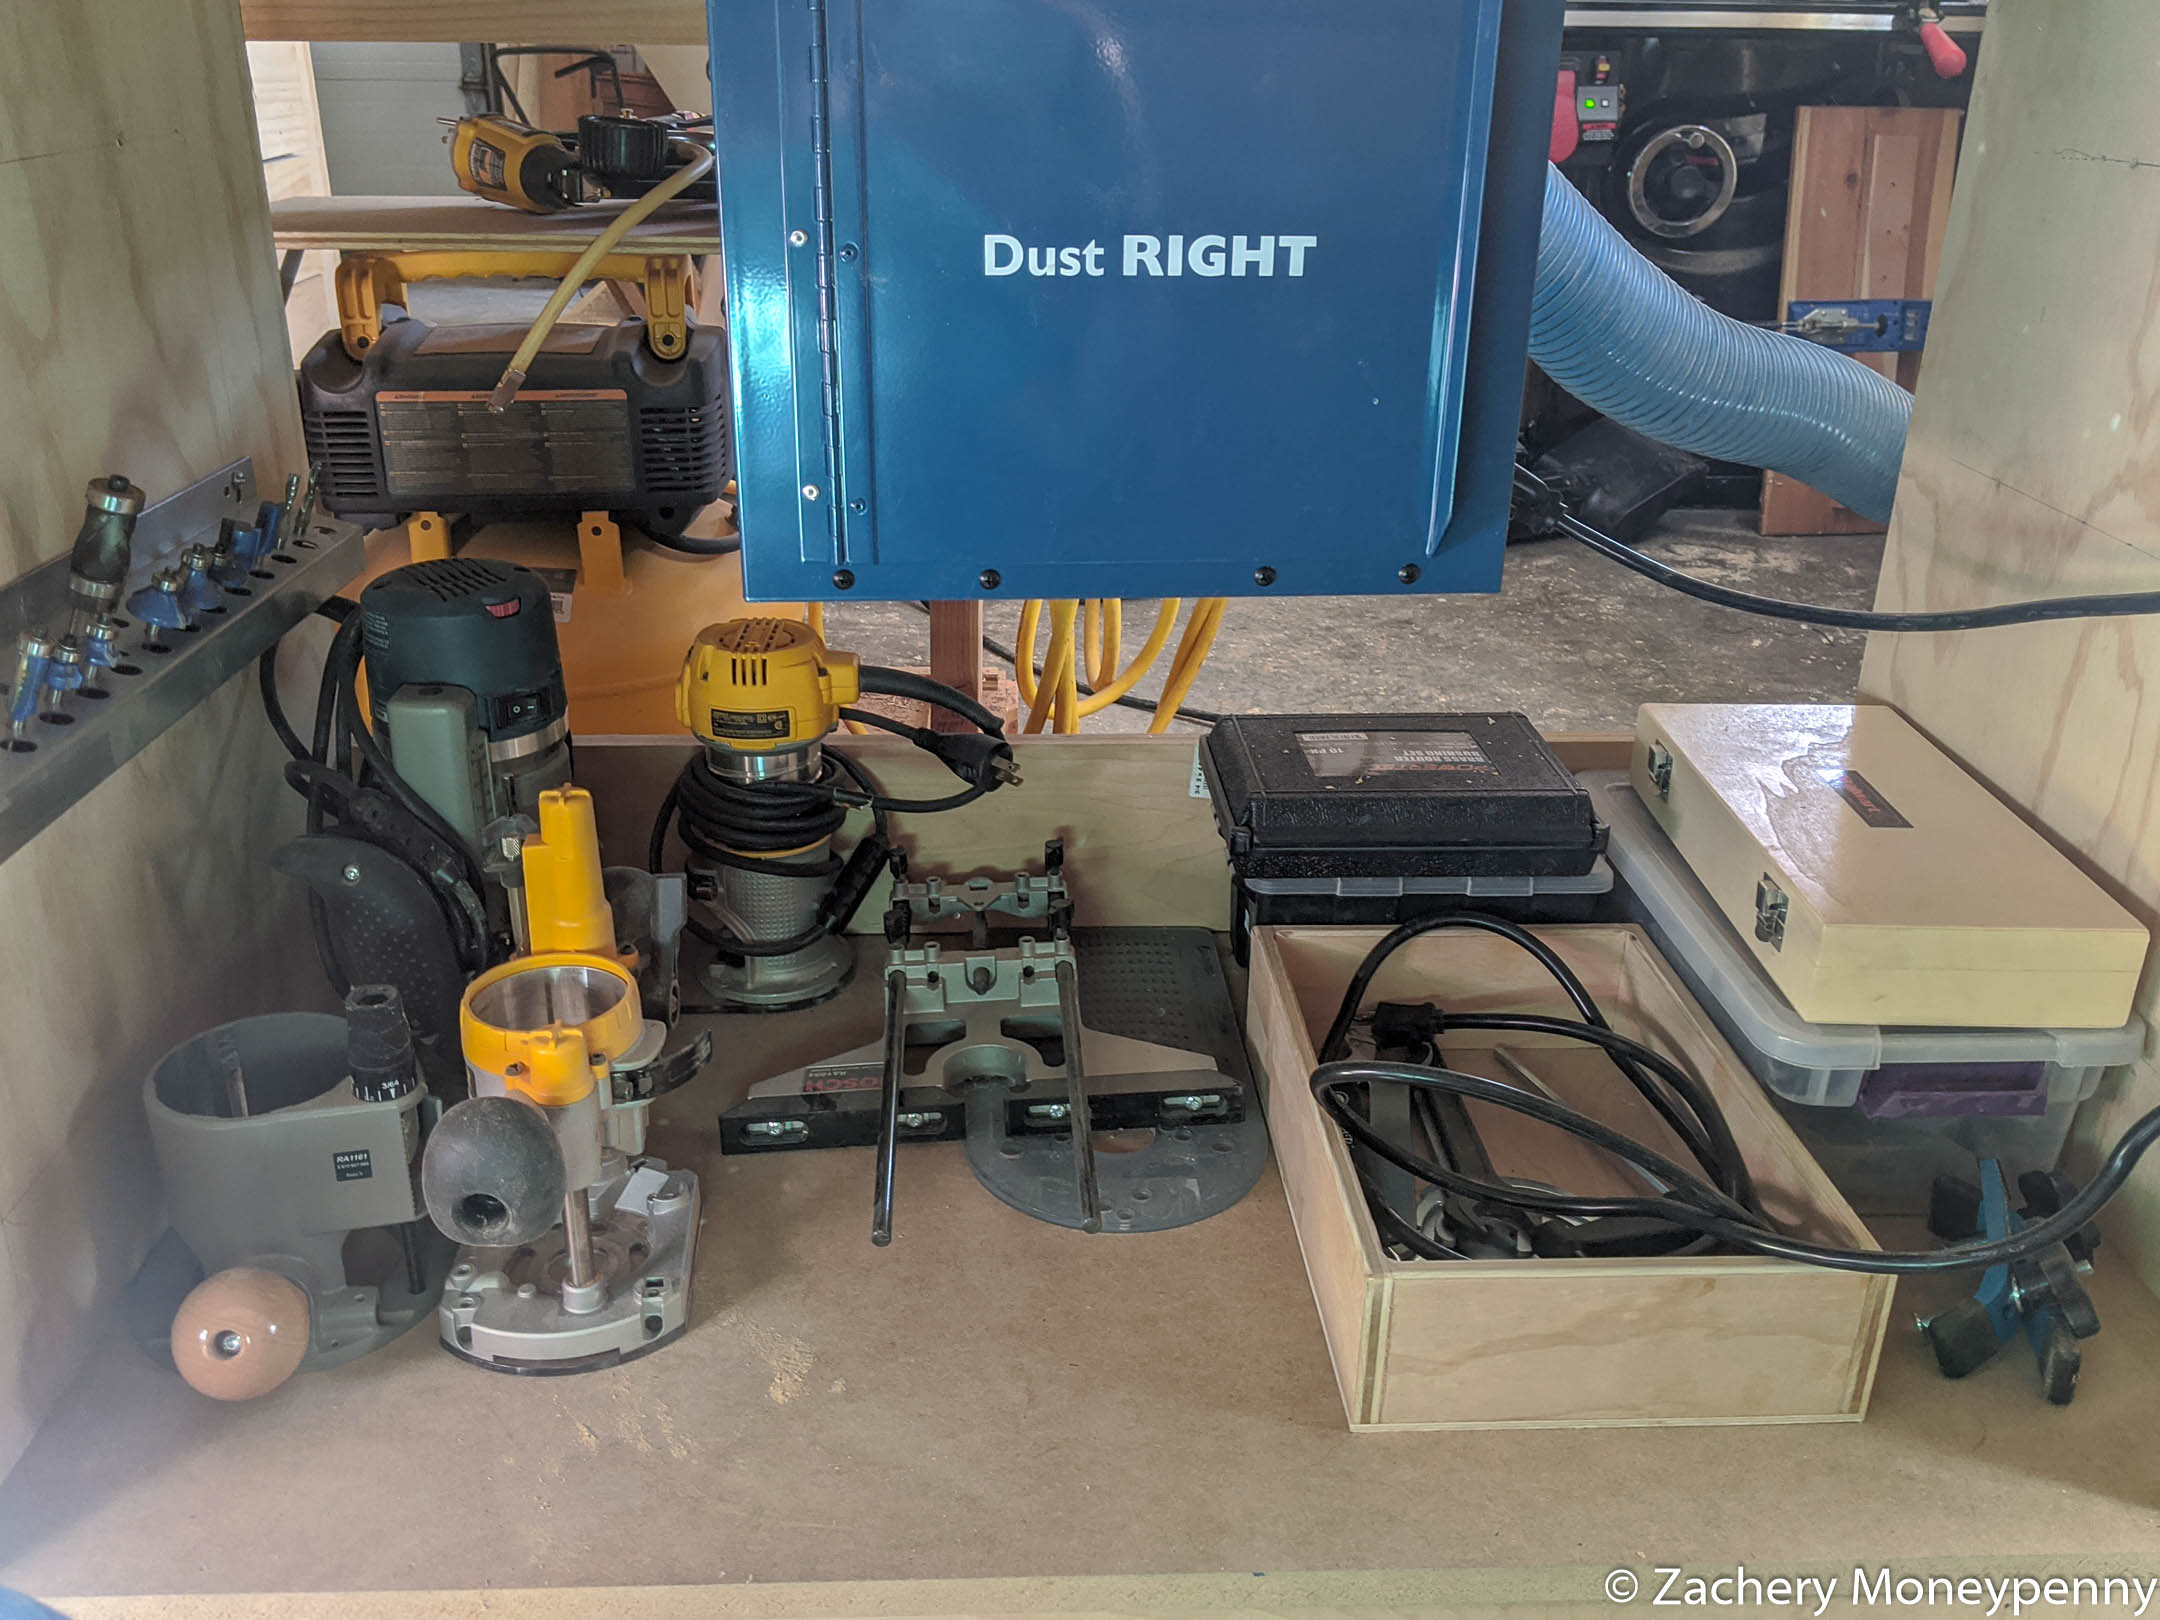
Step 1: Remove drawers
I started by removing the ill-constructed drawers from the table, recovering the drawer slides for an upcoming outfeed table build. One of the drawers was a gigantic one I stored all my finishes in, and I’m thinking of “deconstructing” the drawer itself with a reciprocating saw to reclaim and reuse the large plywood panels.
This opened a bunch of space on the lower shelf for storing all my routers and router accessories, both for the beefy Porter-Cable router in the lift as well as for my palm and plunge routers. I’m incredibly excited to be able to store all this stuff in one place, as before it was spread all around my shop in various places.
Step 2: Beef up the Top
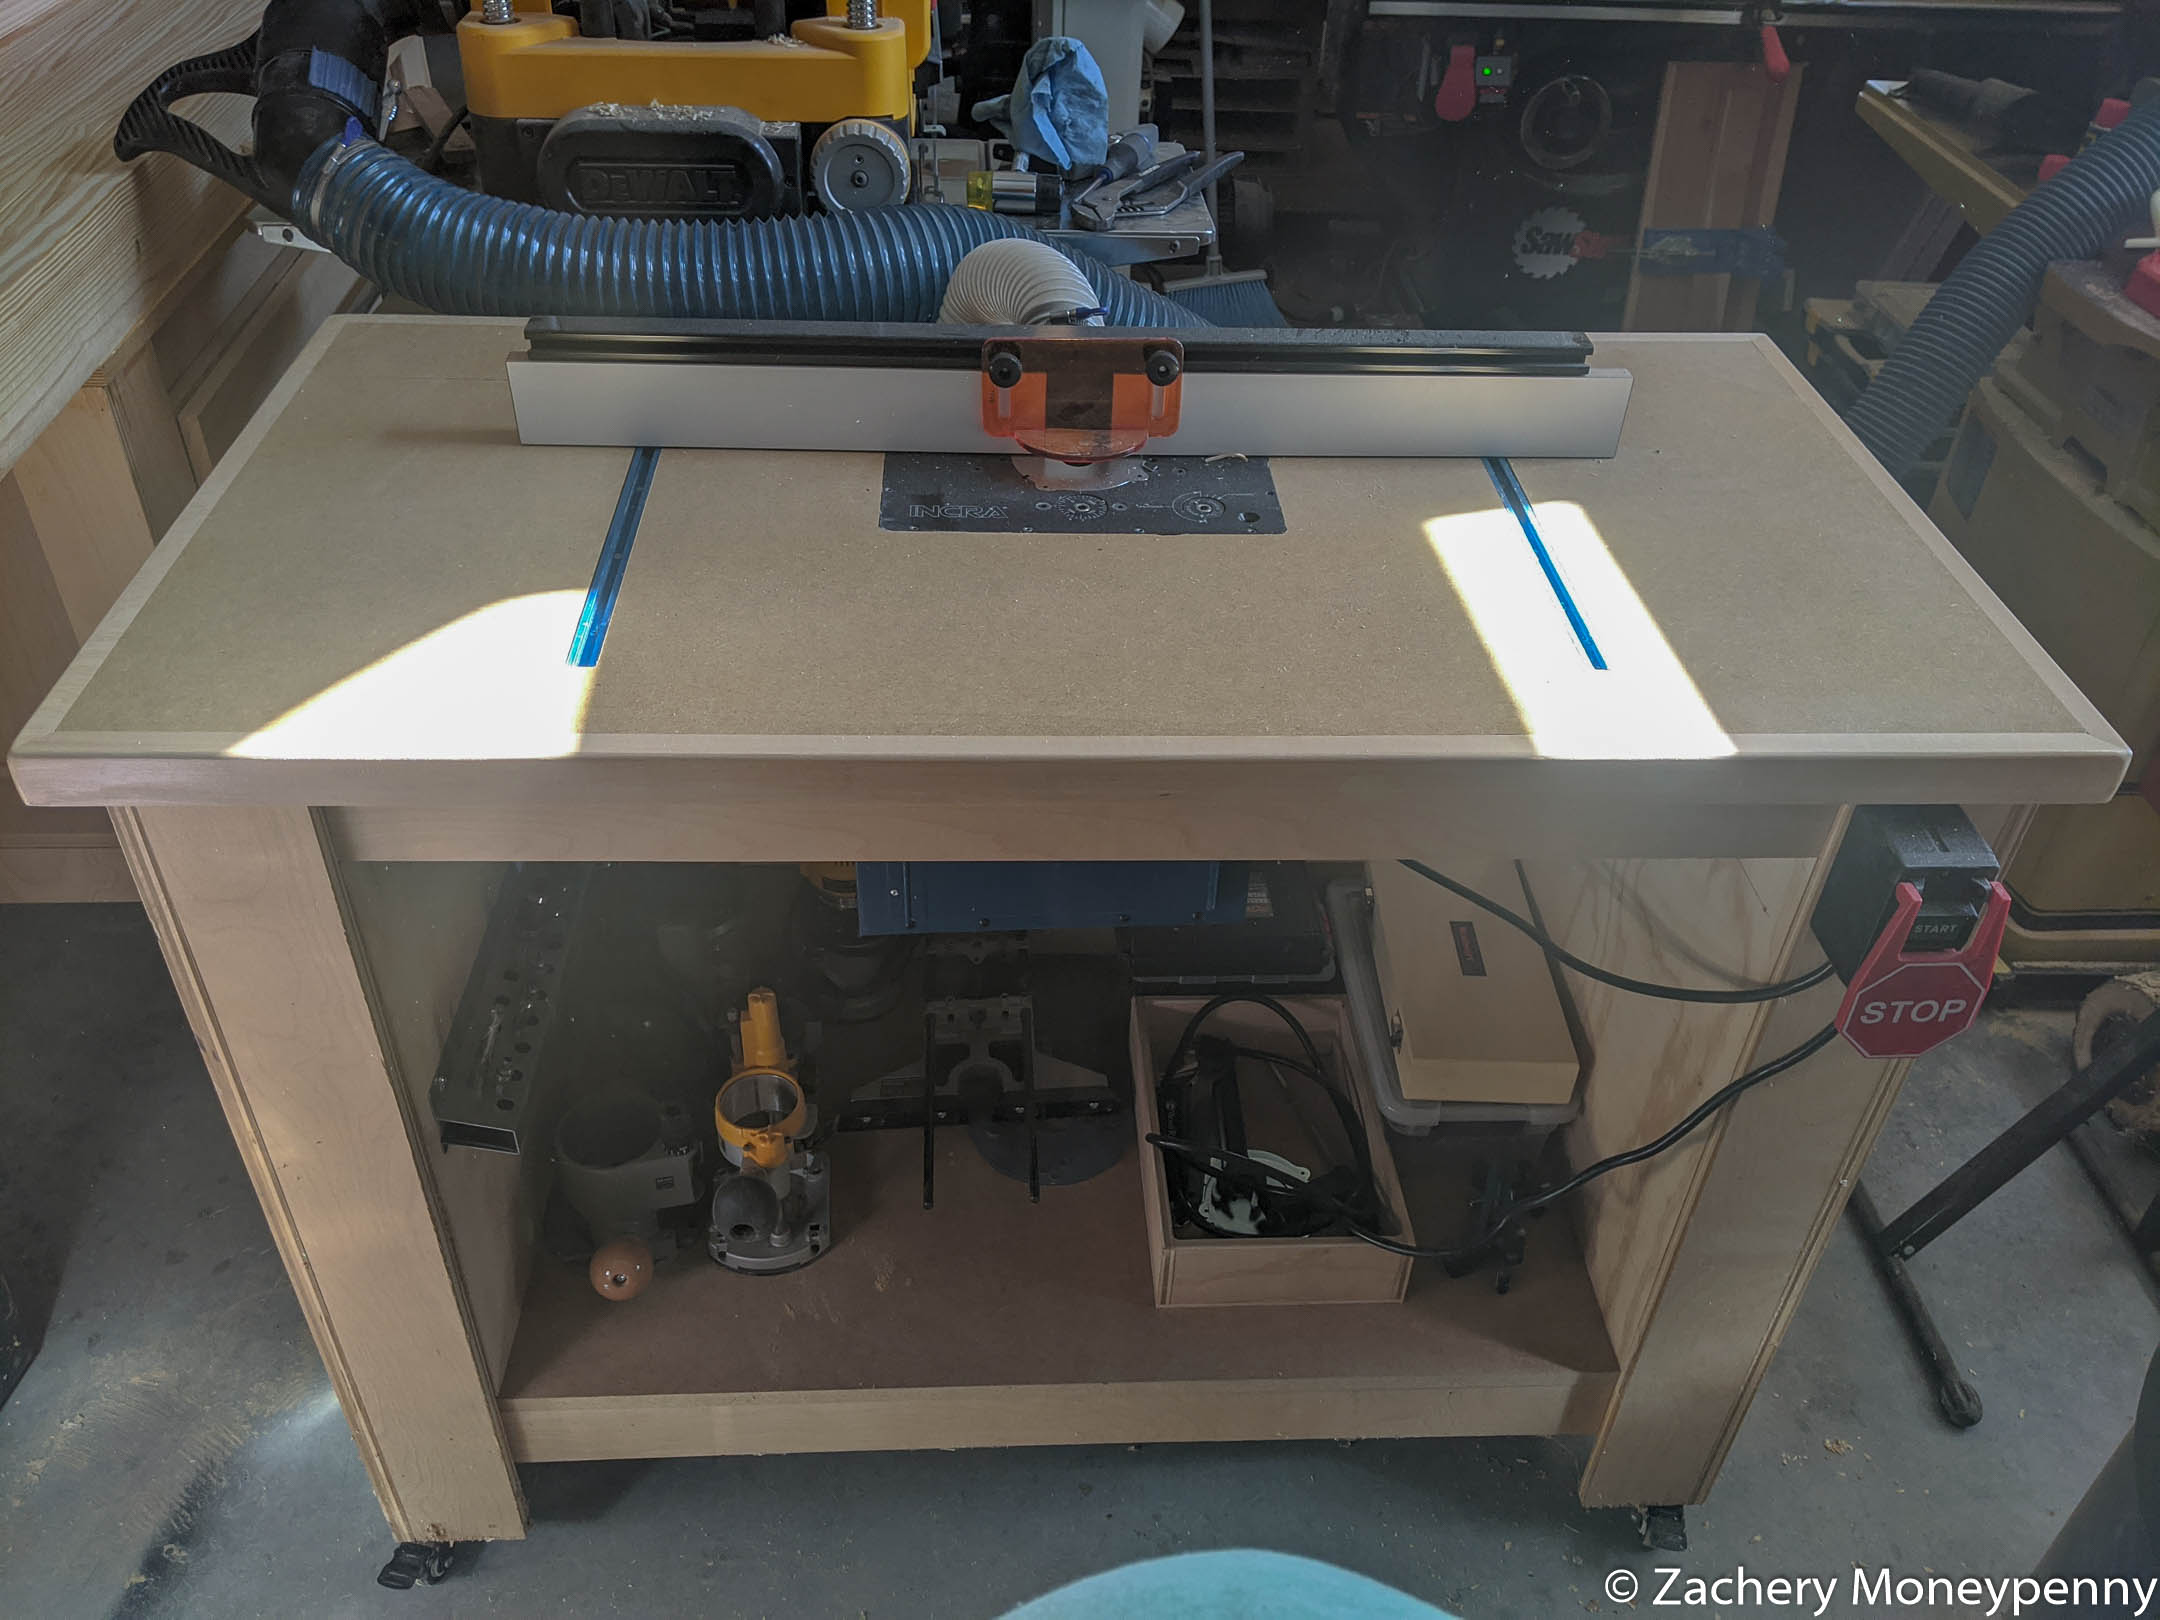
The top was already ¾” MDF. The lesson I learned from dropping the lift into the ¾” plywood top of the assembly table was that it wasn’t enough thickness—the lift was held down on a very thin remaining shelf of plywood. I had some extra MDF from the countertop of the shop cabinets I built last fall, so I jigsaw-pieced it into a 1½” thick top.
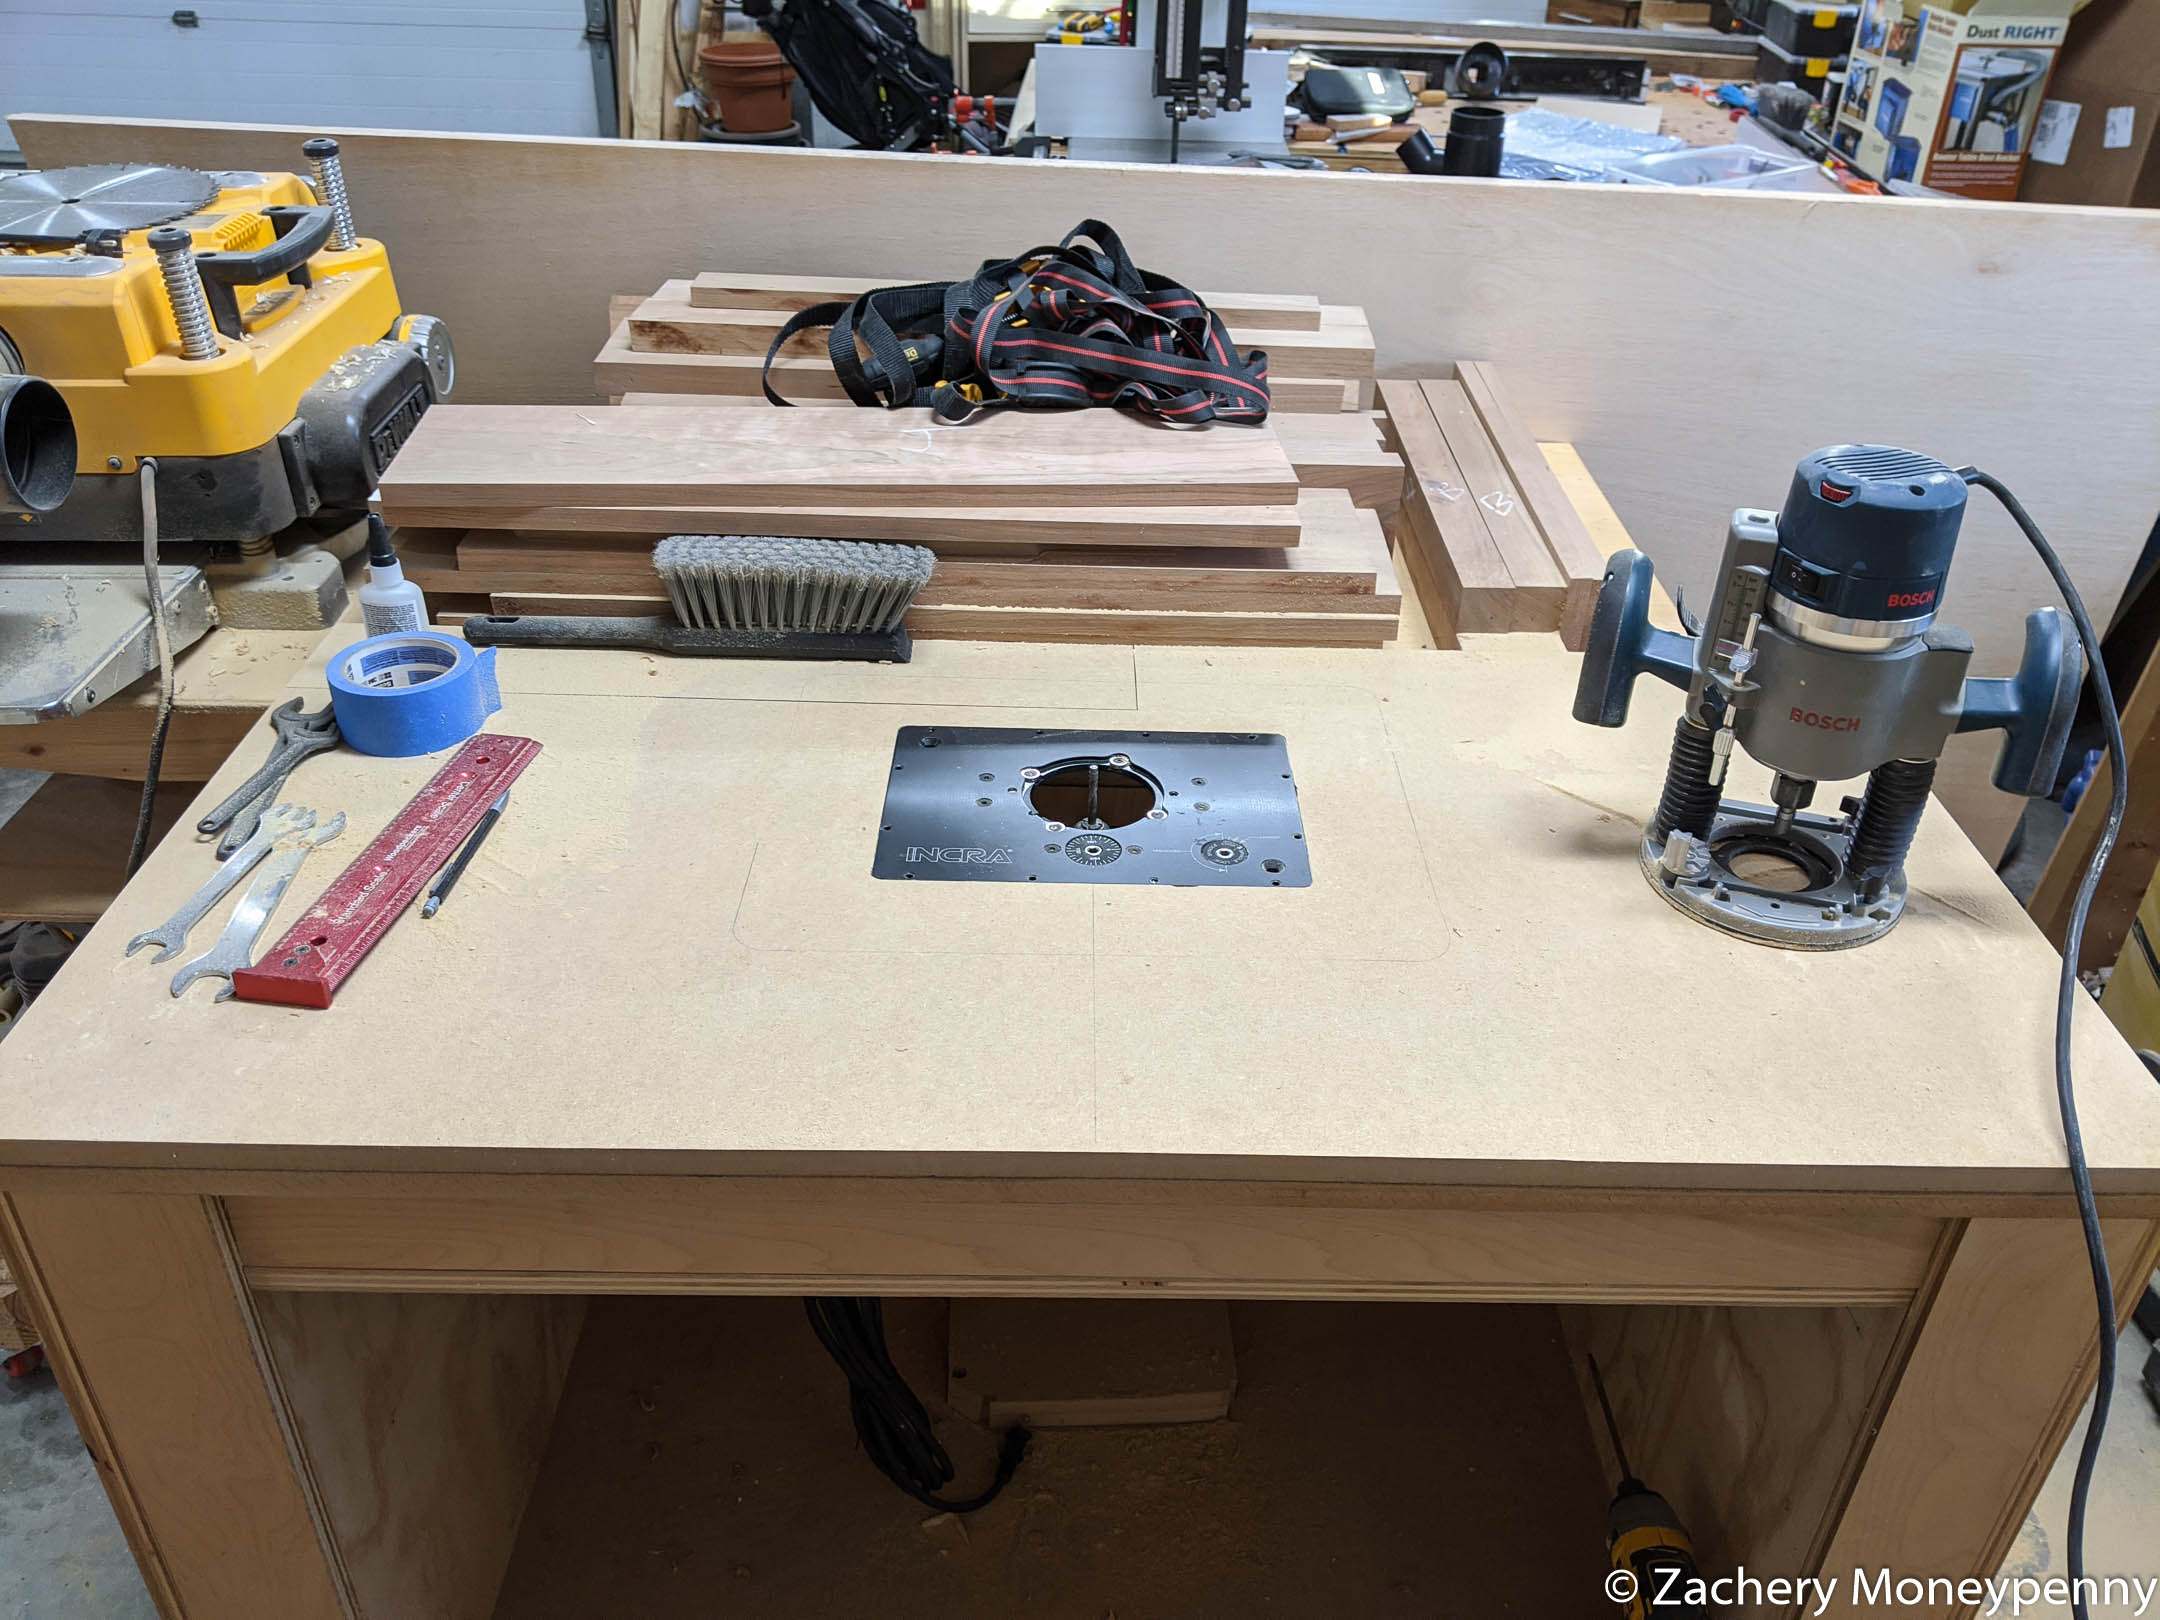
Step 3: Cut Router Lift Hole
My router lift template became near-useless from accidentally cutting into it with the bit. The hole ended up being relatively good looking. I went slightly deeper than necessary so that I could use the leveling set screws to bring it into perfect alignment with the table surface.
Step 4: Add Trim
I had some extra ¾” basswood from some cutting boards I made for gifts over the holidays, and so I cut it into 1½” strips to use as edge banding on the table. I mitered the corners for a nice look, and then hit it with a roundover router bit in the palm router. More sanding and things were looking really good.
Once the trim was on, I could also attached the Stop/Start paddle to the front of the table.
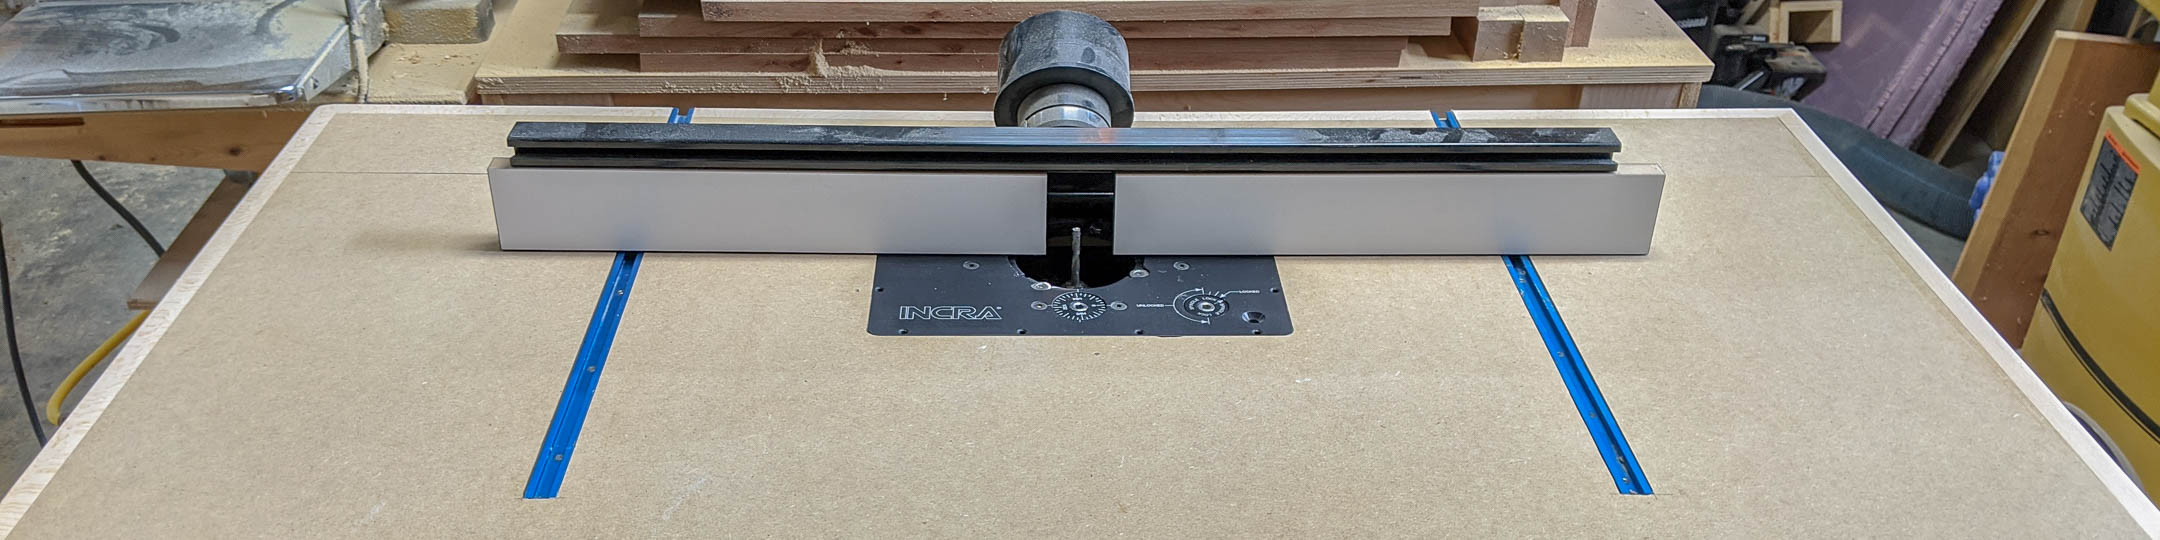
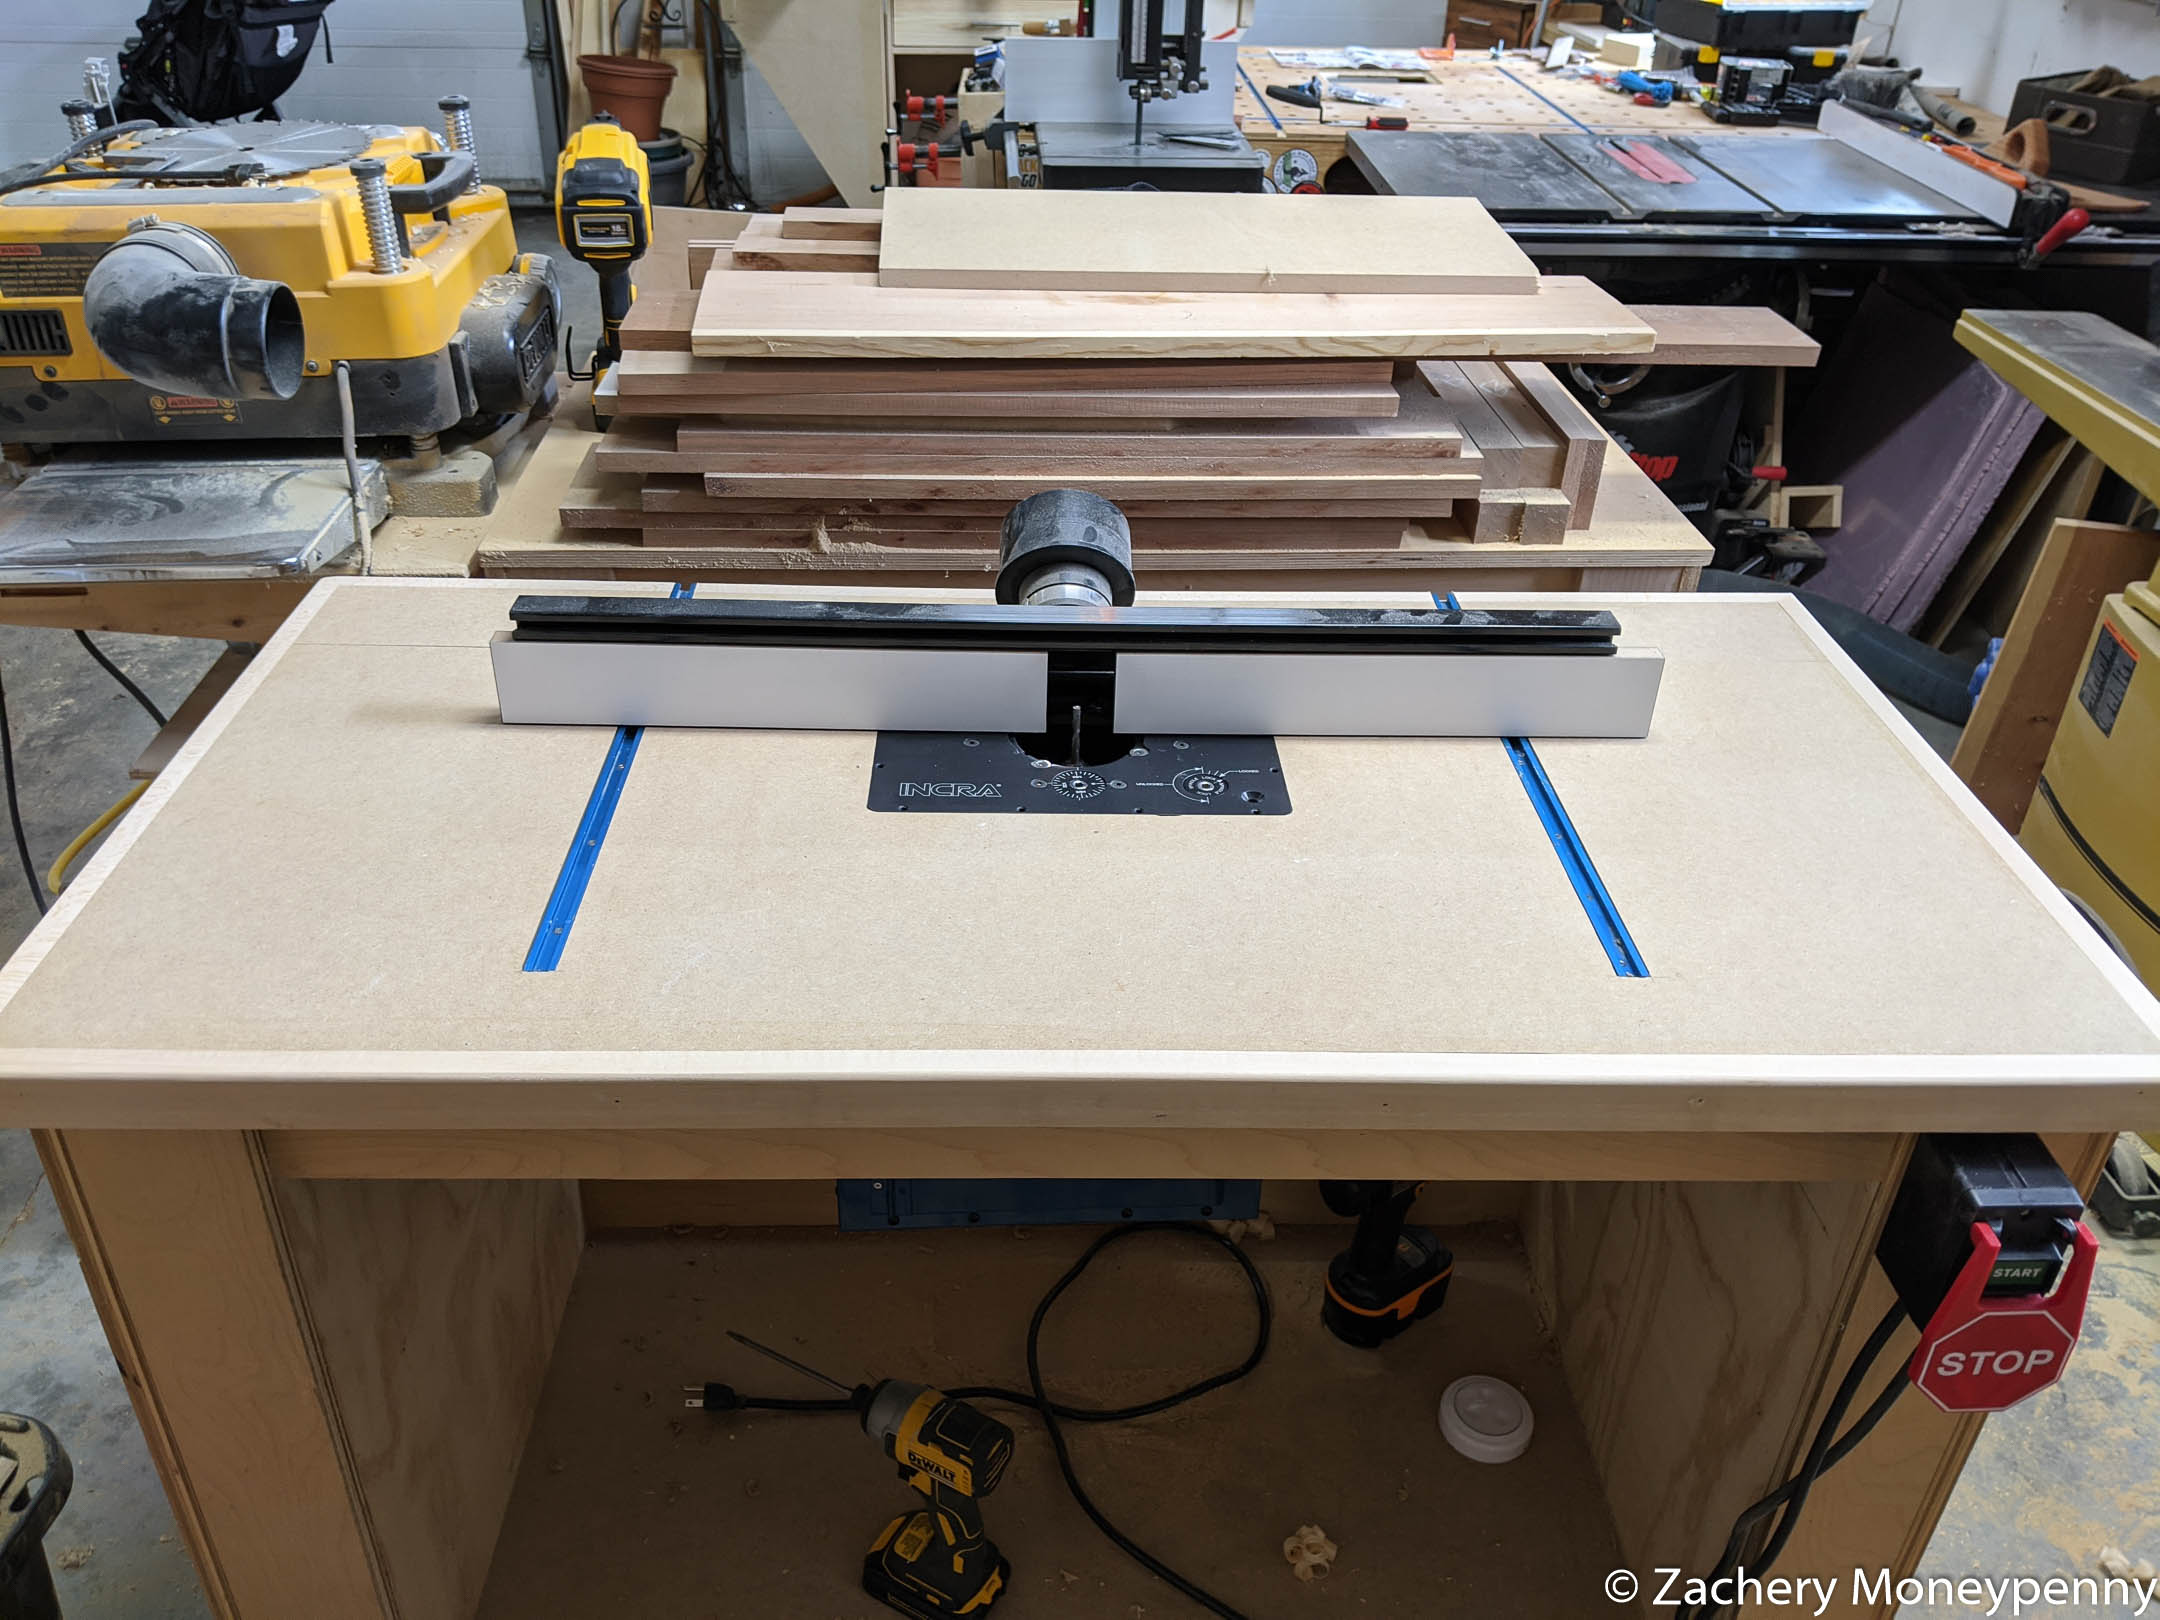
Step 5: Route Dados for T-Track
Next up I had to route the dados in the top to accept the T-tracks that the router fence would ride in. It was fairly uneventful, with the added note that I should really get a ¾” straight bit for routing dados for things like T-track and to accept plywood thicknesses.
Step 6: Assemble Dust Box
Dust collection for the router lift embedded in the assembly table was never good. I hooked up my Dust Right quick connect hose to the fence, but 100% of the dust and chips that fell below the table just collected in a pile I’d have to suck up every so often.
I was determined to get better dust management for the new table, so I picked up a Rockler Dust Bucket to manage the dust and chip situation under neath the lift. It went together easy, but was not the easiest thing to get attached underneath the table. Once installed, however, it’s been fantastic. I can quick connect my hose to the back, and from there I get 2-in-1 suction both from the fence and from below the table.
Step 7: Finish
Finally, I wanted to get a nice finish on there. I ended up putting four coats of water-based polyurethane over the op, once I’d taped off the t-tracks and router lift surface. I gave a light sanding after the third coat and then some steel wool after the 4th coat.
Up and Running
I’ve already used the table to do some flush trimming of some small tool trays I’d made a long time ago but never refined or finished- I’d just been throwing wrenches and screwdrivers in there. It was a delight to use, and I’m looking forward to using the table with my new monster flush trim bit on some templated pieces.