The Great Cleanout begins, and the End of an Era.
Assembly Table Boogaloo
The king is dead, long live the king!
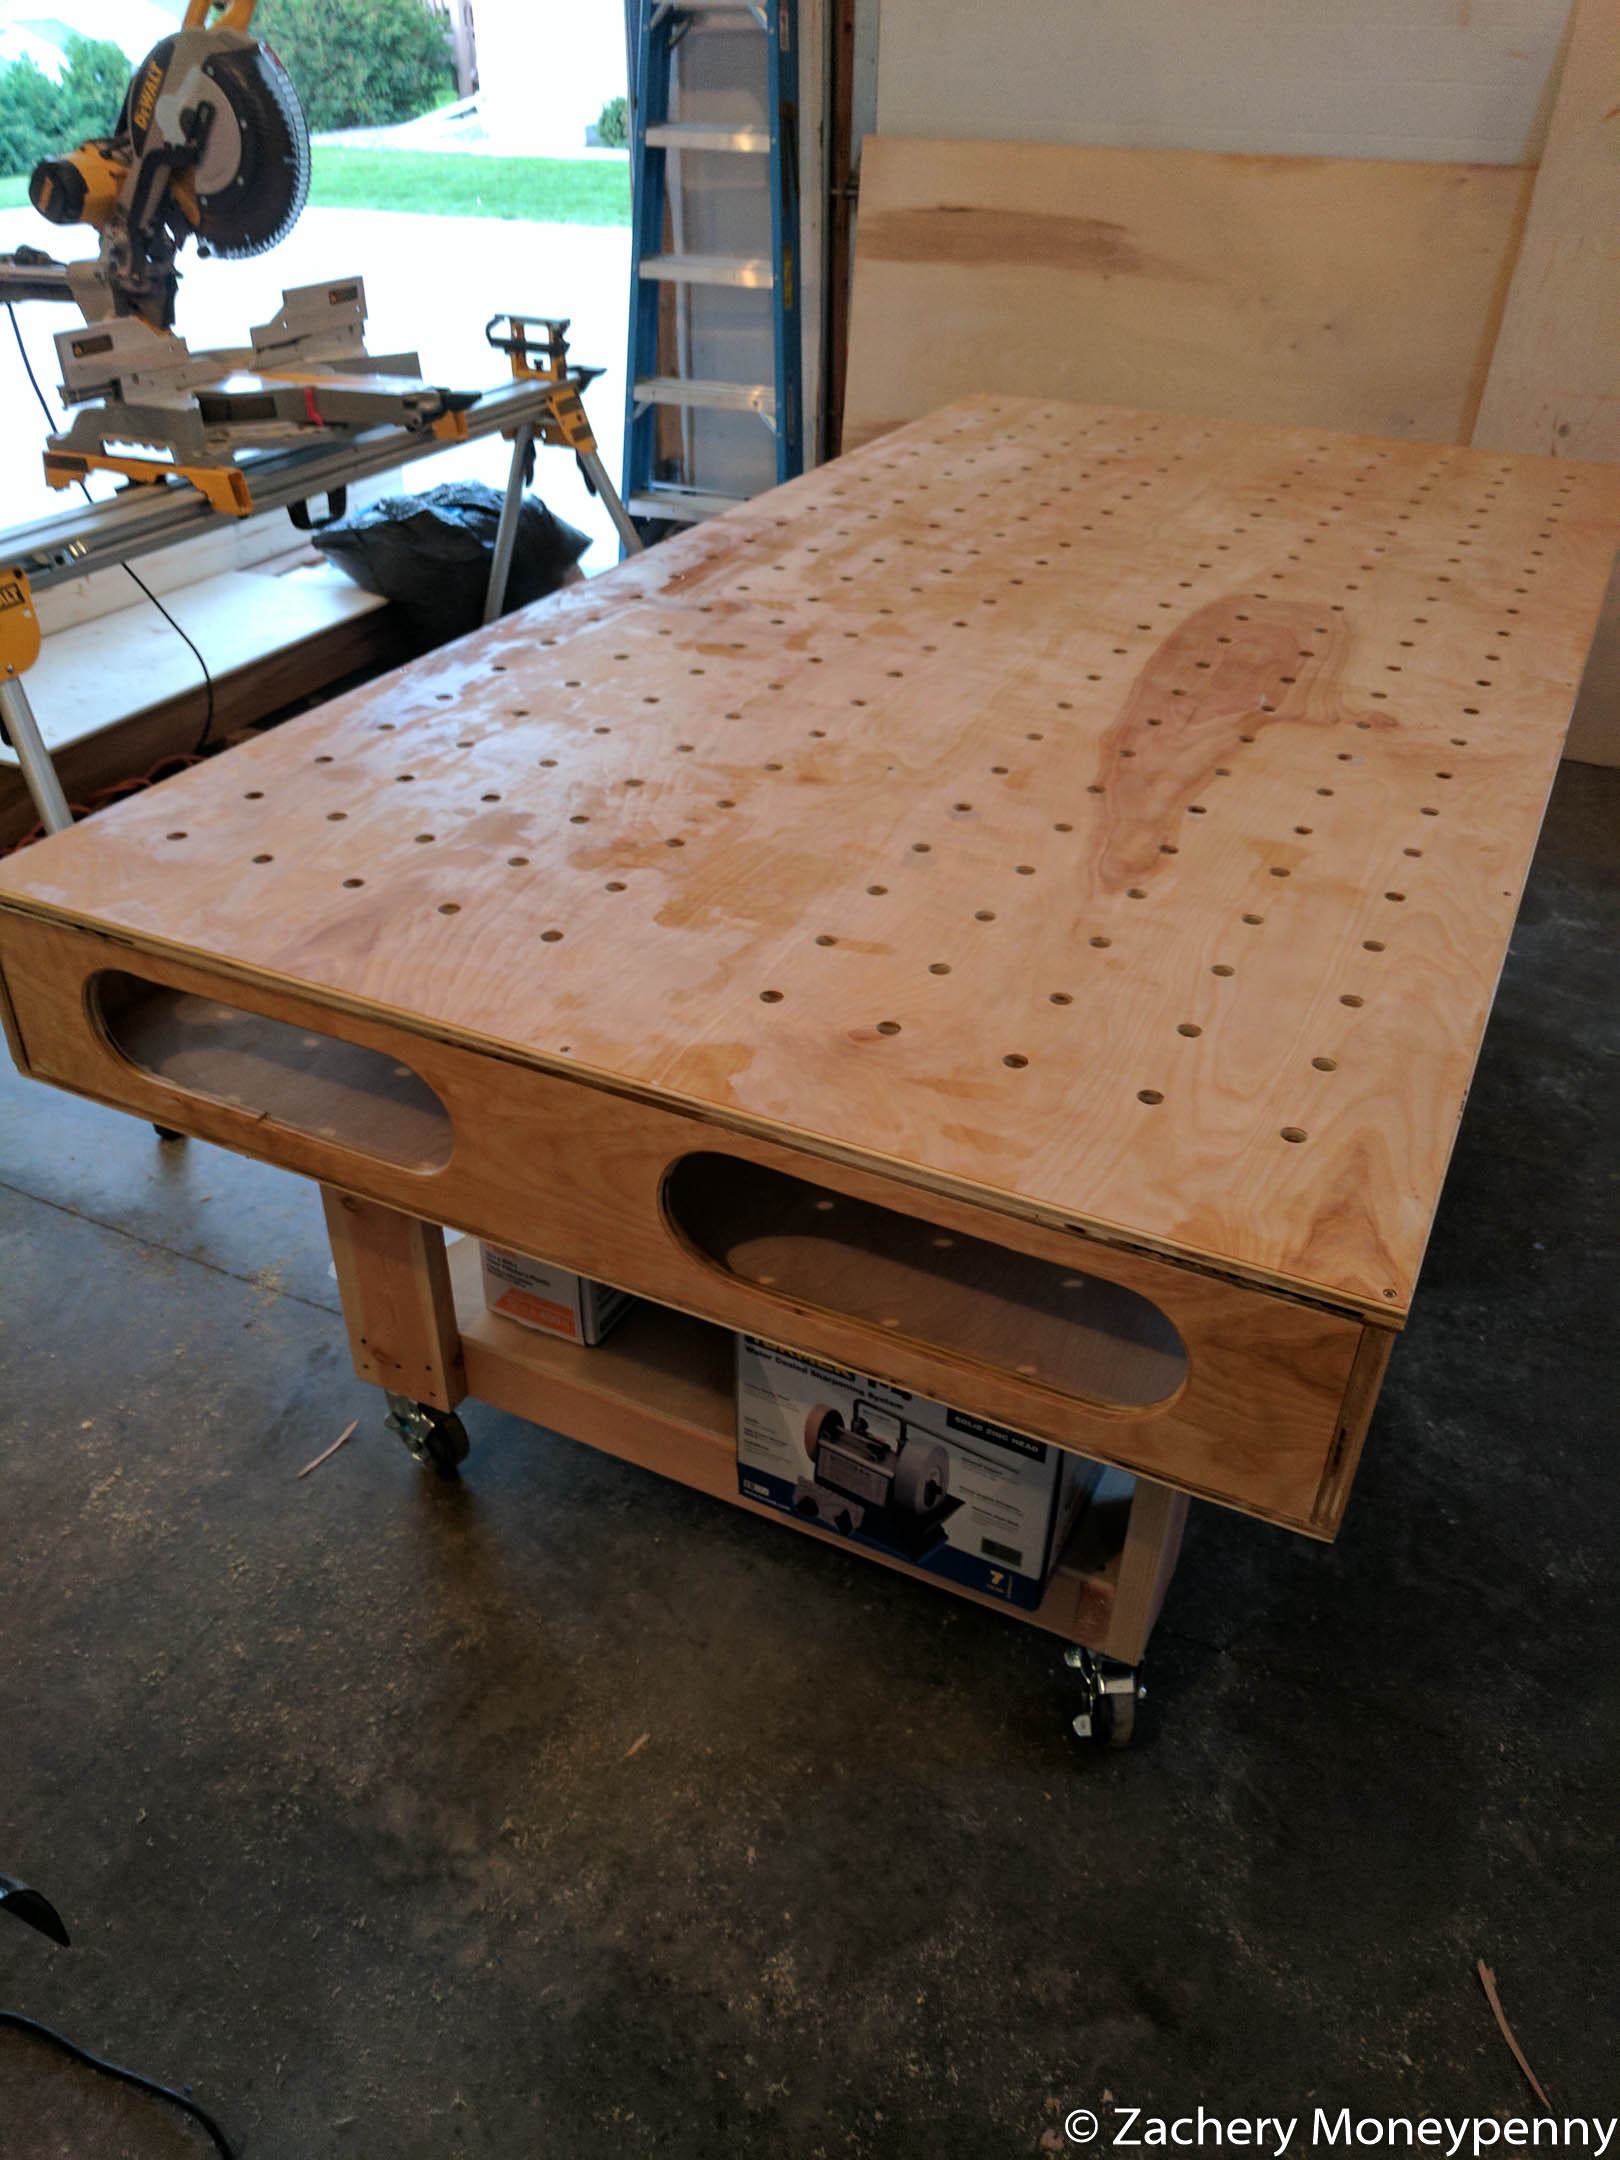
In July 2017 I built the entire modified paulk workbench in a single day. It almost killed me, and I had considerable help from a friend, but I did it. I was so excited to have all that yummy work space to start building things on so I just kept pressing forward.
Now, two and a half years later, I have disassembled it to parts again.
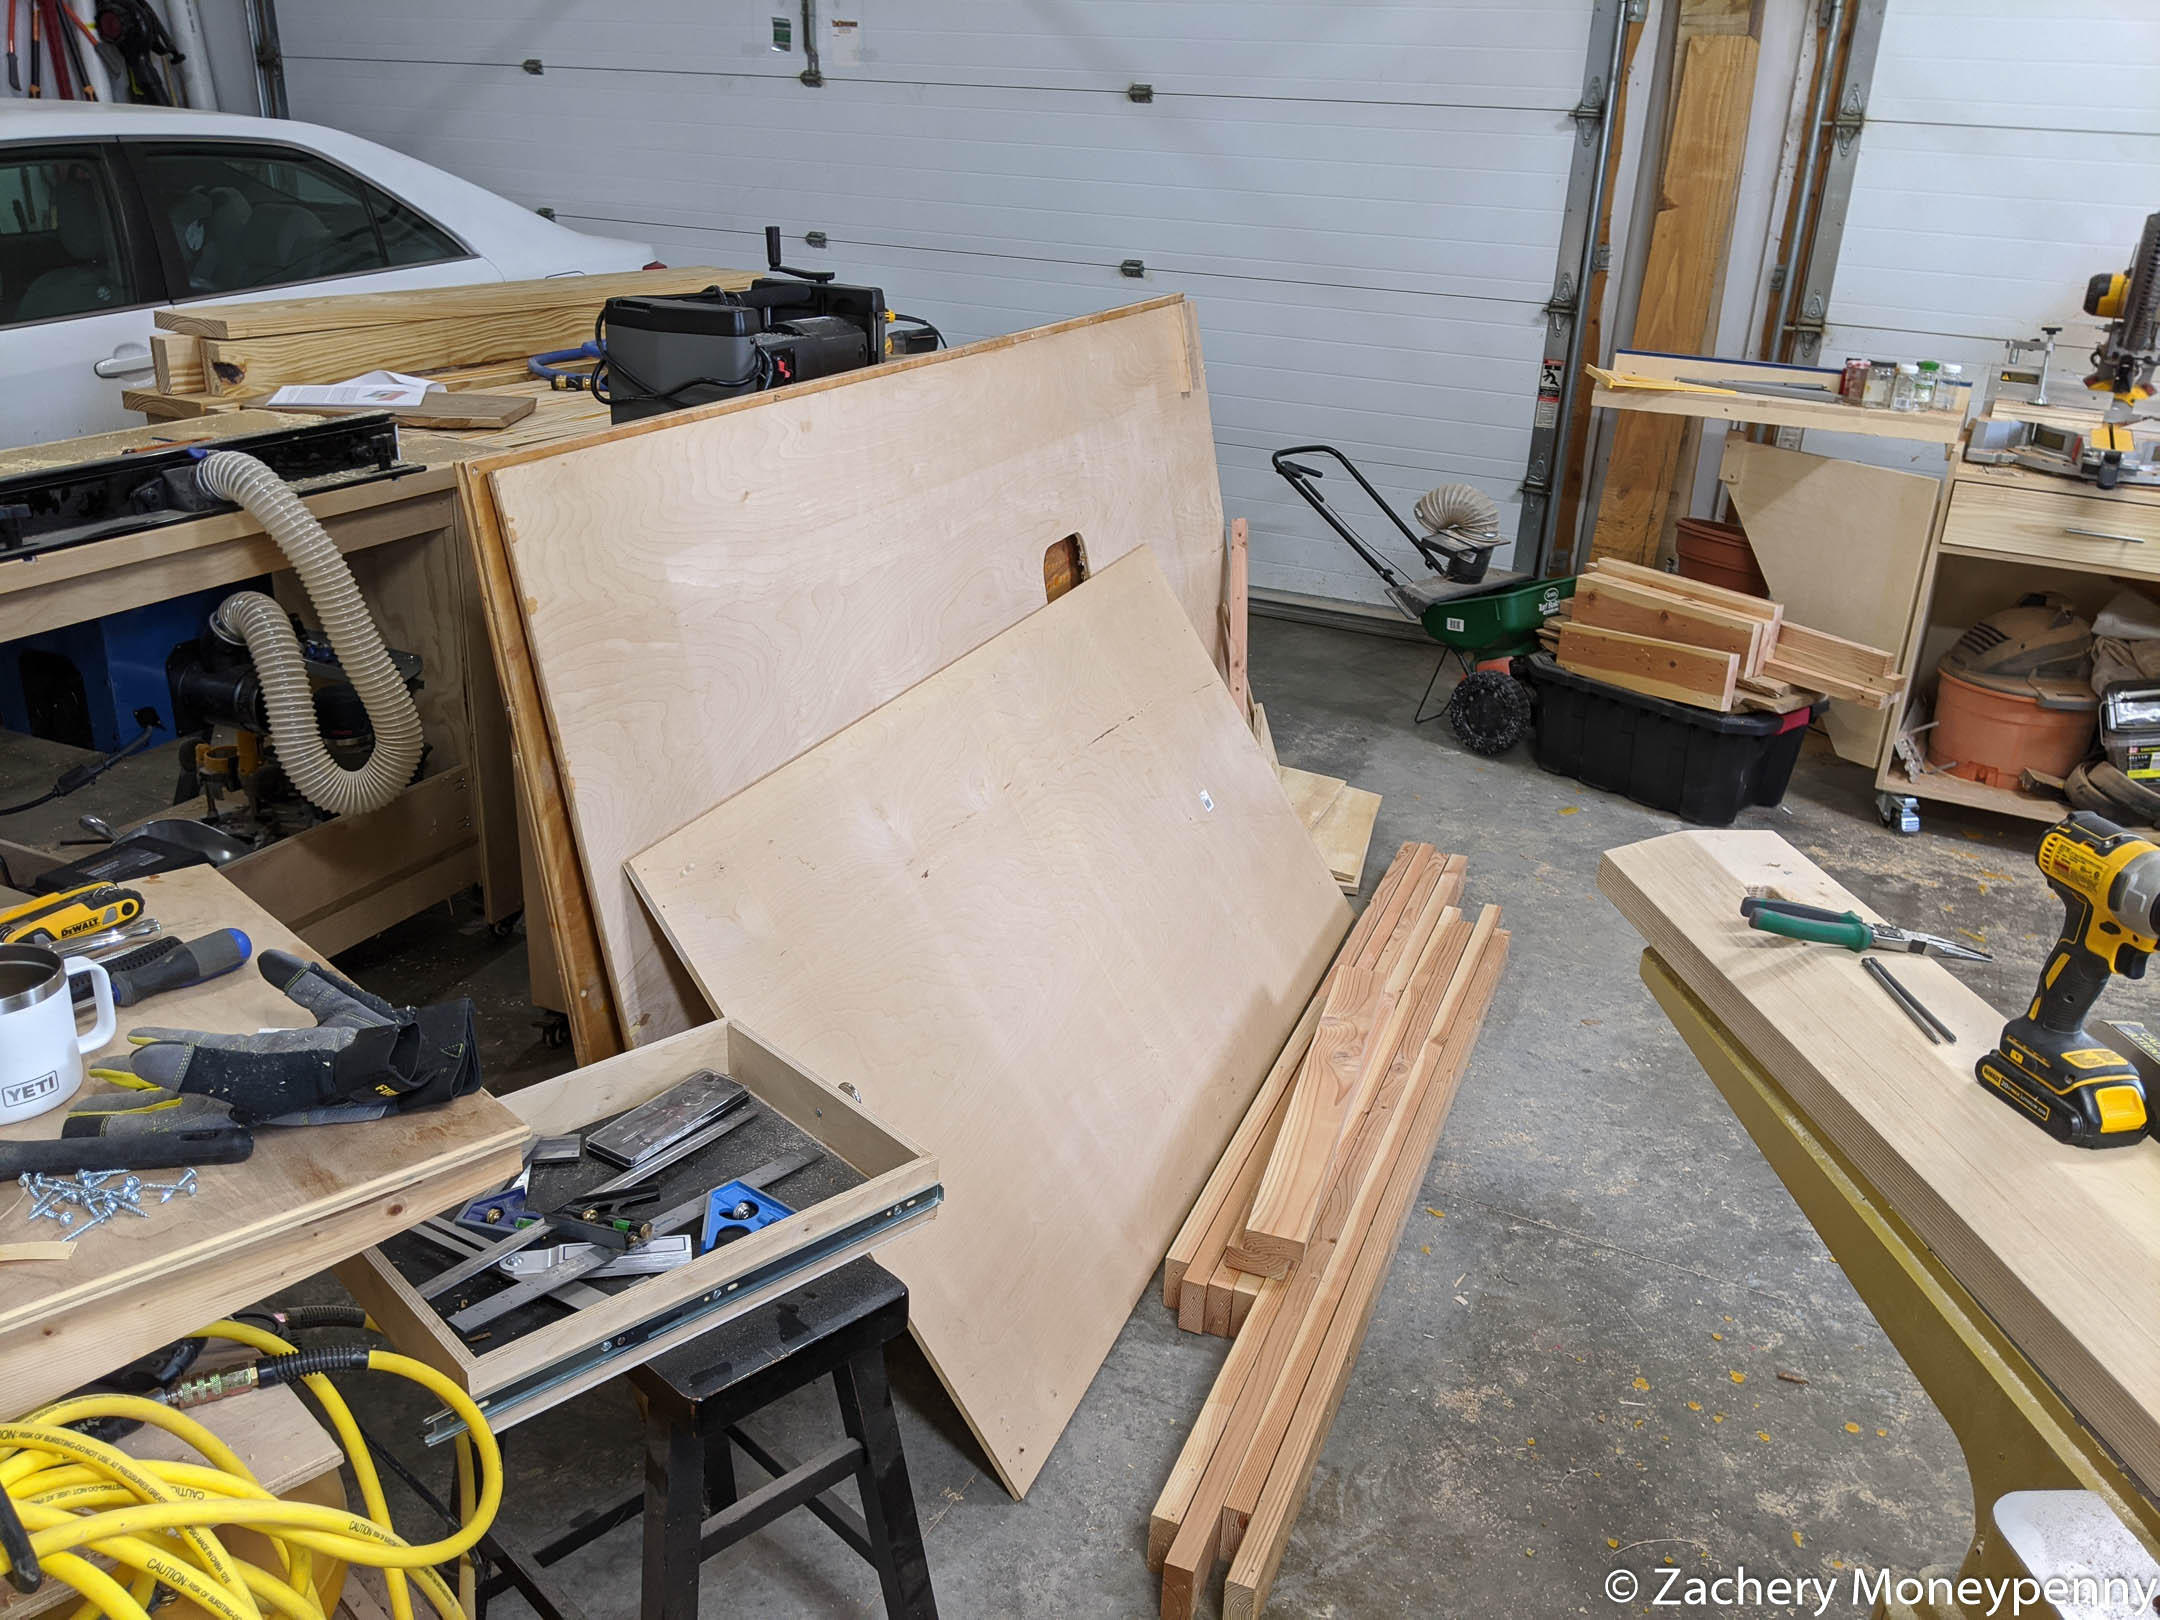
This is all part of the plan, but it’s a significant step. Luckily I was able to strip it for a considerable number of re-usable parts. I reclaimed everything from drawer slides and casters to the screws and usable sheets of ½” and ¾” plywood. Once the new new hand tool workbench is finished I’ll be using the spare plywood to build a set of low drawers underneath it for chisel, measuring tools and much more!
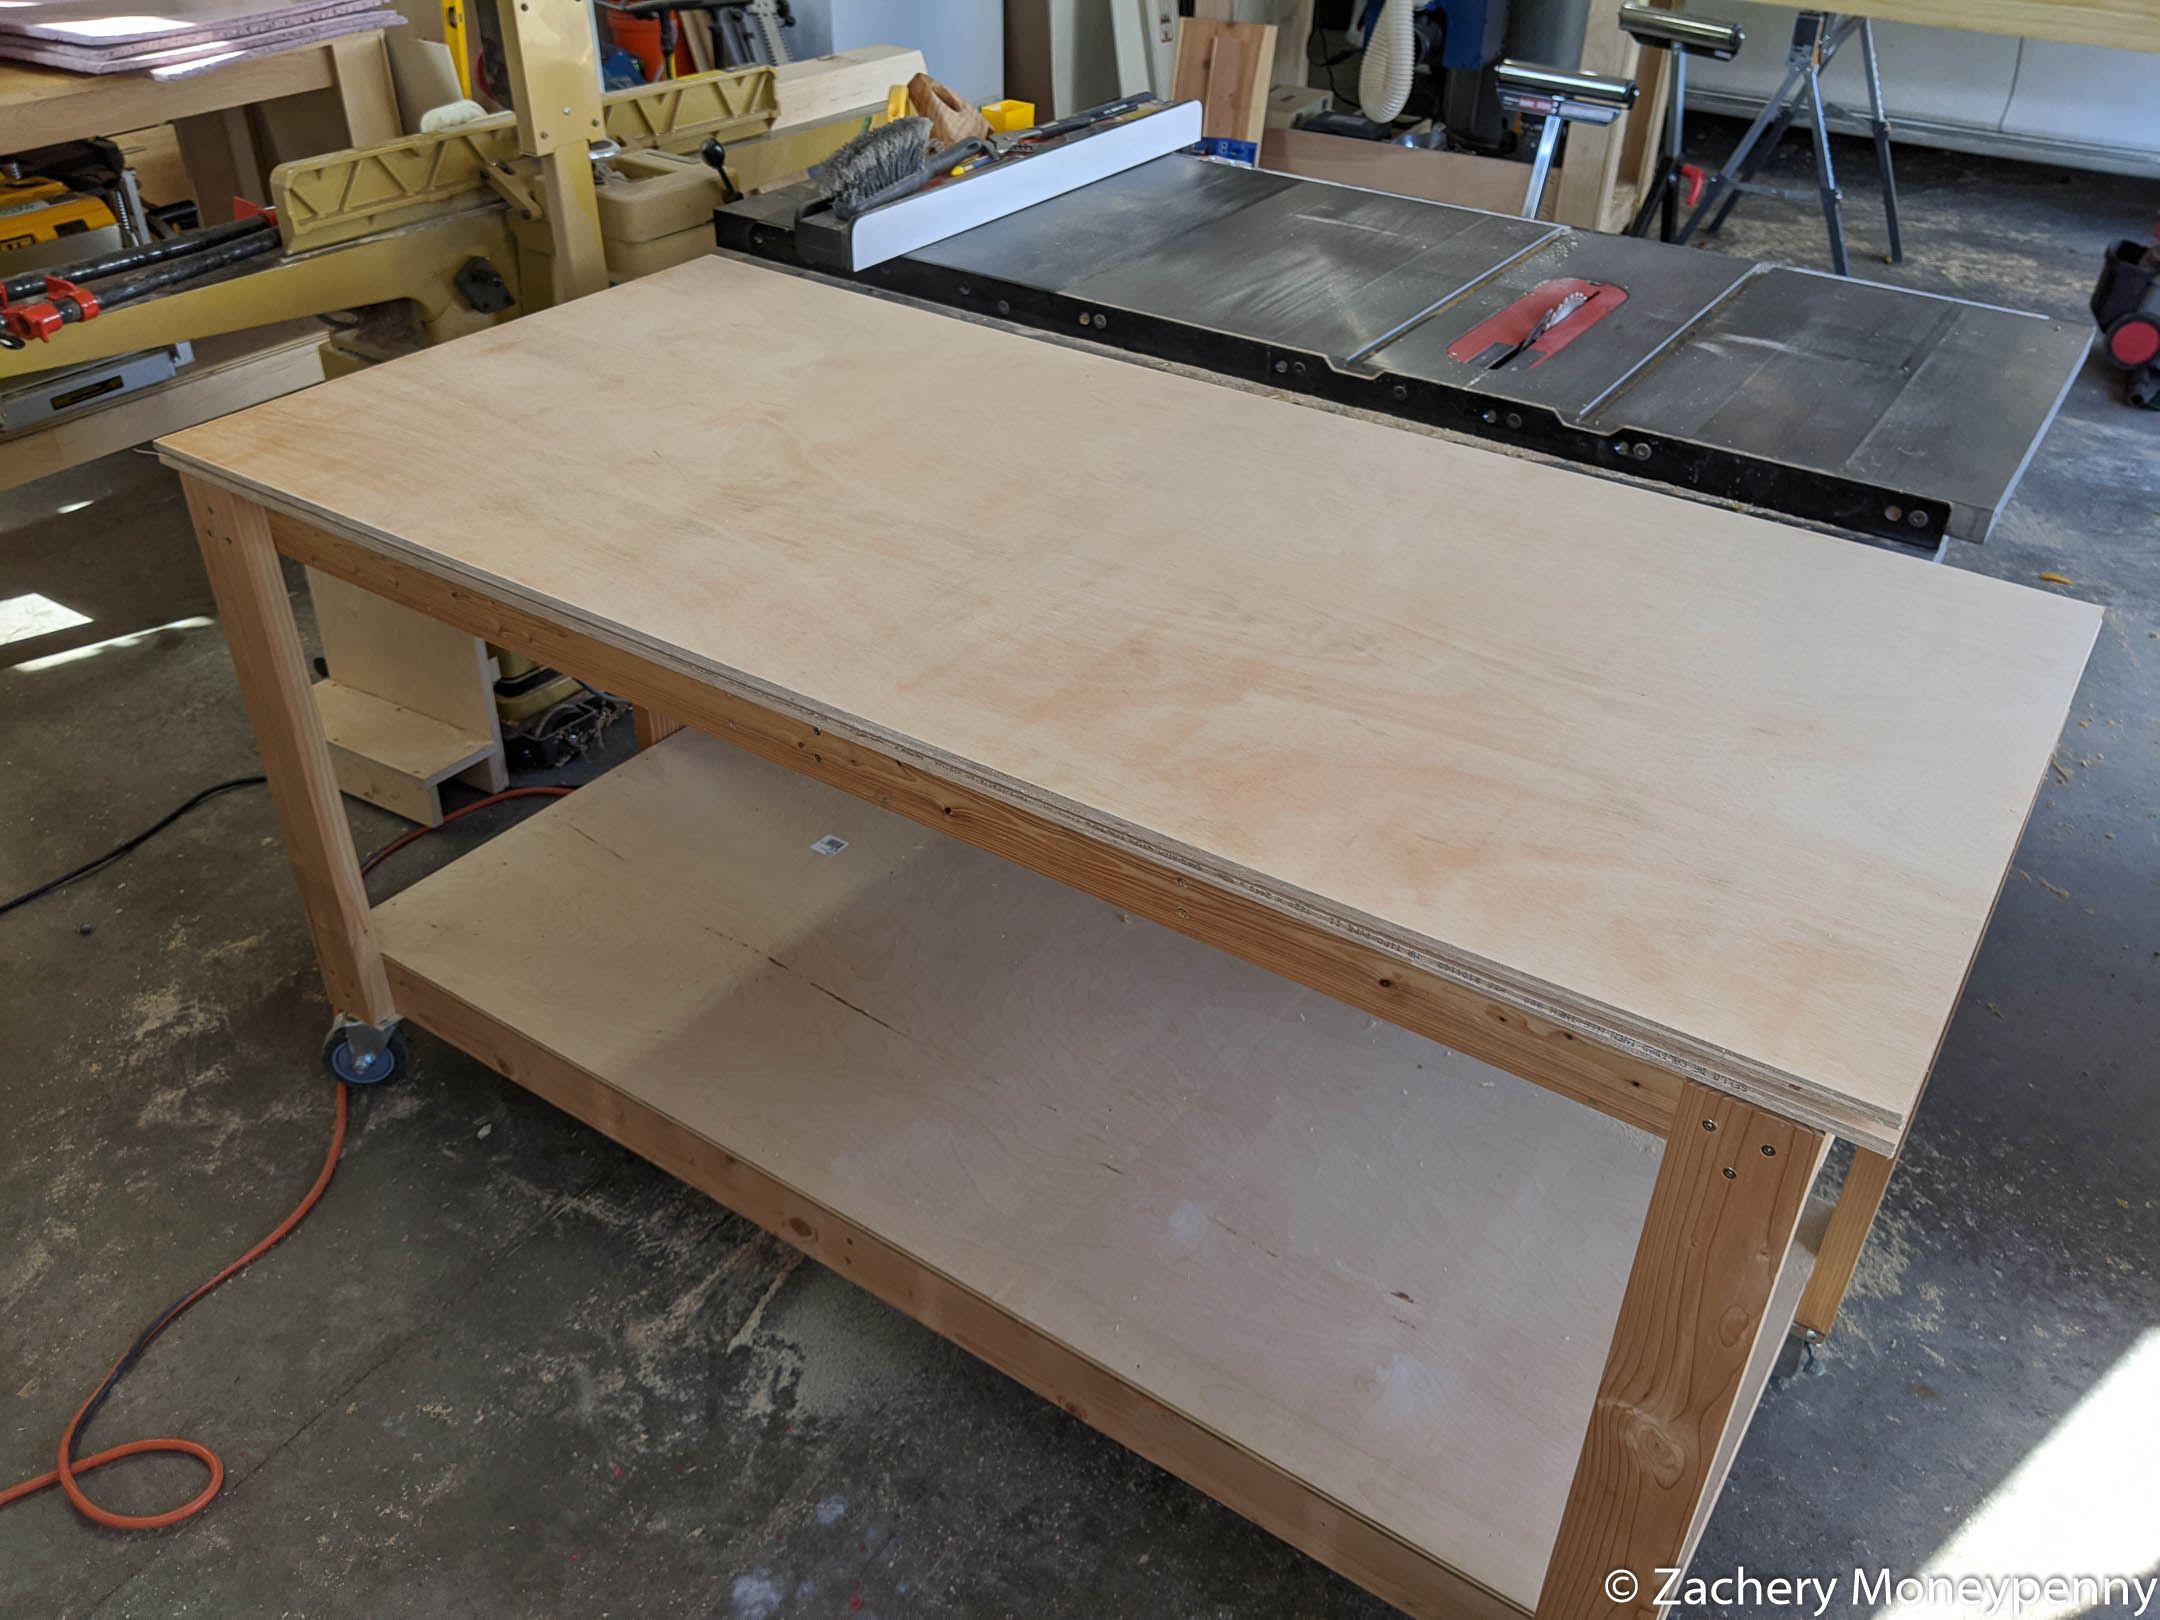
The initial need, however, was a smaller outfeed table to take the place of the paulk workbench. I wanted something close to the exact width of my SawStop, and just 2’ deep.
Using the reclaimed 2’x4’s from the larger bench, I cut them them down on the miter saw and then started with a similar frame design.
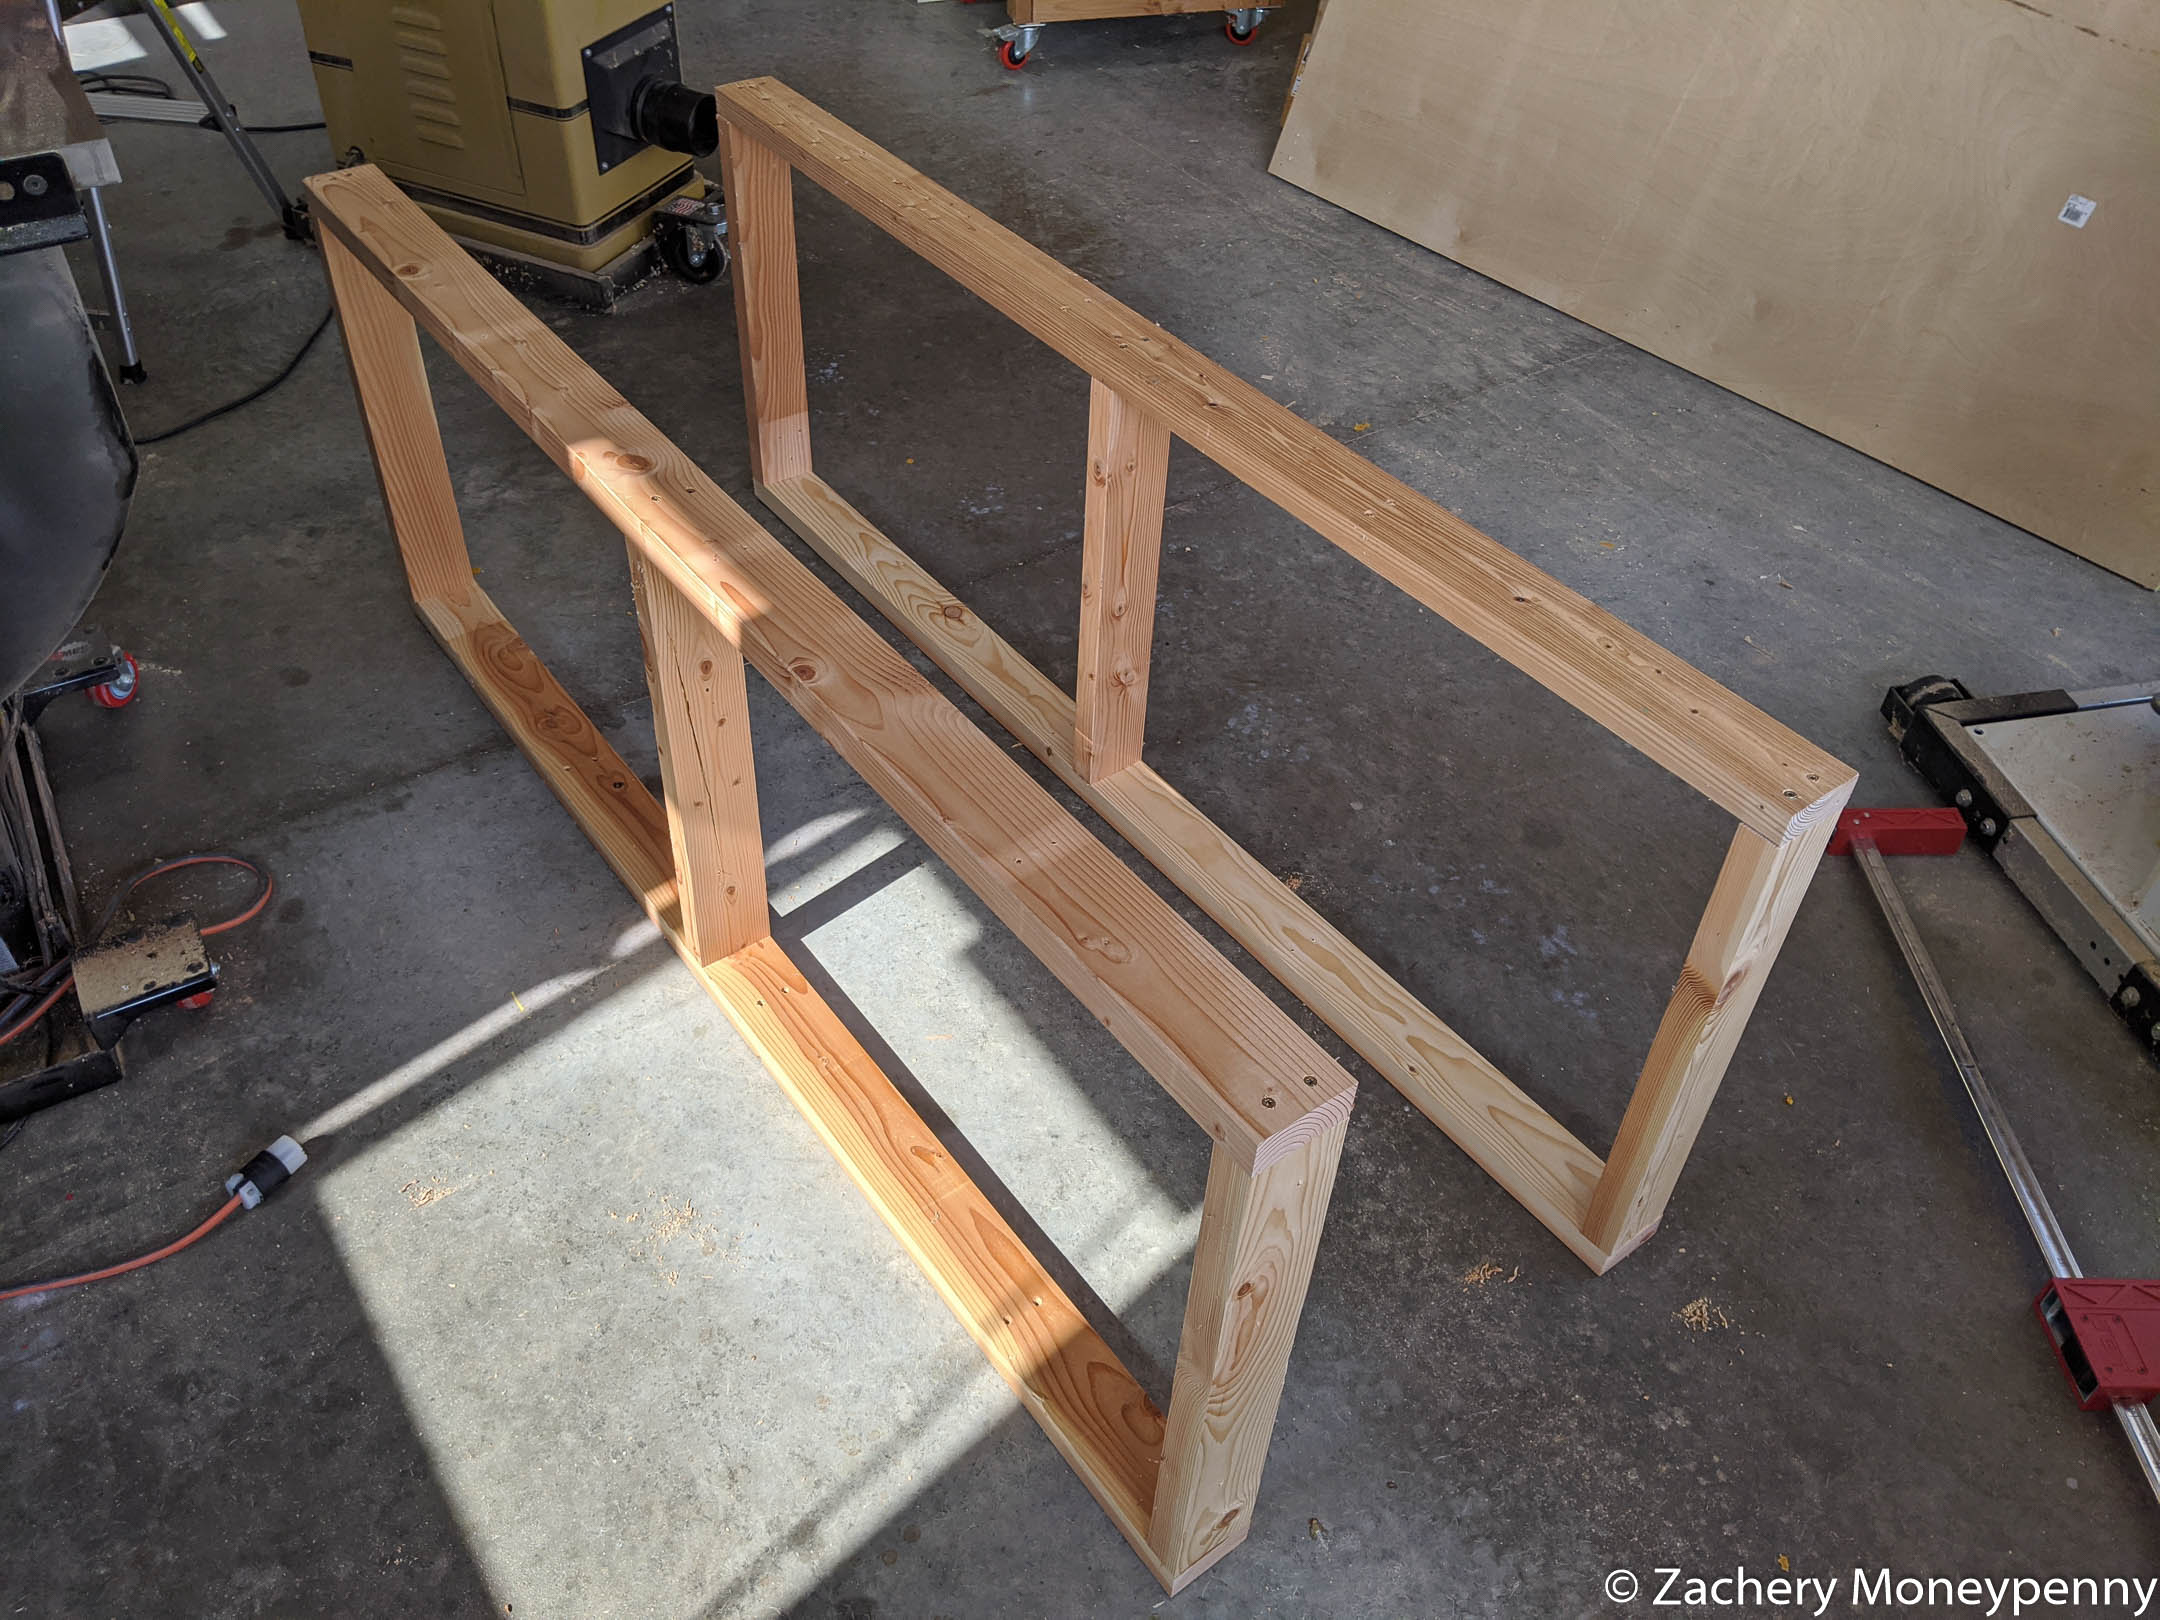
There was some deflection in the 2’x4’s from carrying such a heavy weight for so long, but not so much to make it difficult to cut down and reassemble on a smaller scale. I was also able to re-use the extra 2’x4’s and re-purpose them for the legs. They’re in the same orientation as on the Paulk workbench so as to make it easier to slide a half inch plywood sheet underneath as a bottom shelf.
I had two spare ½” sheets of plywood leftover from the shop cabinet build, so I cut it to size and laminate two pieces for a nominal 1” thick top.
Some nice boards hidden in all my crap were unearthed during the shop cleanout (see below) and so I had a nice piece of select pine to use as trim for the outfeed table. Once glued and brad nailed on, I used a flush trim bit to get nice seams and then a roundover bit to soften the edges. Sanded up to 150 grit and then found a good use for some older Dark Walnut Danish Oil I had lying around.
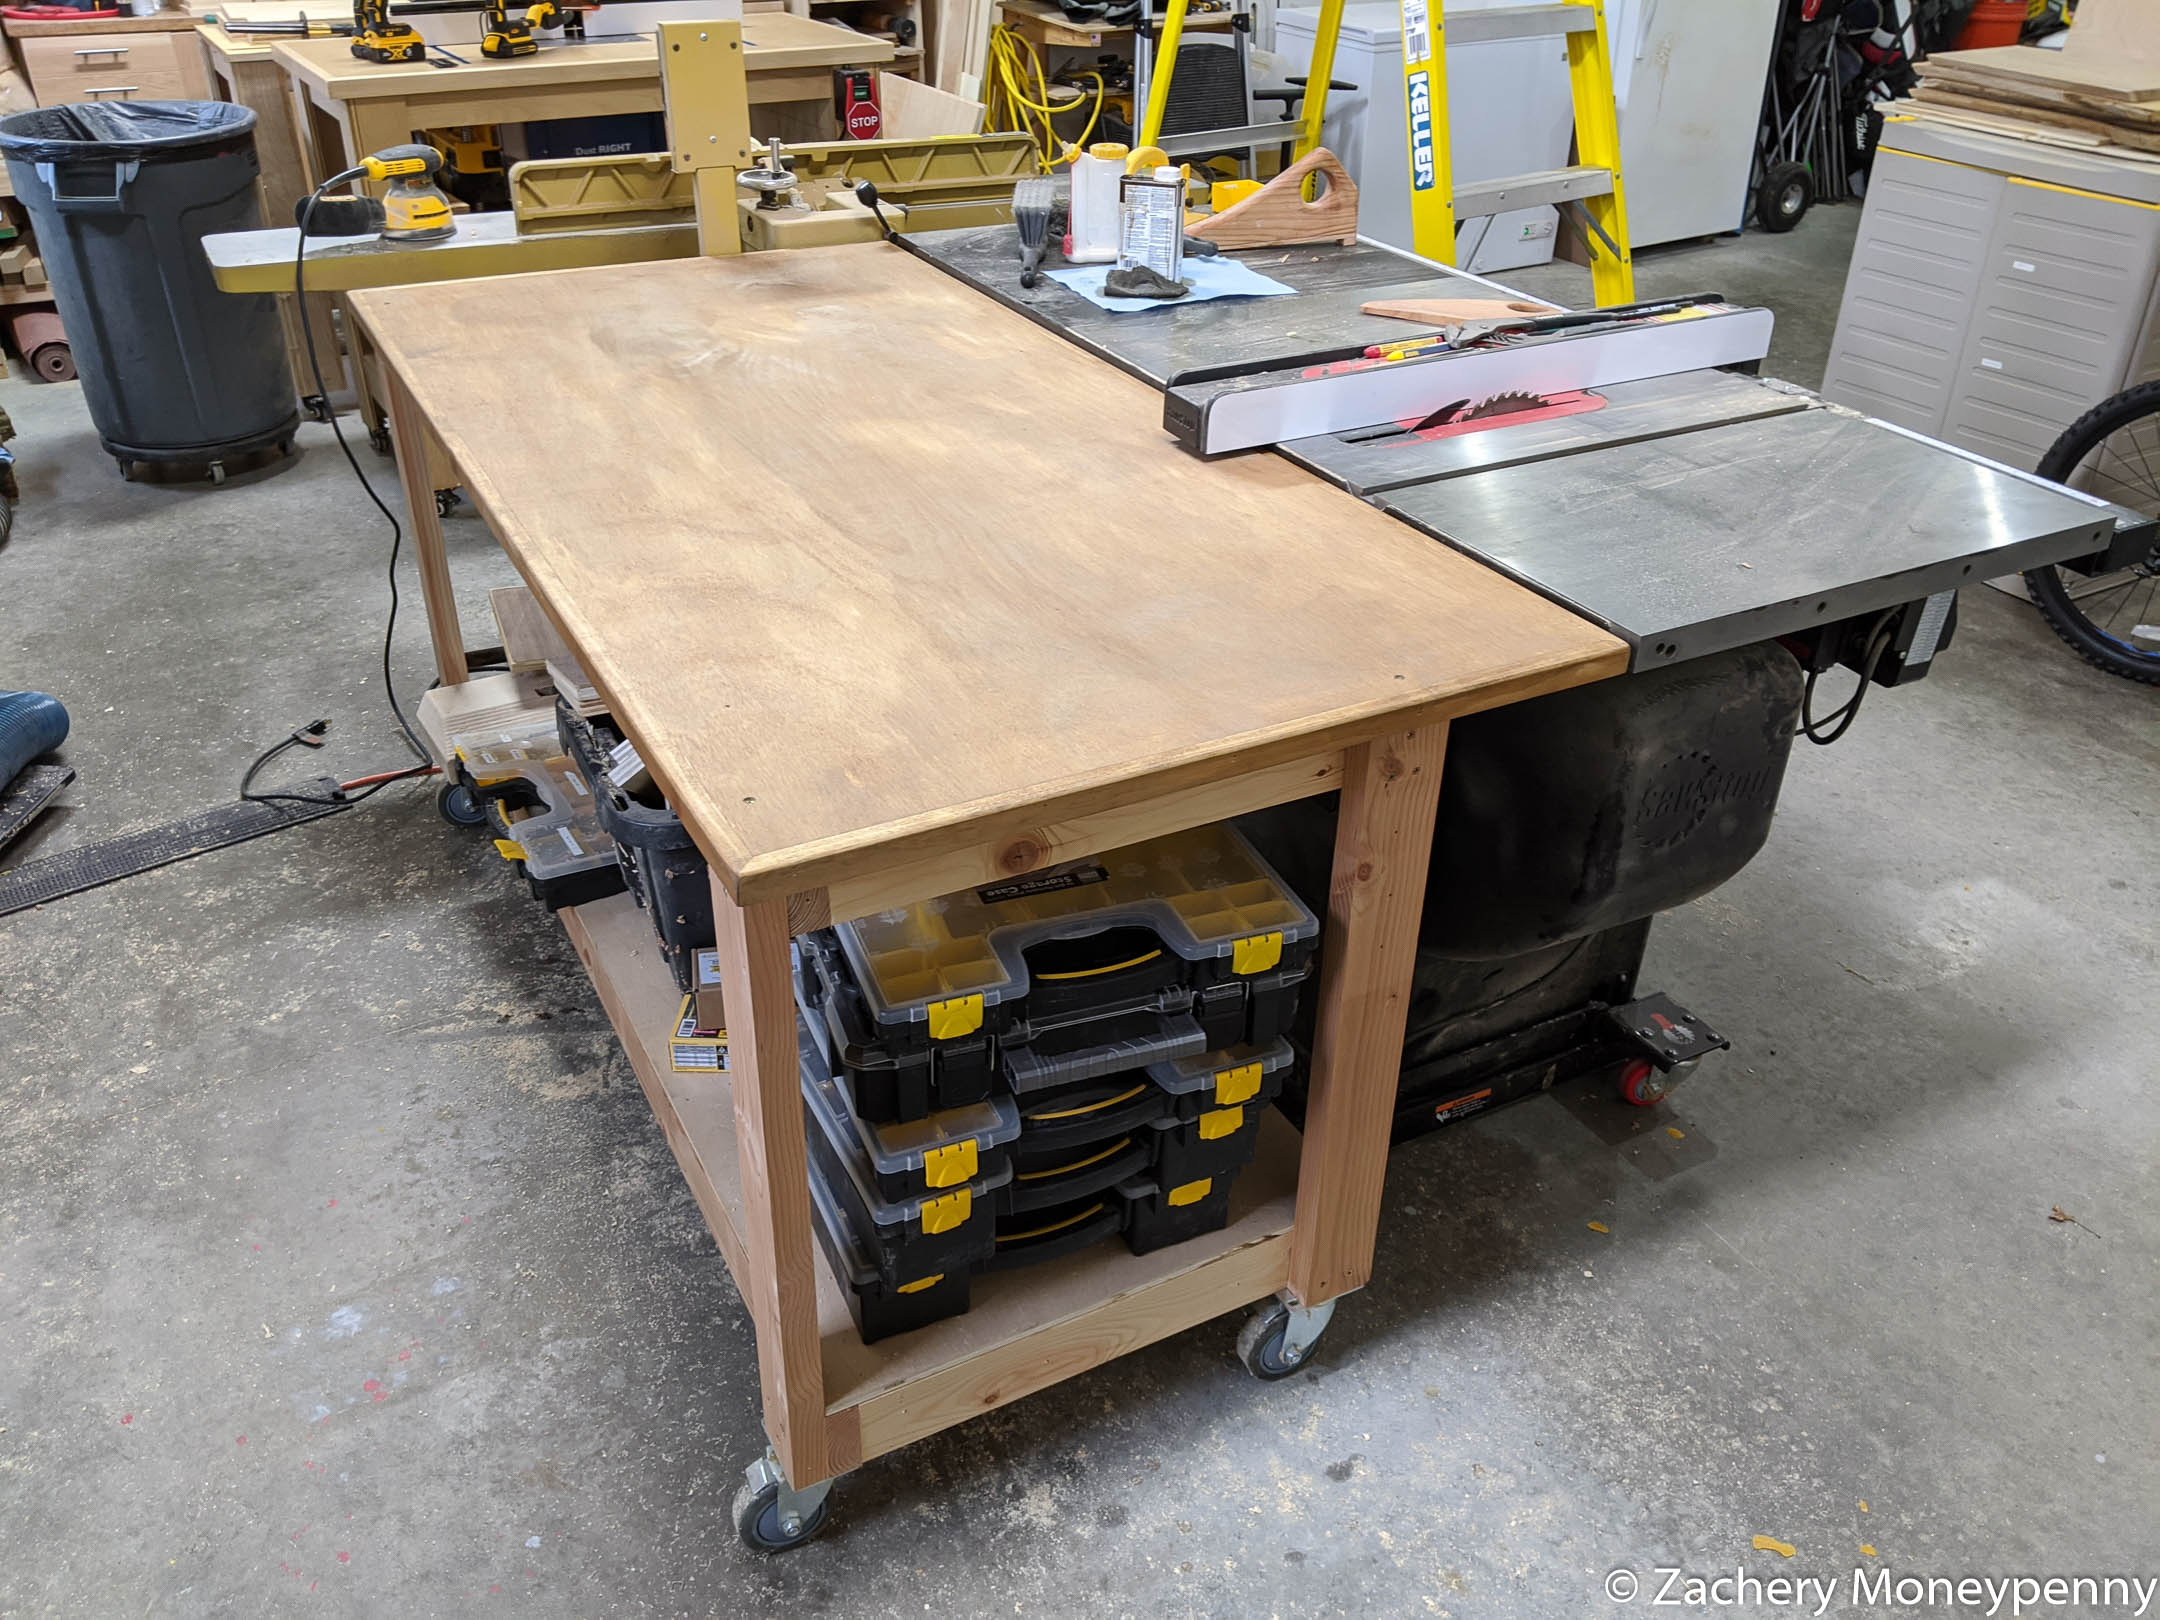
Eventually I may get around to adding drawers underneath this table, but for now the shelf has a good place to pile Harbor Freight cases of fasteners.
Shop Cleanout
I’m attacking The Plan a little out-of-order. The final step of the plan was to get a dumpster to junk all the excess crap. Due to timing, however, we went ahead with that sooner, even though the new workbench is not yet finished. I ordered the 12 yard roll-off, thinking it’d likely be too much space but better to be safe than sorry. Hoo boy.
Between all of the stuff we managed to clean out of our basement and garage, plus neighbors asking if they could add “just one thing” to the dumpster it’s getting close to full. We have it for 14 days, so it will be going back this next week.
In the meantime, the shop seems so much more open and airy. There’s room to move, I can see all my usable lumber (i.e., it’s not buried under useless scarps of plywood) and I’m excited to get back out there some more. Which was the point of this operation so, uh, Mission Accomplished.
Plan Update
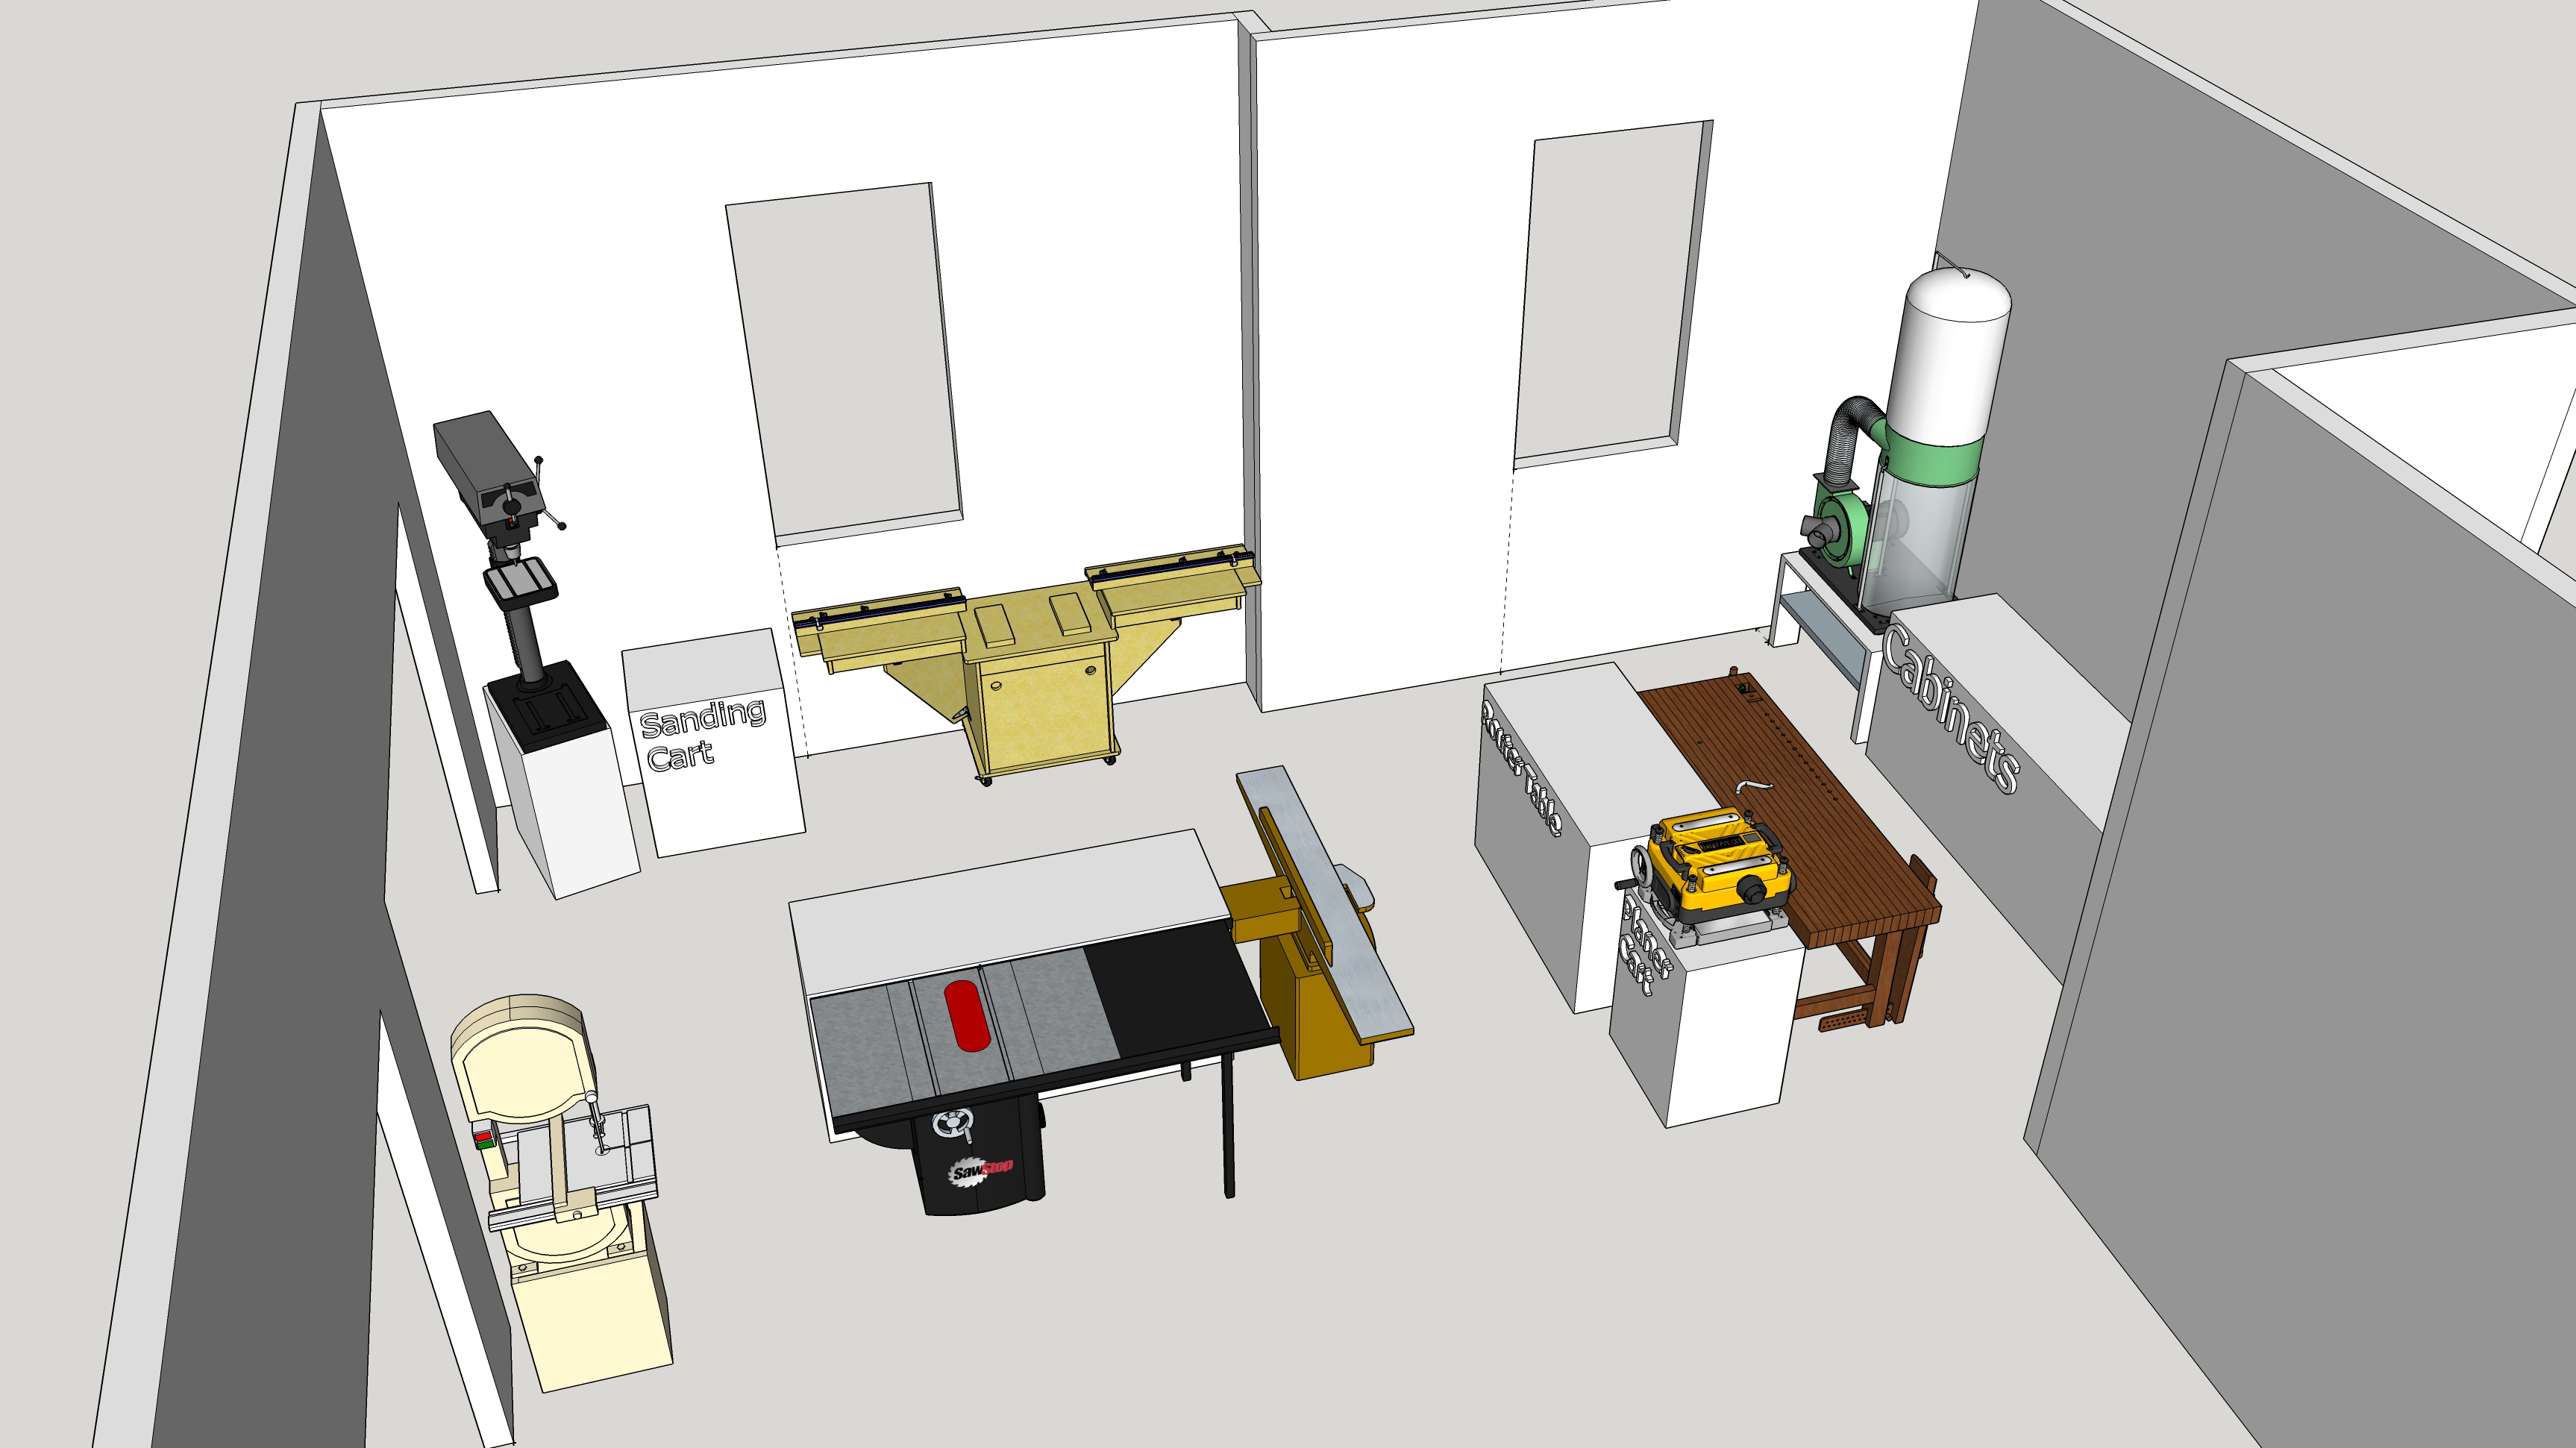
Things have been moved more or less into the layout in the sketchup model below. I’m still in-progress on the new workbench, but once finished it will be placed directly opposite my shop cabinets so that all my hand tools and handheld power tools are right at hand.
