More storage in the garage as I install the ceiling-hanging platform.
In our search for more storage in our house I’ve long looked to the 12+ foot ceilings in our three-car garage. There seems to be so much air there, just begging to be replaced with plastic totes! My plan was to eventually install several 4’x8’ hanging units and then load them up with least-used items hanging around the storage part of our basement—things like ski equipment (we haven’t skied since our kids were born) and camping equipment (we haven’t gone camping since our kids were born).
While I have a lot of options for where to place the initial unit, I decided to try it in the middle of the garage, against the “front” wall which would give us maximum ability to access it from 3 (or even 4) sides.
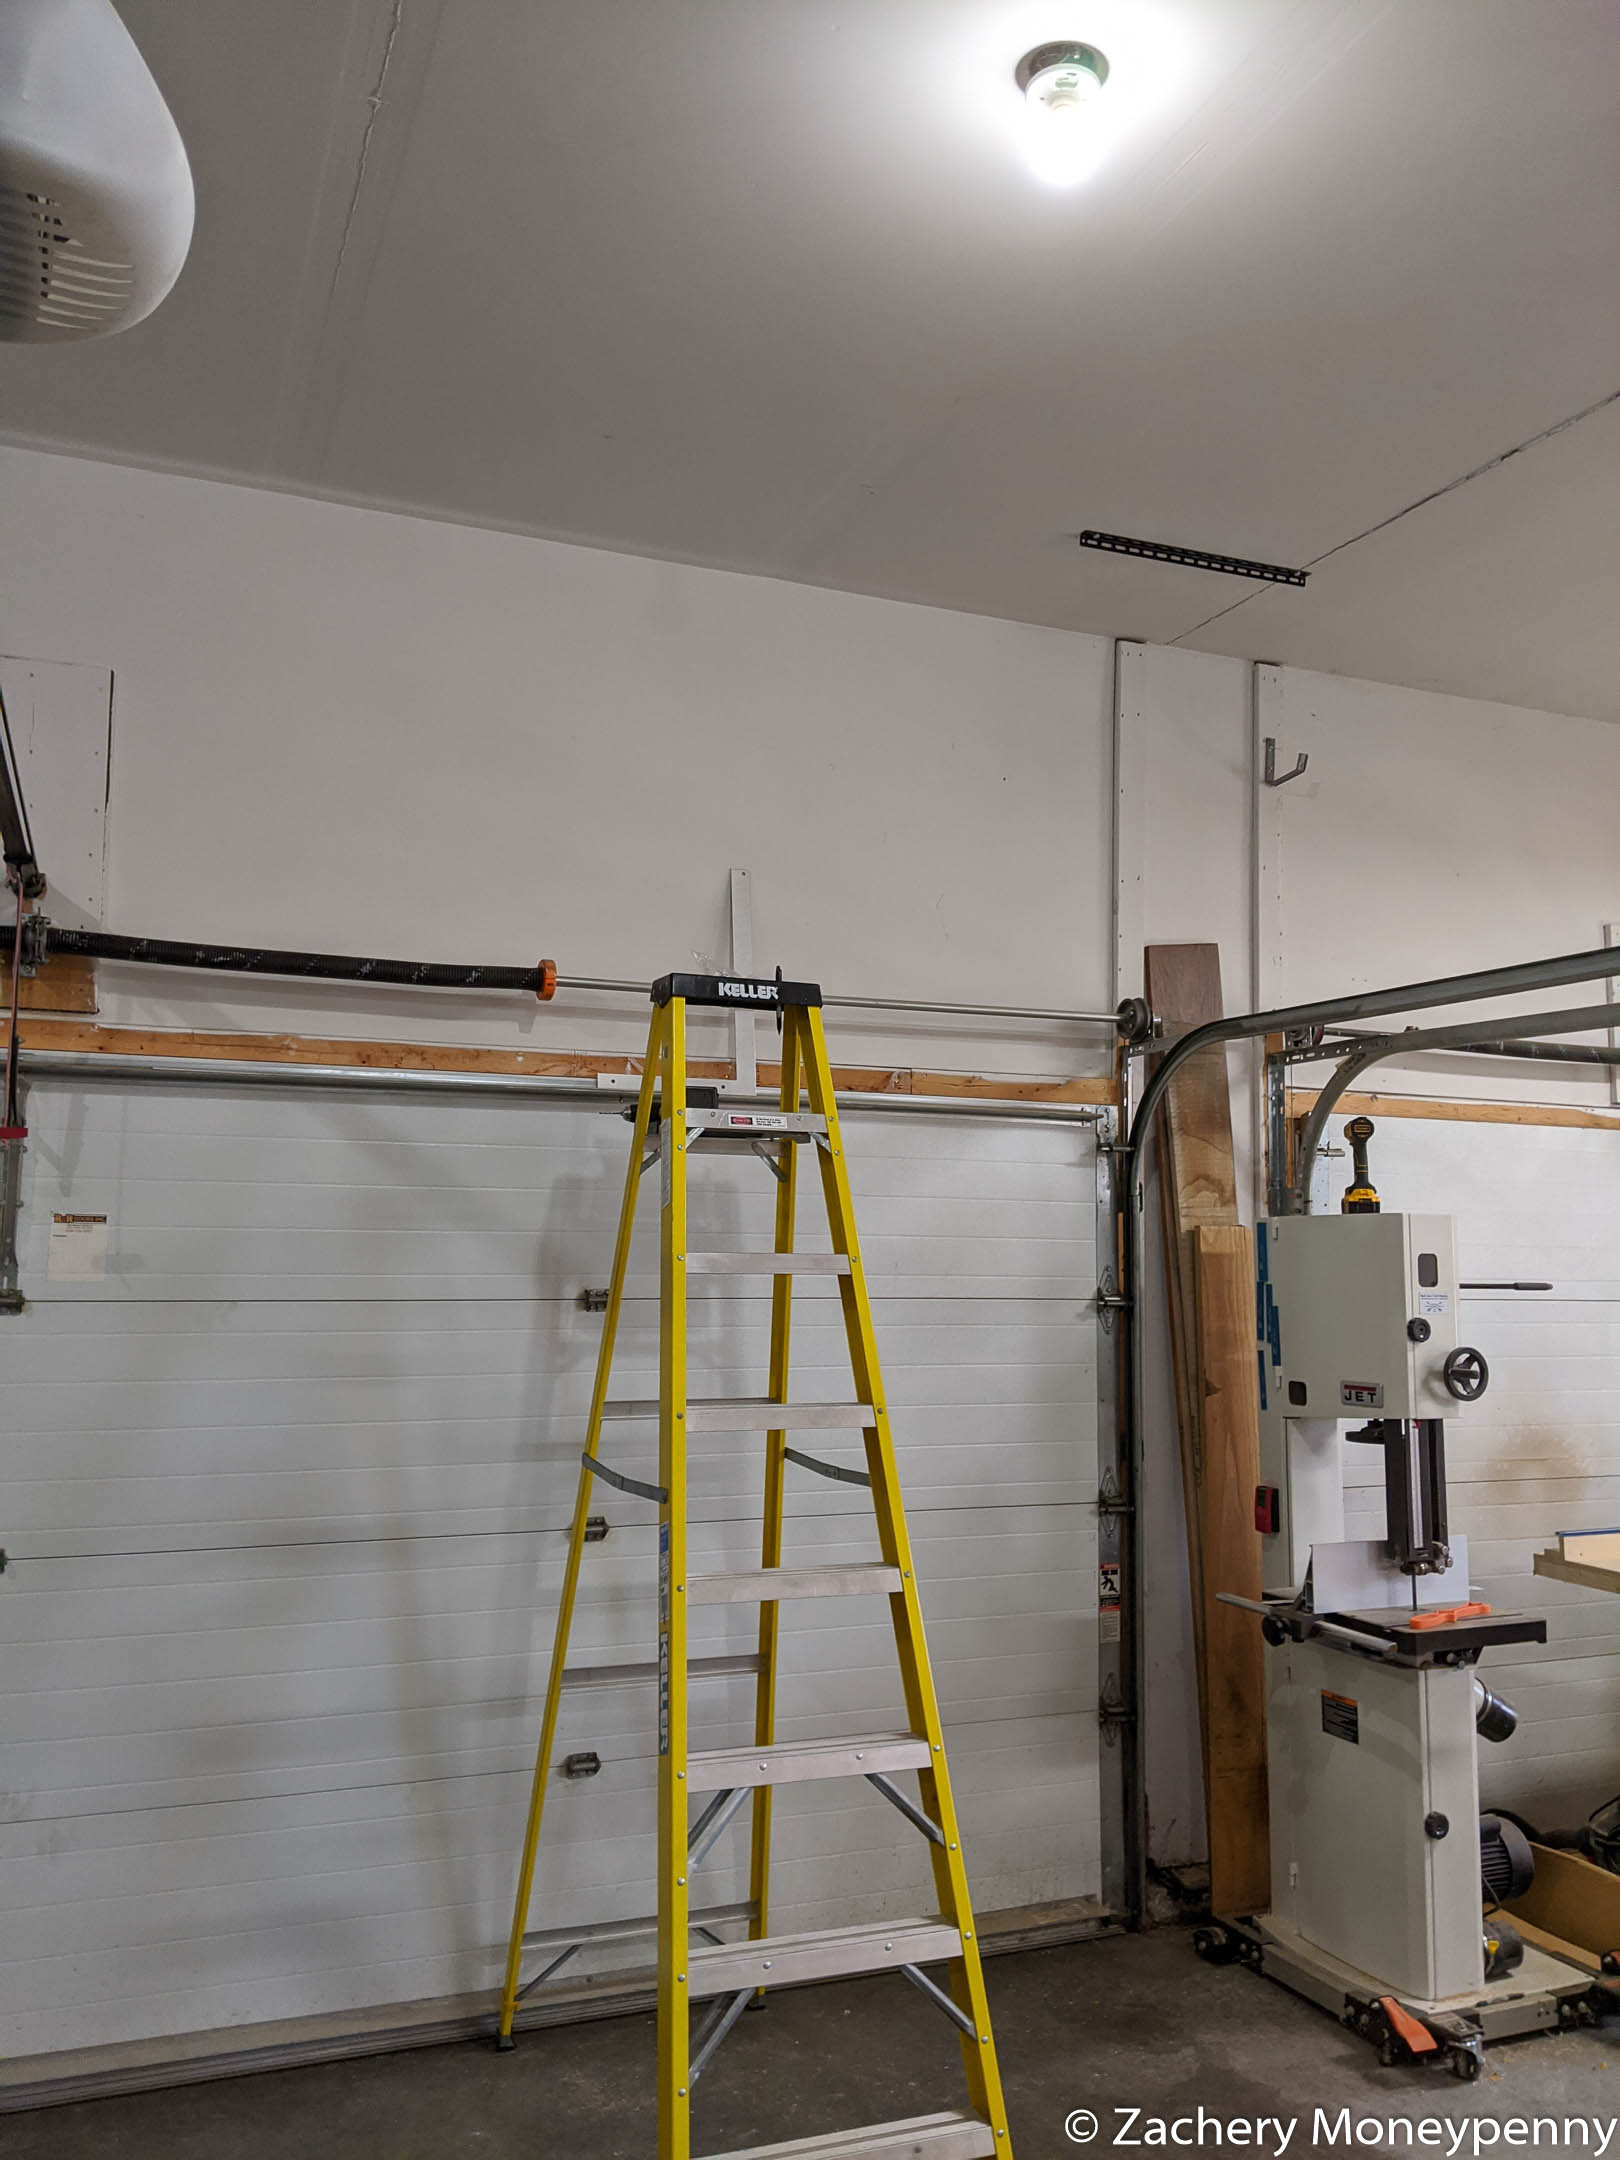
The FIRST first step was to lock the garage door controls so that I wasn’t killed by a family member opening the garage while I was on a ladder right next to it.
The next first step was to figure out just where the hell my ceiling joists were. Based on nail and drywall seam placement, along with a magnetic stud finder and a consultation of “ceiling joist spacing” on The Google I determined my joists were 24” apart. As an aside, my greatest fear about this sort of storage is that it falls from the ceiling and destroys our car and/or a child, so this was the aspect I spent the most time on getting right.
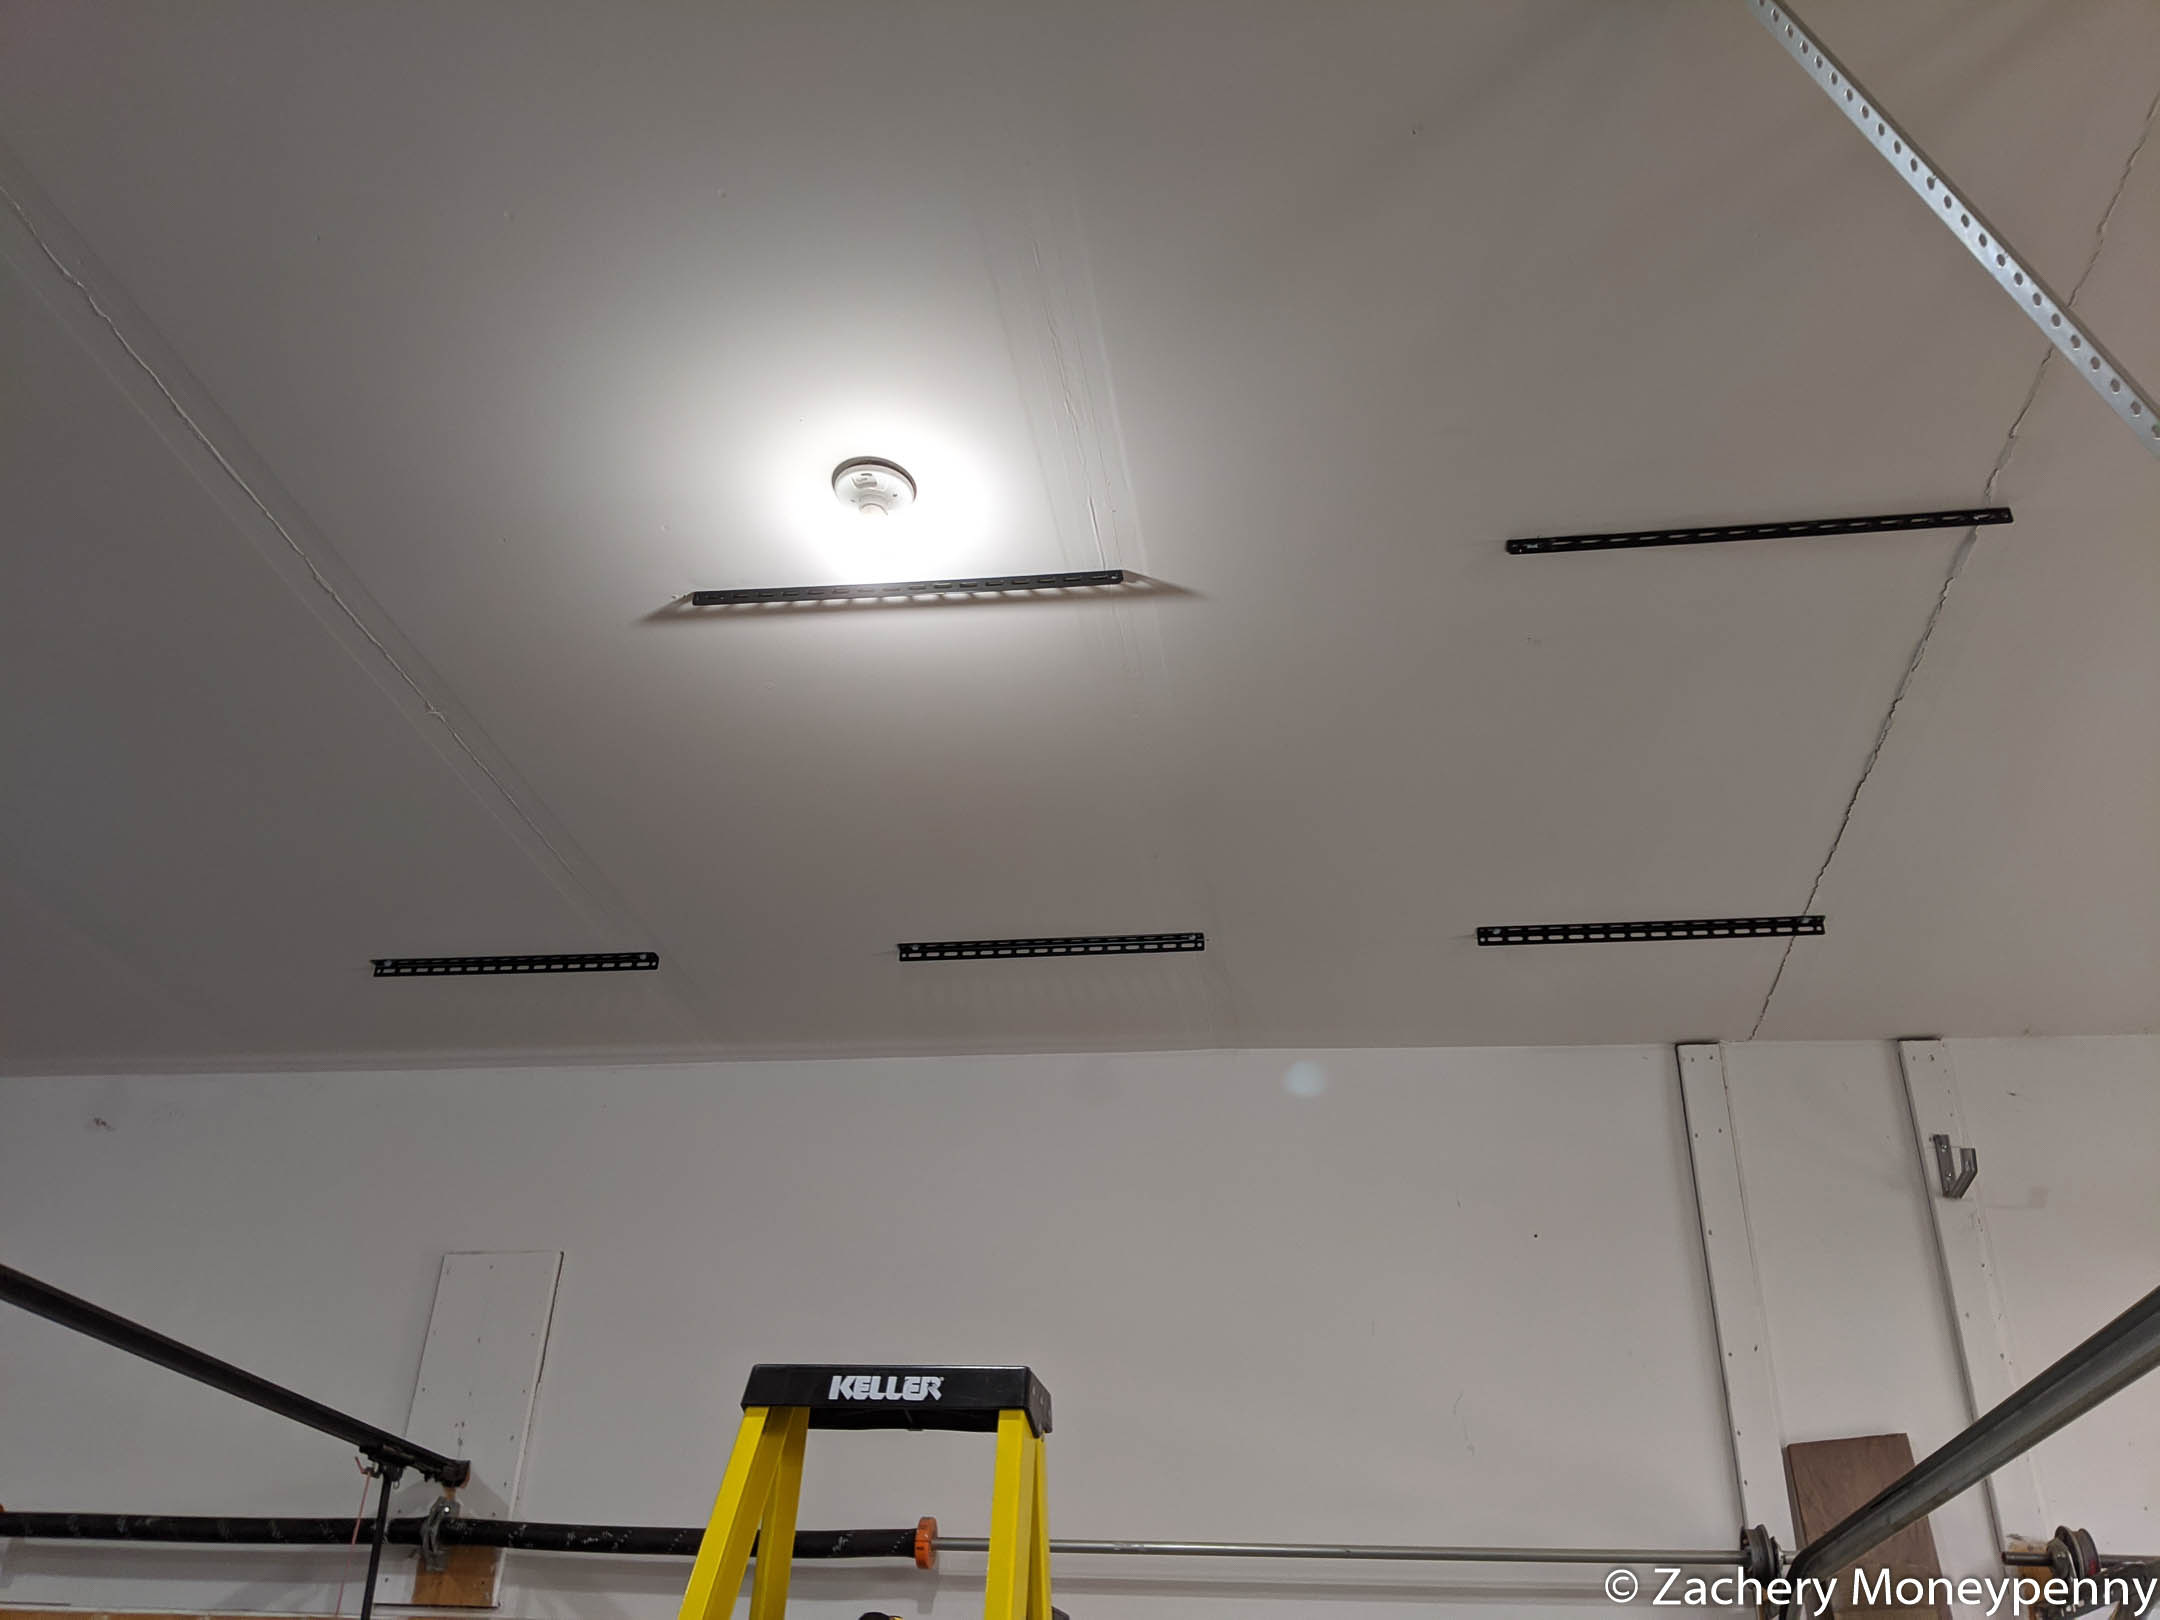
I drilled test holes 1/4” apart near the seams to determine joist width, and even then I missed sometimes and had to re-drill the self-tapping screws once I started installing the hangers. Each hanger “base” spans two joists, but being ~27” long they just barely did. I kept checking and re-checking spacing between seams, the front garage wall and marks I was making on the ceiling to ensure that I ended up with a rectangle and not a rhombus of some kind.
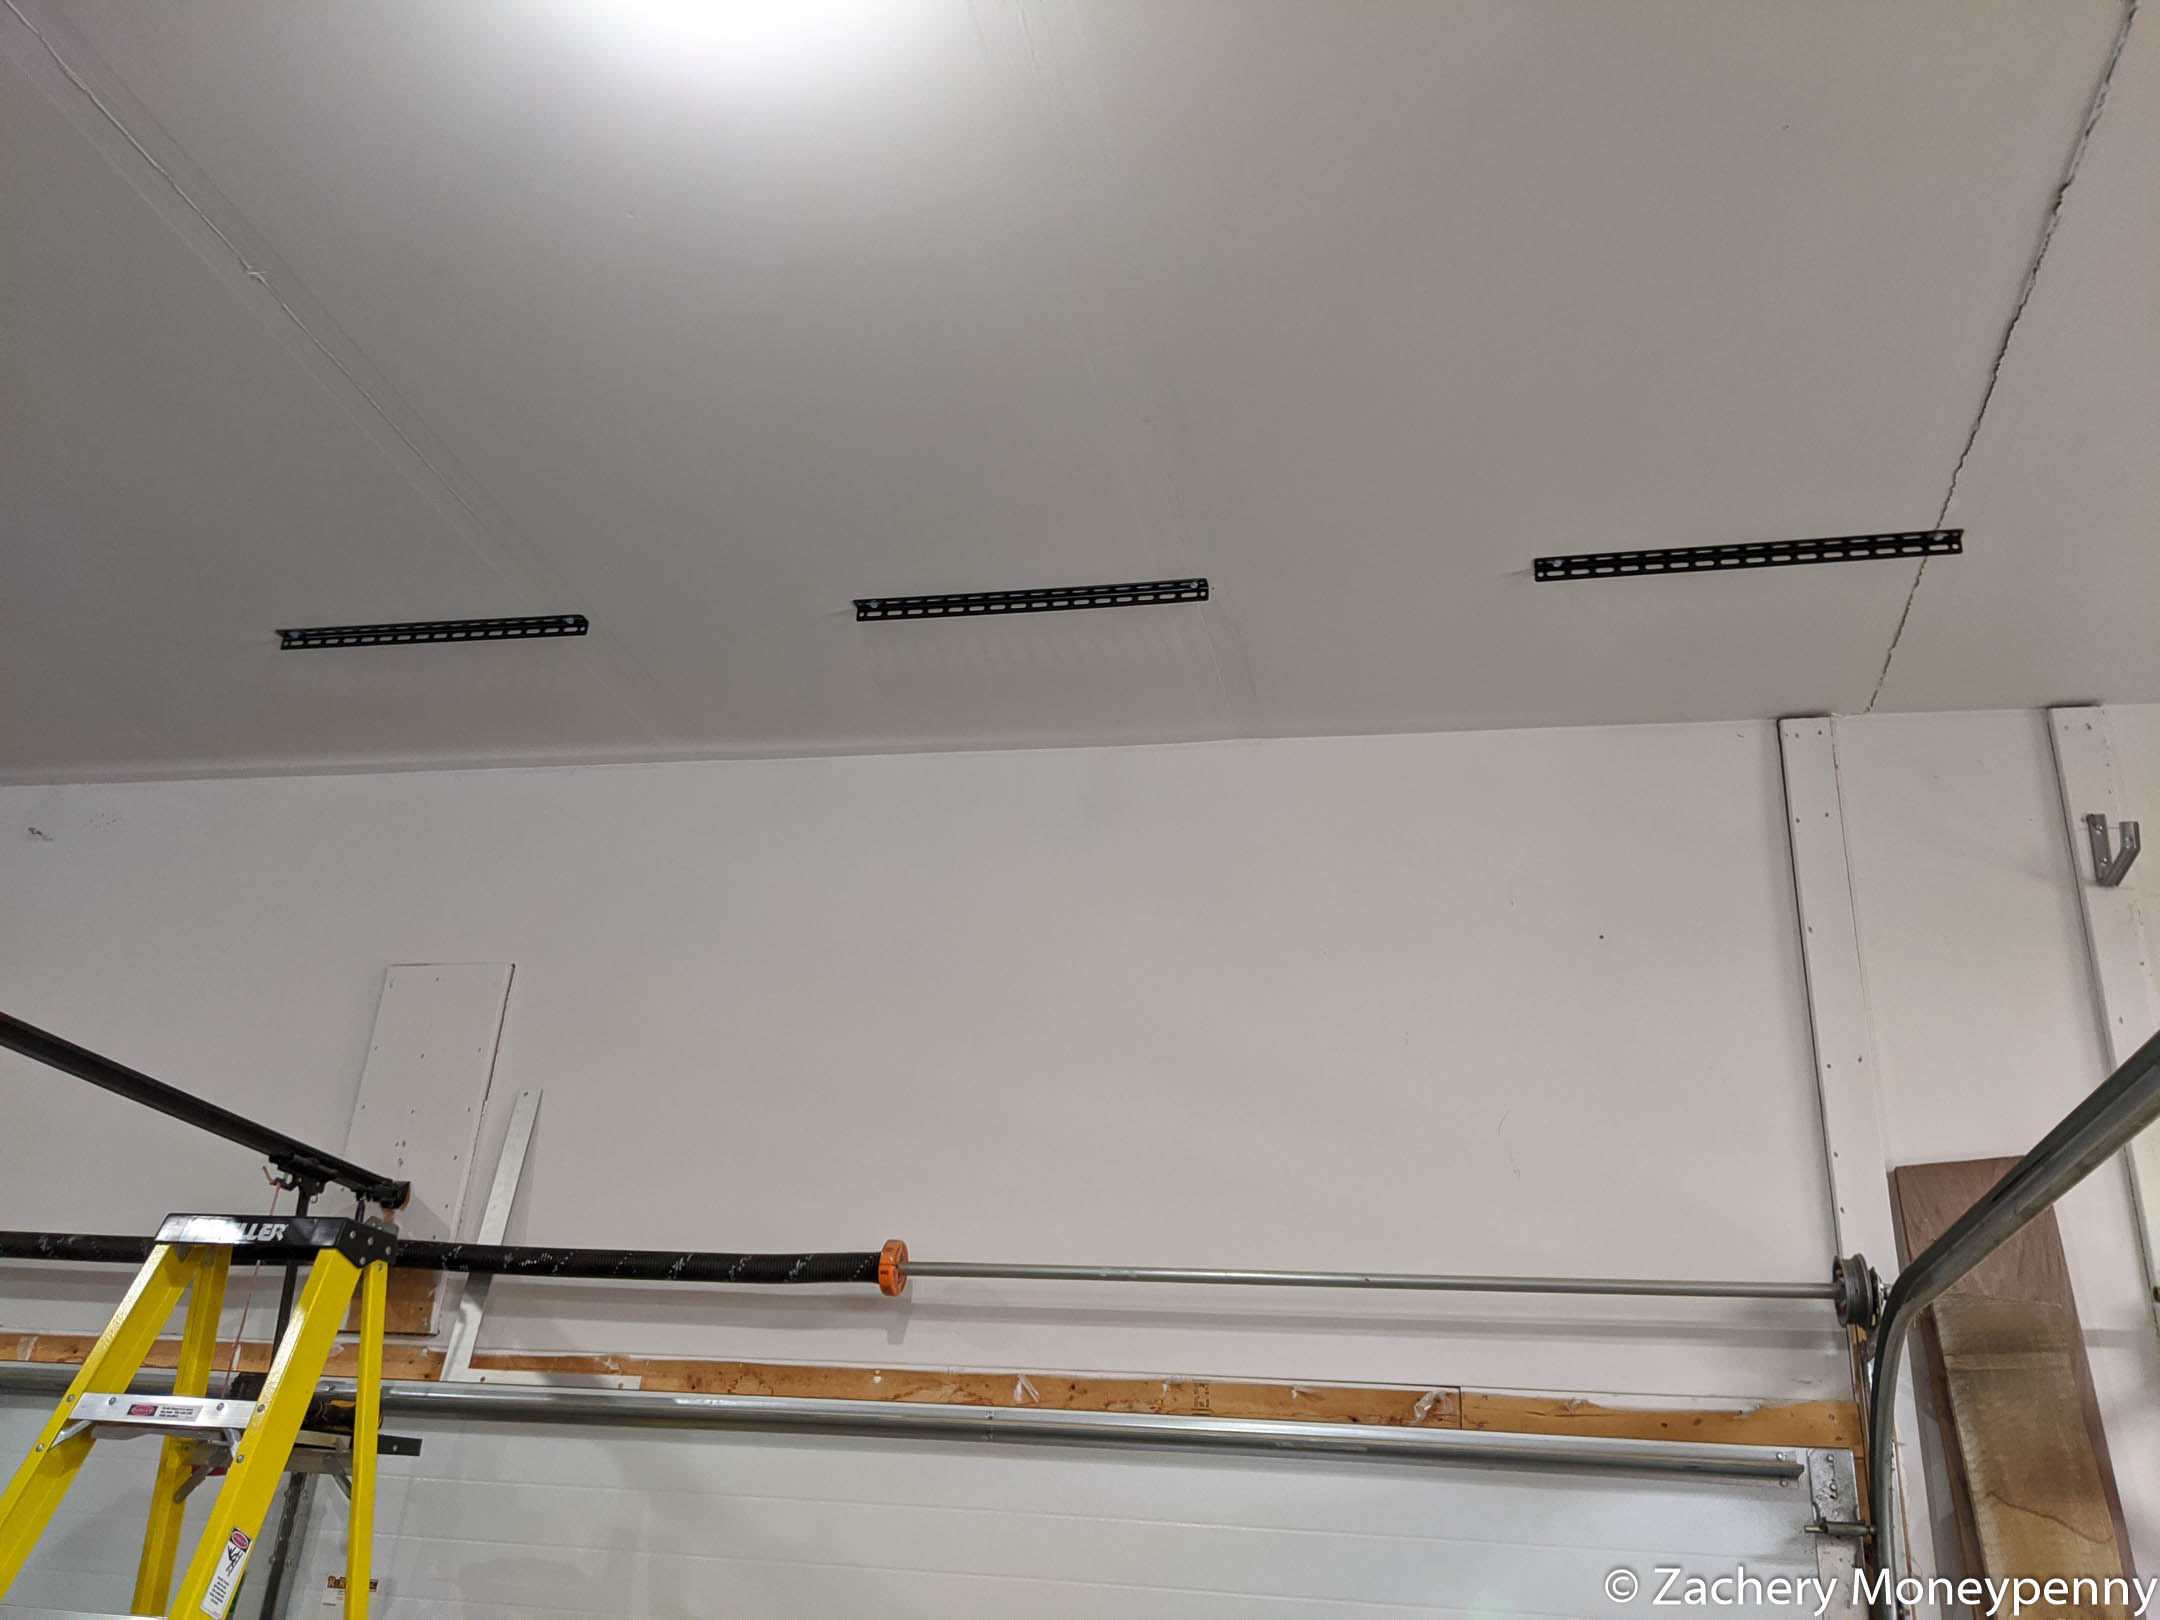
Once the first row went up things became a bit trickier—I was now using a 4’ aluminum ruler to guesstimate the spacing of the secon row from the first. It was difficult to ensure squareness at this point, especially when I was teetering near the top of an 8’ ladder. So once again I was checking, re-checking and drilling pilot holes to make sure I was aligned with the joists.
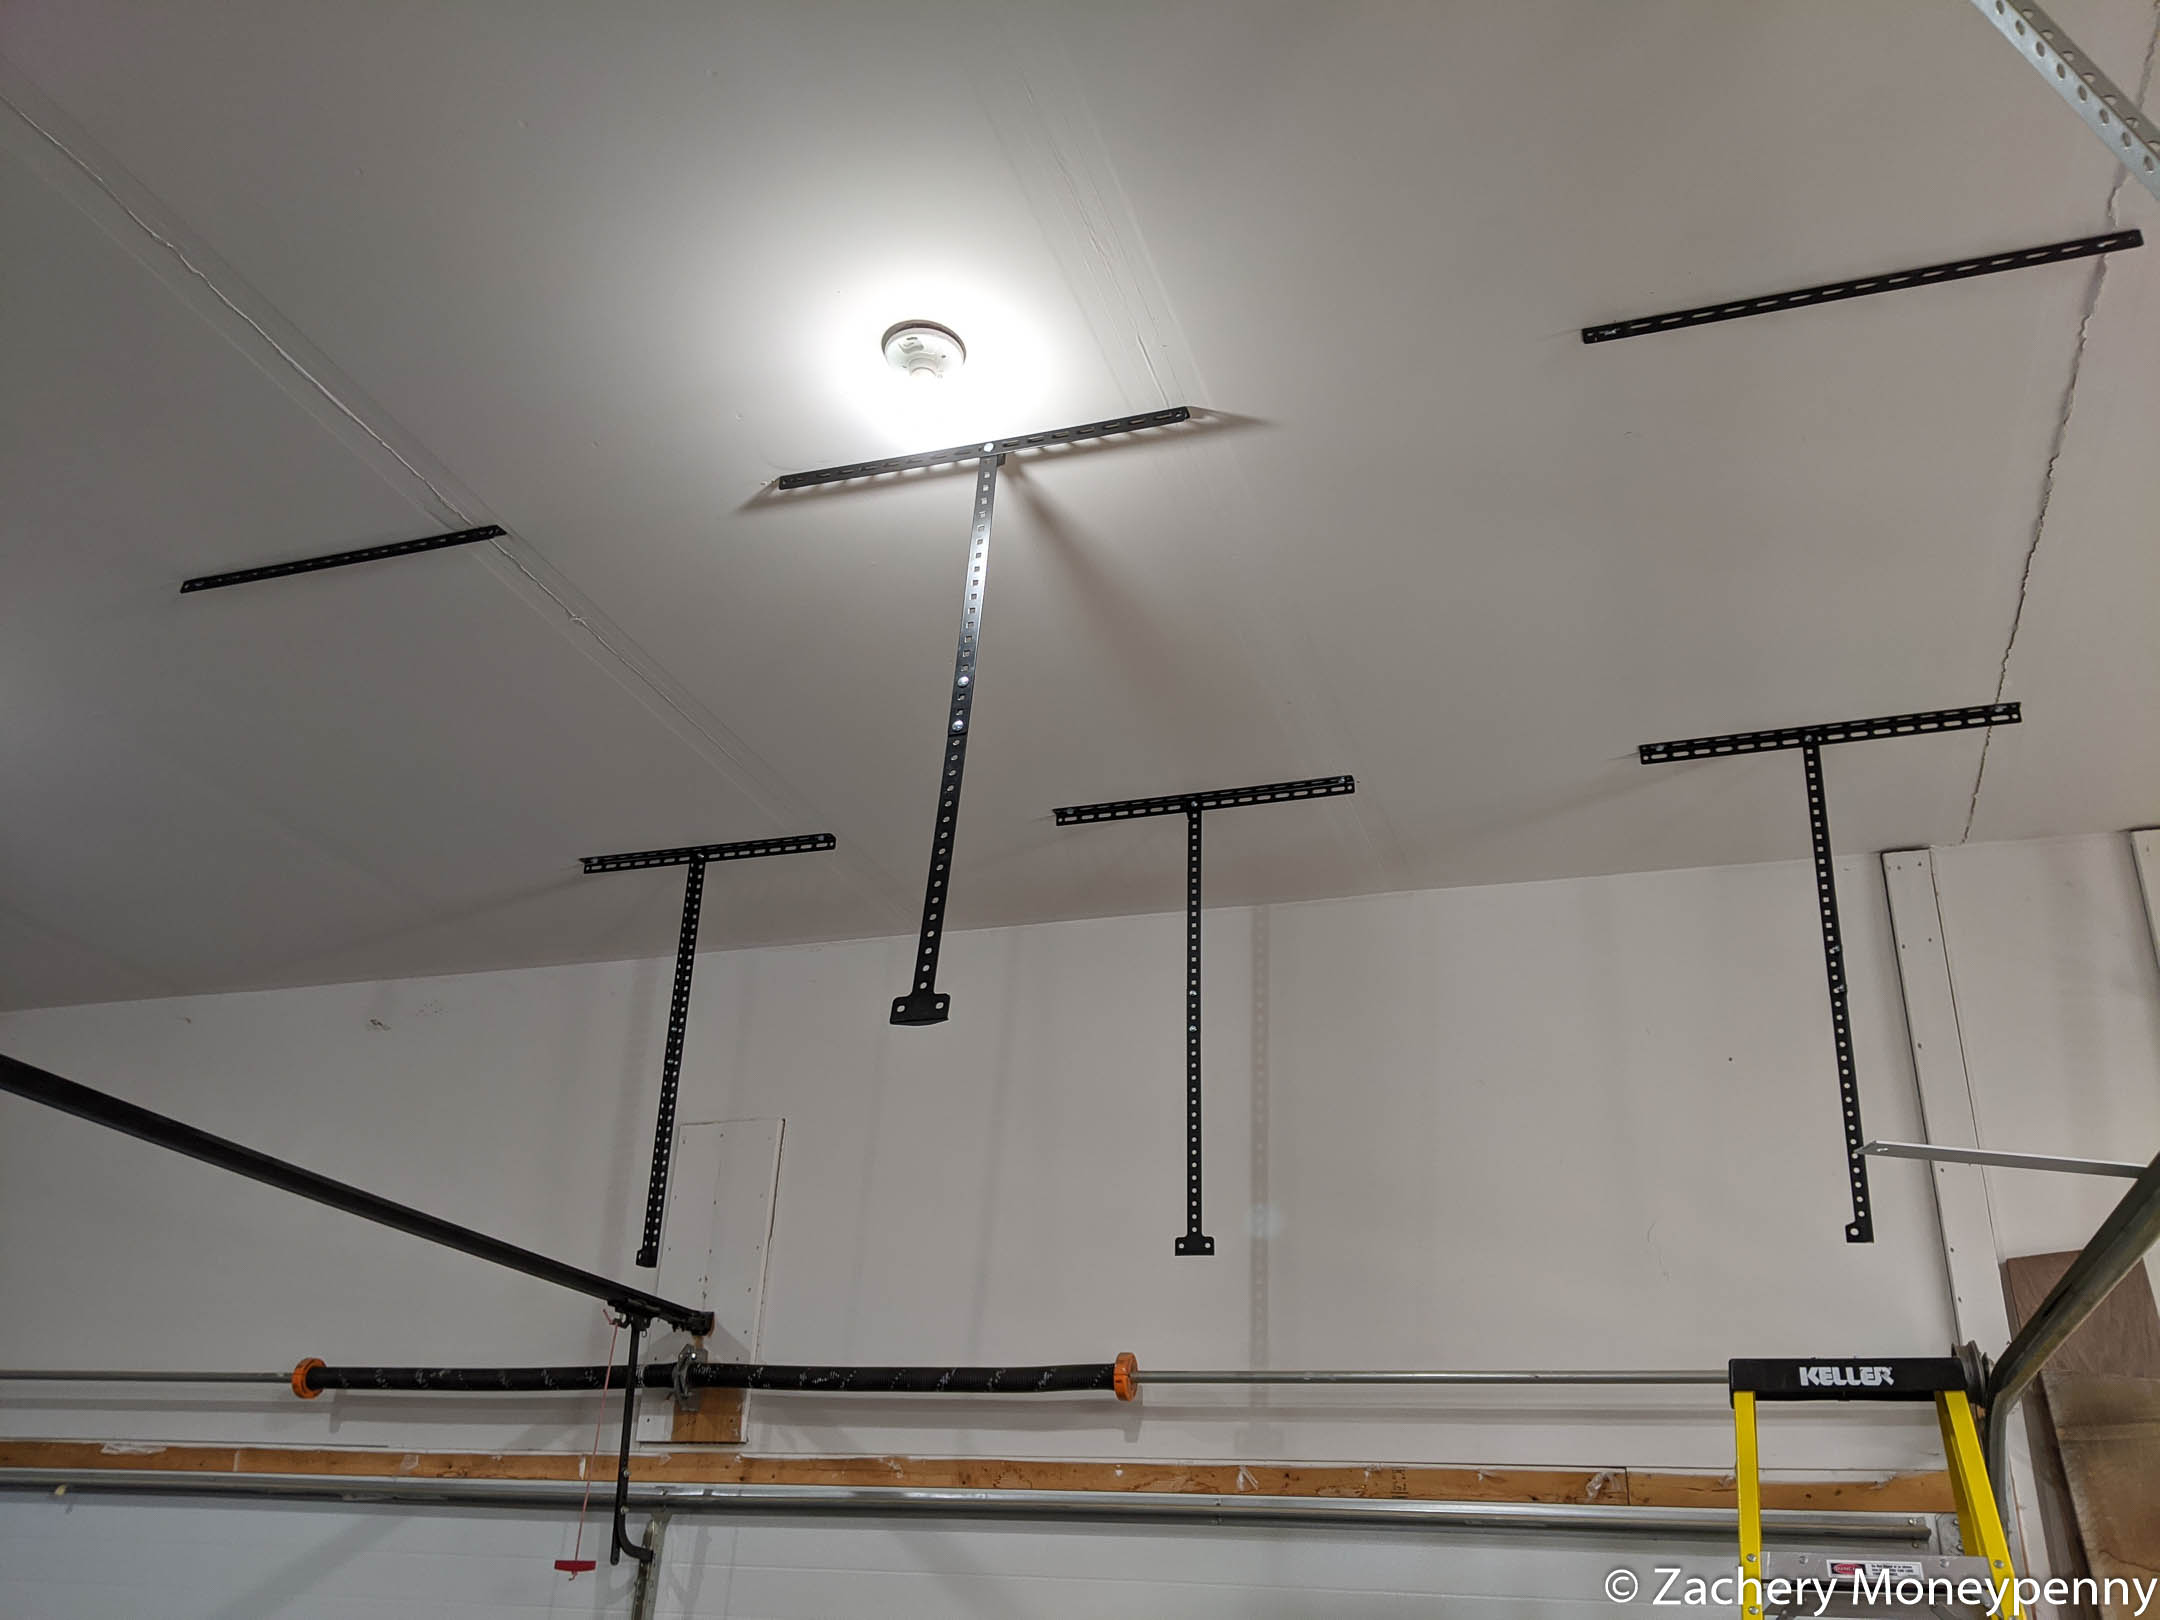
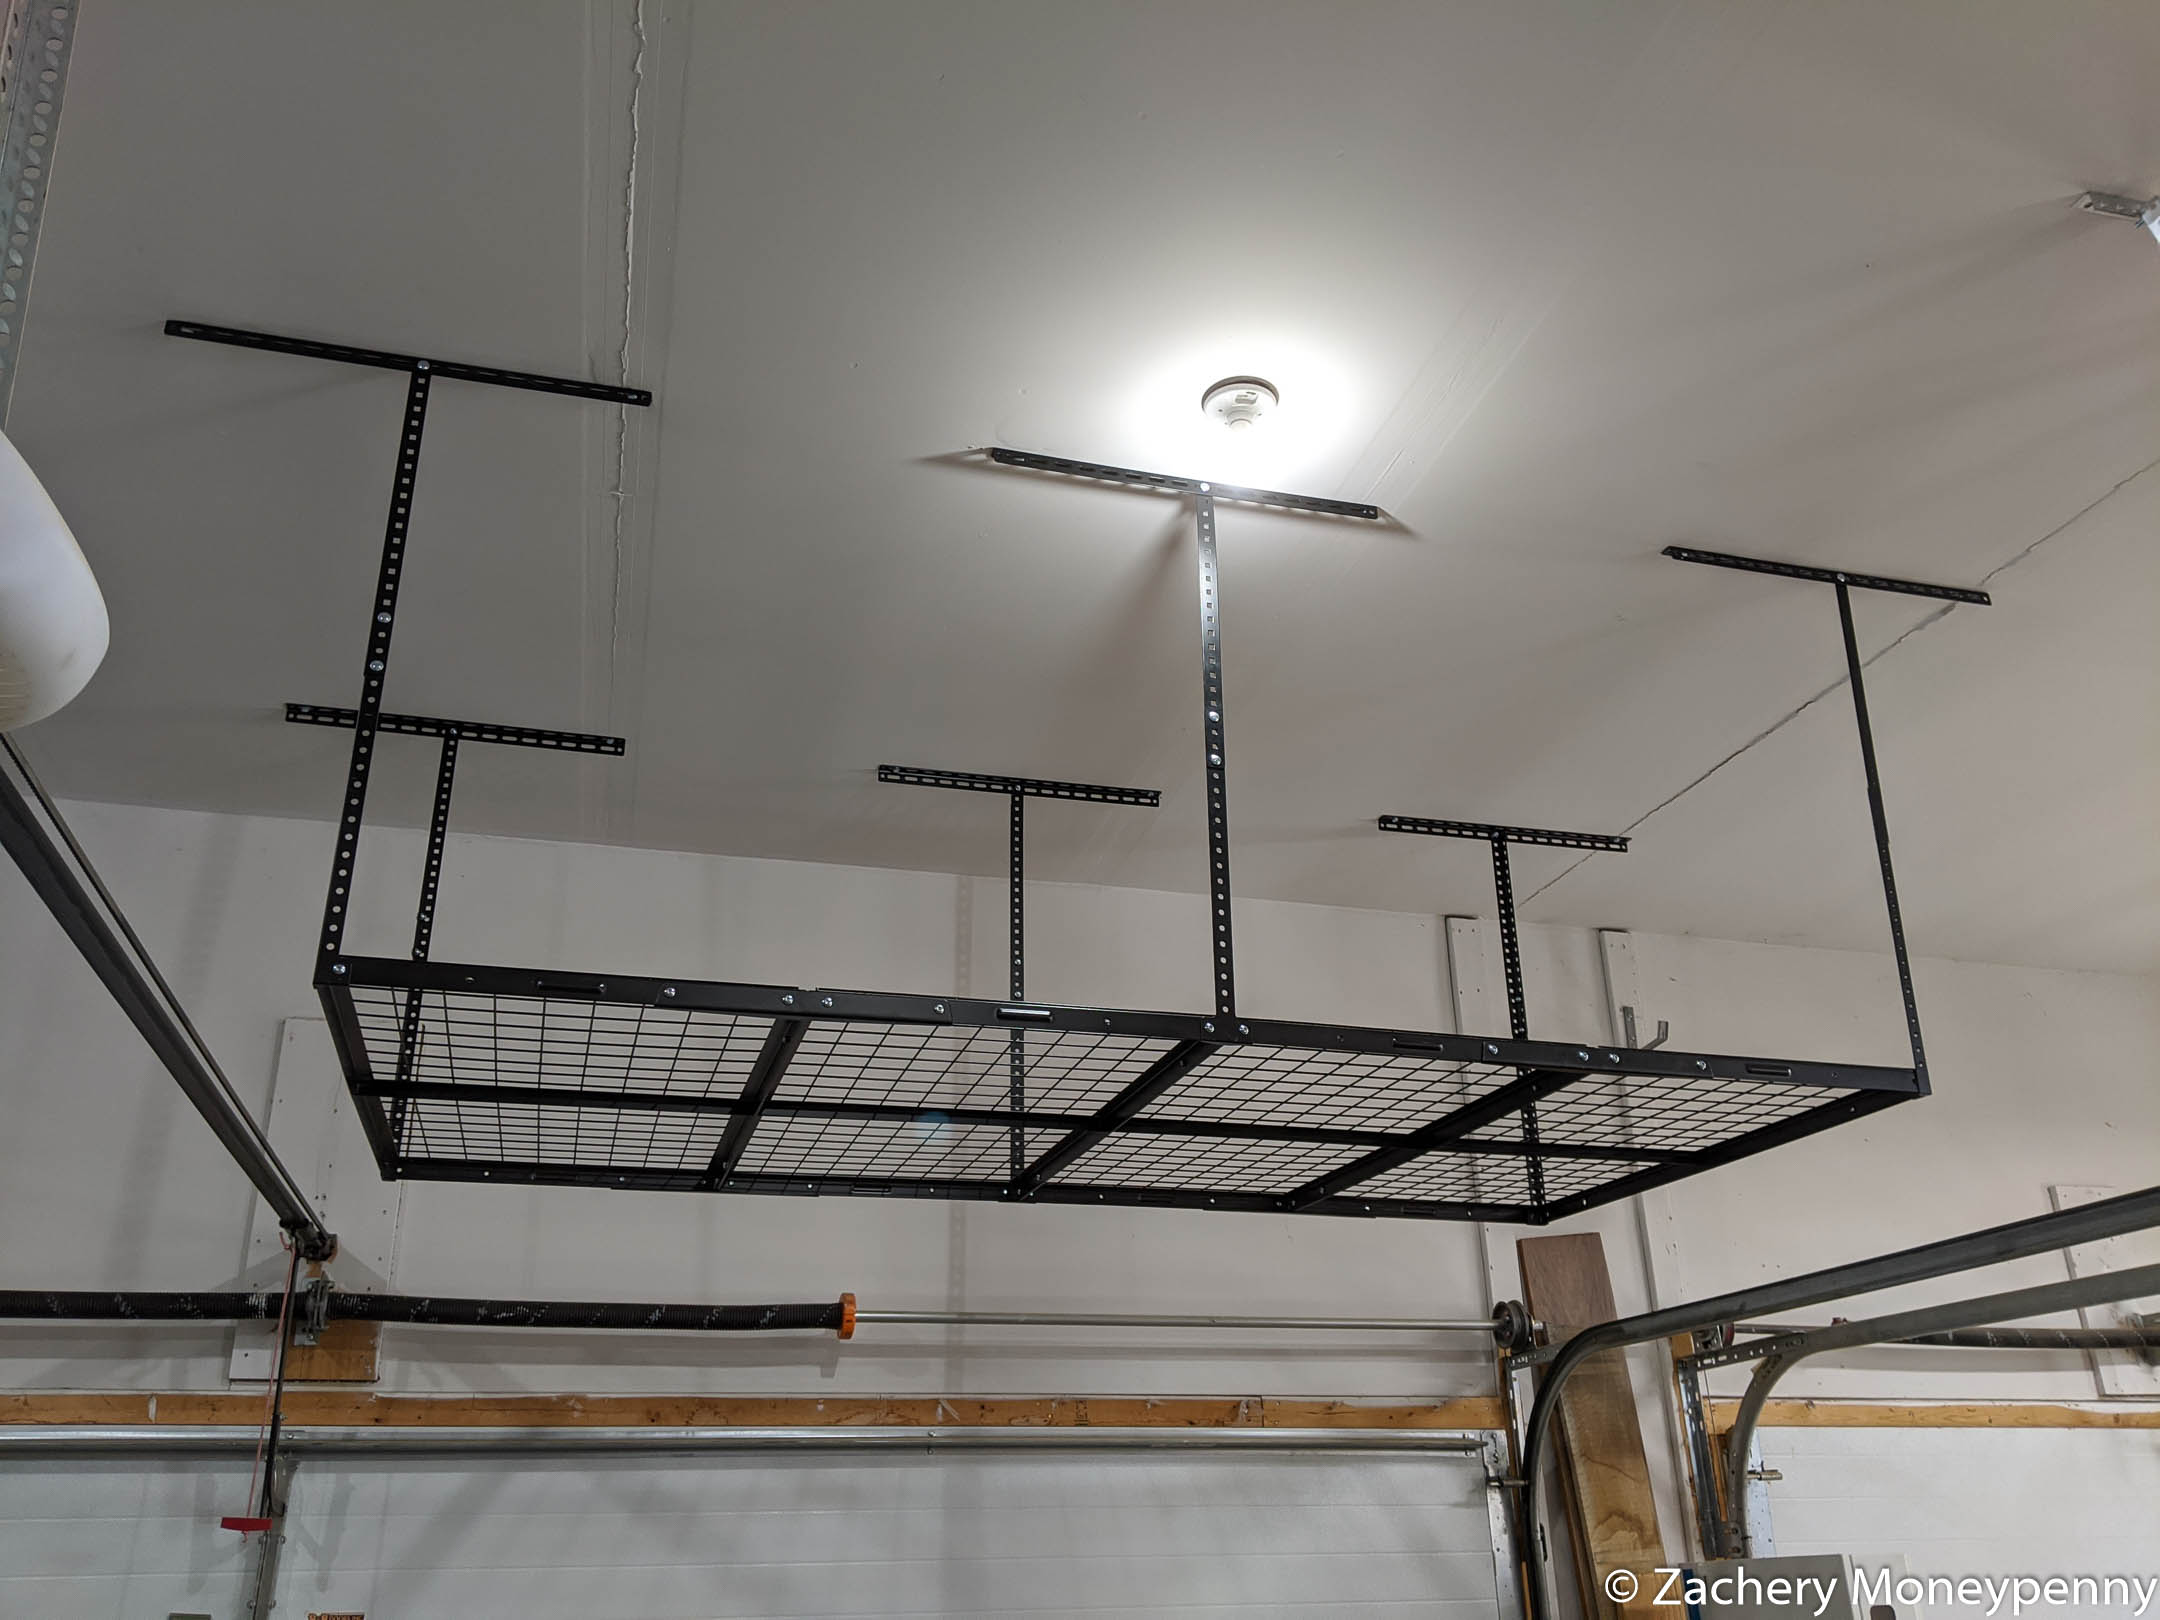
Next step was to start attaching the hanging posts from the bases.
The final step was by far the most frustrating and elicited the most swears-per-minute by me. The platform held by the hanging arms used threaded bolts to attach each of the four 2’x4’ pieces to each other and the quality of the threaded holes was awful. When we went to lift it up into place the middle section buckled and it was extremely difficult to attach each side and corner arm to the platform.
“Fuck,” he said, depressingly. “Shit.”
Once it was kind of leveraged into place and I sorta got the bolts through the hangers and the platform I was able to go to each in turn, back out the bolts and then re-align and re-tighten until flush. It was at that point that I stopped swearing.
And thus we had ceiling storage in the garage! Before loading it up I let it hang there over the weekend. If my shoddy installation was that bad I wanted it to fall empty onto our truck. But, to my infinite delight, it was still standing and so we started loading it up!
I ended up with about 35+ inches of usable space above the platform with another 6 inches of clearance for the garage door in the up position, so those 12 foot ceiling did do a good job of absorbing random stuff in my house we don’t use very much! And now that we’re putting our camping stuff into inconvenient storage, that means we’ll soon get the hunkering to, uh, go camping. Win—win.