In March I bought a sewing machine so that I could start making cloth masks. After I made 30 or so masks I decided I wanted to try my hand at something a bit more complicated. As when I started to become interested in woodworking, I started watching YouTube videos about beginner sewing techniques and skills and ended up subscribing to a few ones I liked.
In particular, I liked Tock Custom’s videos and his tutorial on sewing a button-up shirt.
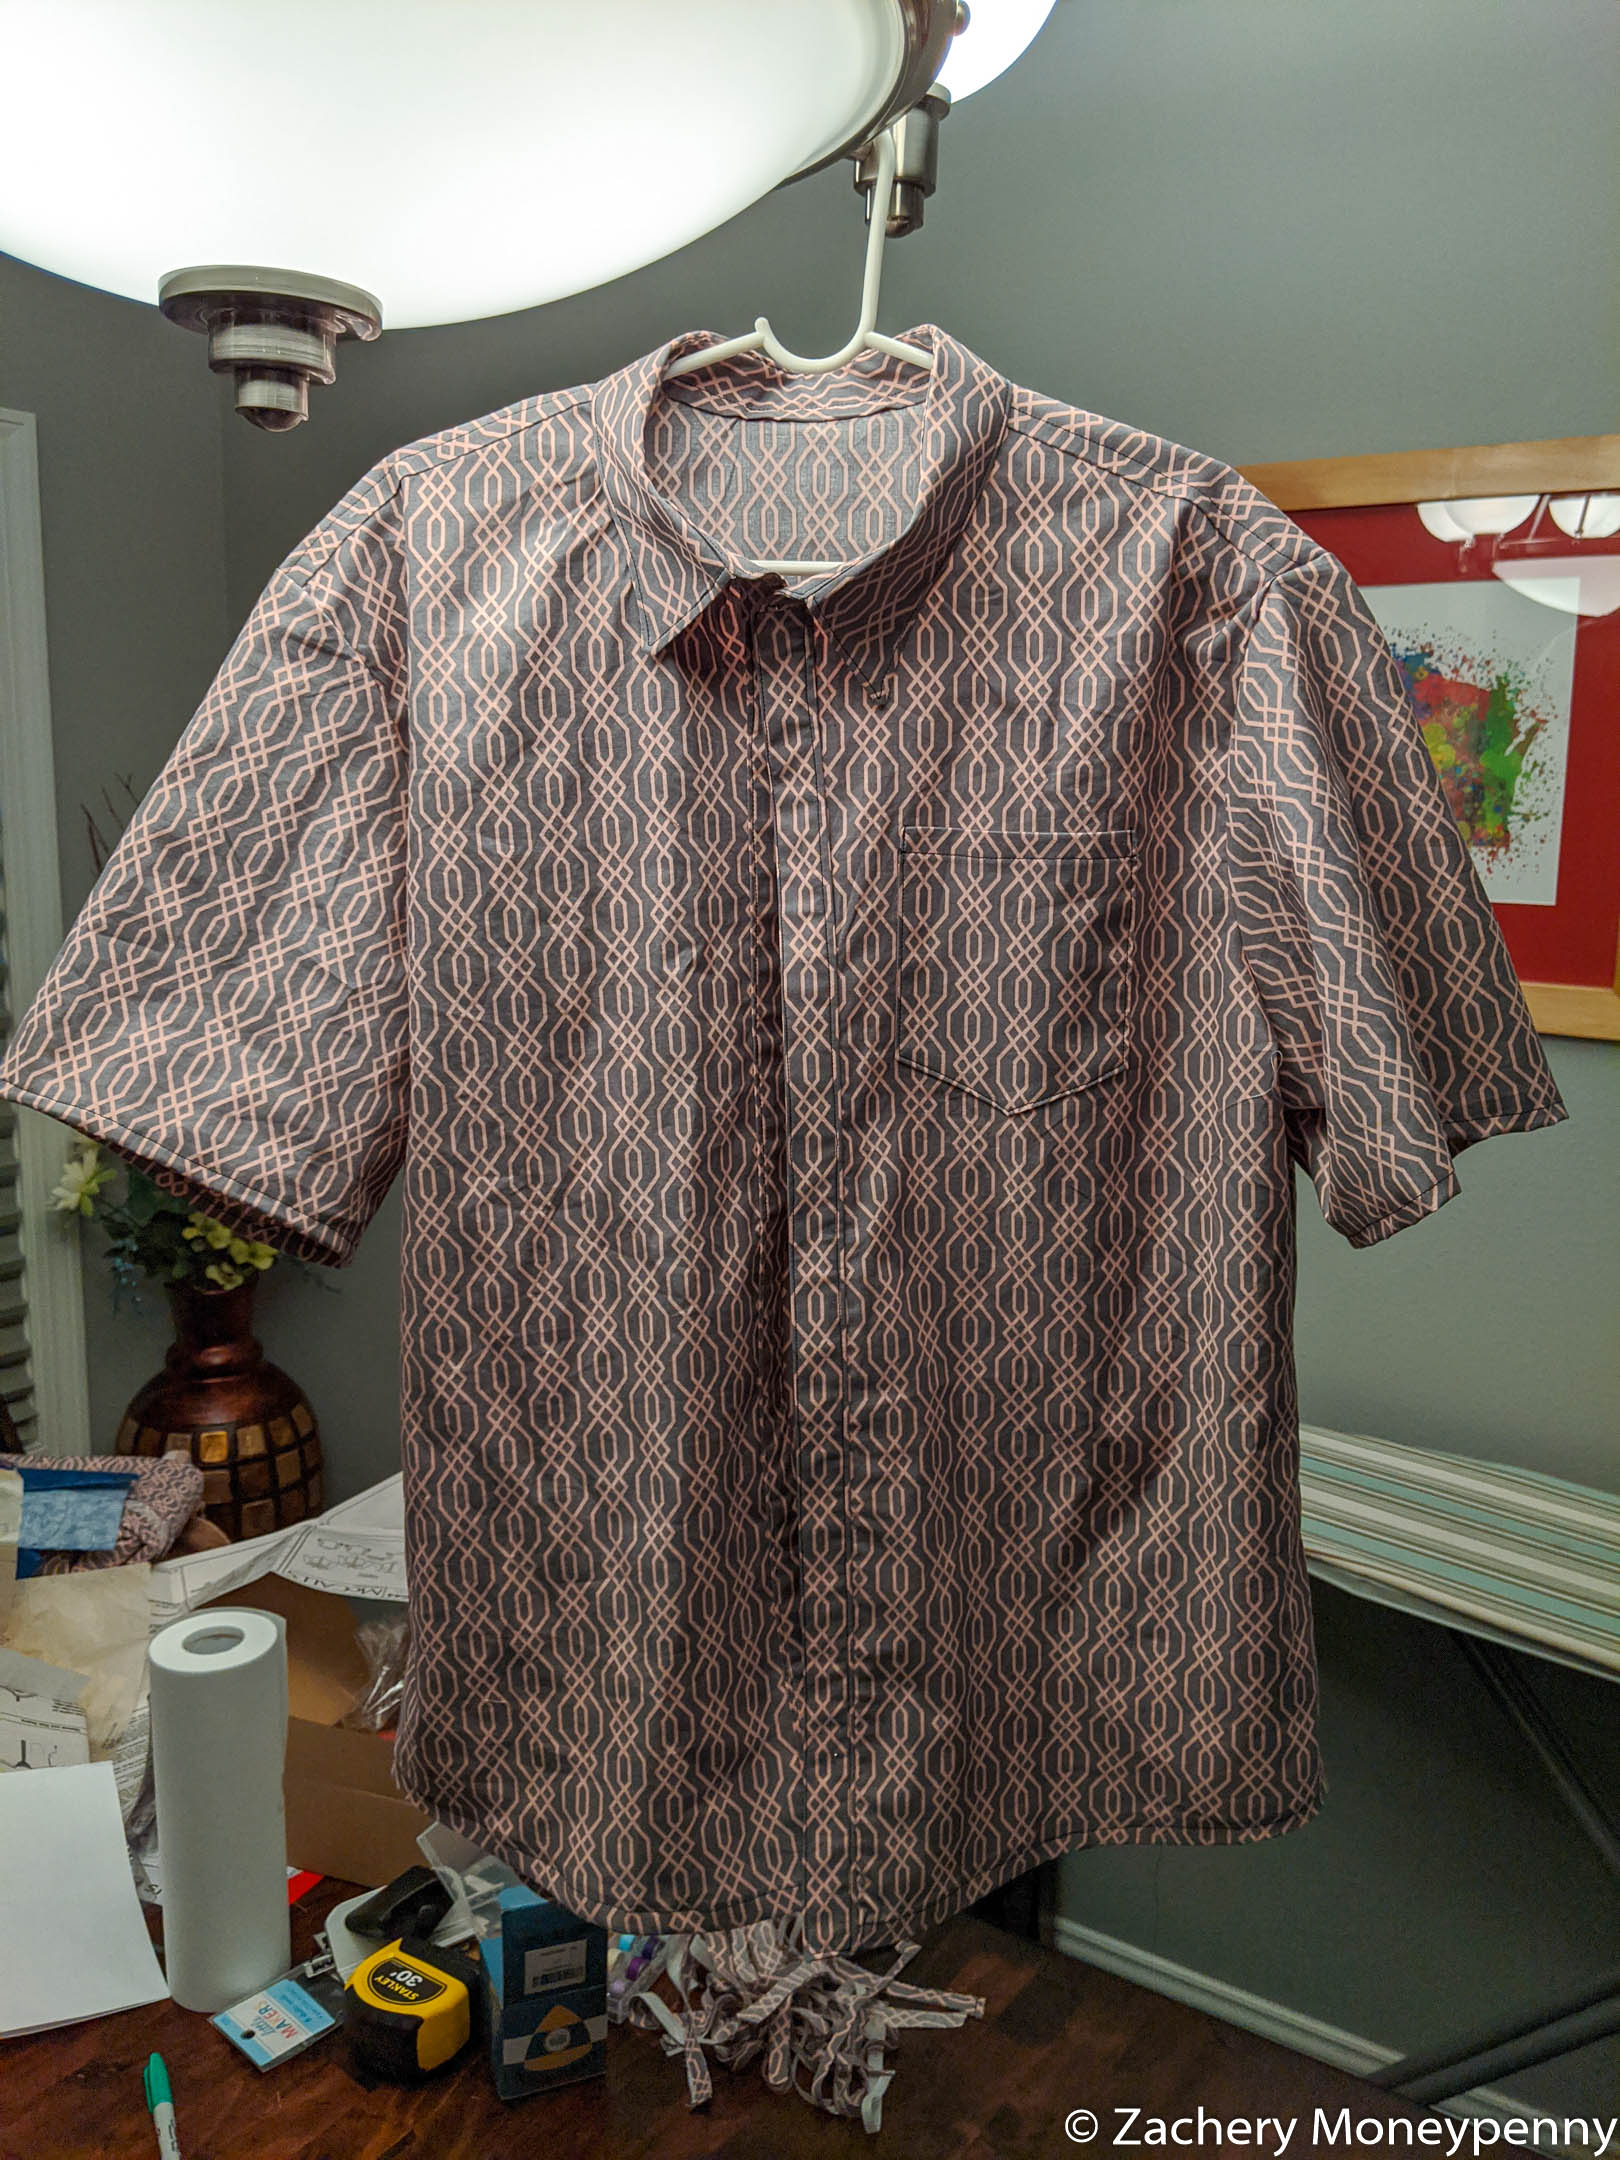
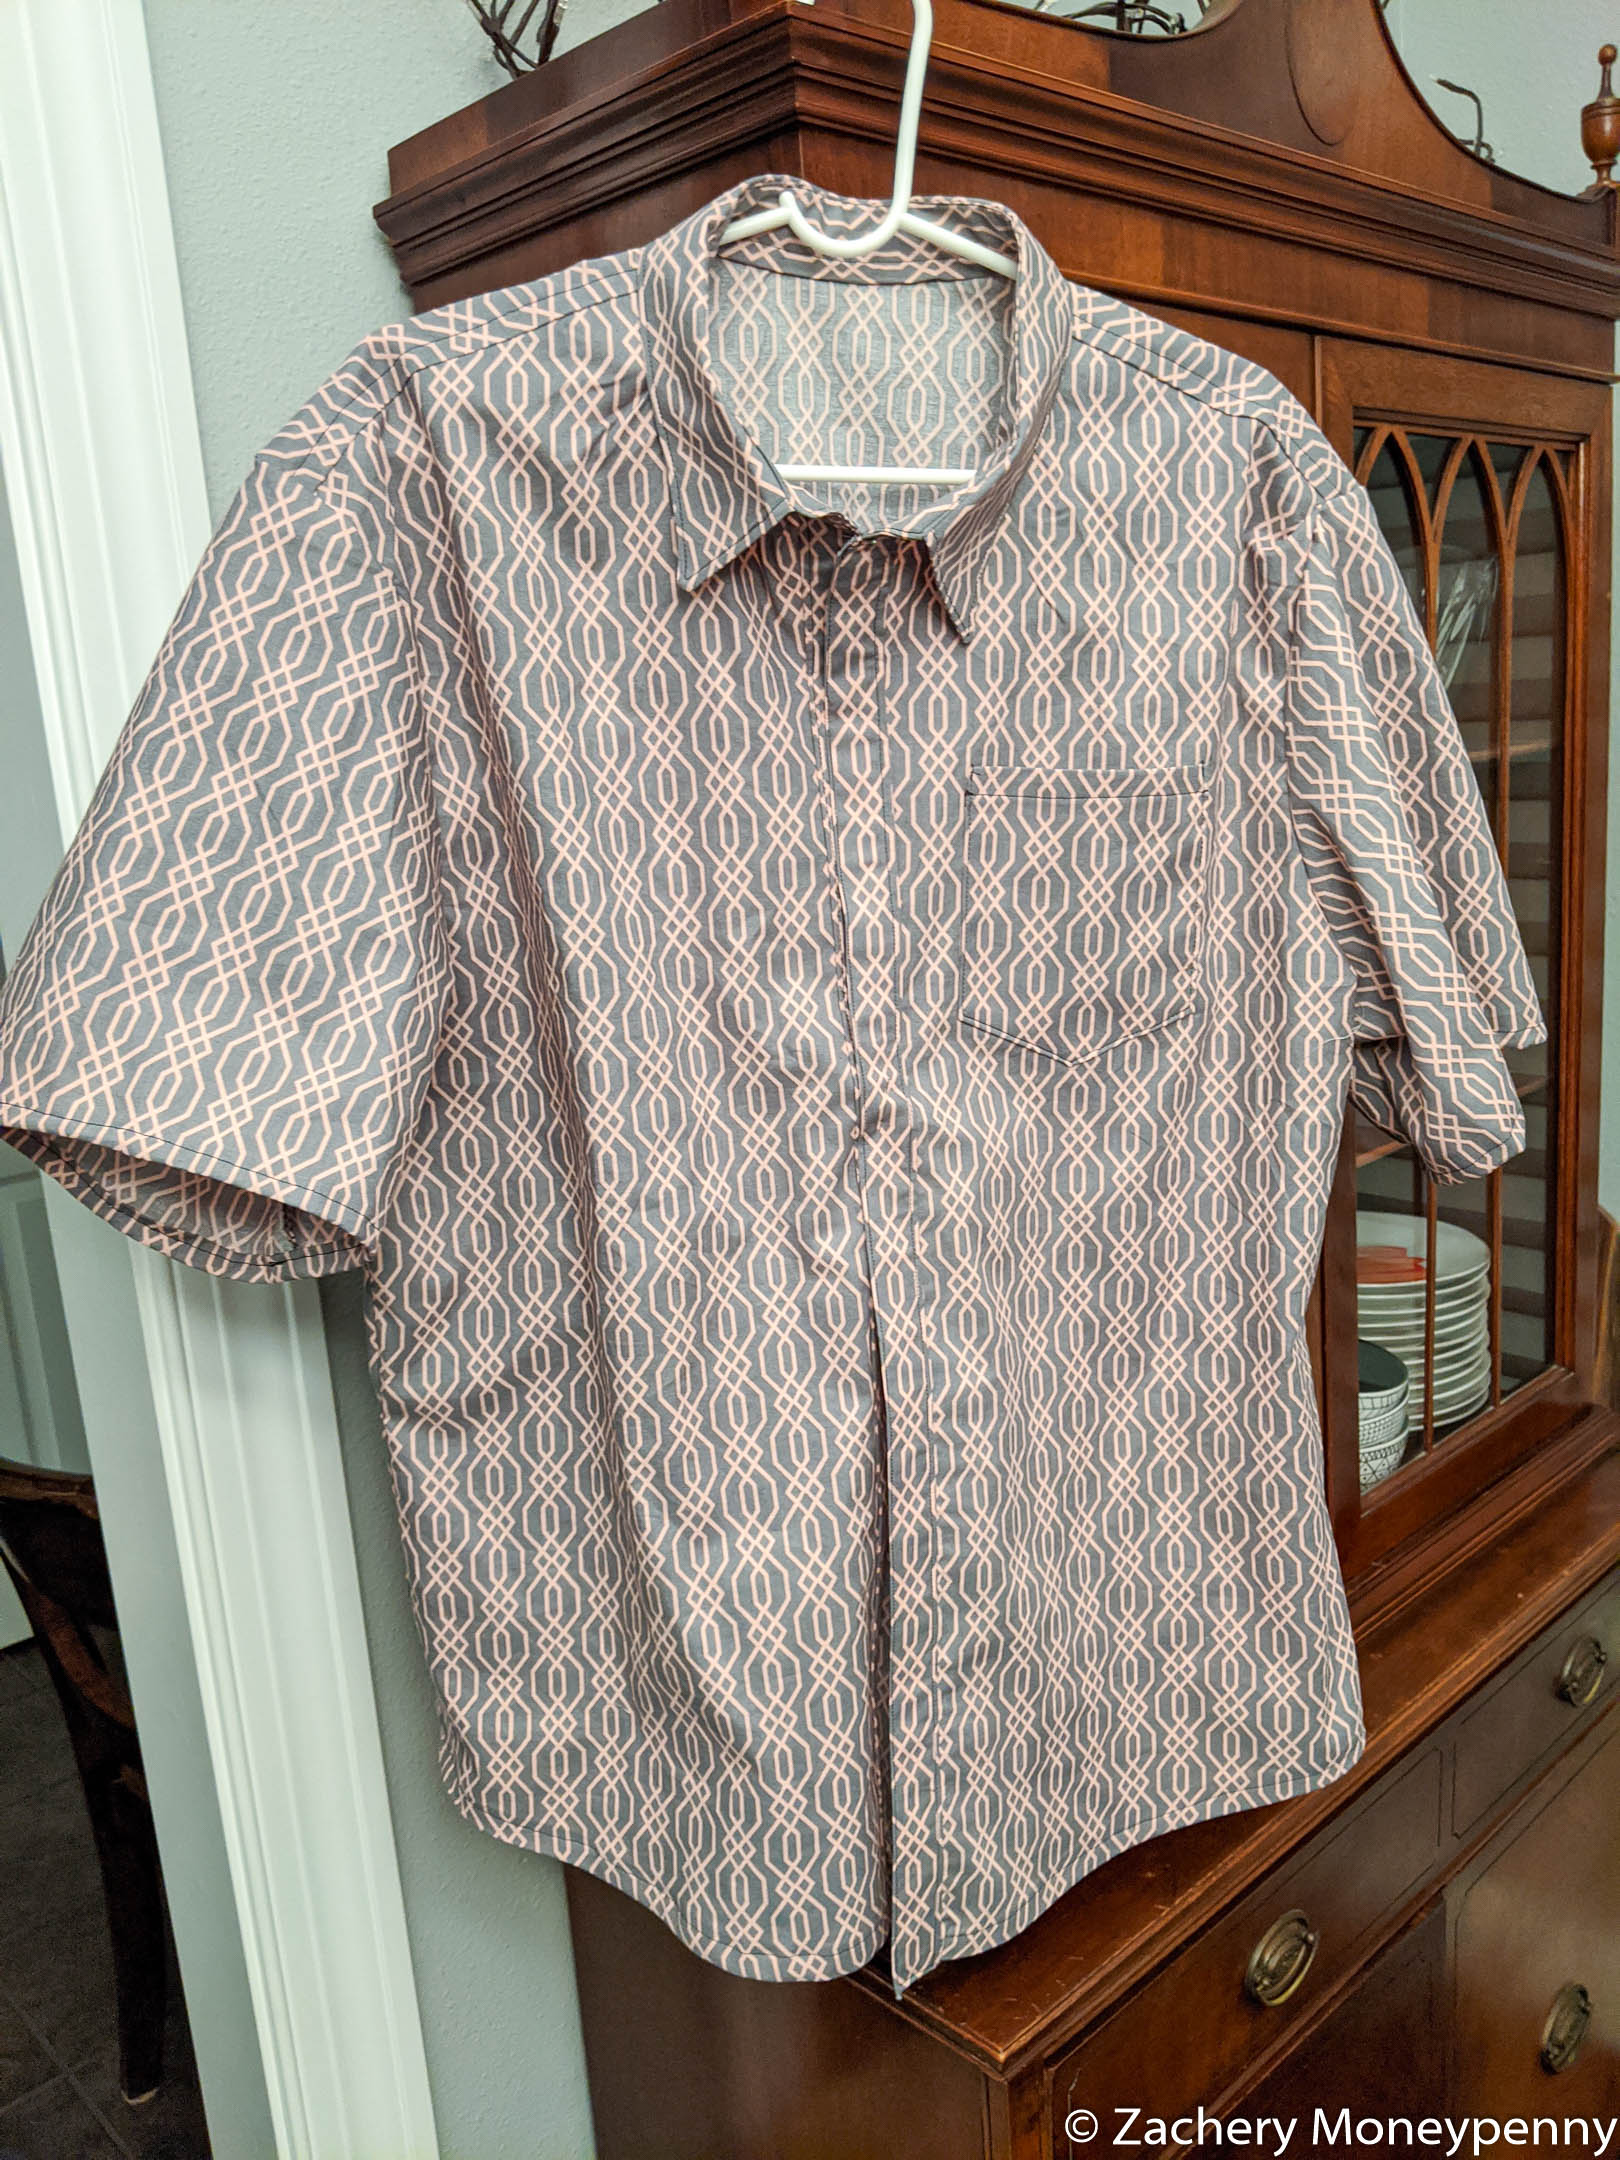
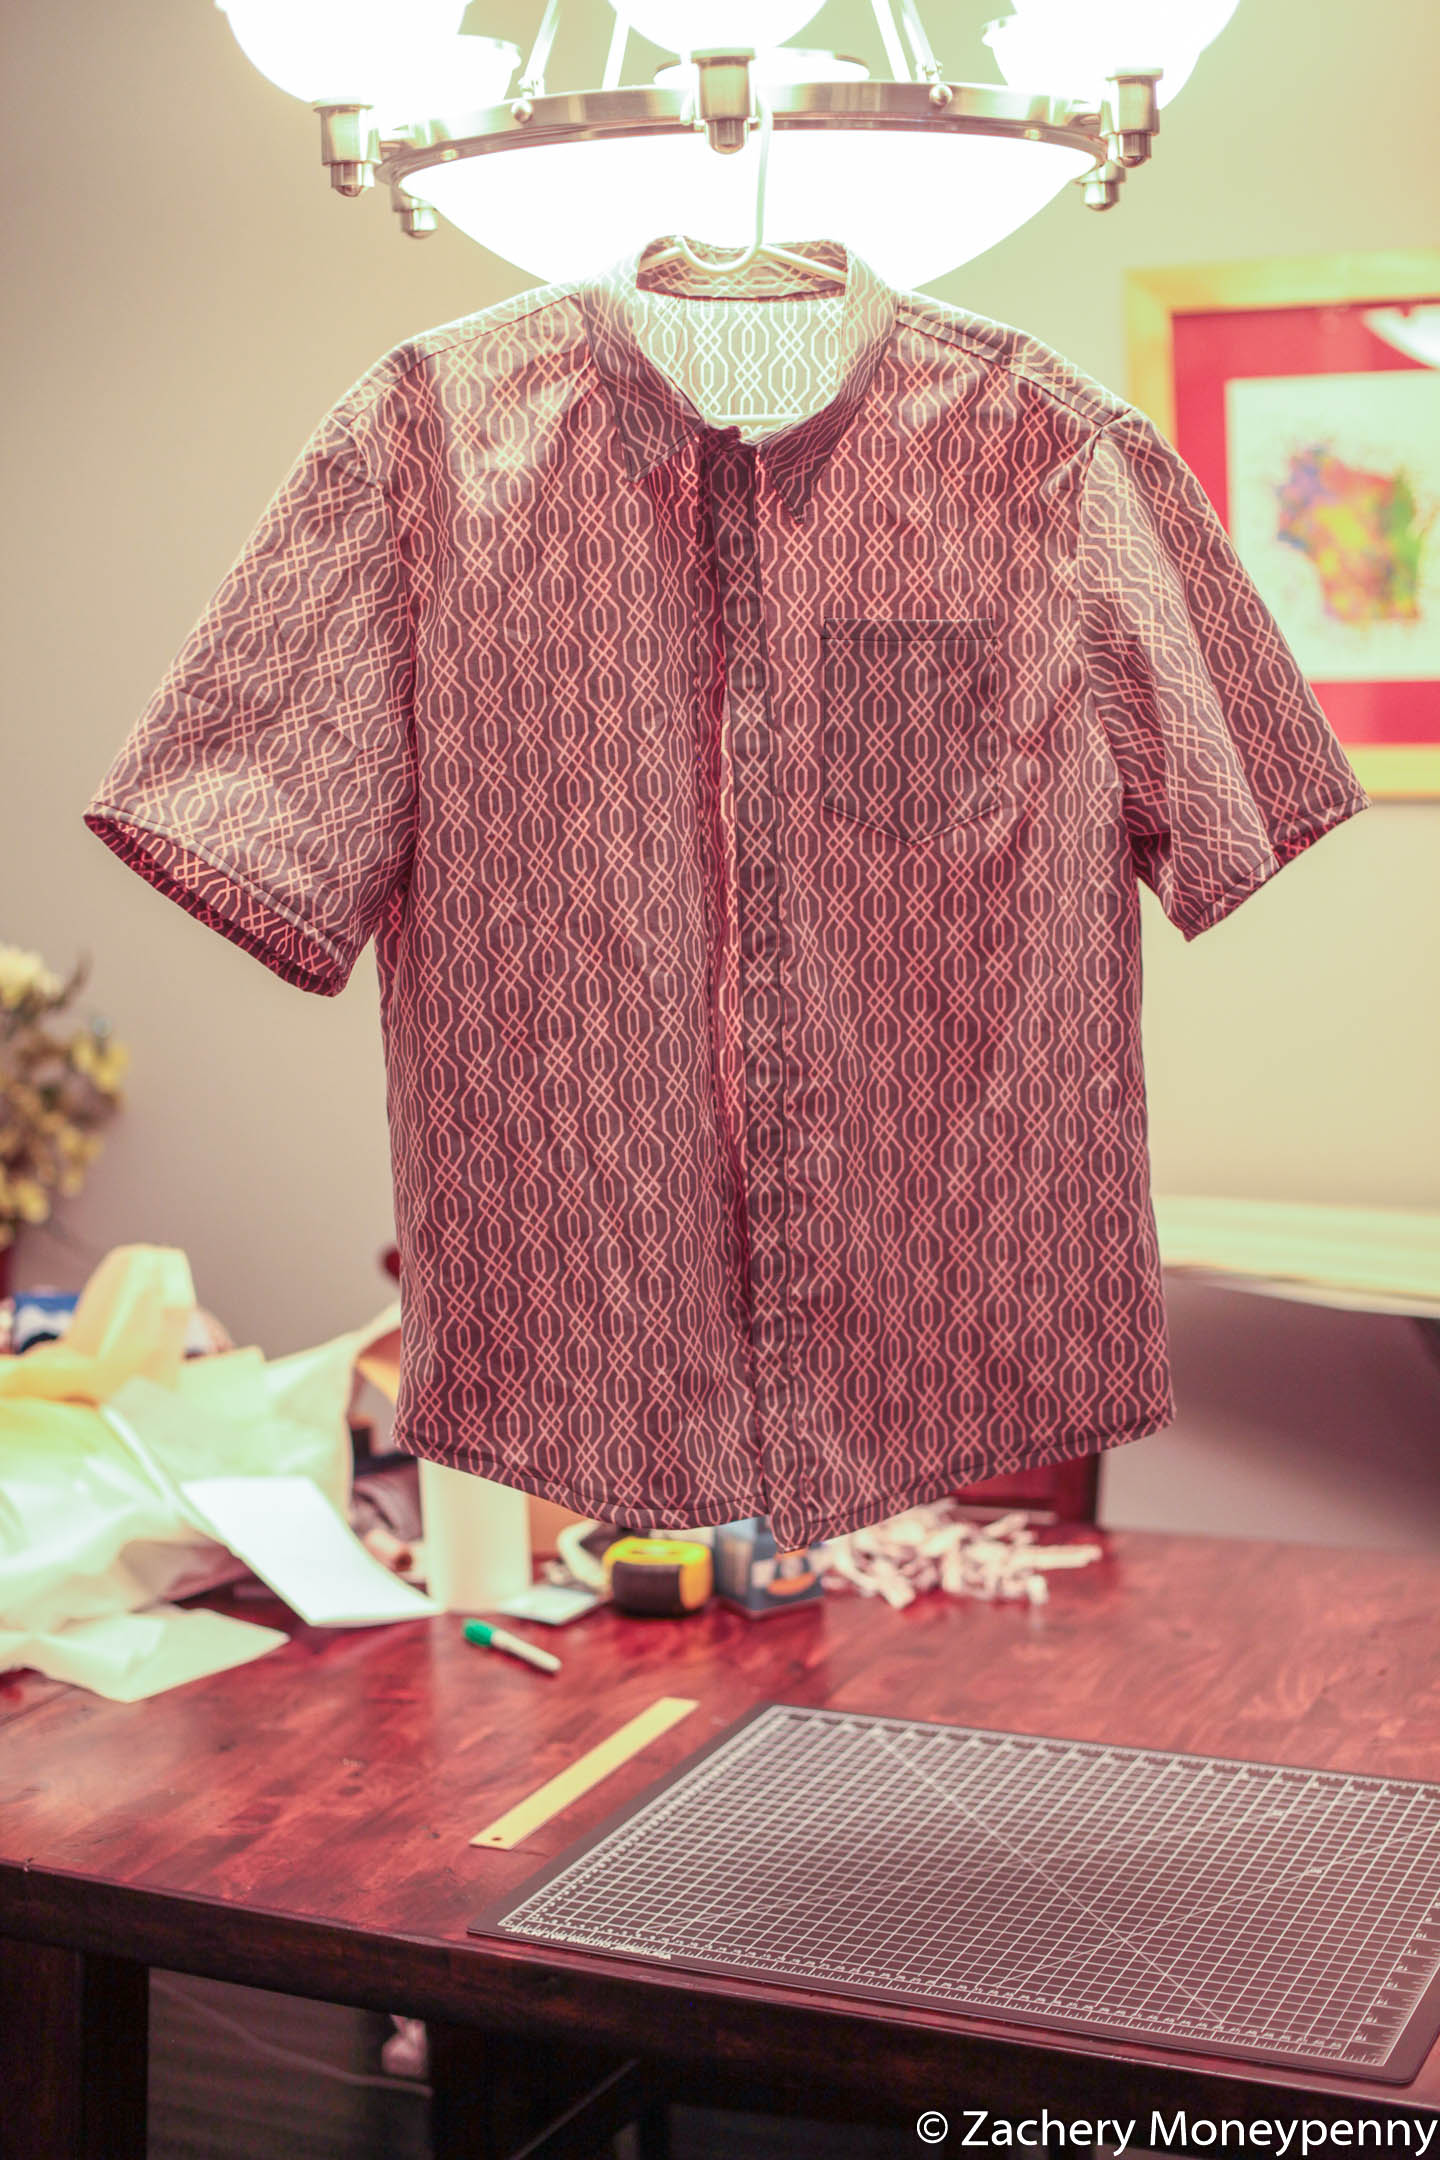
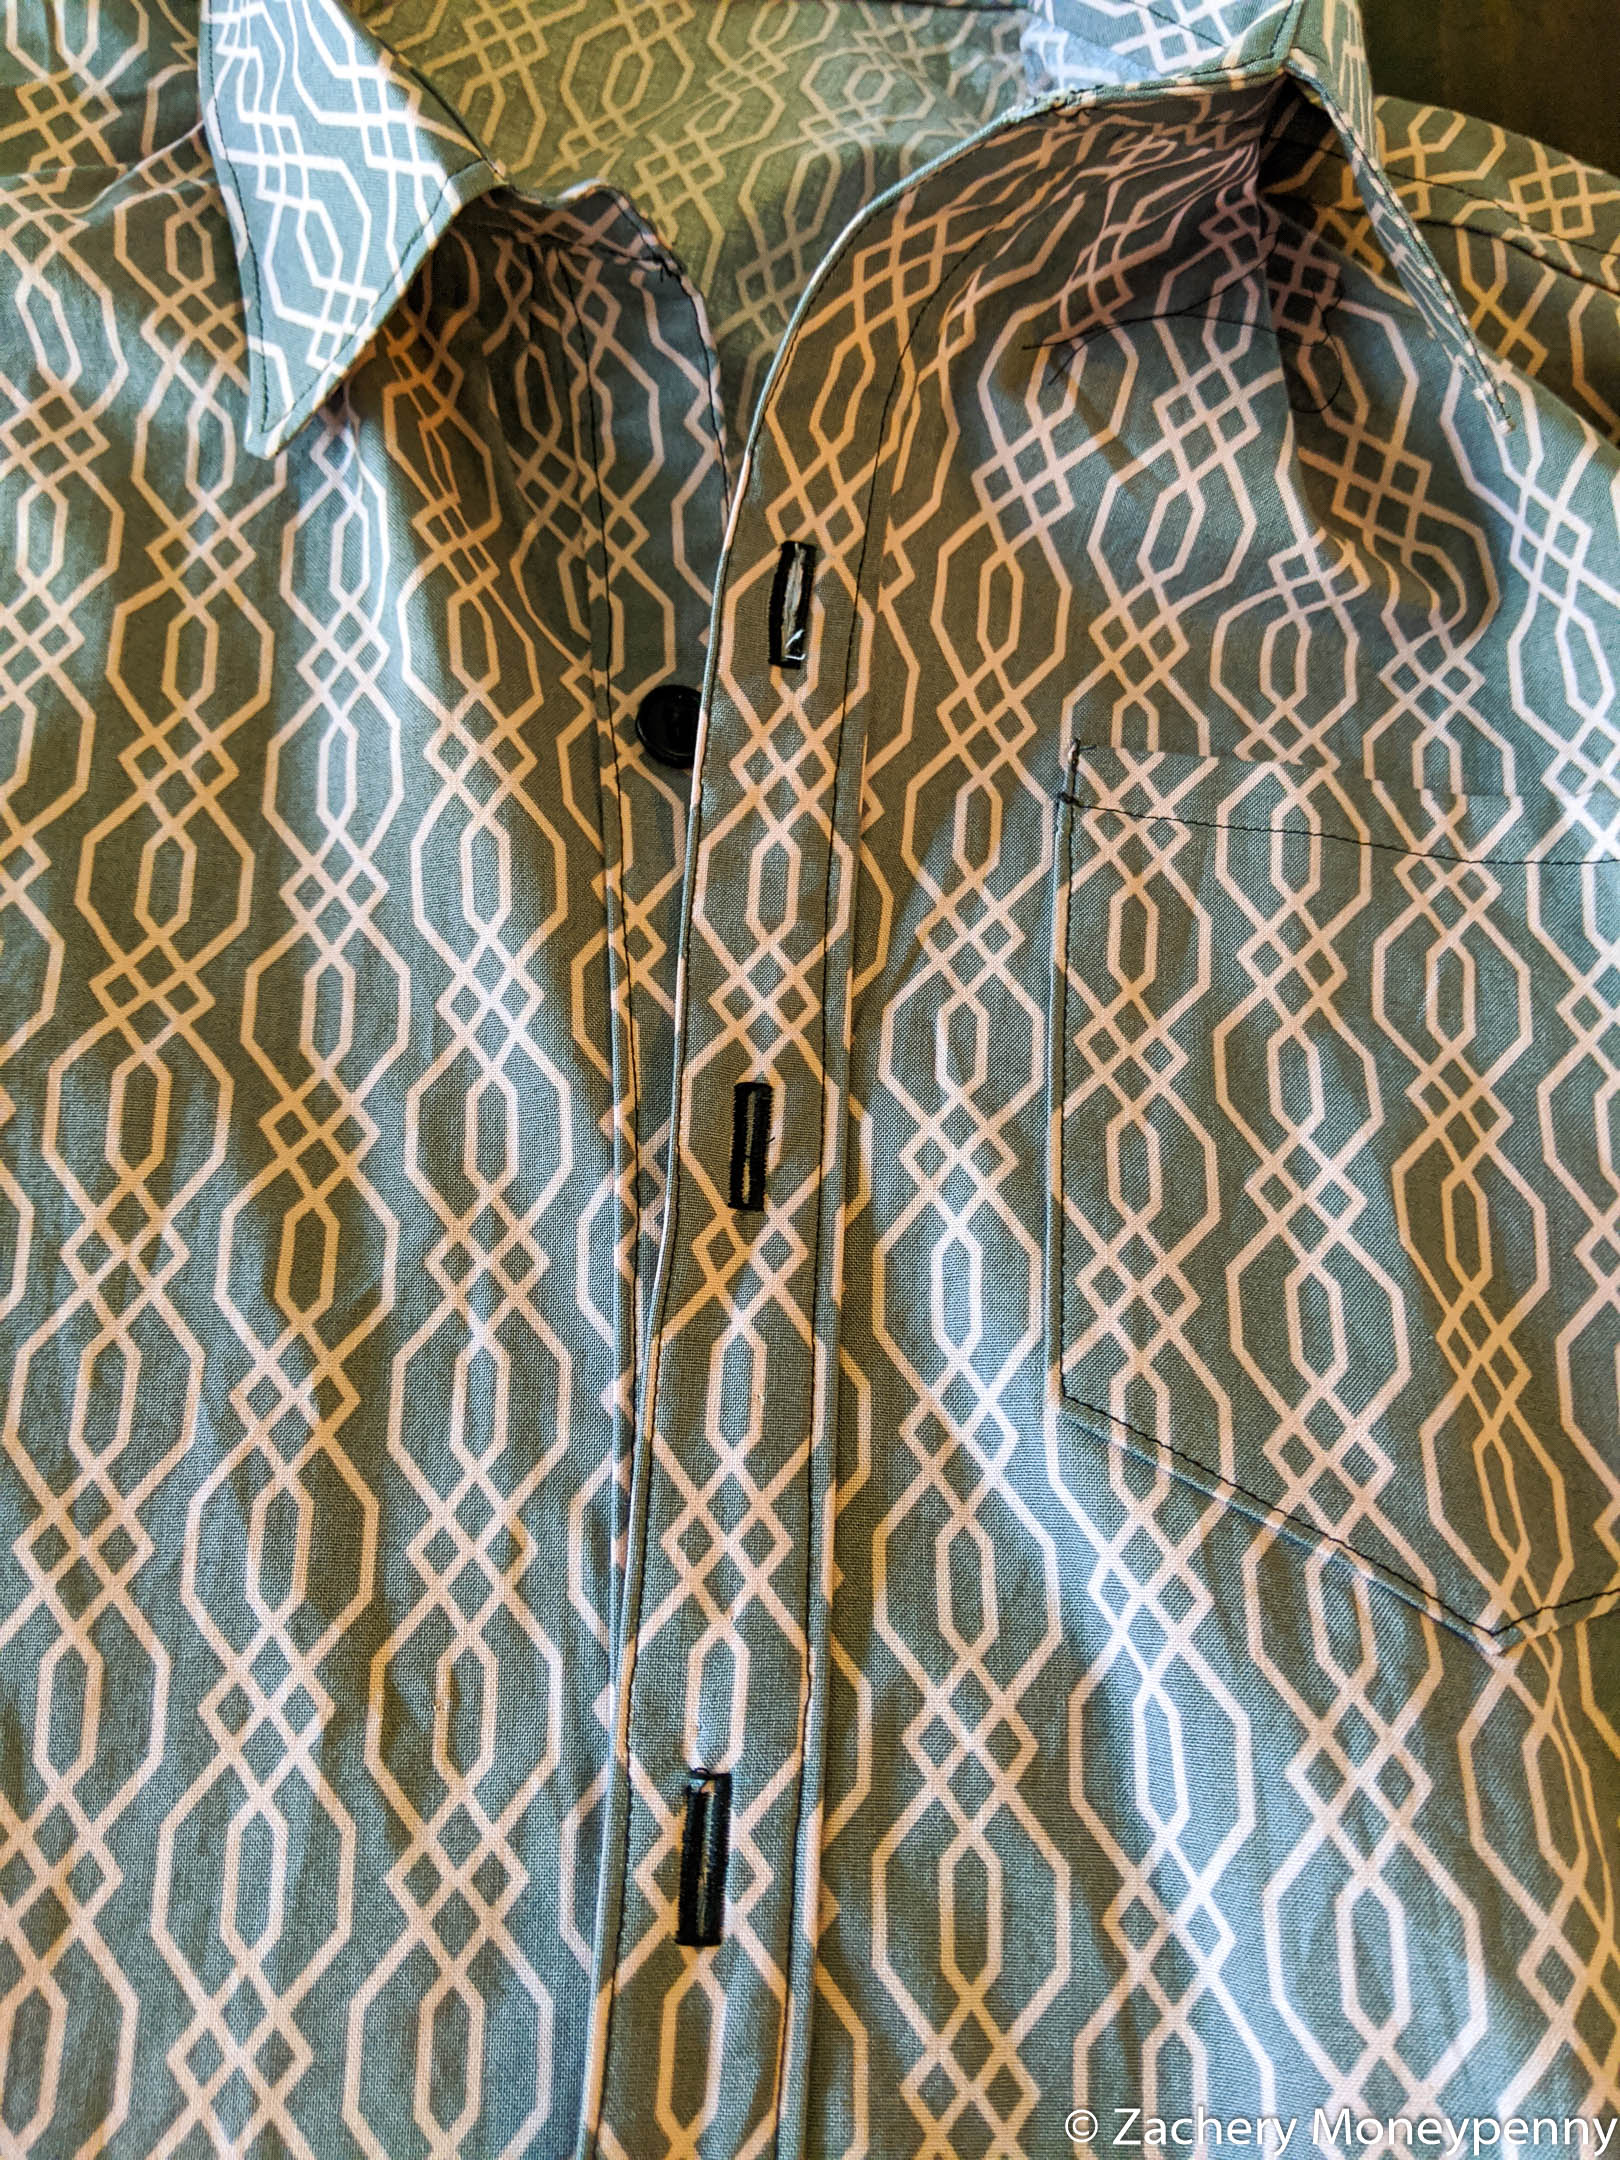
This became my first challenge: to use some extra mask fabric I had to make my own short-sleeve button up shirt.
Pattern
Since I wanted to follow along with the tutorial video, I ordered the same pattern: McCall’s M6044. The problem came when I had to choose which size pattern to order: they are sold separately as Sm-Med-Large and XL-XXL-XXXL but I didn’t know if I was a Large or an Extra Large according to the pattern. I purchased the XL/XXL/XXXL one with the thought that I’d be able to tailor it smaller if need be, whereas if I went with the Large and it was too small I’d be out of luck.
Fabric
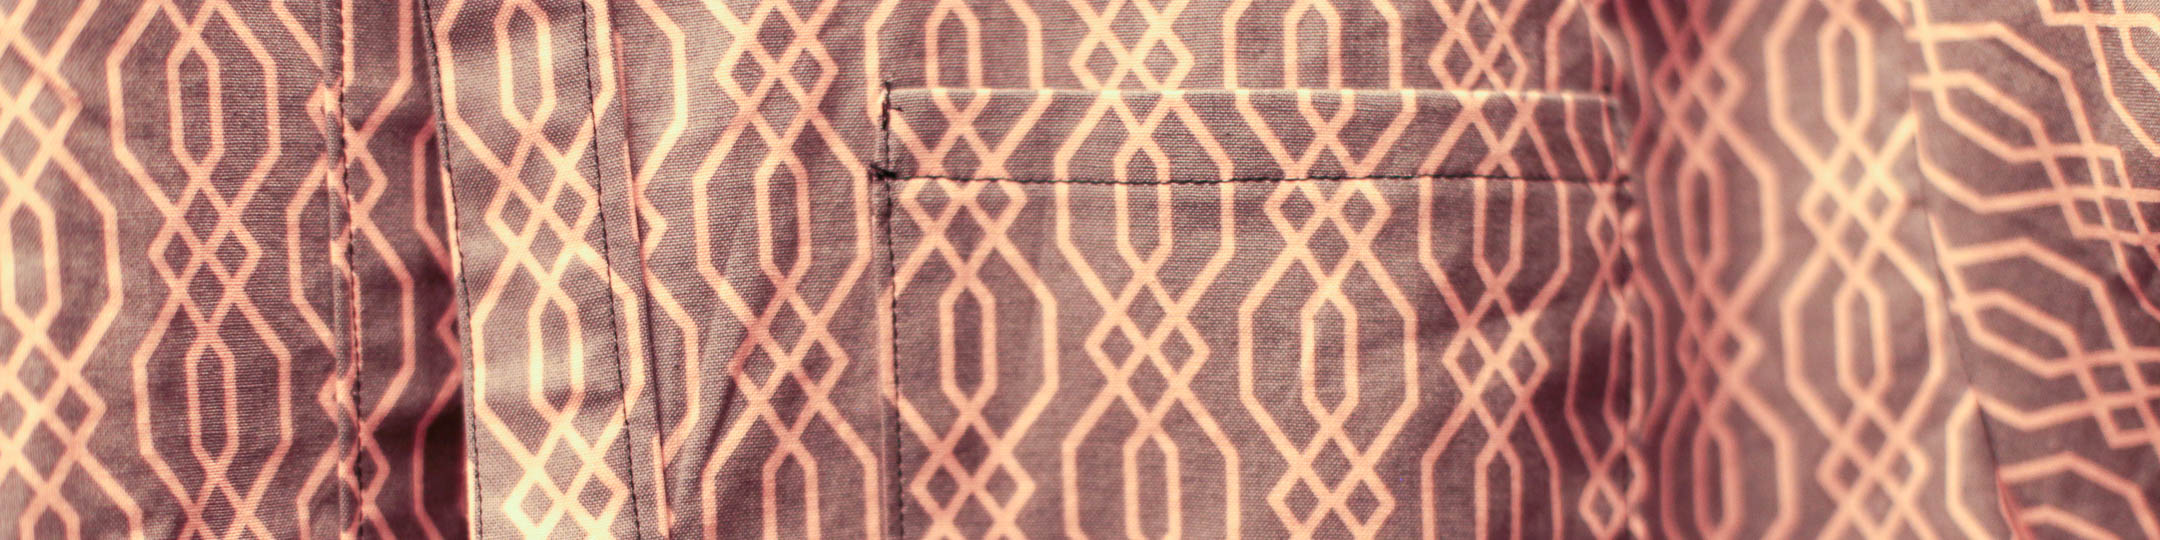
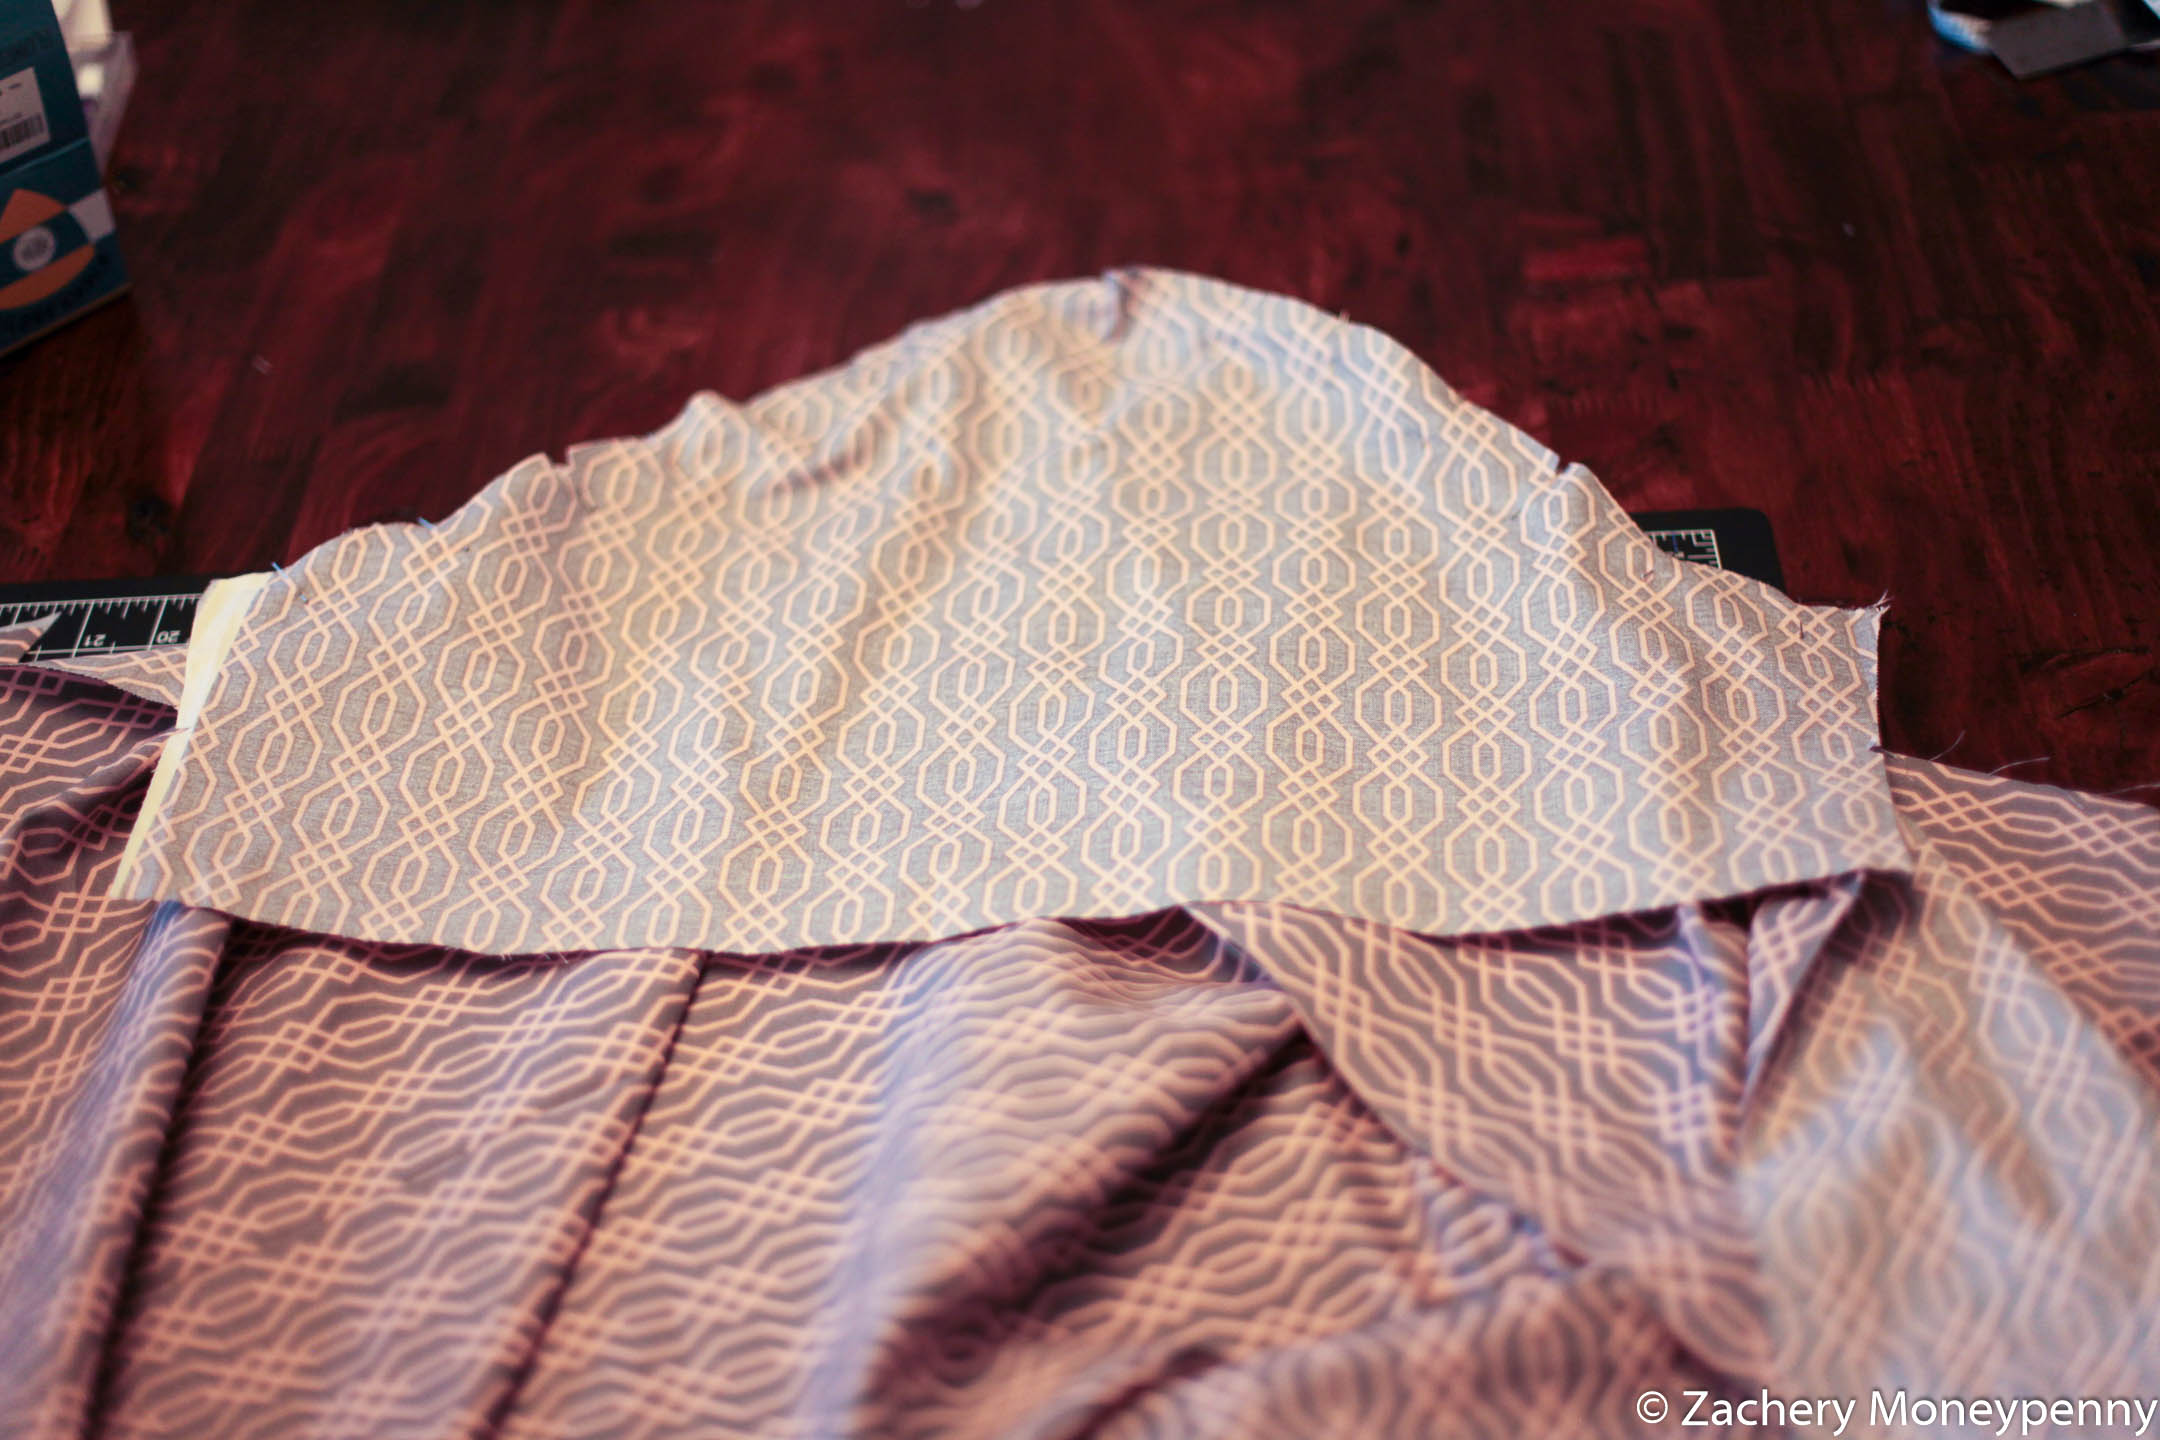
I’d ordered 5 yards of fabric for making masks that I kinda liked; it was a funky pattern that shaded towards a pinky purple.
Cutting
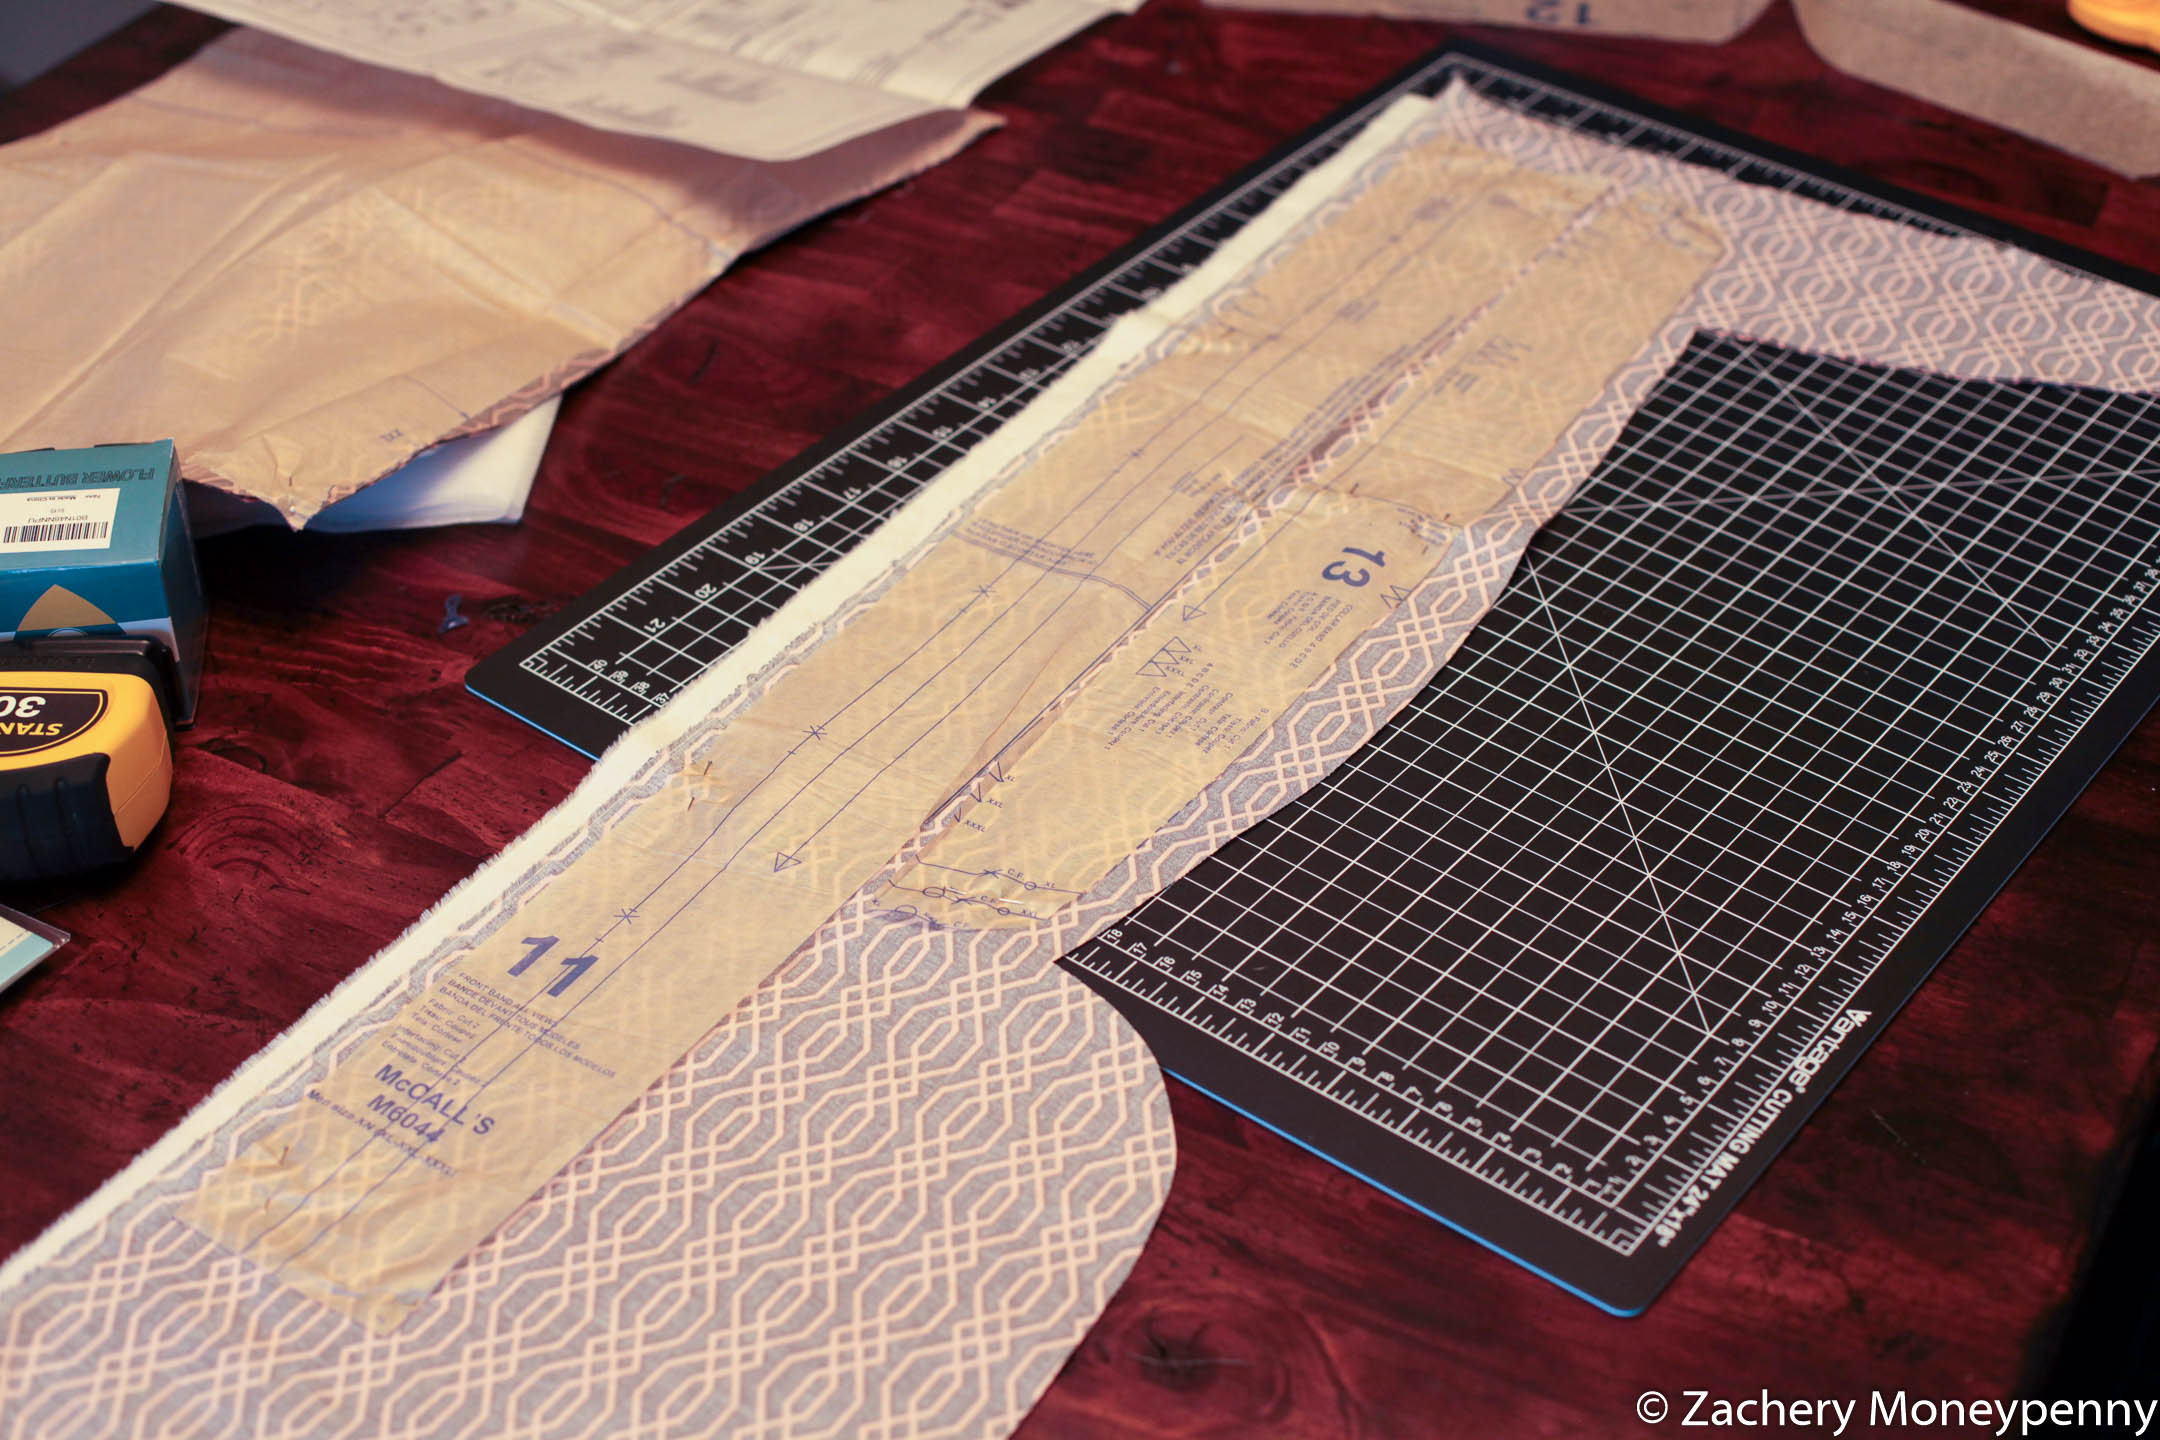
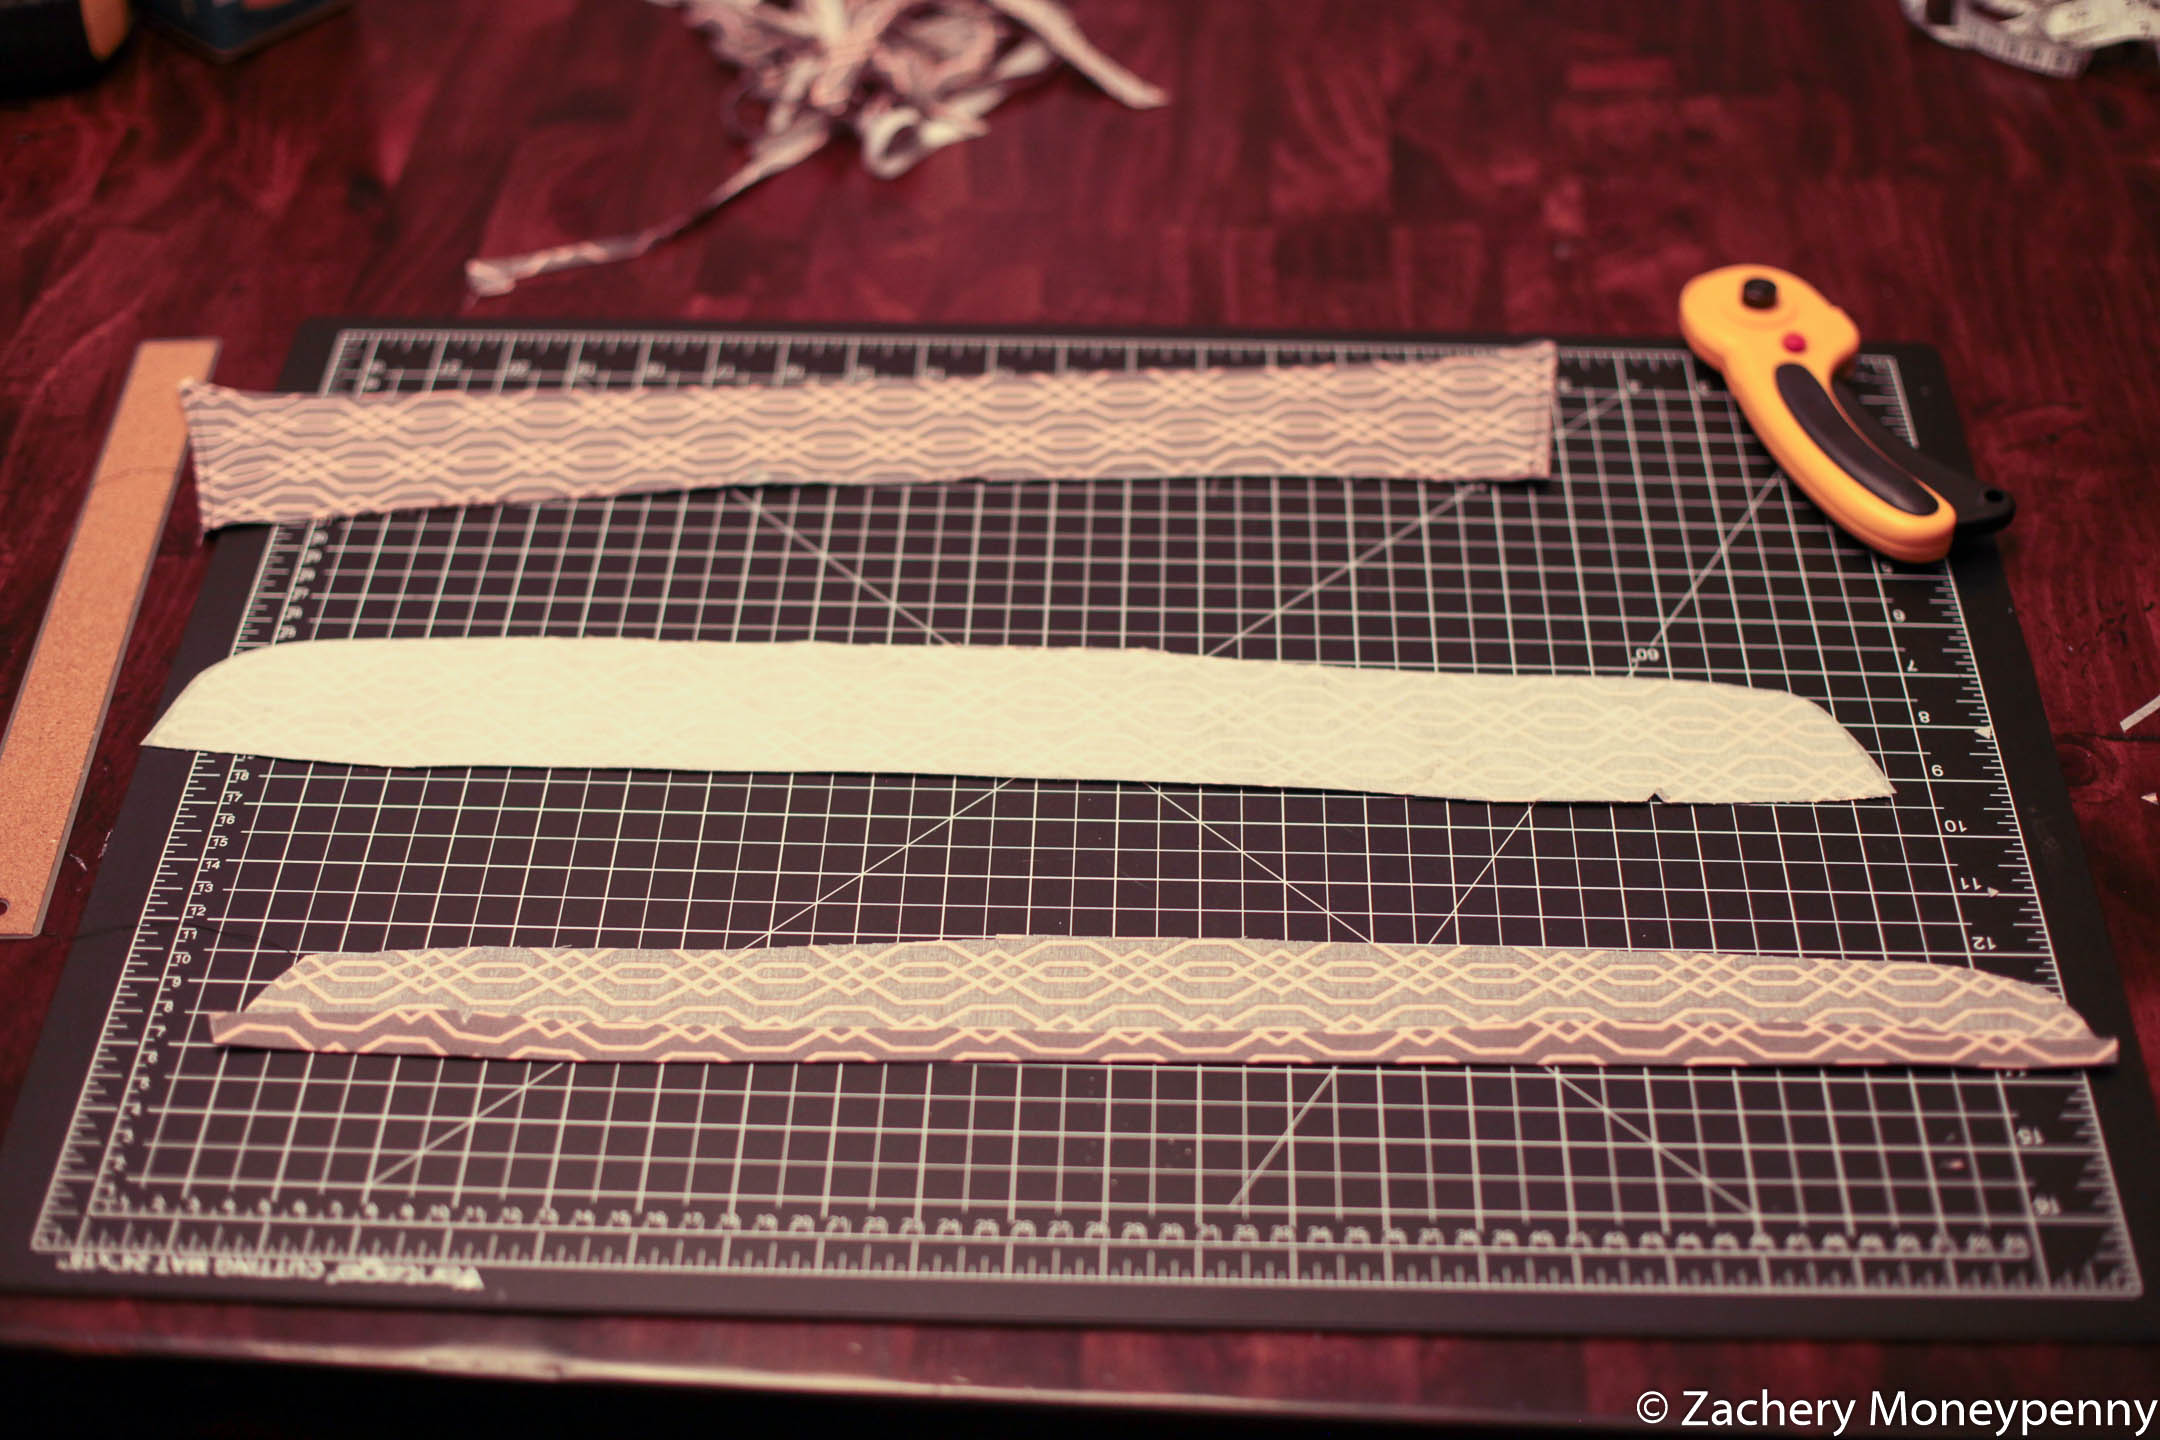
It was simple to layout the pattern and cut as I moved along with the tutorial, though I feel I could go much faster a second time. The shirt has a significant crucial piece arranged along the fold, which I was careful about.

Assembly
It went together super smoothly! Admittedly, the toughest part was called out in the video: pinning and then sewing on the sleeves.
One embarrassing mistake I made was when I went to attach the fusible interfacing to the collar stand, I wasn’t paying attention and had the sticky side face up. When I put the iron down on it the glue melted to my iron and I had quite a mess to clean up.
Tailoring
Remember my indecision about the S/M/L vs XL/XXL/XXL pattern? The XL was very, very wide for me, so I decided to follow another tutorial (again from Tock Custom) on tailoring the shirt.
Unfortunately, I tailored the shirt in about a half inch further than ideal, and so the shirt is a little tighter than I’d like (though it still fits).
Reflections & Learning
- I’m incredibly happy to make something that I can wear. It made me very excited to try other patterns: I’m planning a long-sleeve Simon shirt as an upcoming project, and I’m already working on some sweatpants from a pattern I bought online.
- Next time will be better as I had a lot of a-ha moments making this shirt.
- Reading a pattern is easier to learn than I’d thought! Opening the pattern for the first time I was confounded by the glyphs and symbols, but soon everything made sense.
- I love the fabric, which I didn’t think I would. I was really treating this as a throwaway experiment because I didn’t think I’d like the pattern in shirt form (I’d been using it exclusively for masks). Once assembled, though, it was kinda funky and I really liked it, which made me think different about how fabric patterns would translate into completed pieces.
June 1st, 2020