Hoo boy. A lot went wrong with these sweatpants and it’s a good thing I won’t wear them outside of the house. Like, I don’t usually wear sweatpants outside of the house, but I wouldn’t even wear these down to the mailbox to get the mail.
However, since this project journal is meant to document successes and mistakes I’m going to lean into writing about all the things I did wrong on this piece!
Pattern
I used McCall’s M7486 pattern for the project. The patterns for both the sweatshirt and sweatpants allow for you to use different fabrics for accent panels, but my plan for the initial attempt was going to just use one fabric.
Fabric
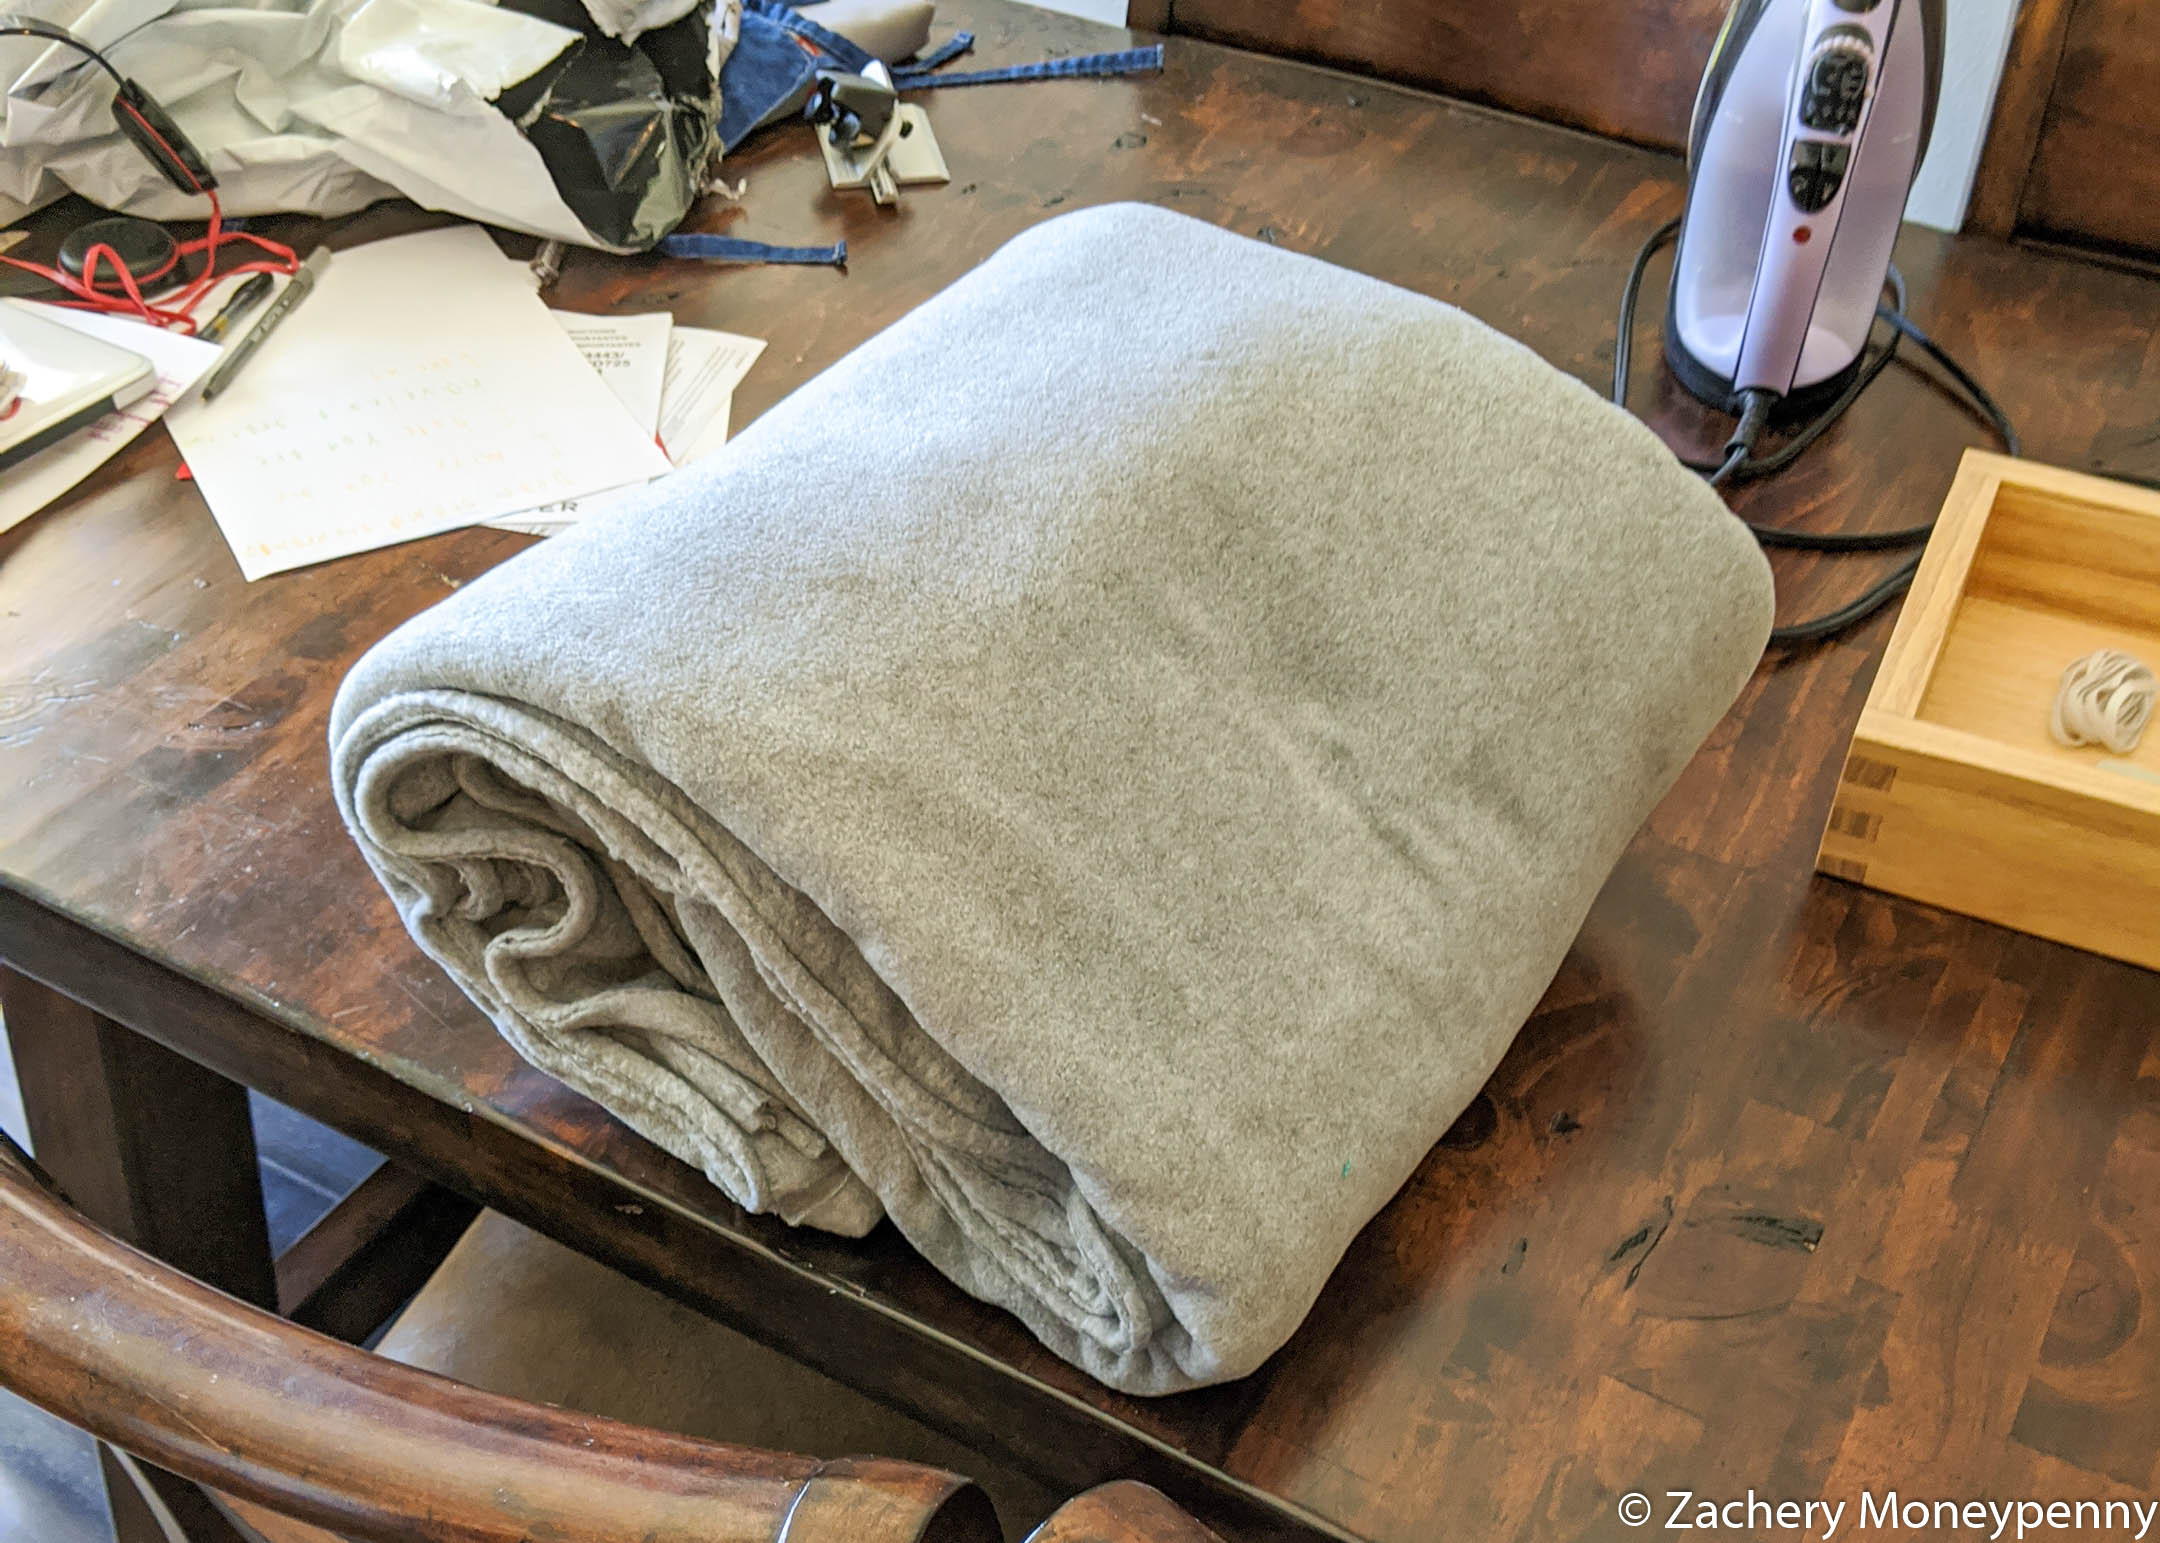
I purchased five yards of gray fleece fabric on Amazon. Upon arrivial I could categorically state that it was incredibly soft and fluffy!
Cutting
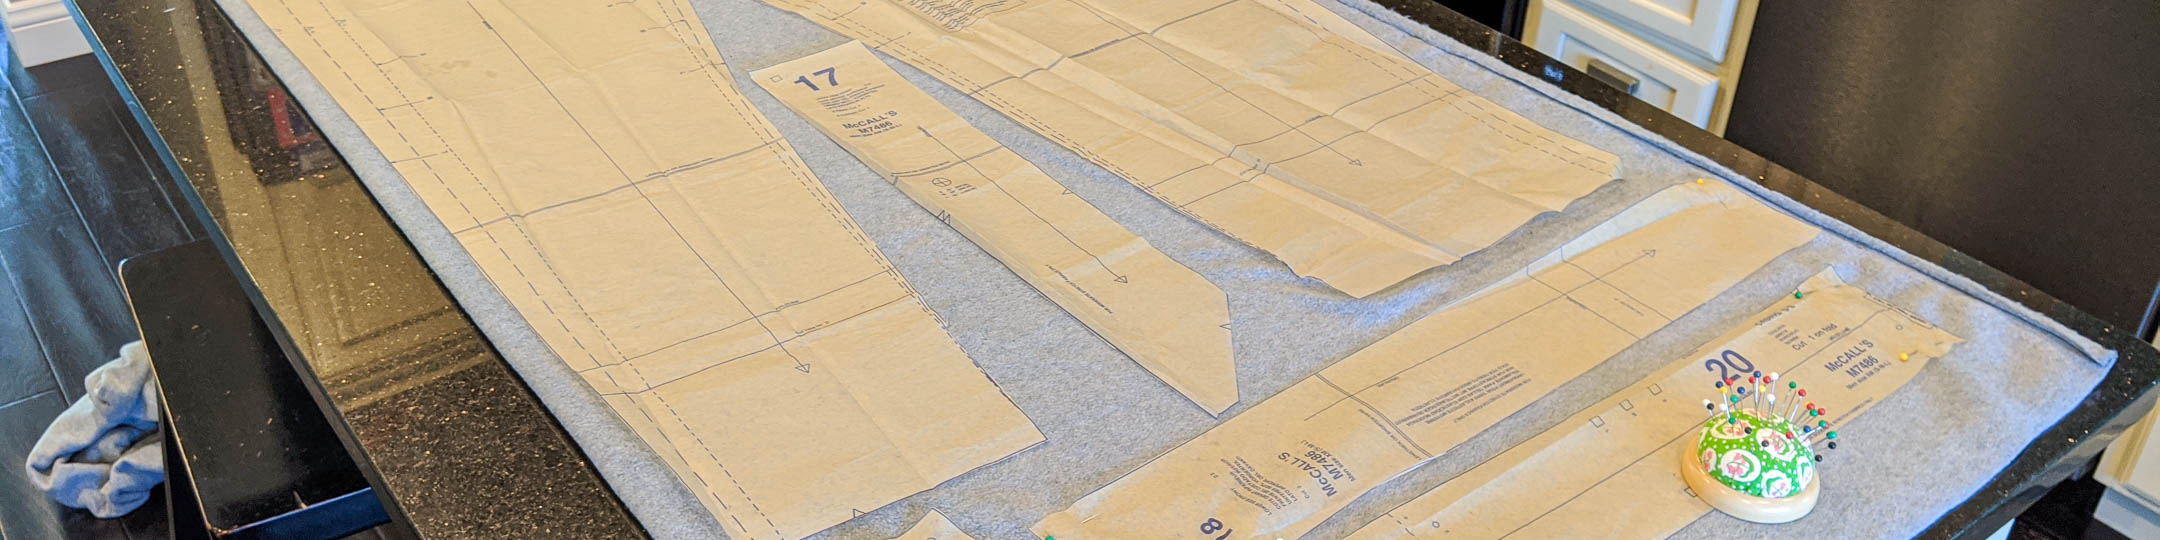
Cutting the fabric was the very first place I screwed up, and it was due to a dumb misunderstanding of the pattern. There was only piece that needed to be cut along the fold line of the material, and it said “CUT 1”. I have no excuse of why I thought this, but I thought it didn’t matter if it was on the fold line because I only had to cut one. In hindsight, what I thought makes no sense whatsoever, but the result was that I CUT 2 NOT ON THE FOLD LINE.

You can see in the above picture that part 20 is not on the fold line, and therein began my downfall.
Pocket Destruction
I’ve only worked with cotton material up until this project. Cotton that’s thin and easy to manage under the needle. Once I started getting into steps four and five of making the pockets, however, I was wrangling so much thick fabric through the needle that it kept bunching up and I’d get bad seams. Additionally, even when trimming my seam allowances back there were still some great big humps to get over while assembling the pockets to the inside of the legs.
Side Panels and Legs

Once the tragic outcome of the pockets had been sloppily tacked into place things got easier. Making the side panels and assembling the legs was straightforward. I really liked the resulting vertical seams on the legs.
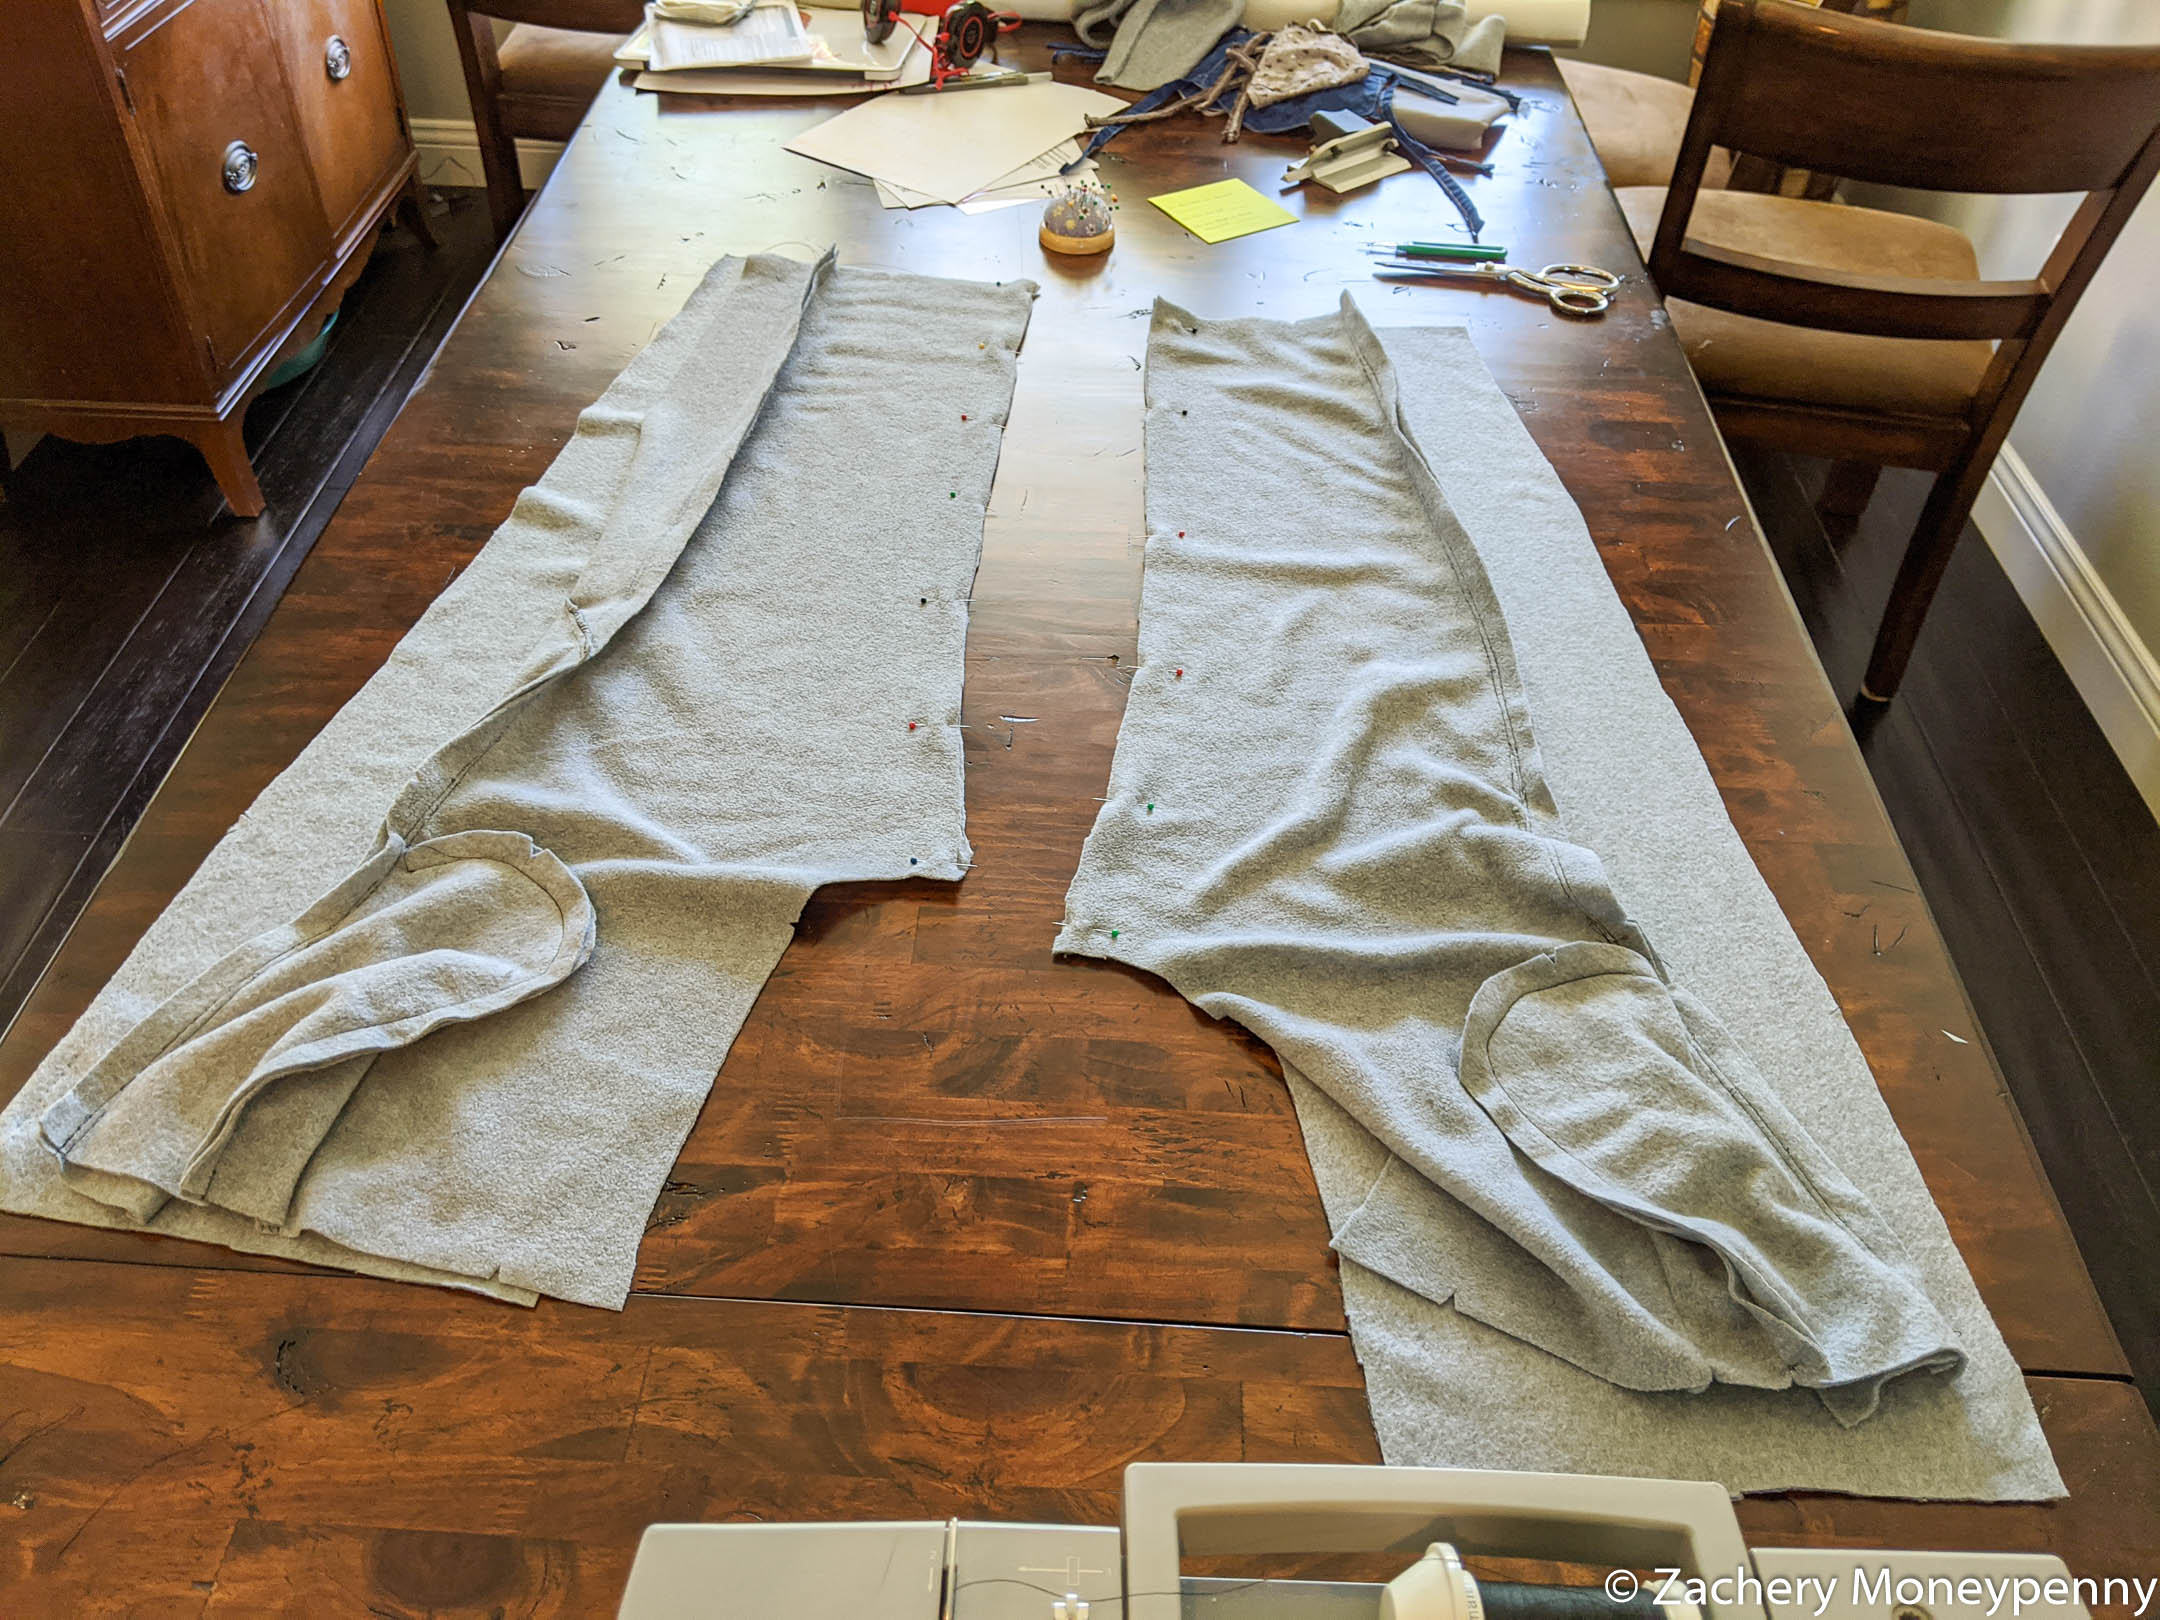
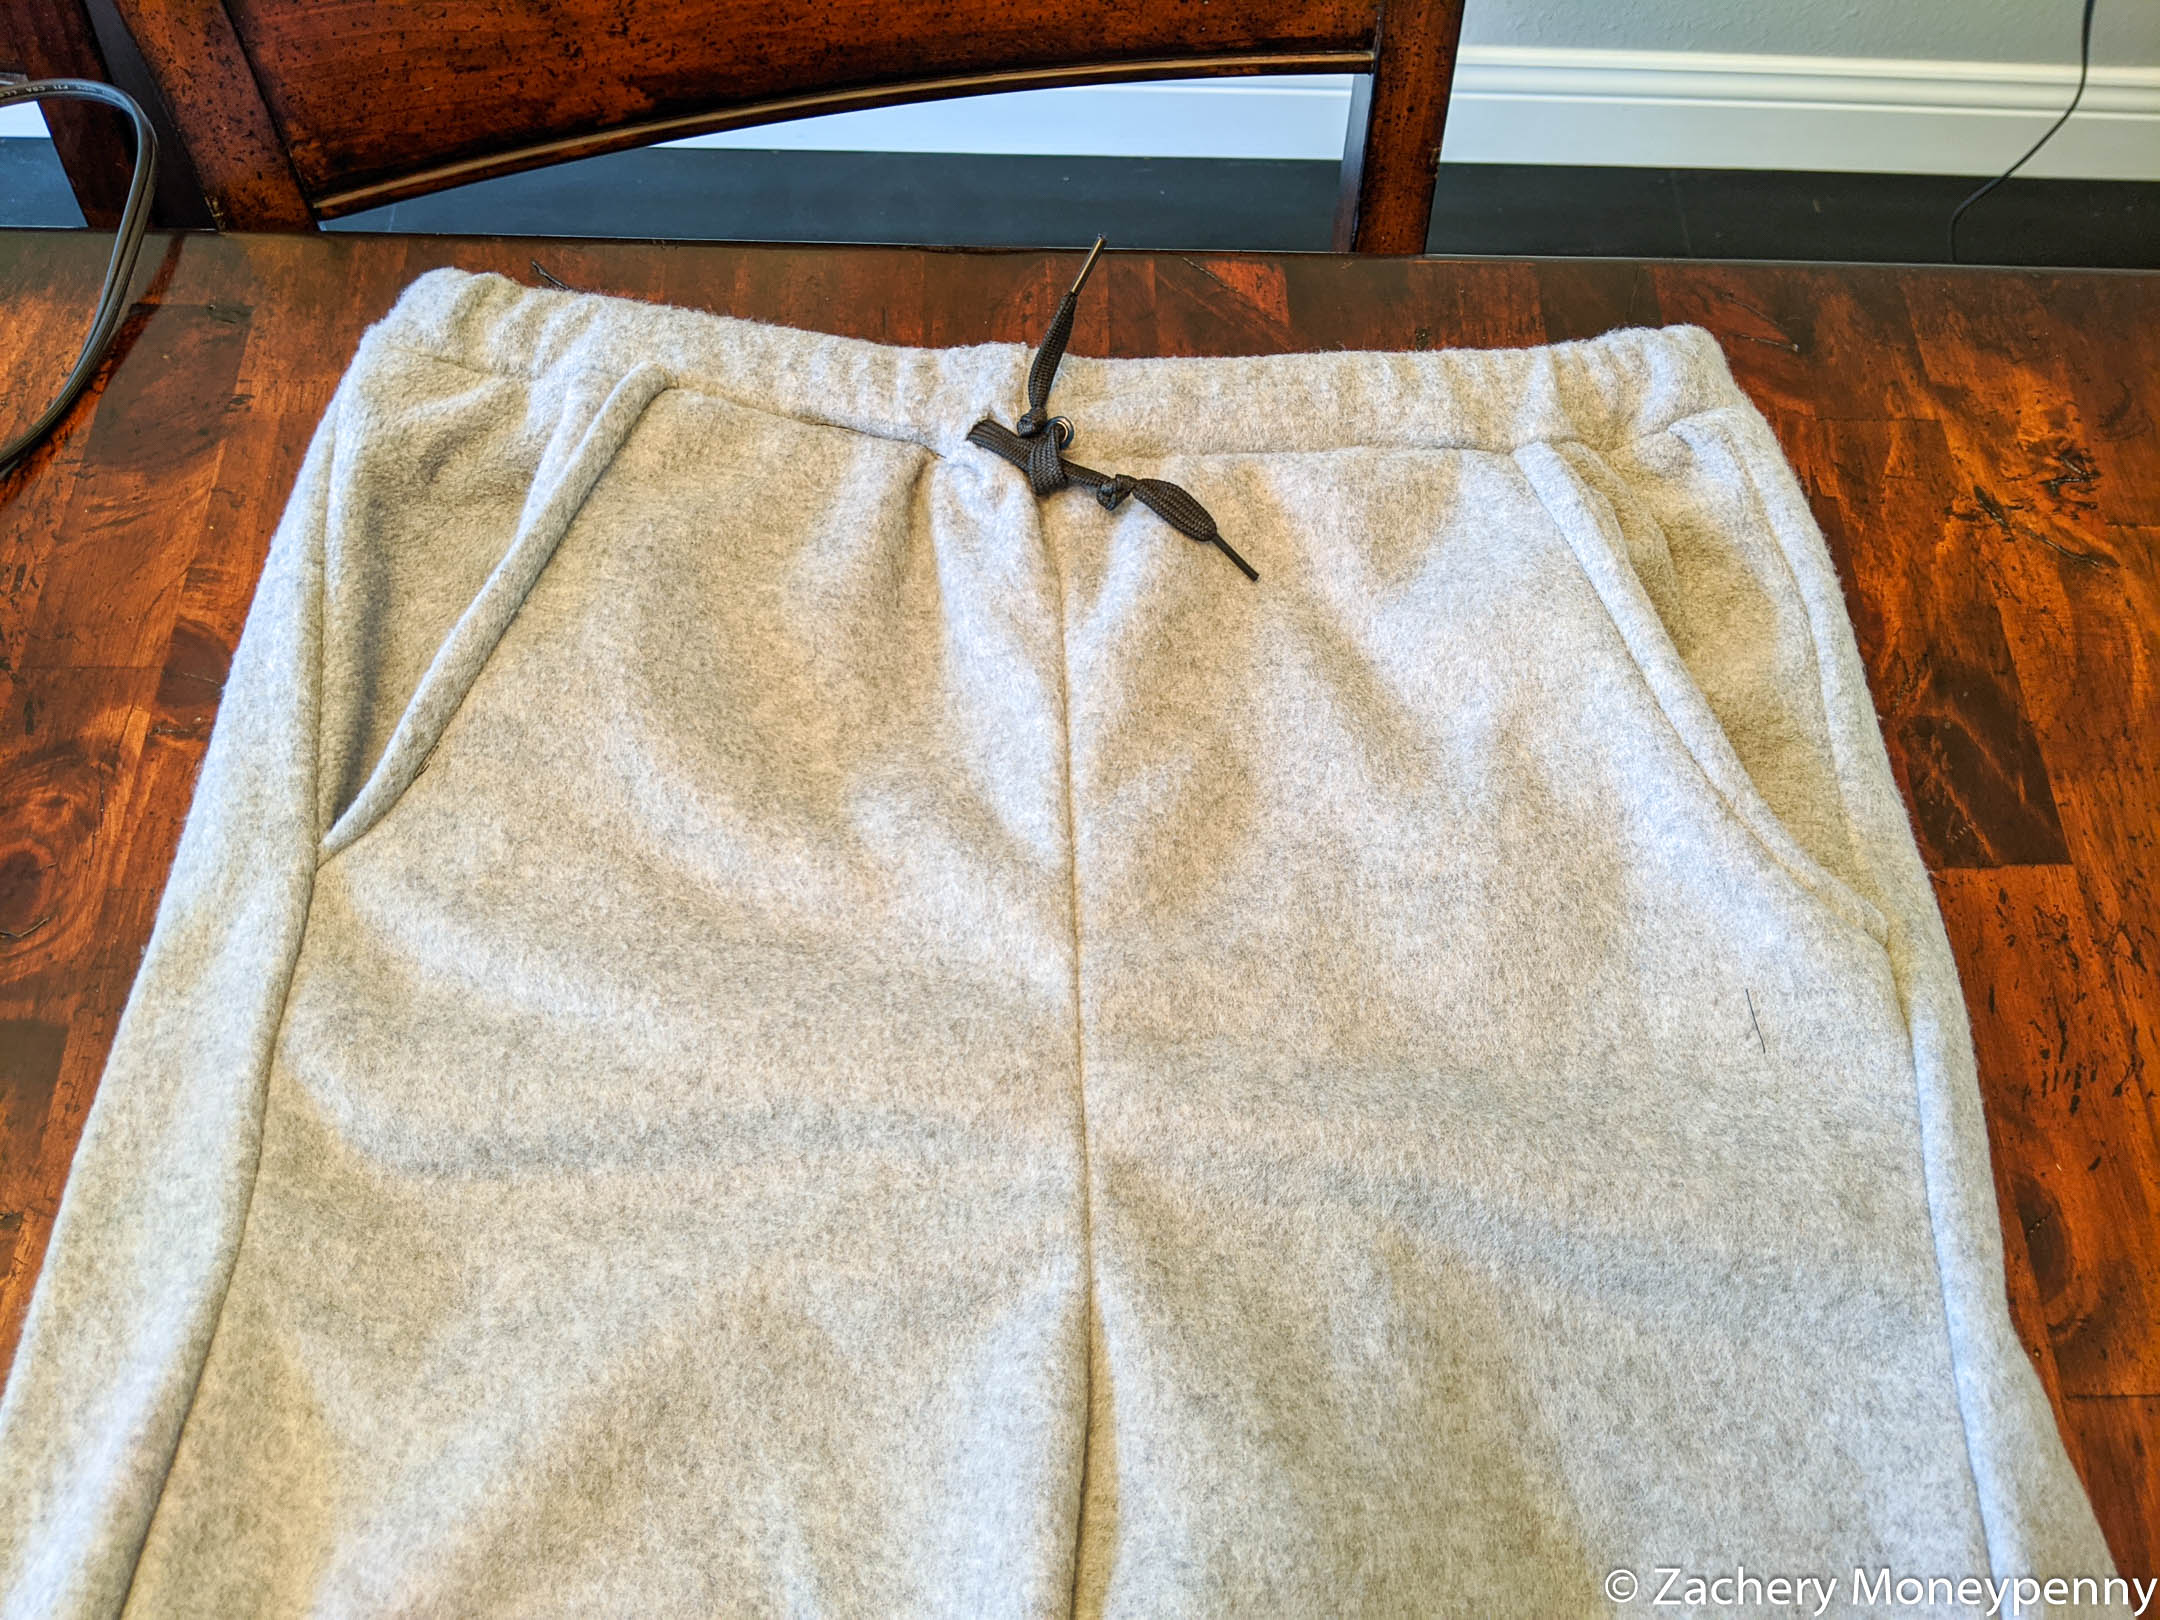
Notice in the above picture how the pockets don’t lay flat and are all bunched up? Yeah, it doesn’t get any better from here on in. The major problem with the pants is the way the fabric bunches up near the crotch because of how badly the pockets are constructed and smushed in there.
Casing Problems
The problems with the waistband started with not cutting on the fold line. They continued when I cut the holes for the eyelets too big and one of them ended up coming loose. I also screwed up the eyelet placement on the casing and wasn’t able to sew a double stitch because the seam would have run into the eyelet on the second stitch.
This is a part that I think was doomed from the beginning because of being cut wrong. I’m eager to try again with the correct cut of the part because it should go a lot better.
Ankle Cuff Problems
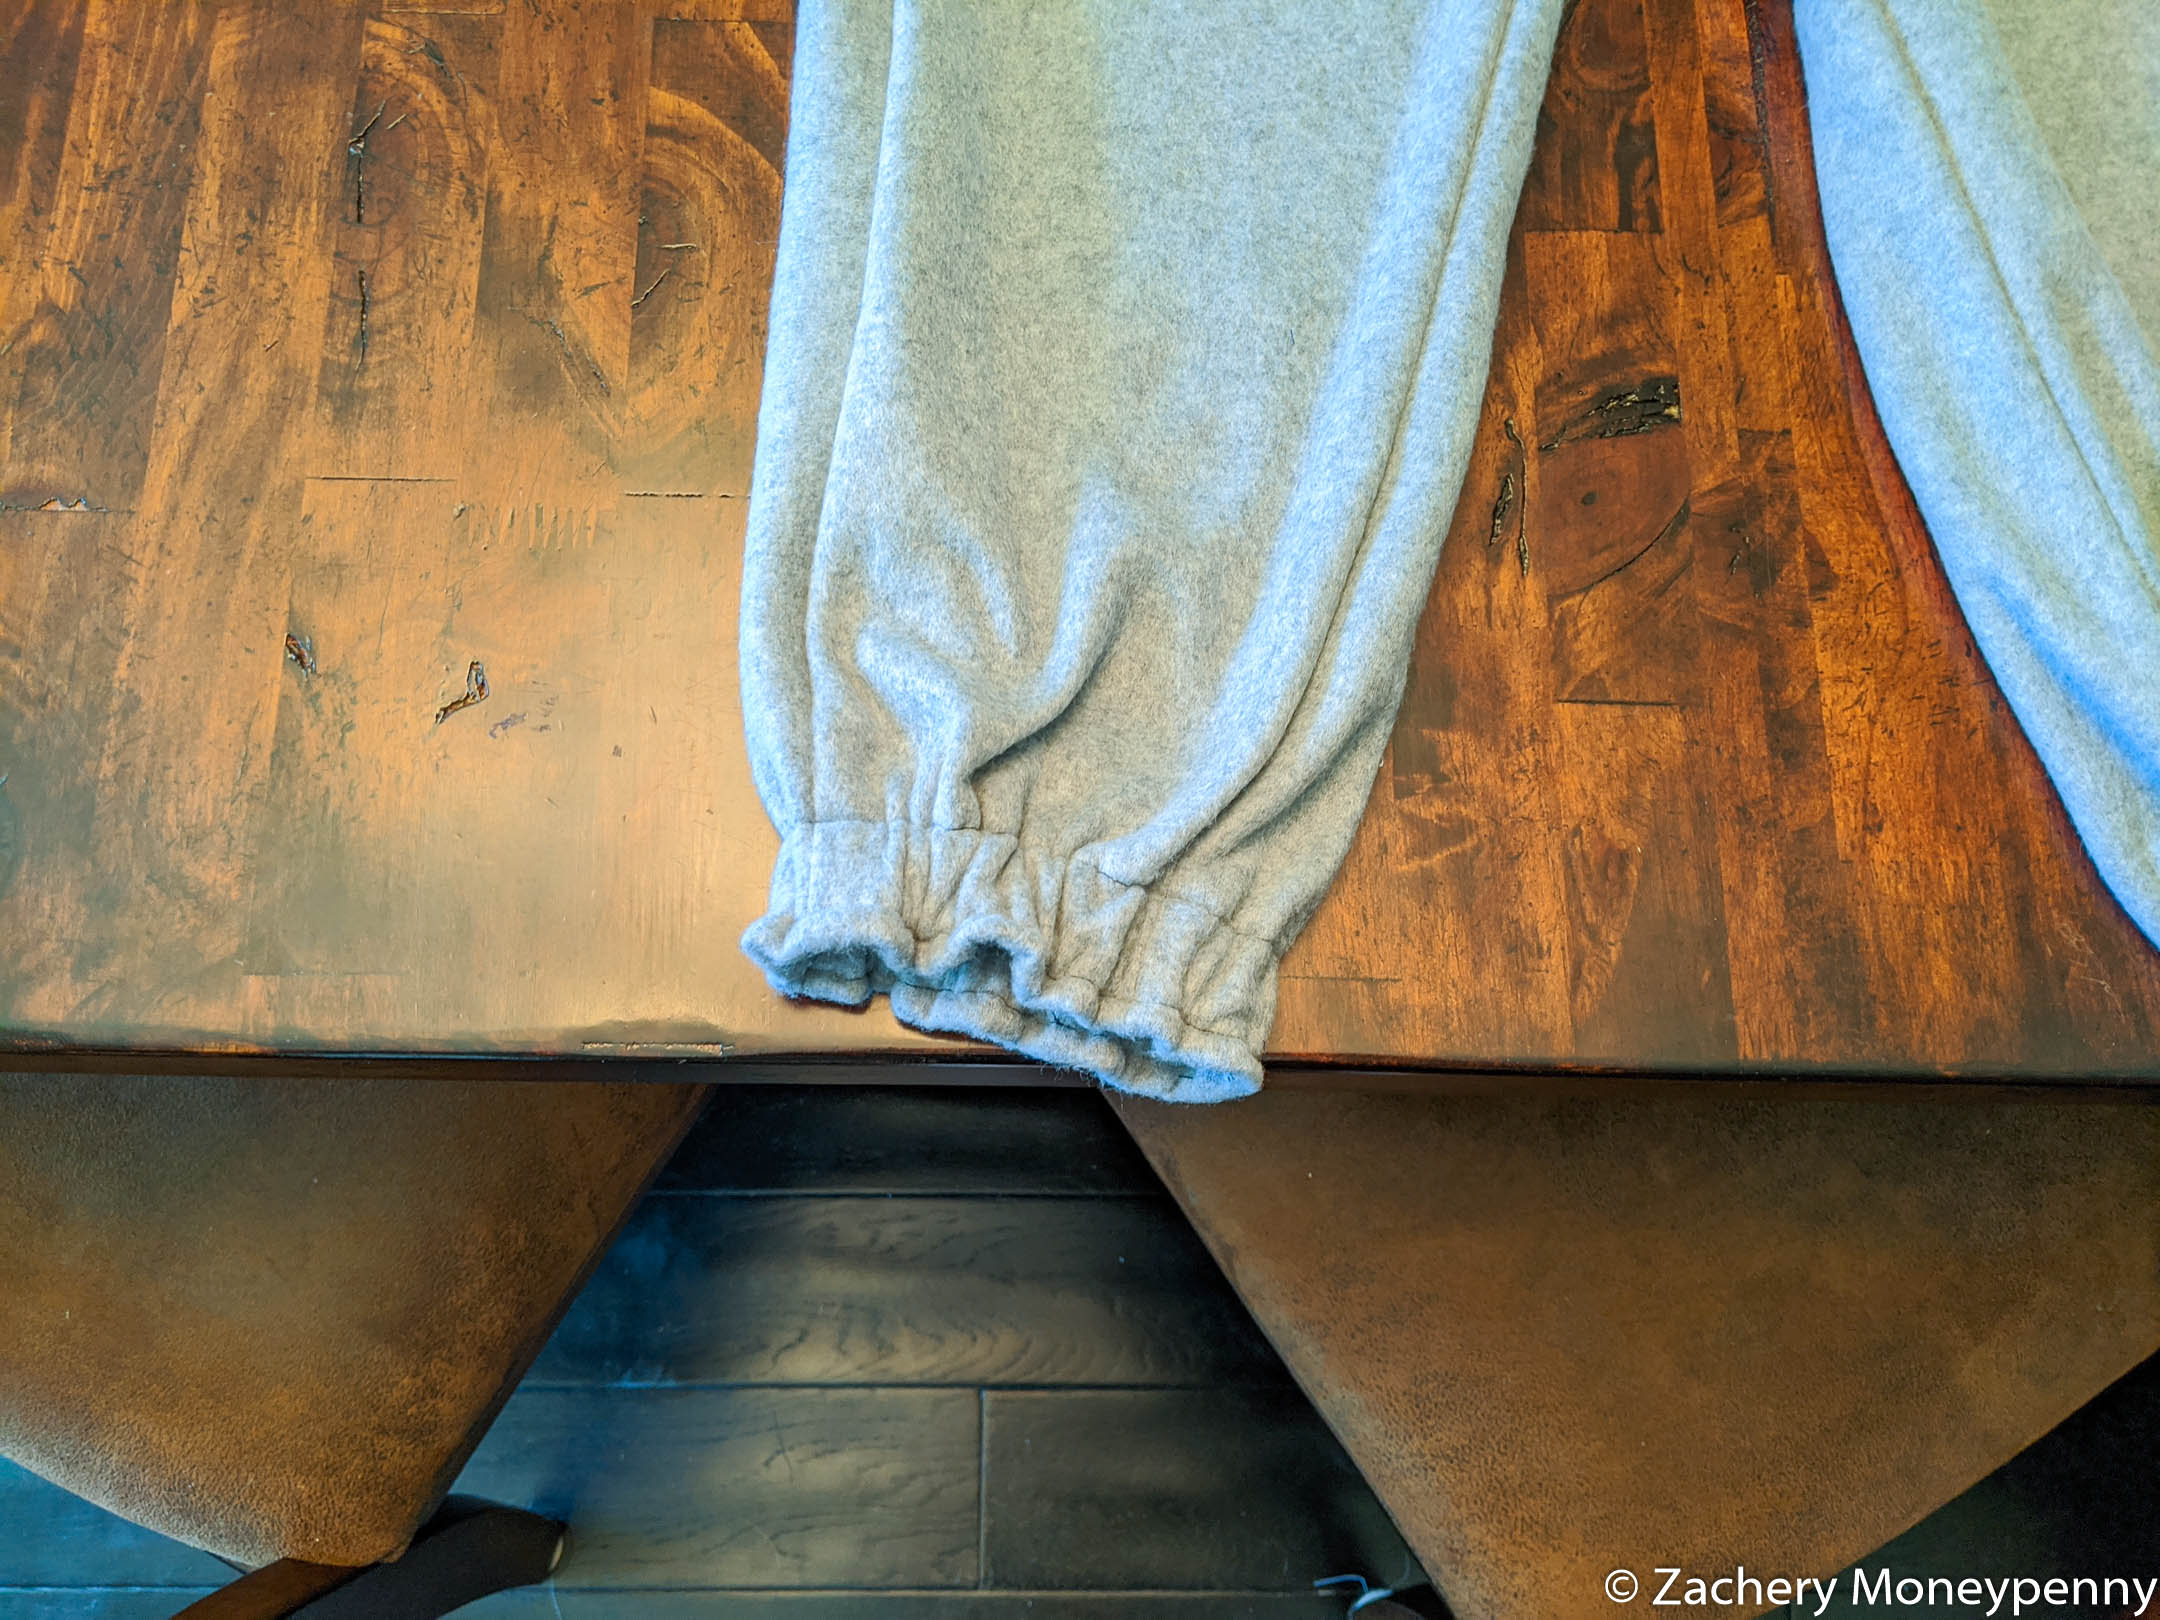
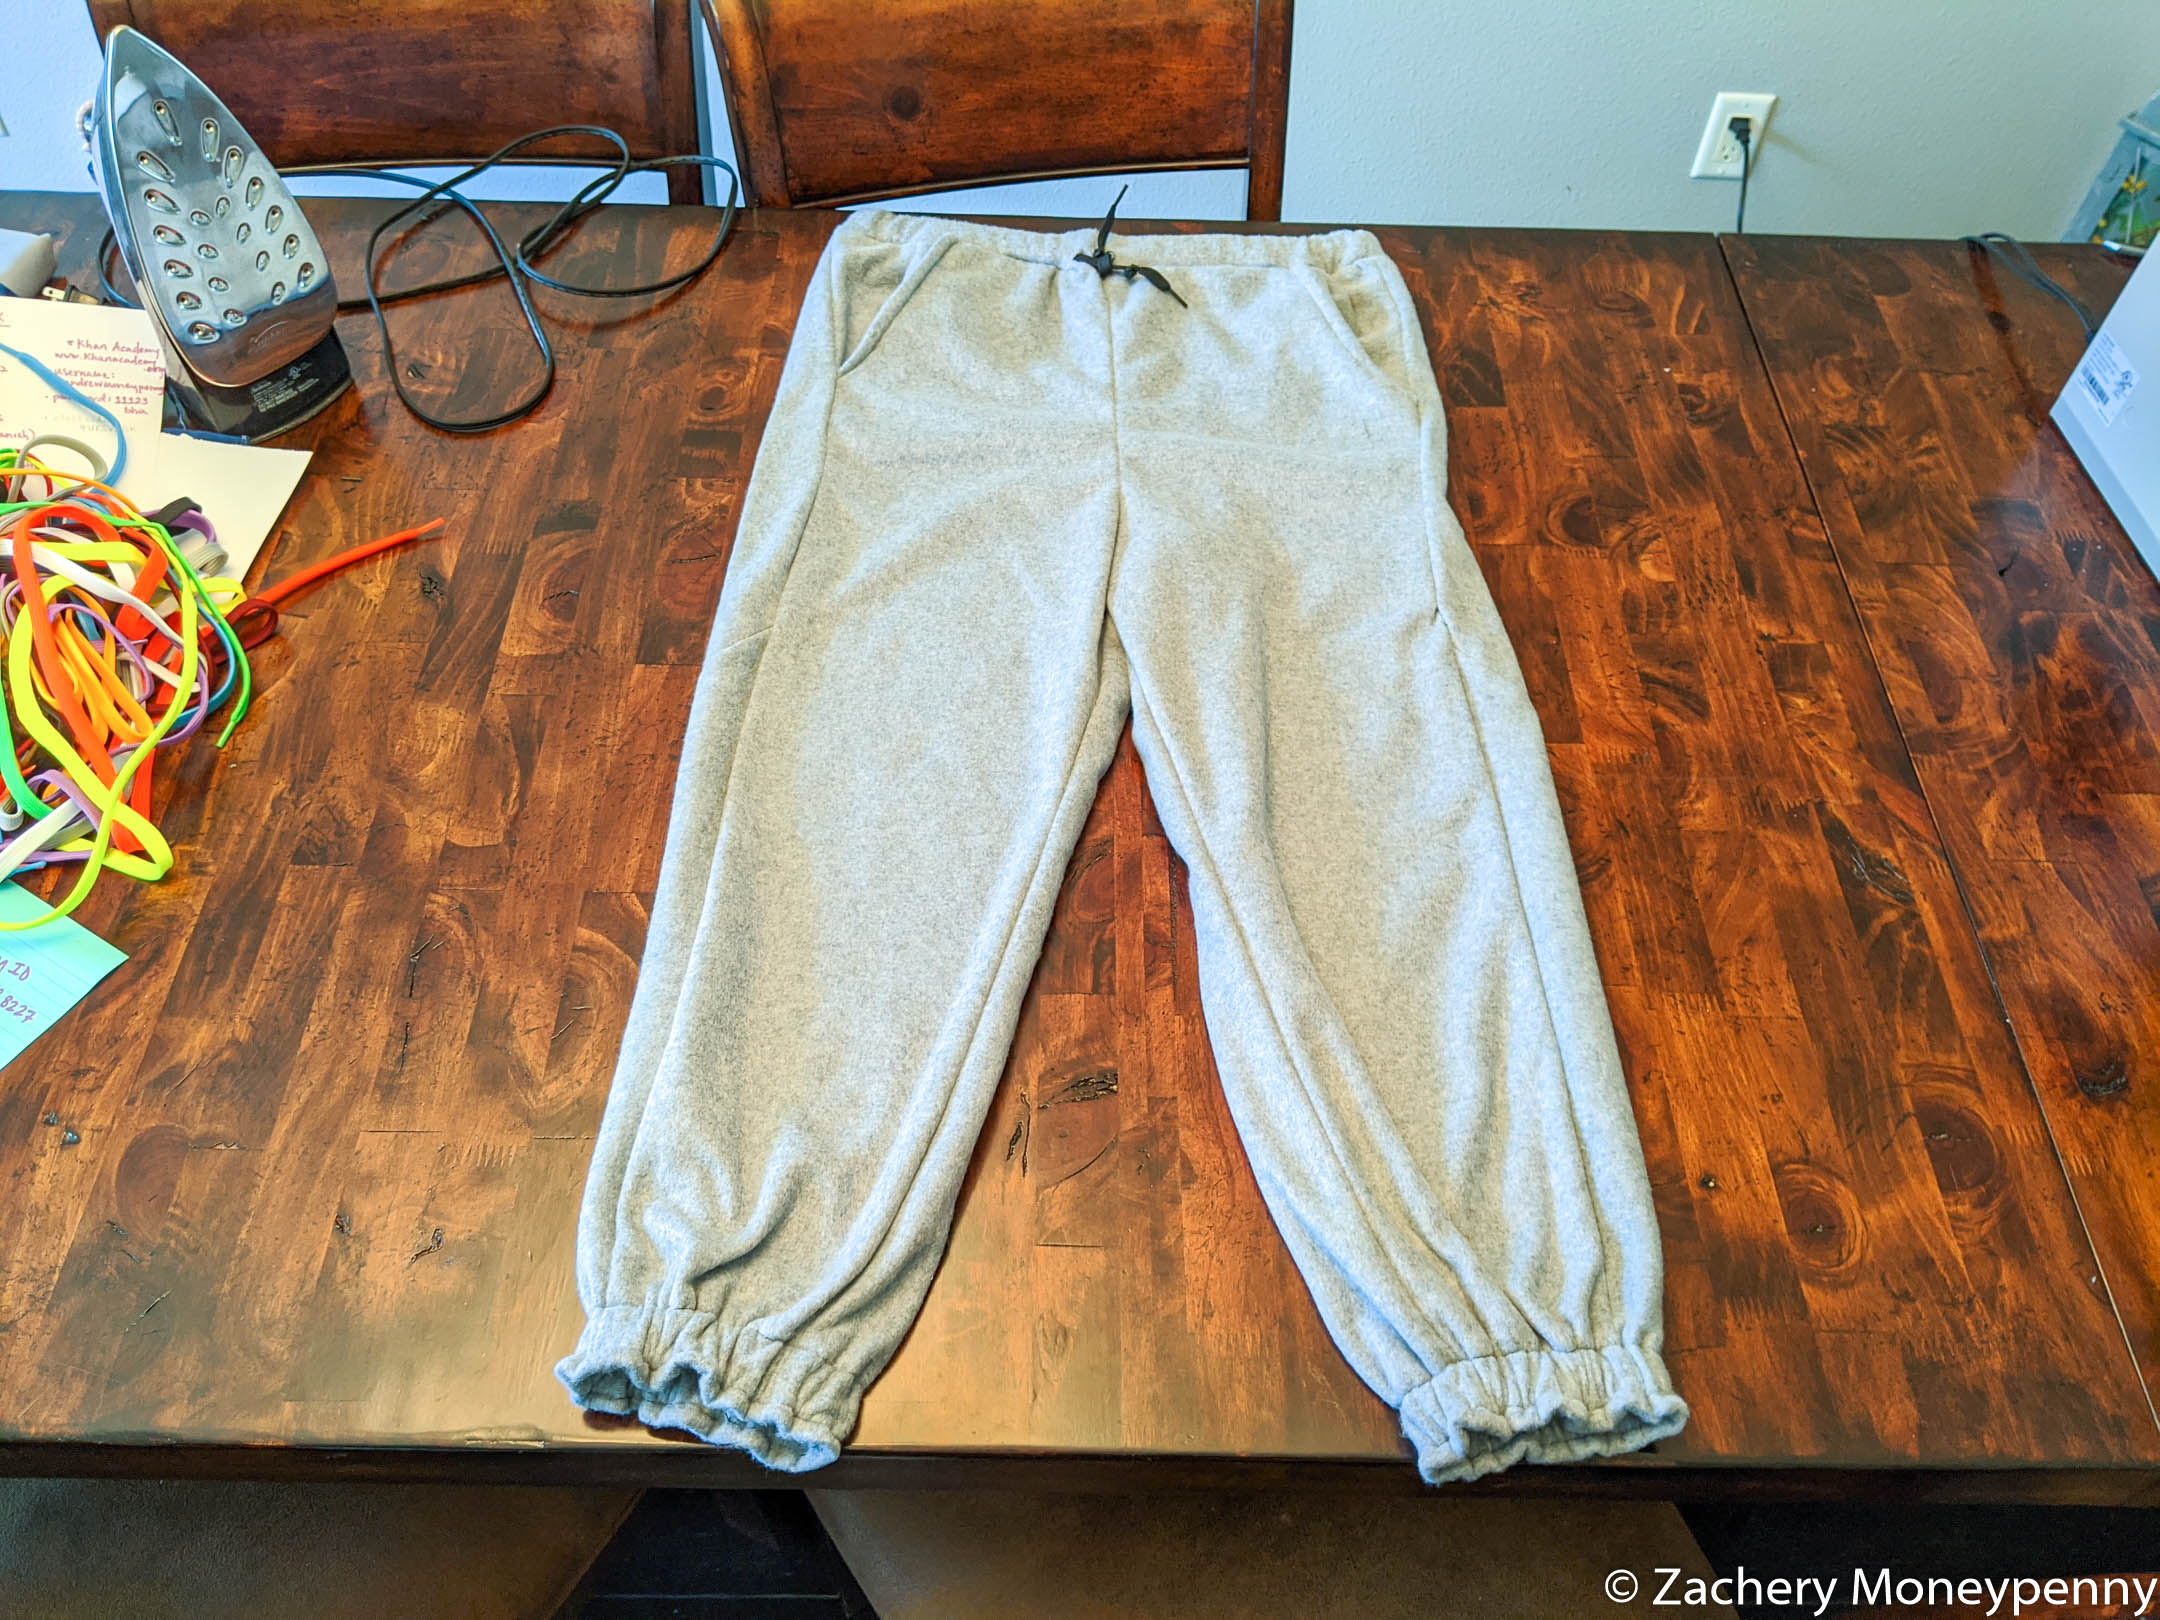
I’d ordered 1” elastic for the waistband, which was a good size. When I went to use the same size elastic for the ankle cuffs, however, it was much too thick and it drew the openings together so much that they look real frilly, like clown pants.
The next time I make this pattern I’m absolutely going to skip elastic cuffs and just hem the bottoms. I prefer open pant legs on sweatpants, and really tried this just to see how it would turn out. Since it turned out catastrophically, I don’t think I’ll do it again… at least not without betting much thinner elastic for that part.
Reflections & Learnings
- Well, I know what “CUT 1 on FOLD LINE” means now.
- Need to take more time working on the pockets, because the rest of the main construction was easy but the damage had been done at that point.
- Need to do a better job of trimming seam allowances on such a thick fabric.
- DO NOT do elastic leg bands next time. Just hem the bottoms and keep them floppy, because this looks terrible.
- Sew the casing for the waistband correctly next time—a crucial step got skipped this time.
June 7th, 2020