Webpack in Rails

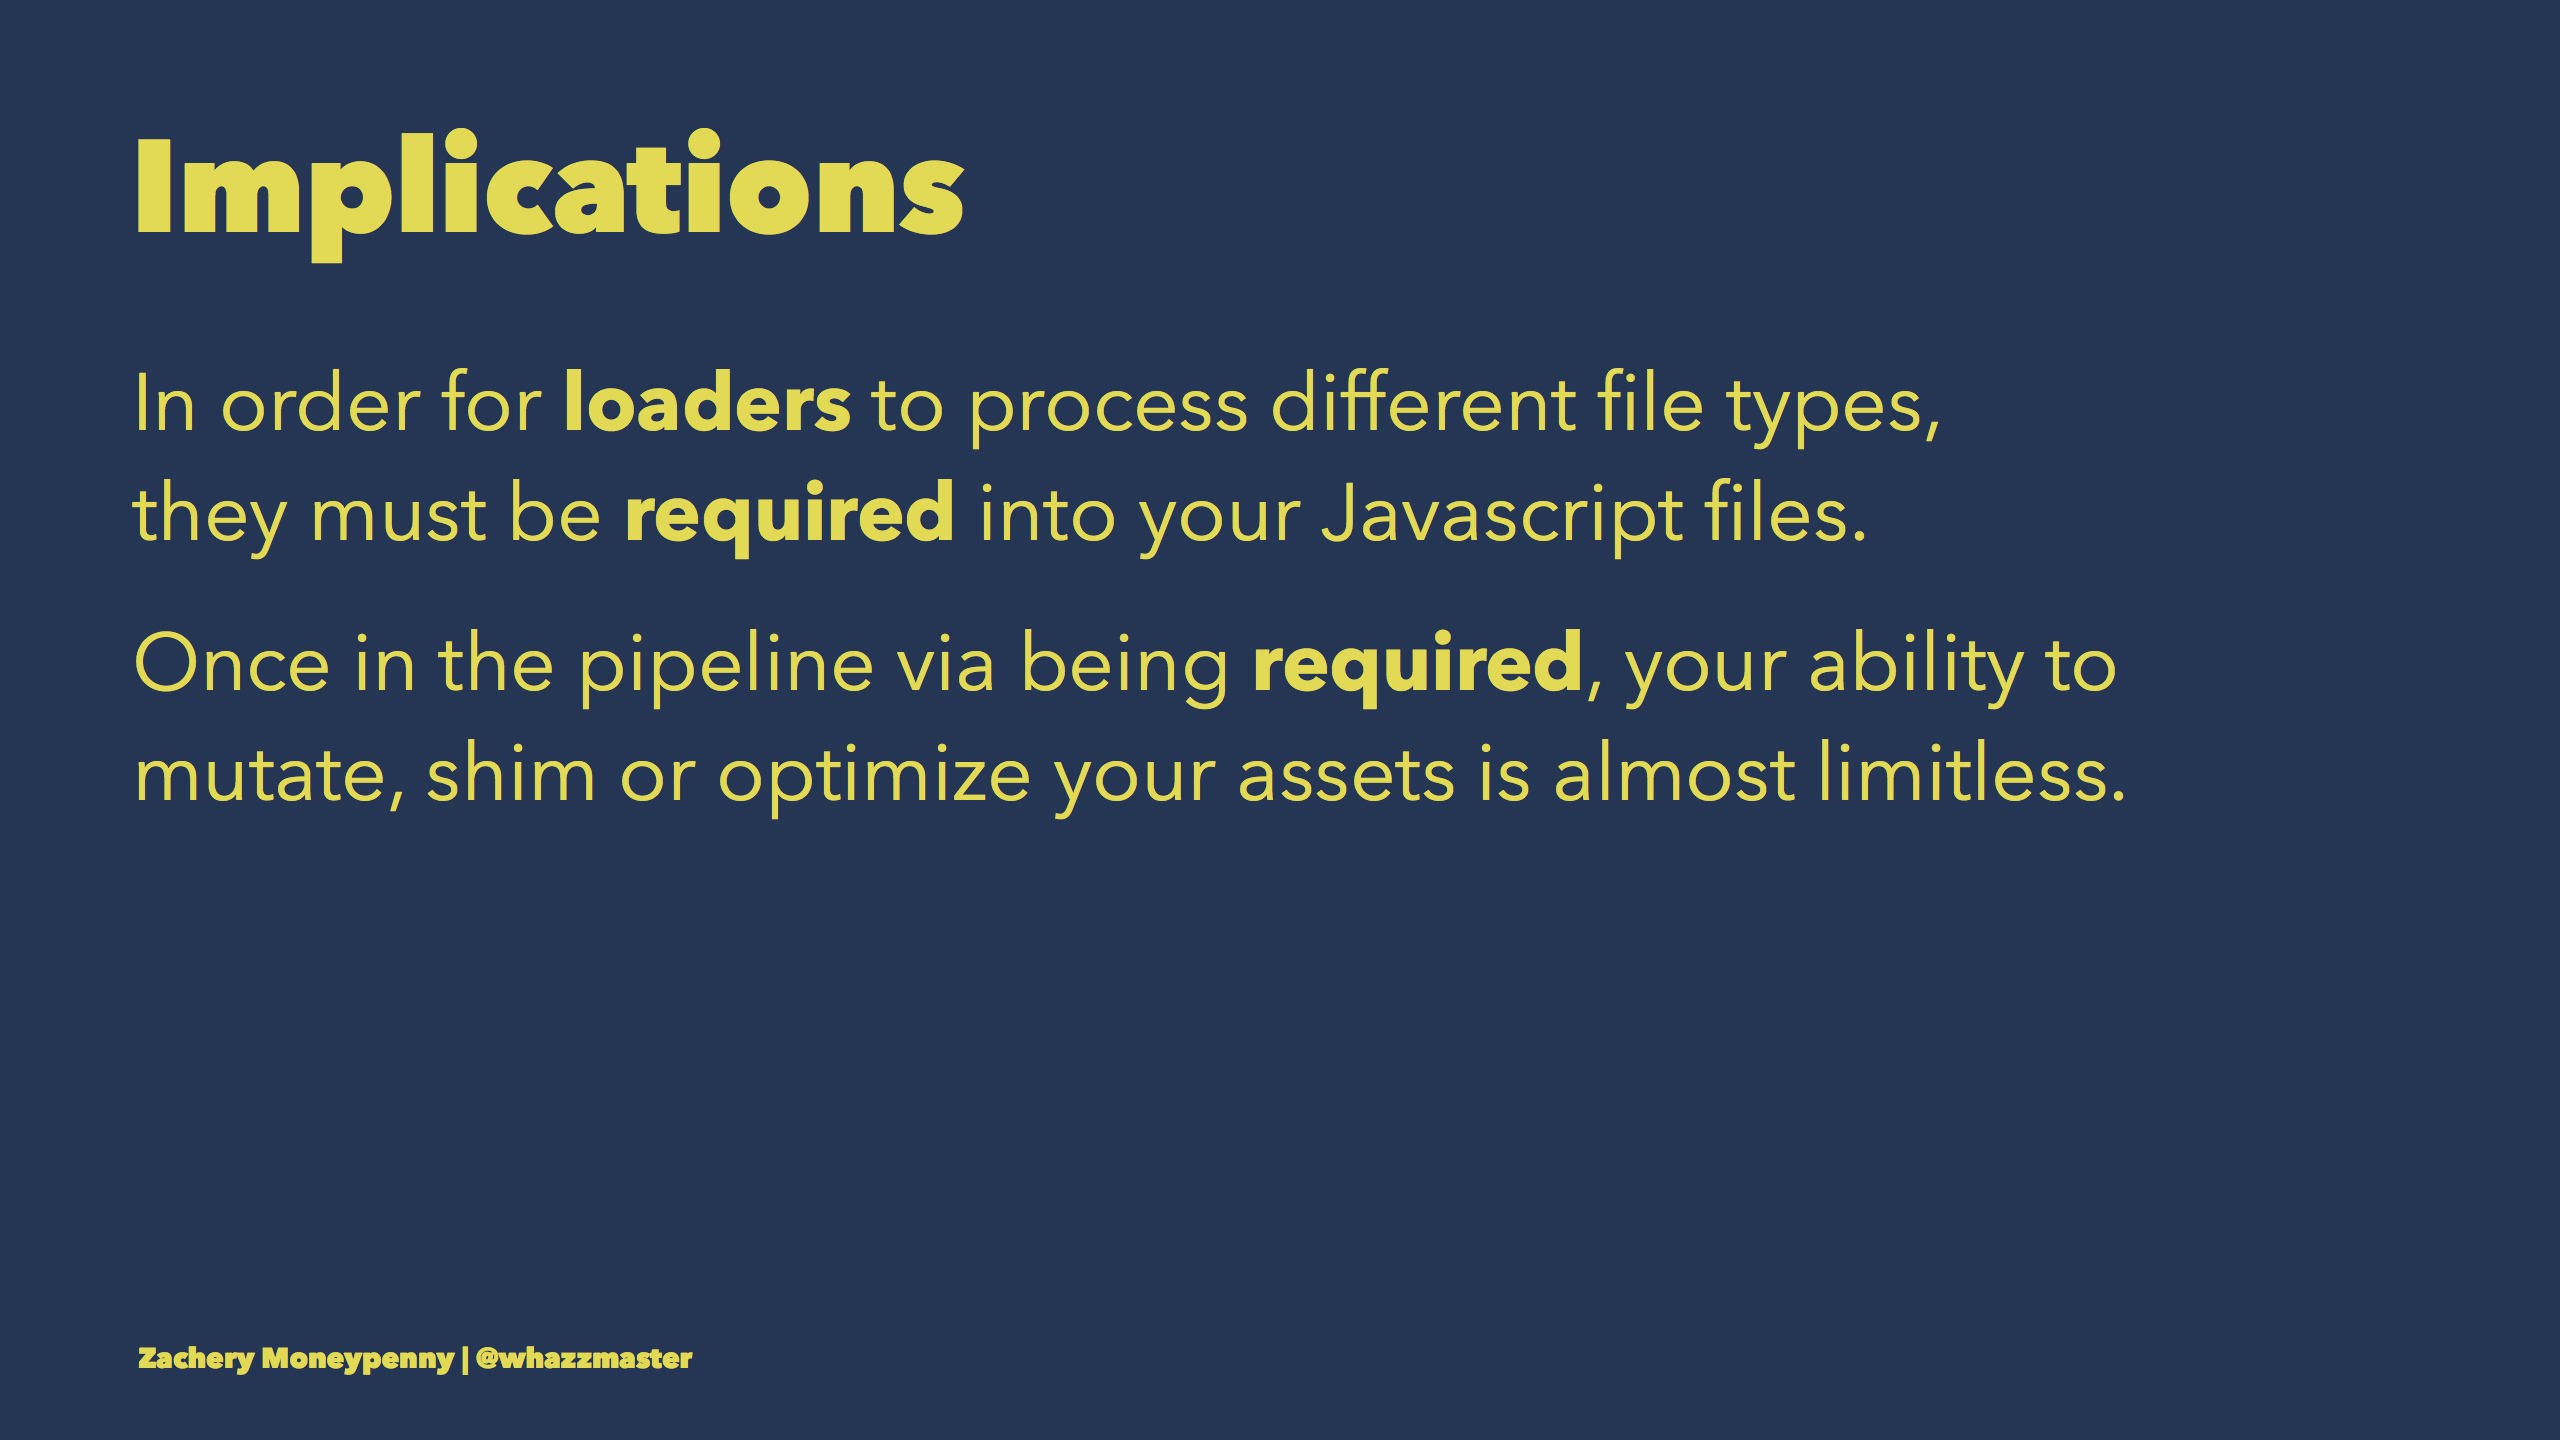
The release of Rails 5.2 brings an improved version of the webpacker gem to your projects. This talk has two major themes:

  1. What is webpack? What is it used for, and how do its major abstractions work?
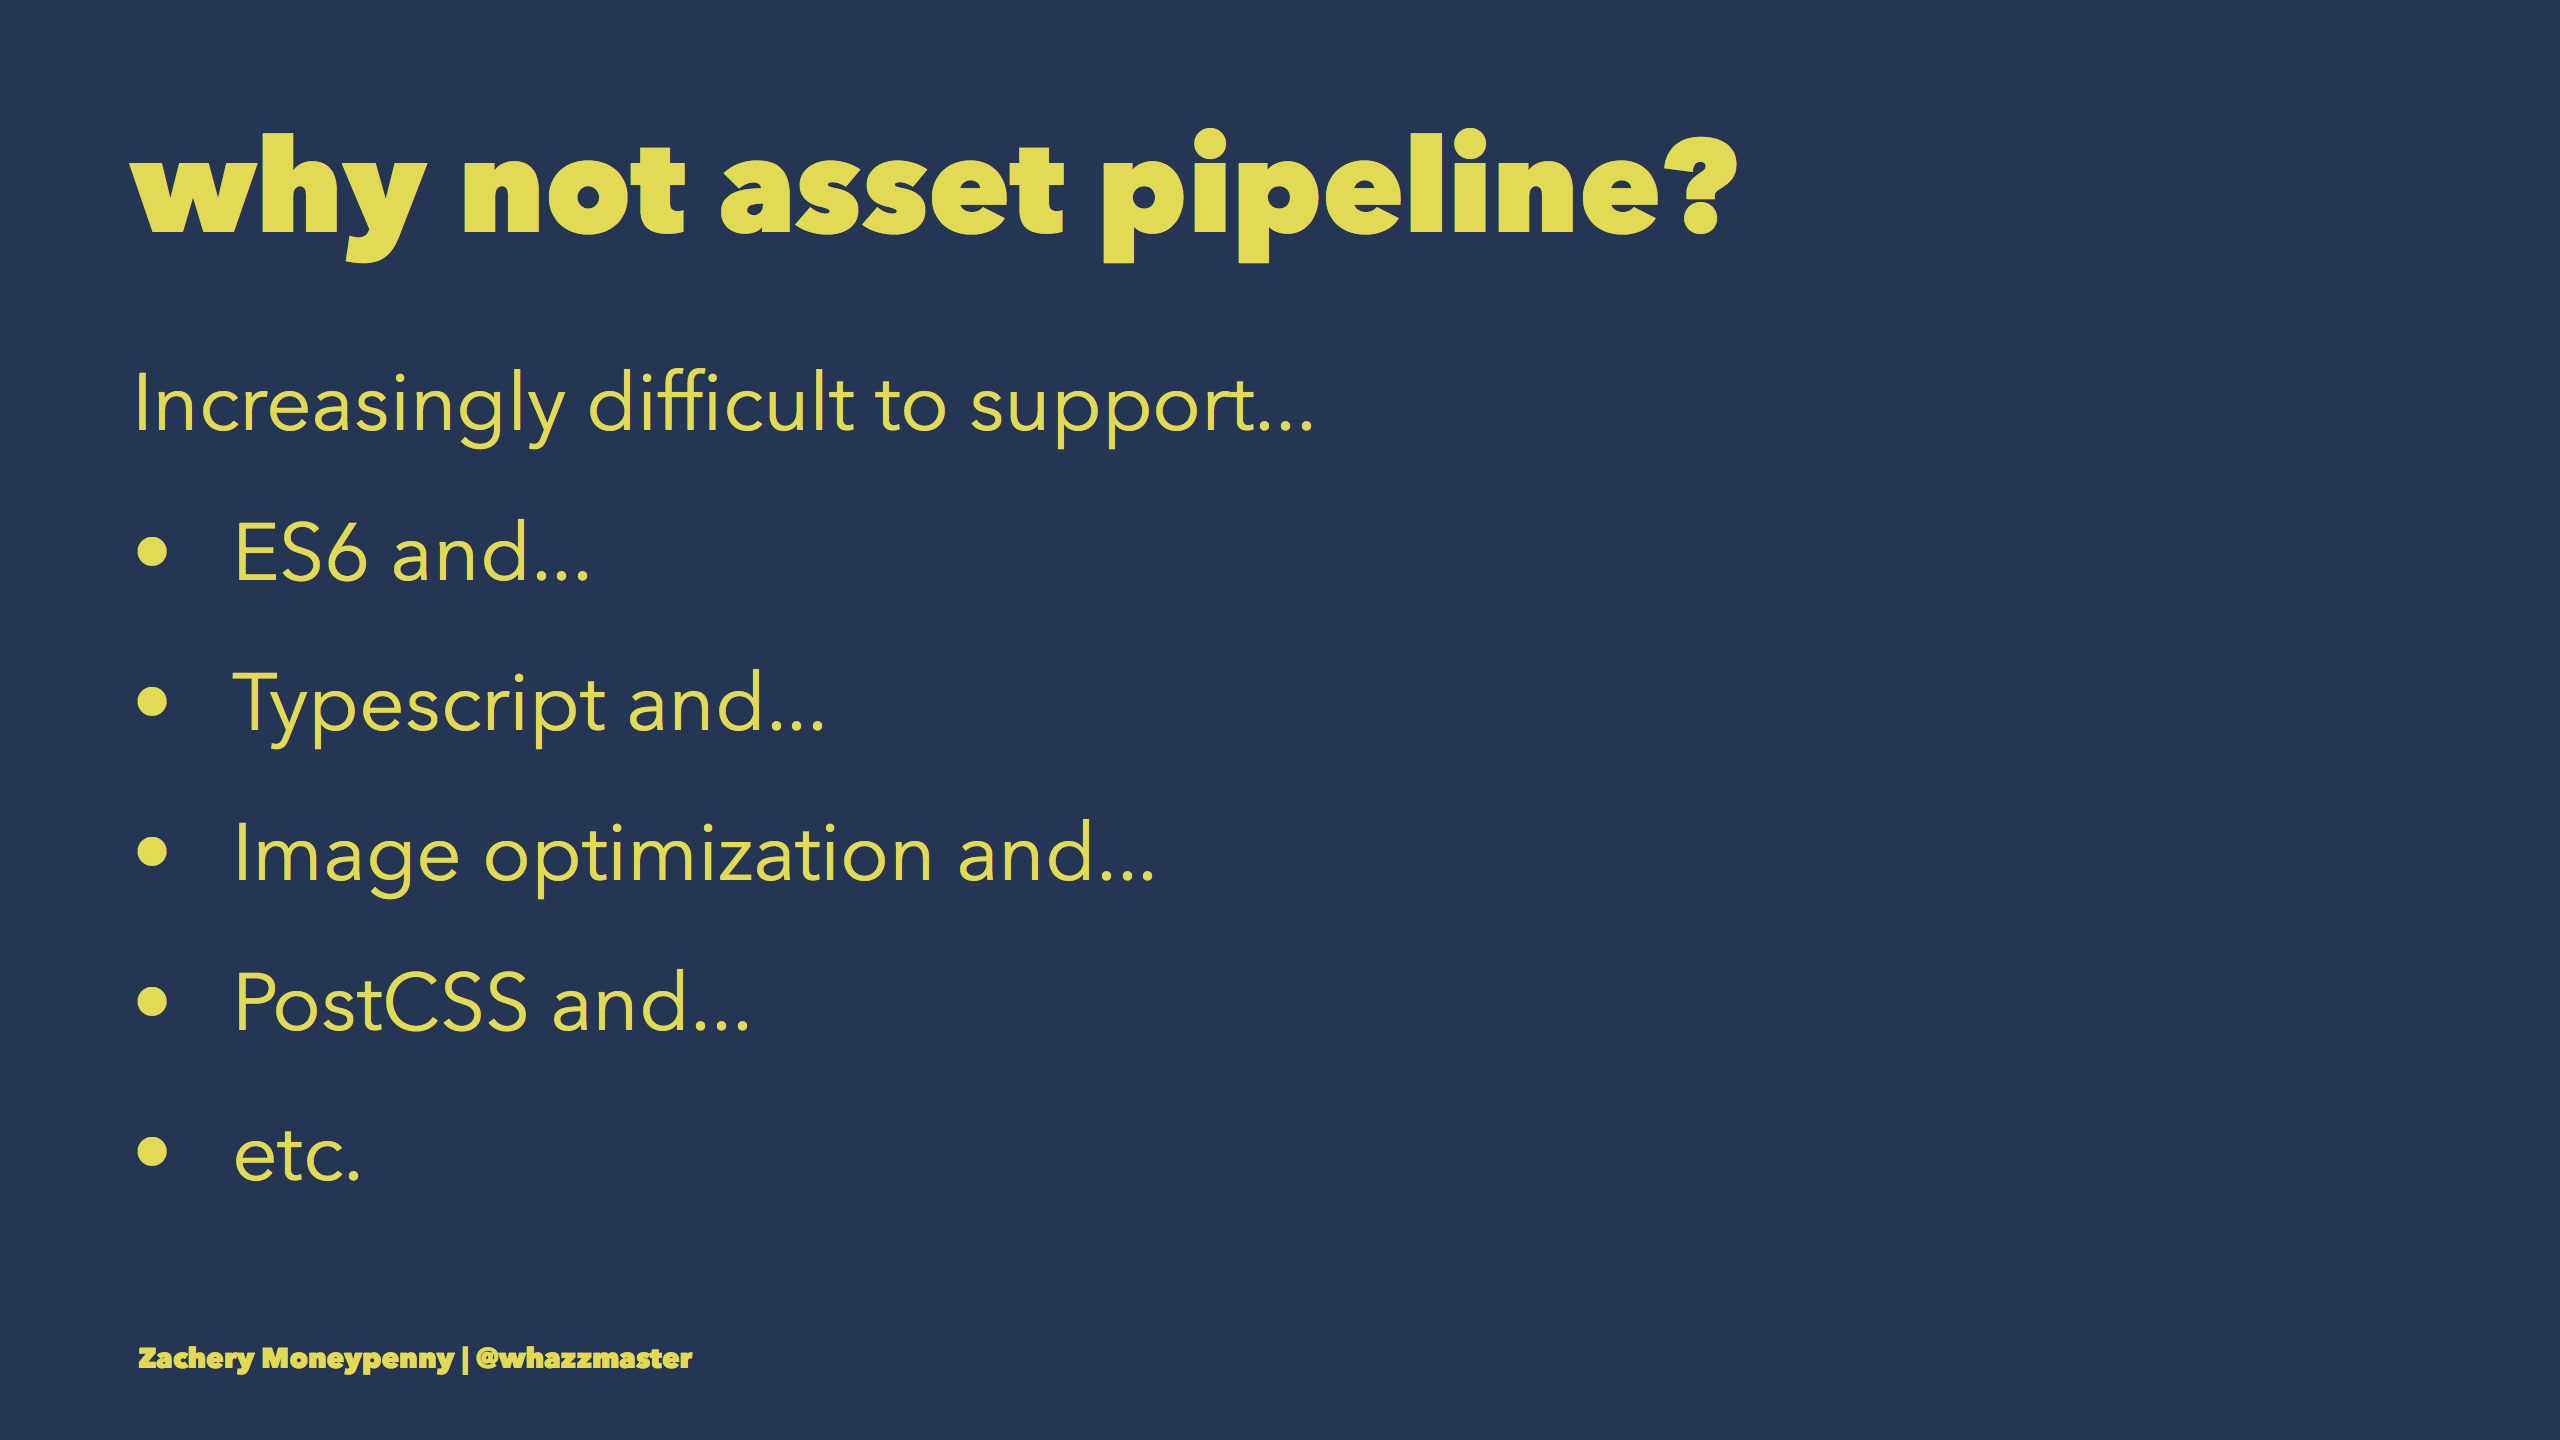
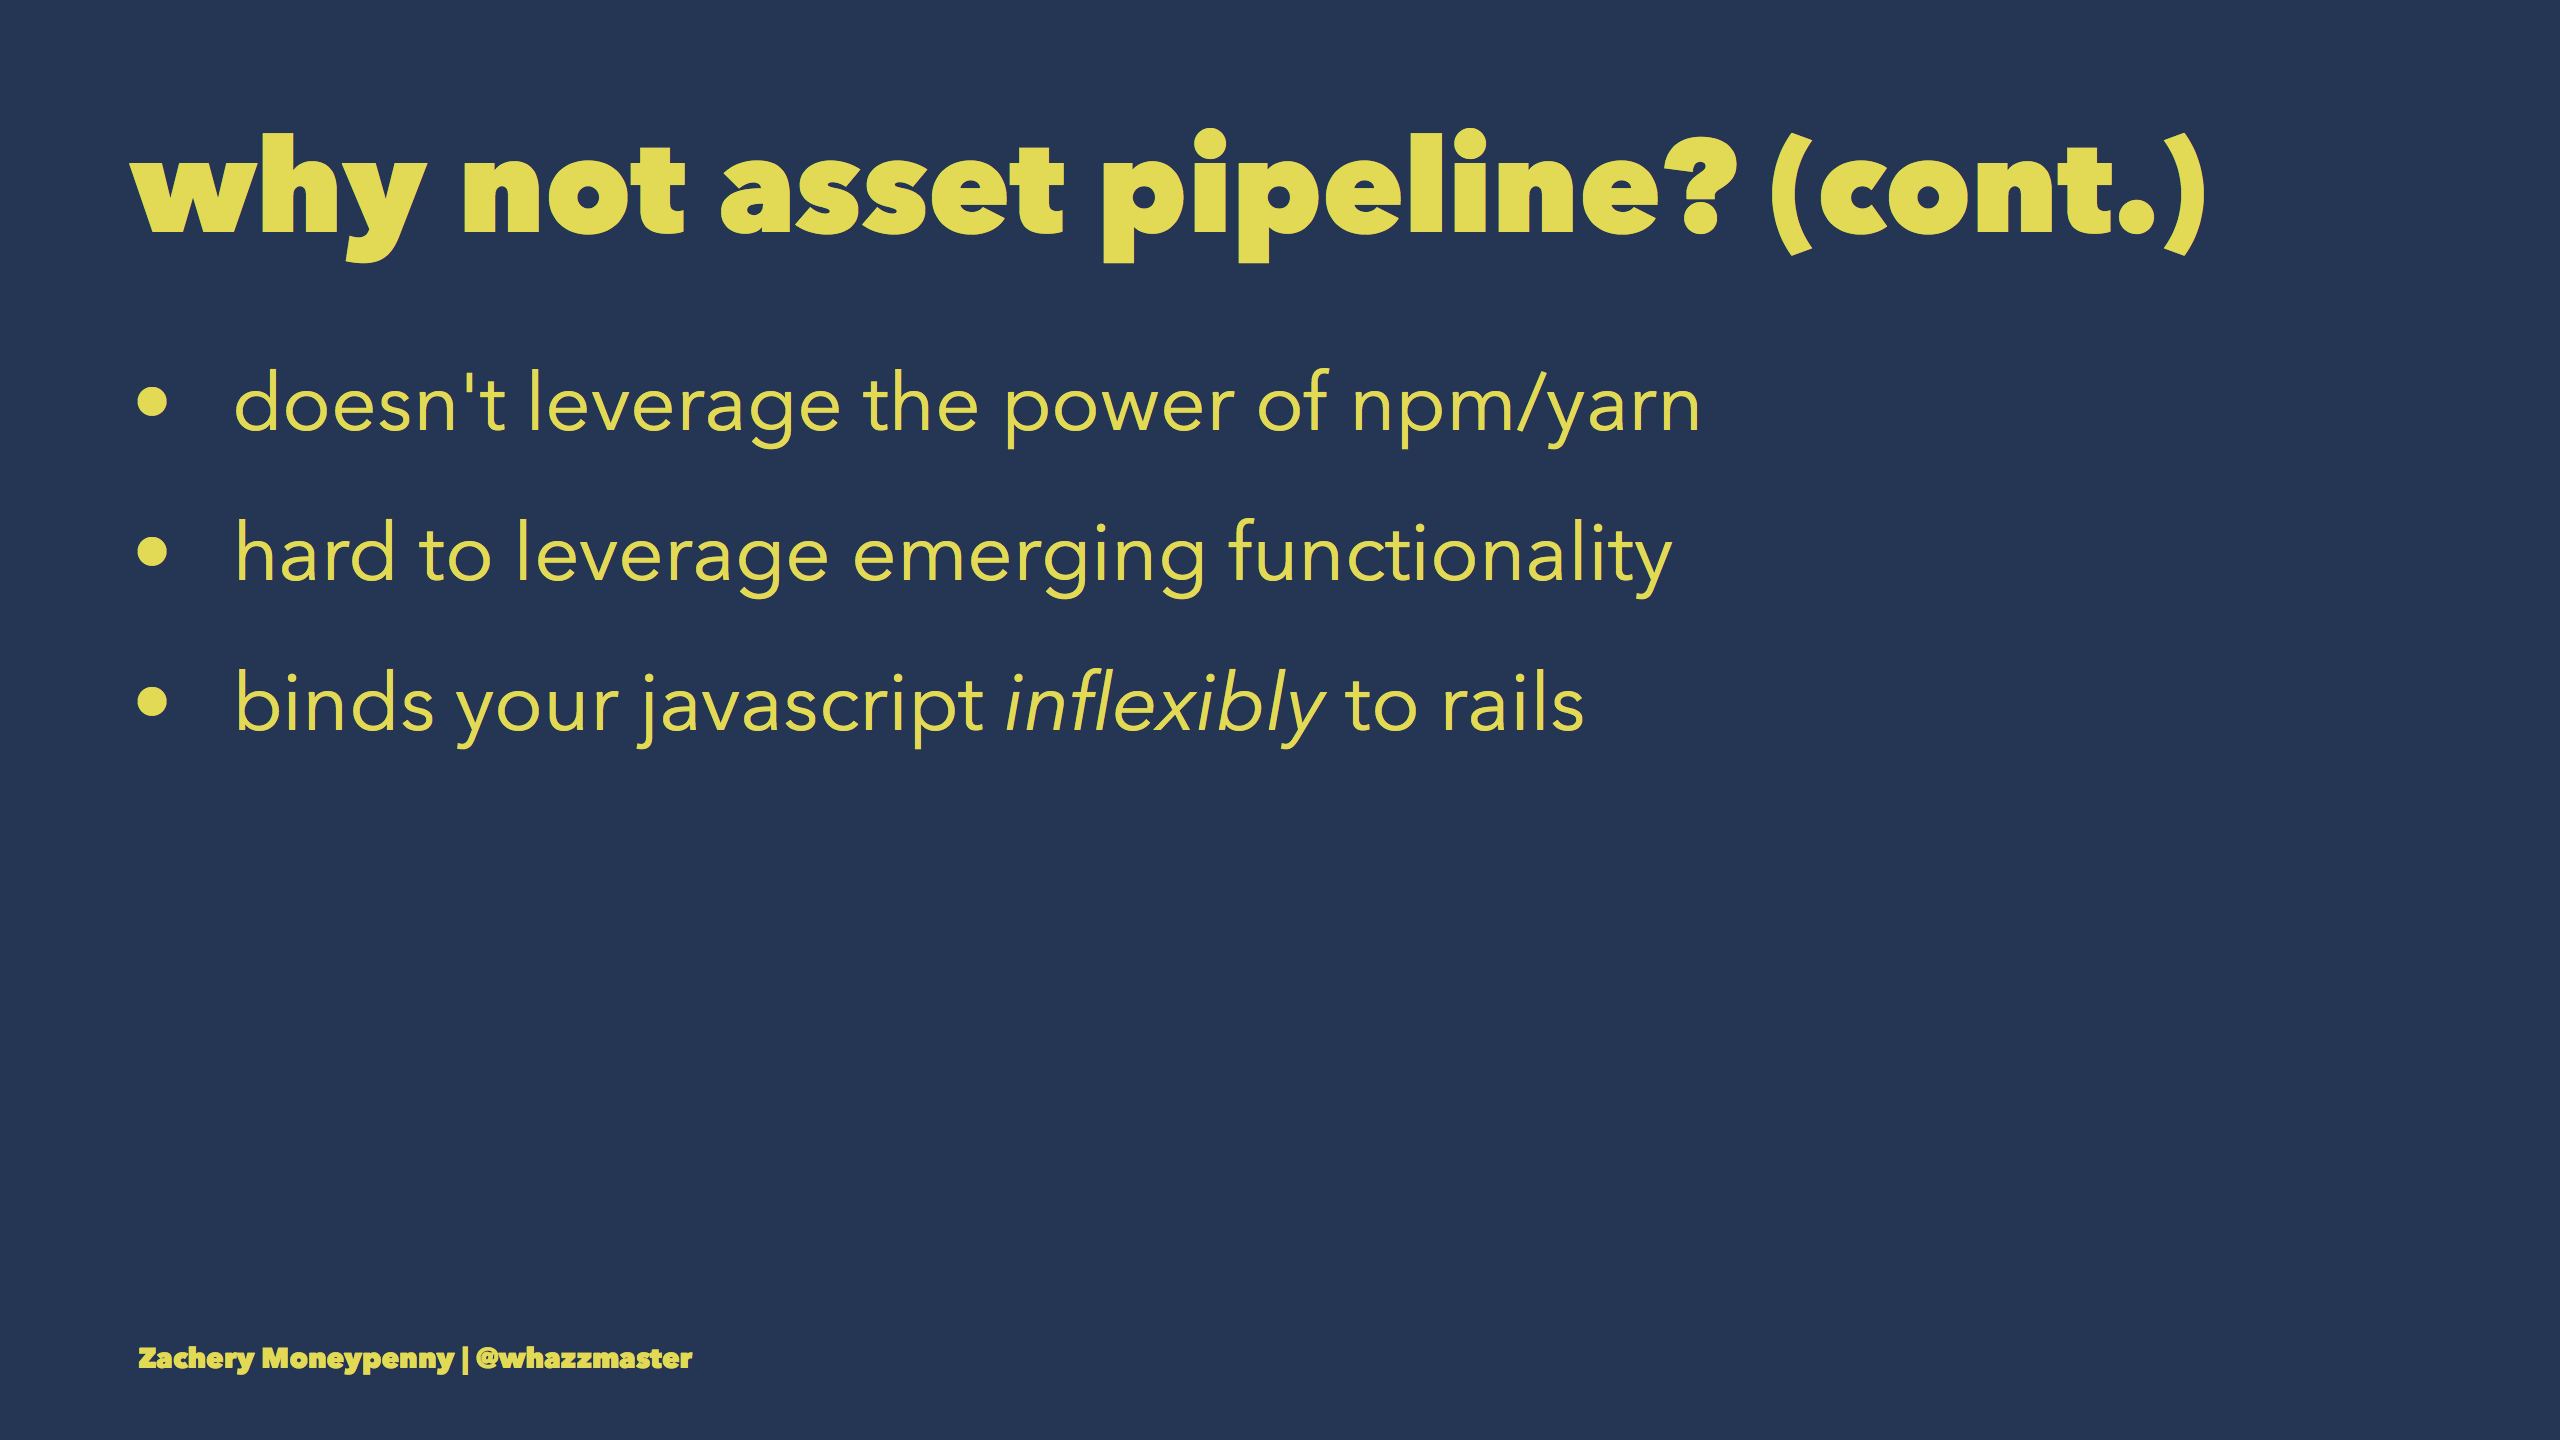
  2. How do we use webpack in a rails project? How is it setup? And how do we enable specific functionality for our frontend apps for use in rails?

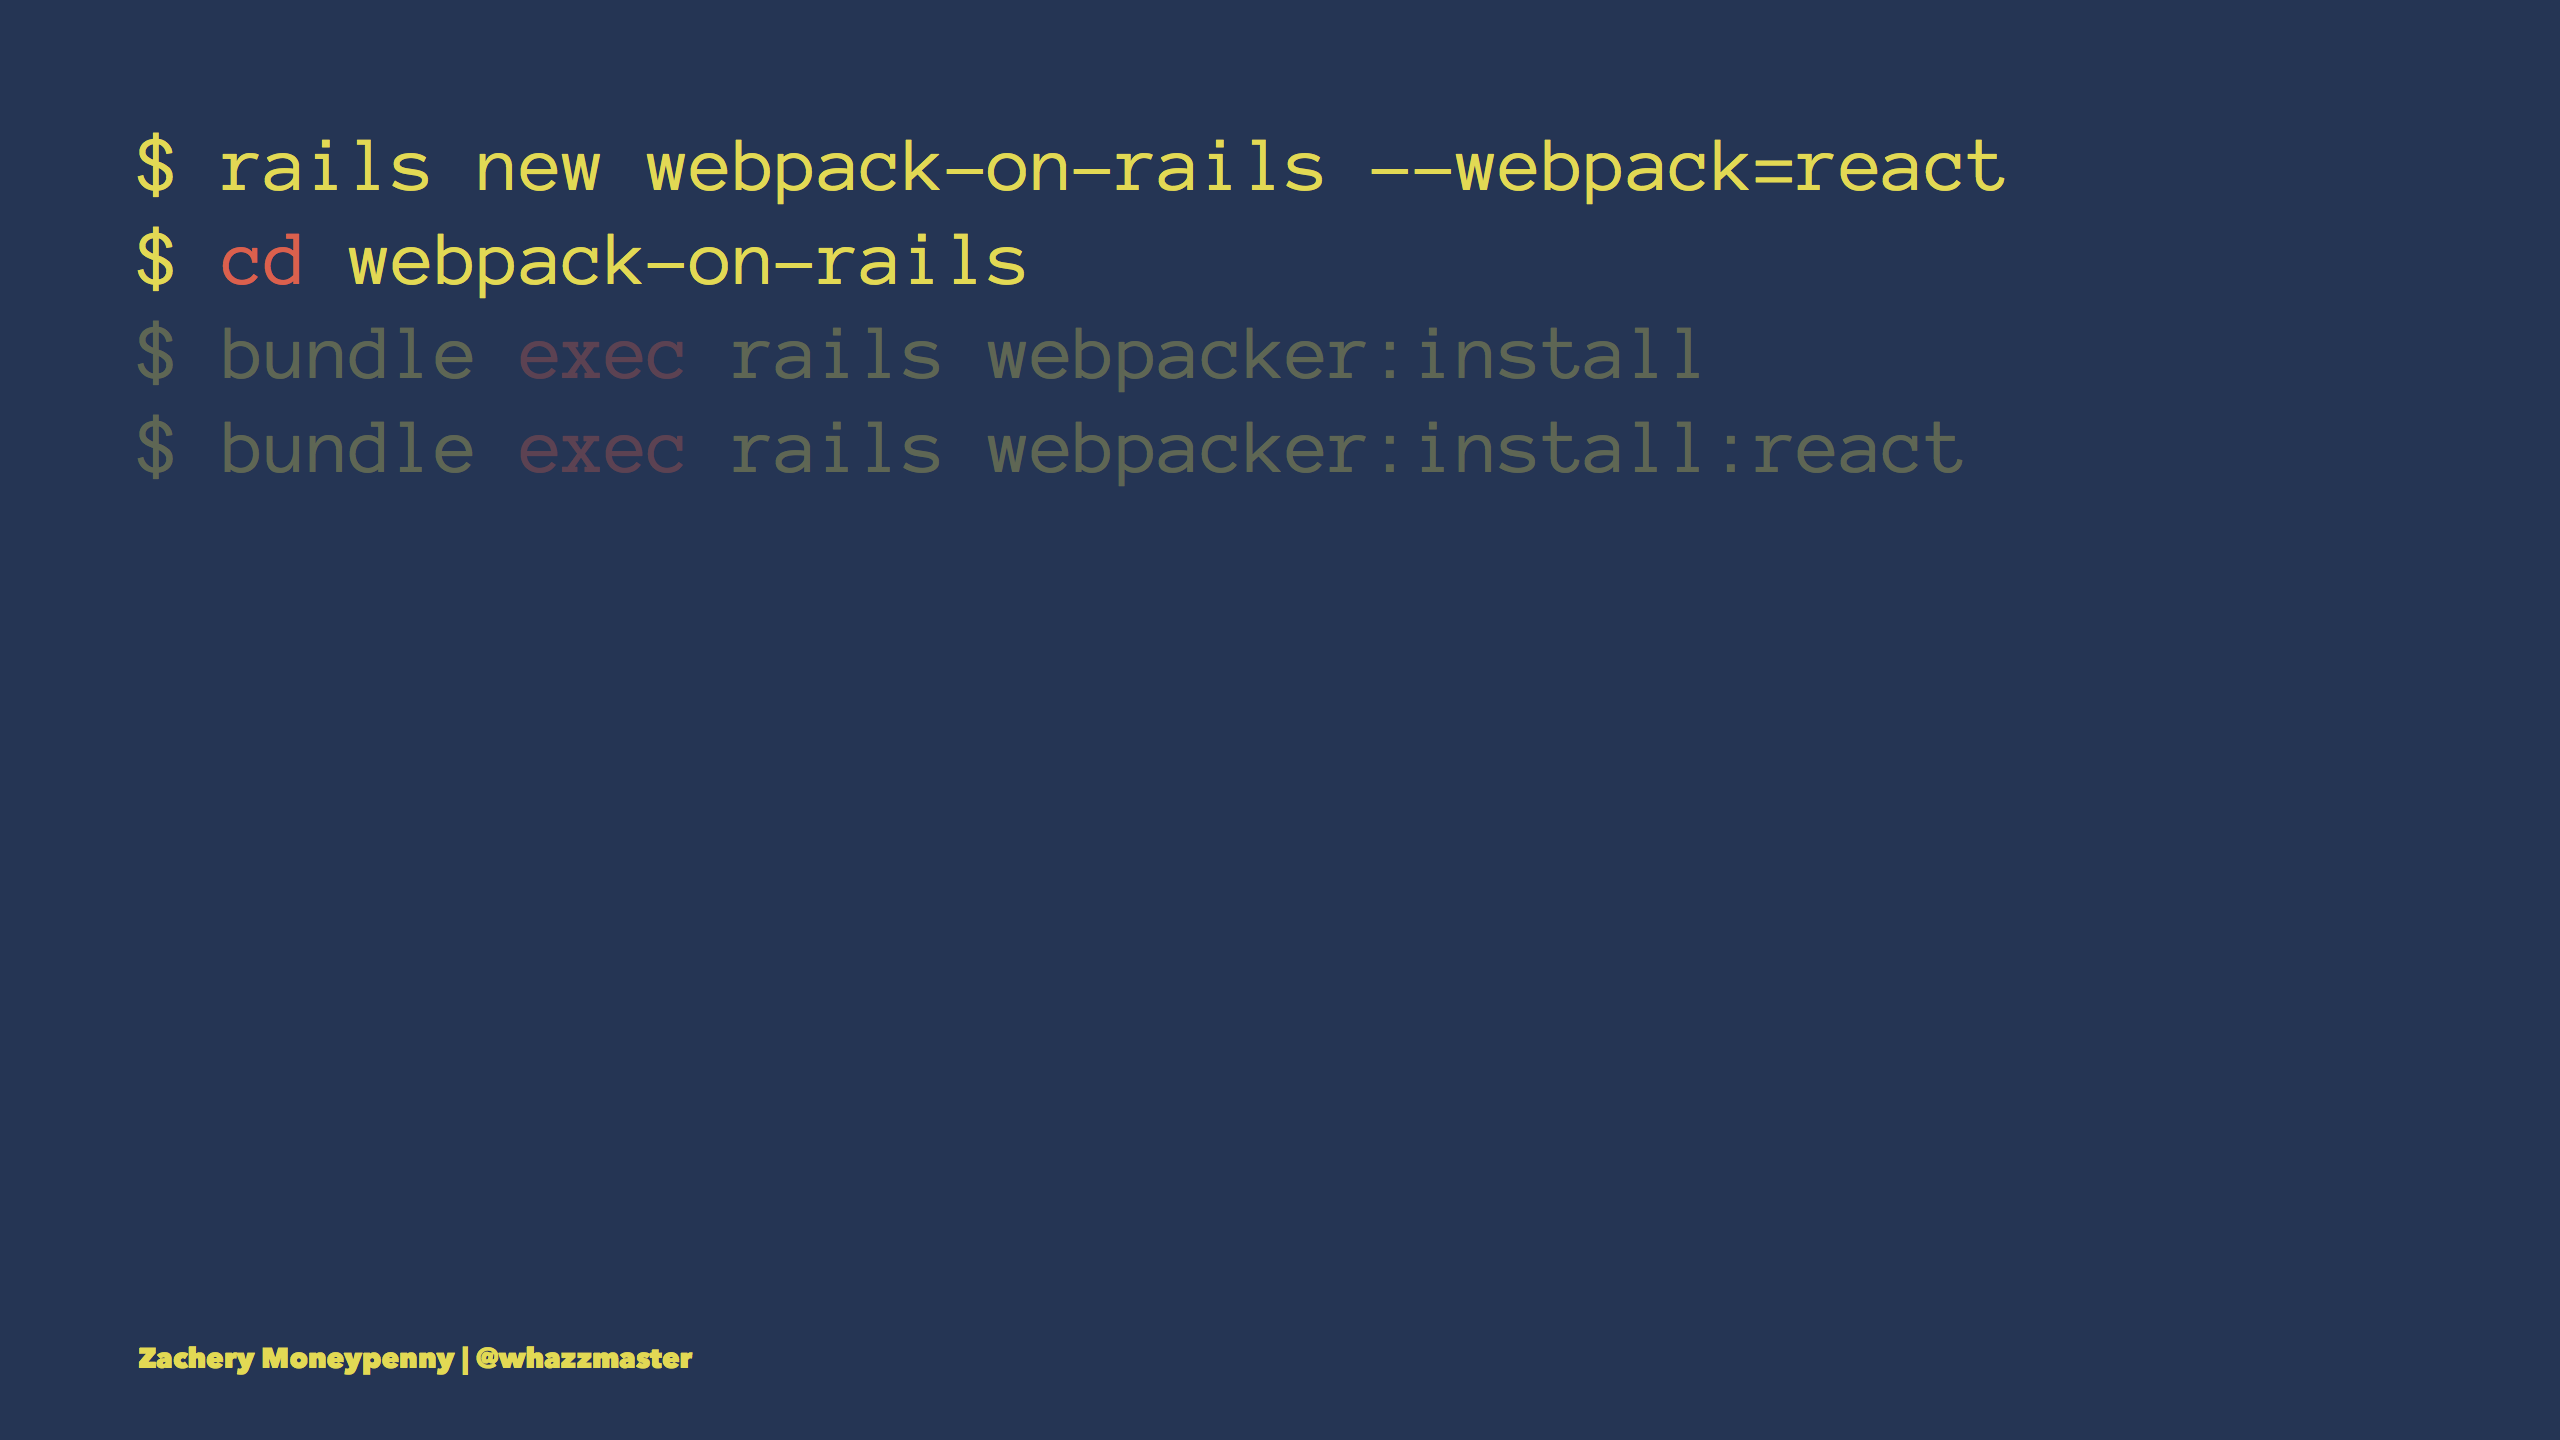
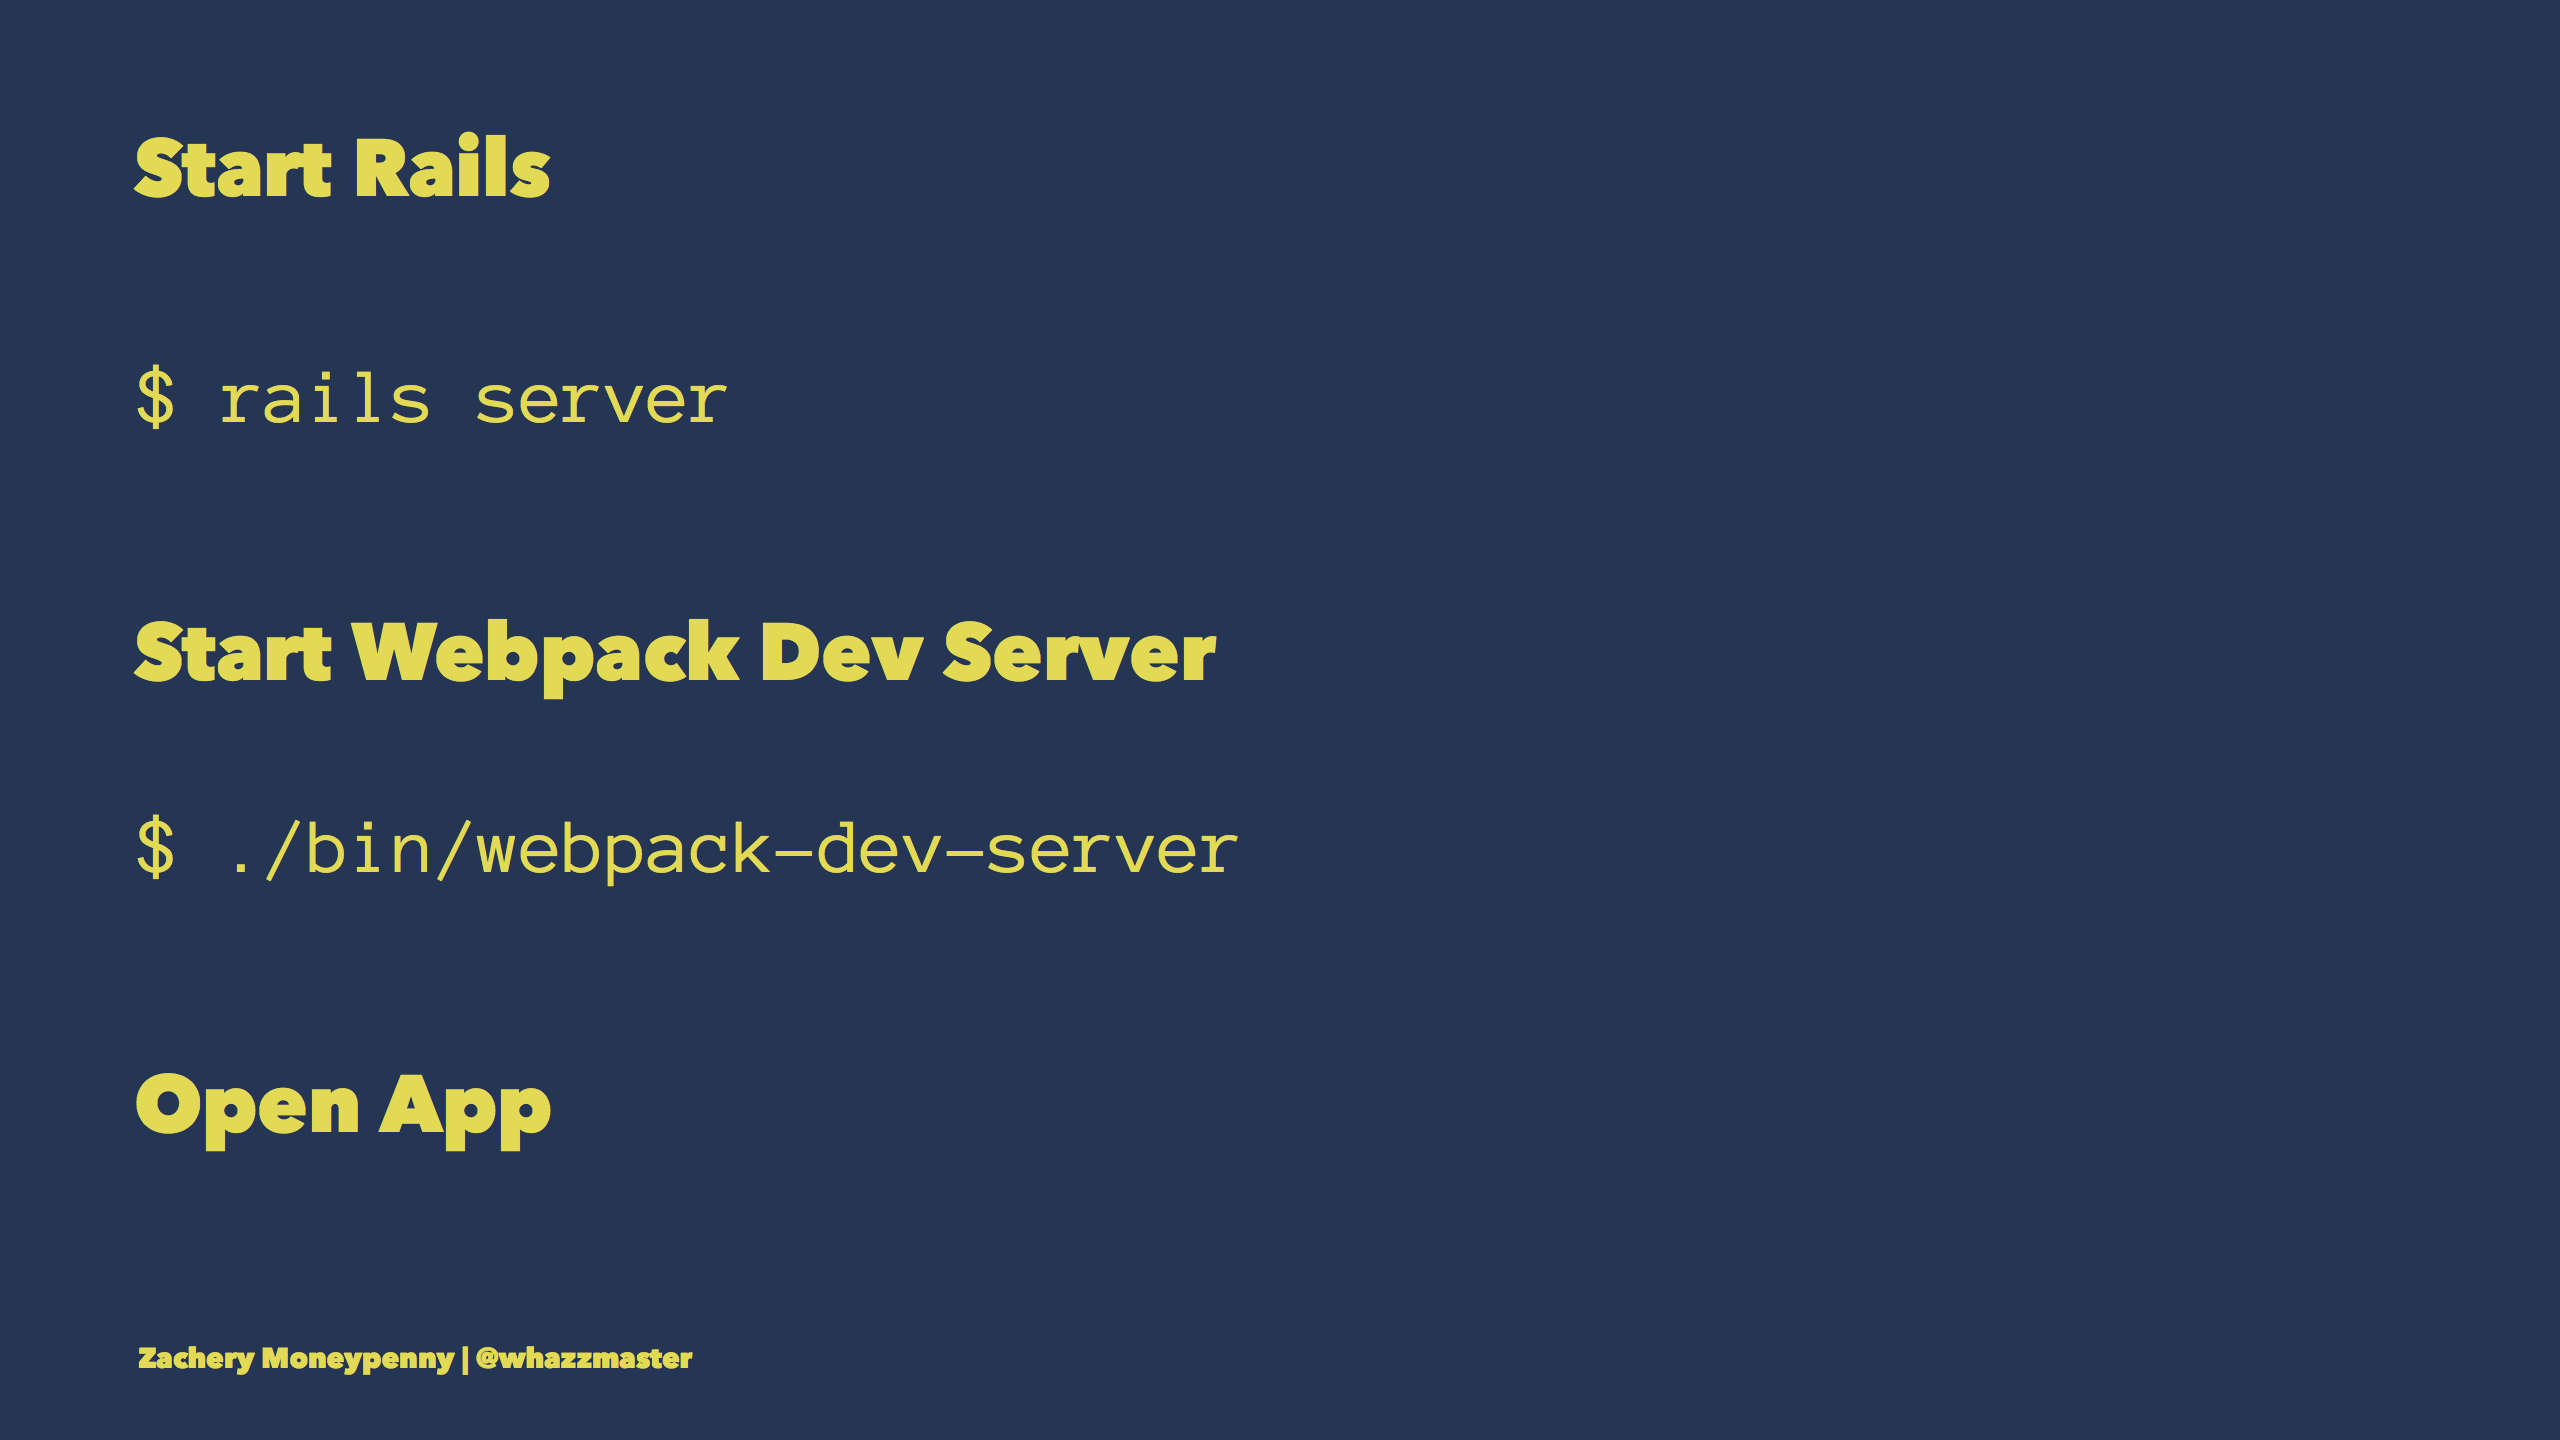
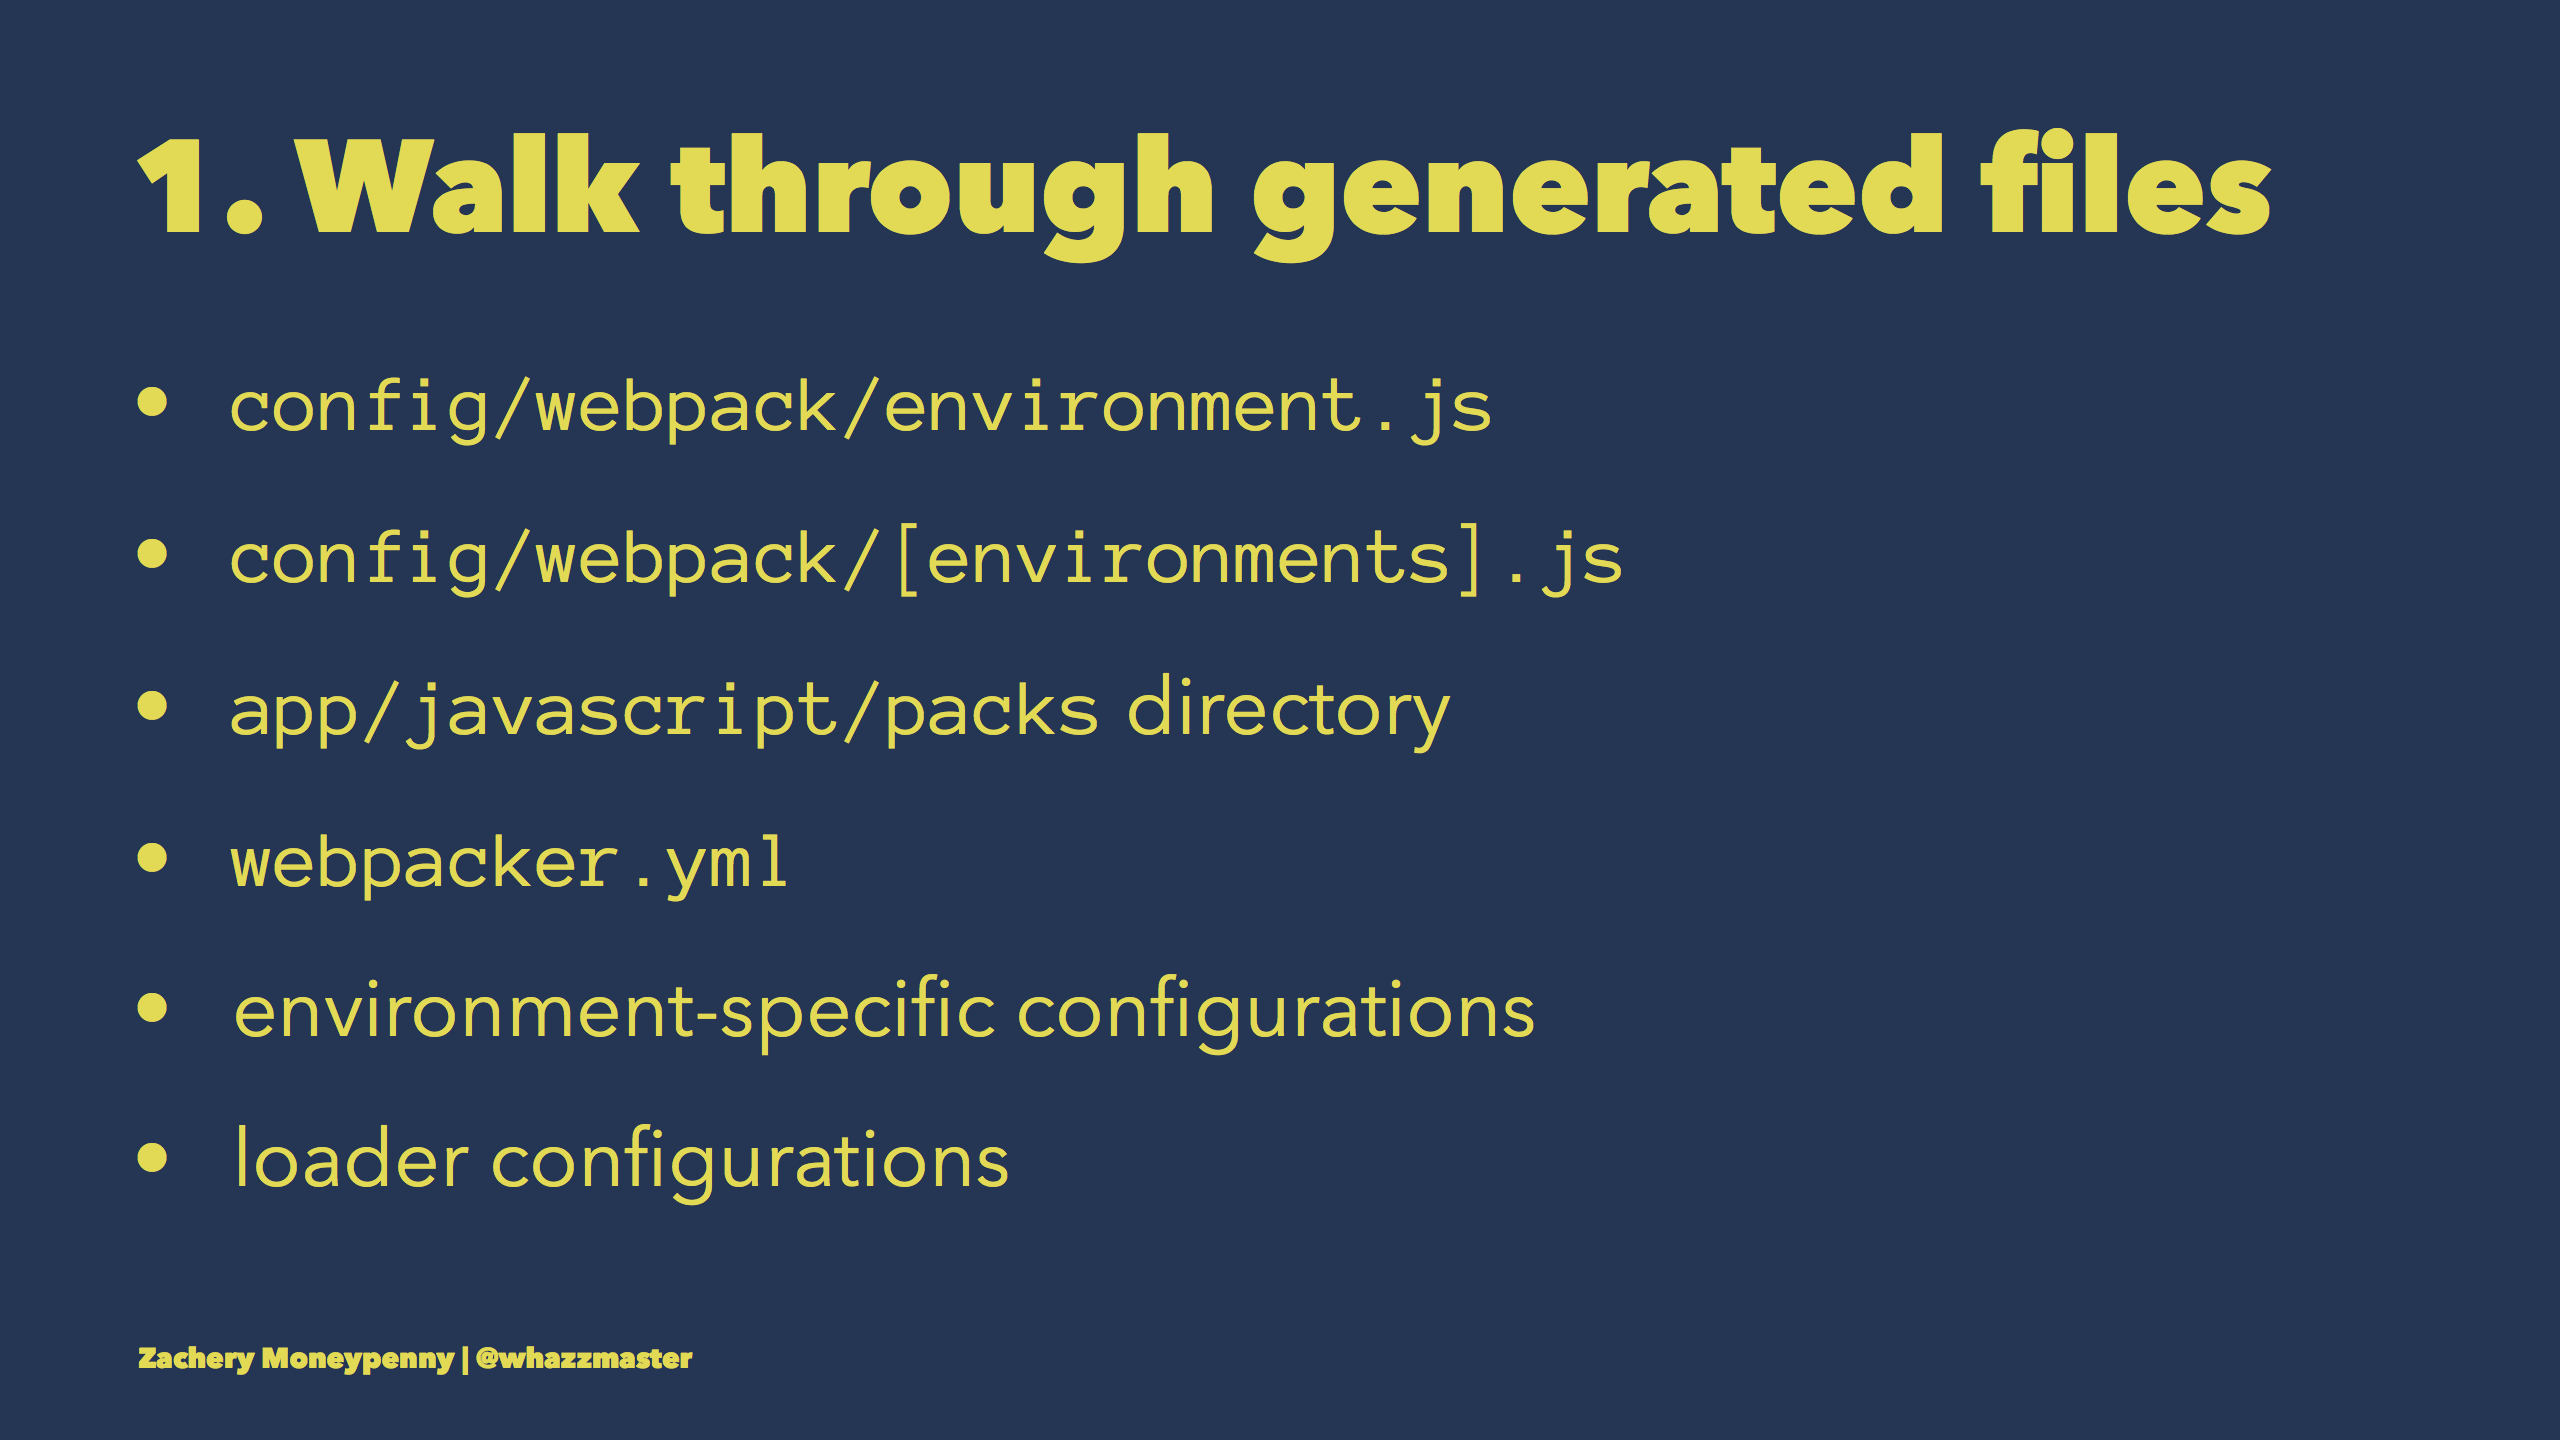
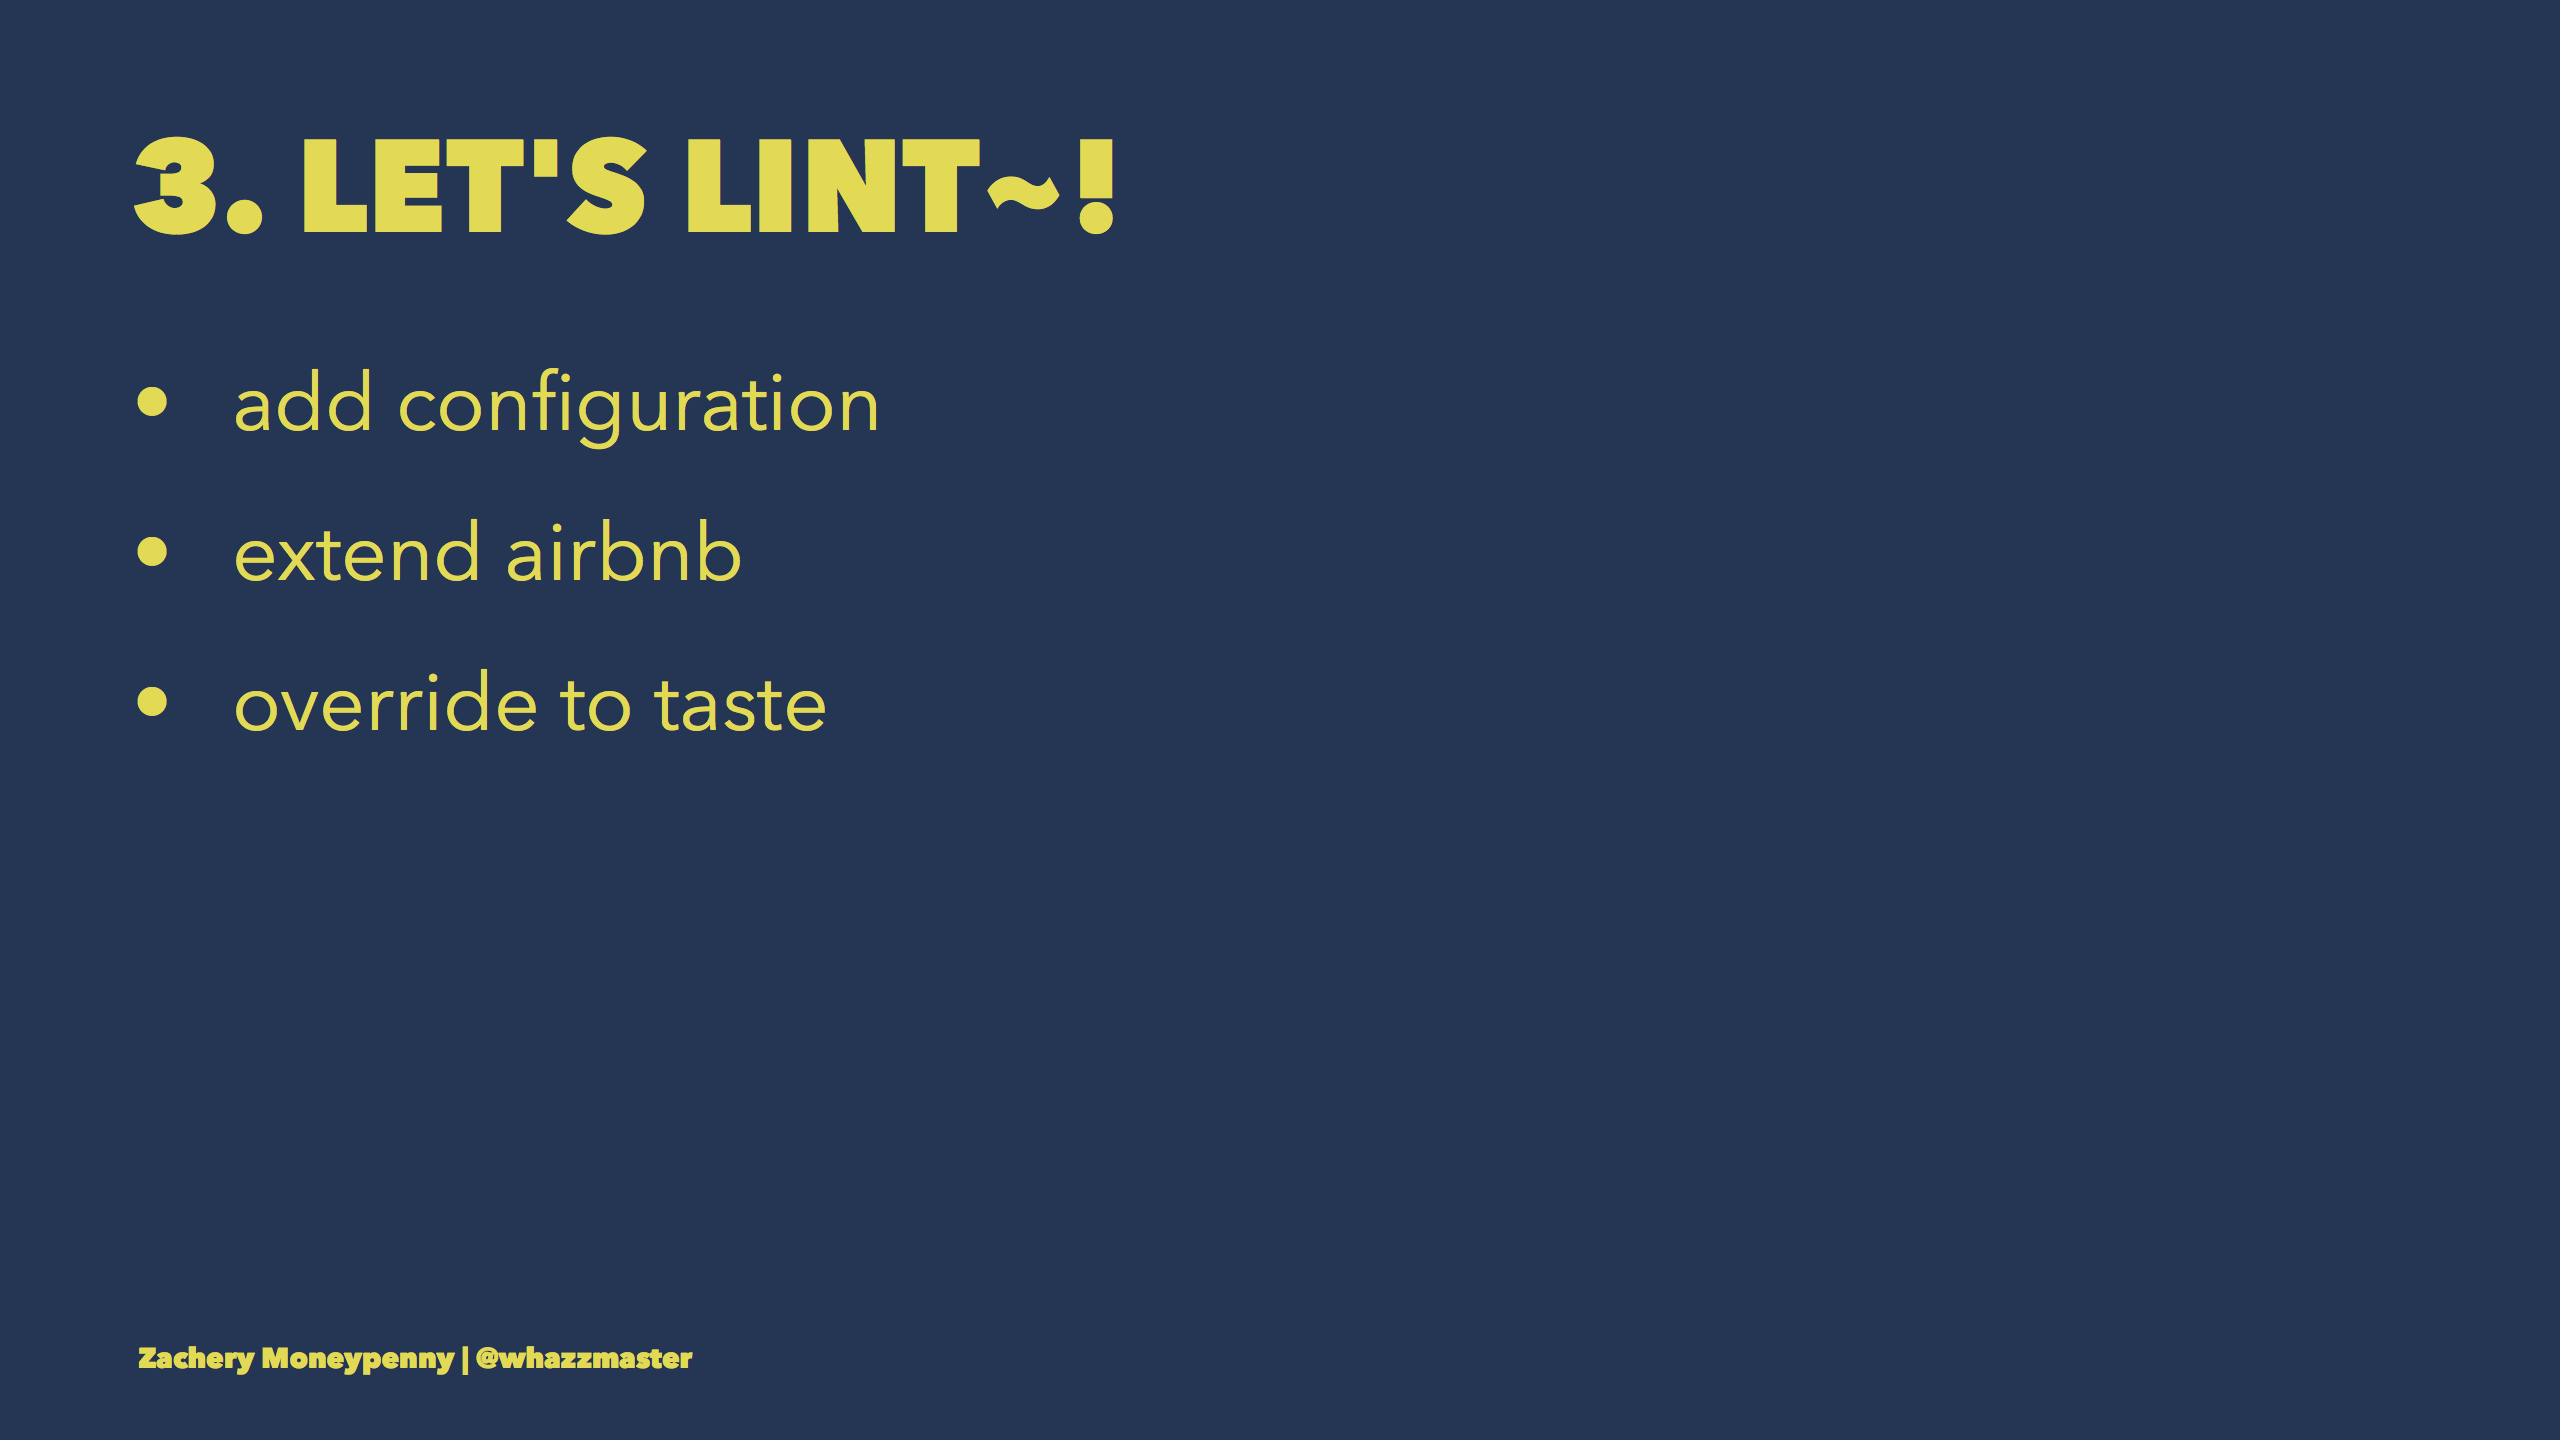
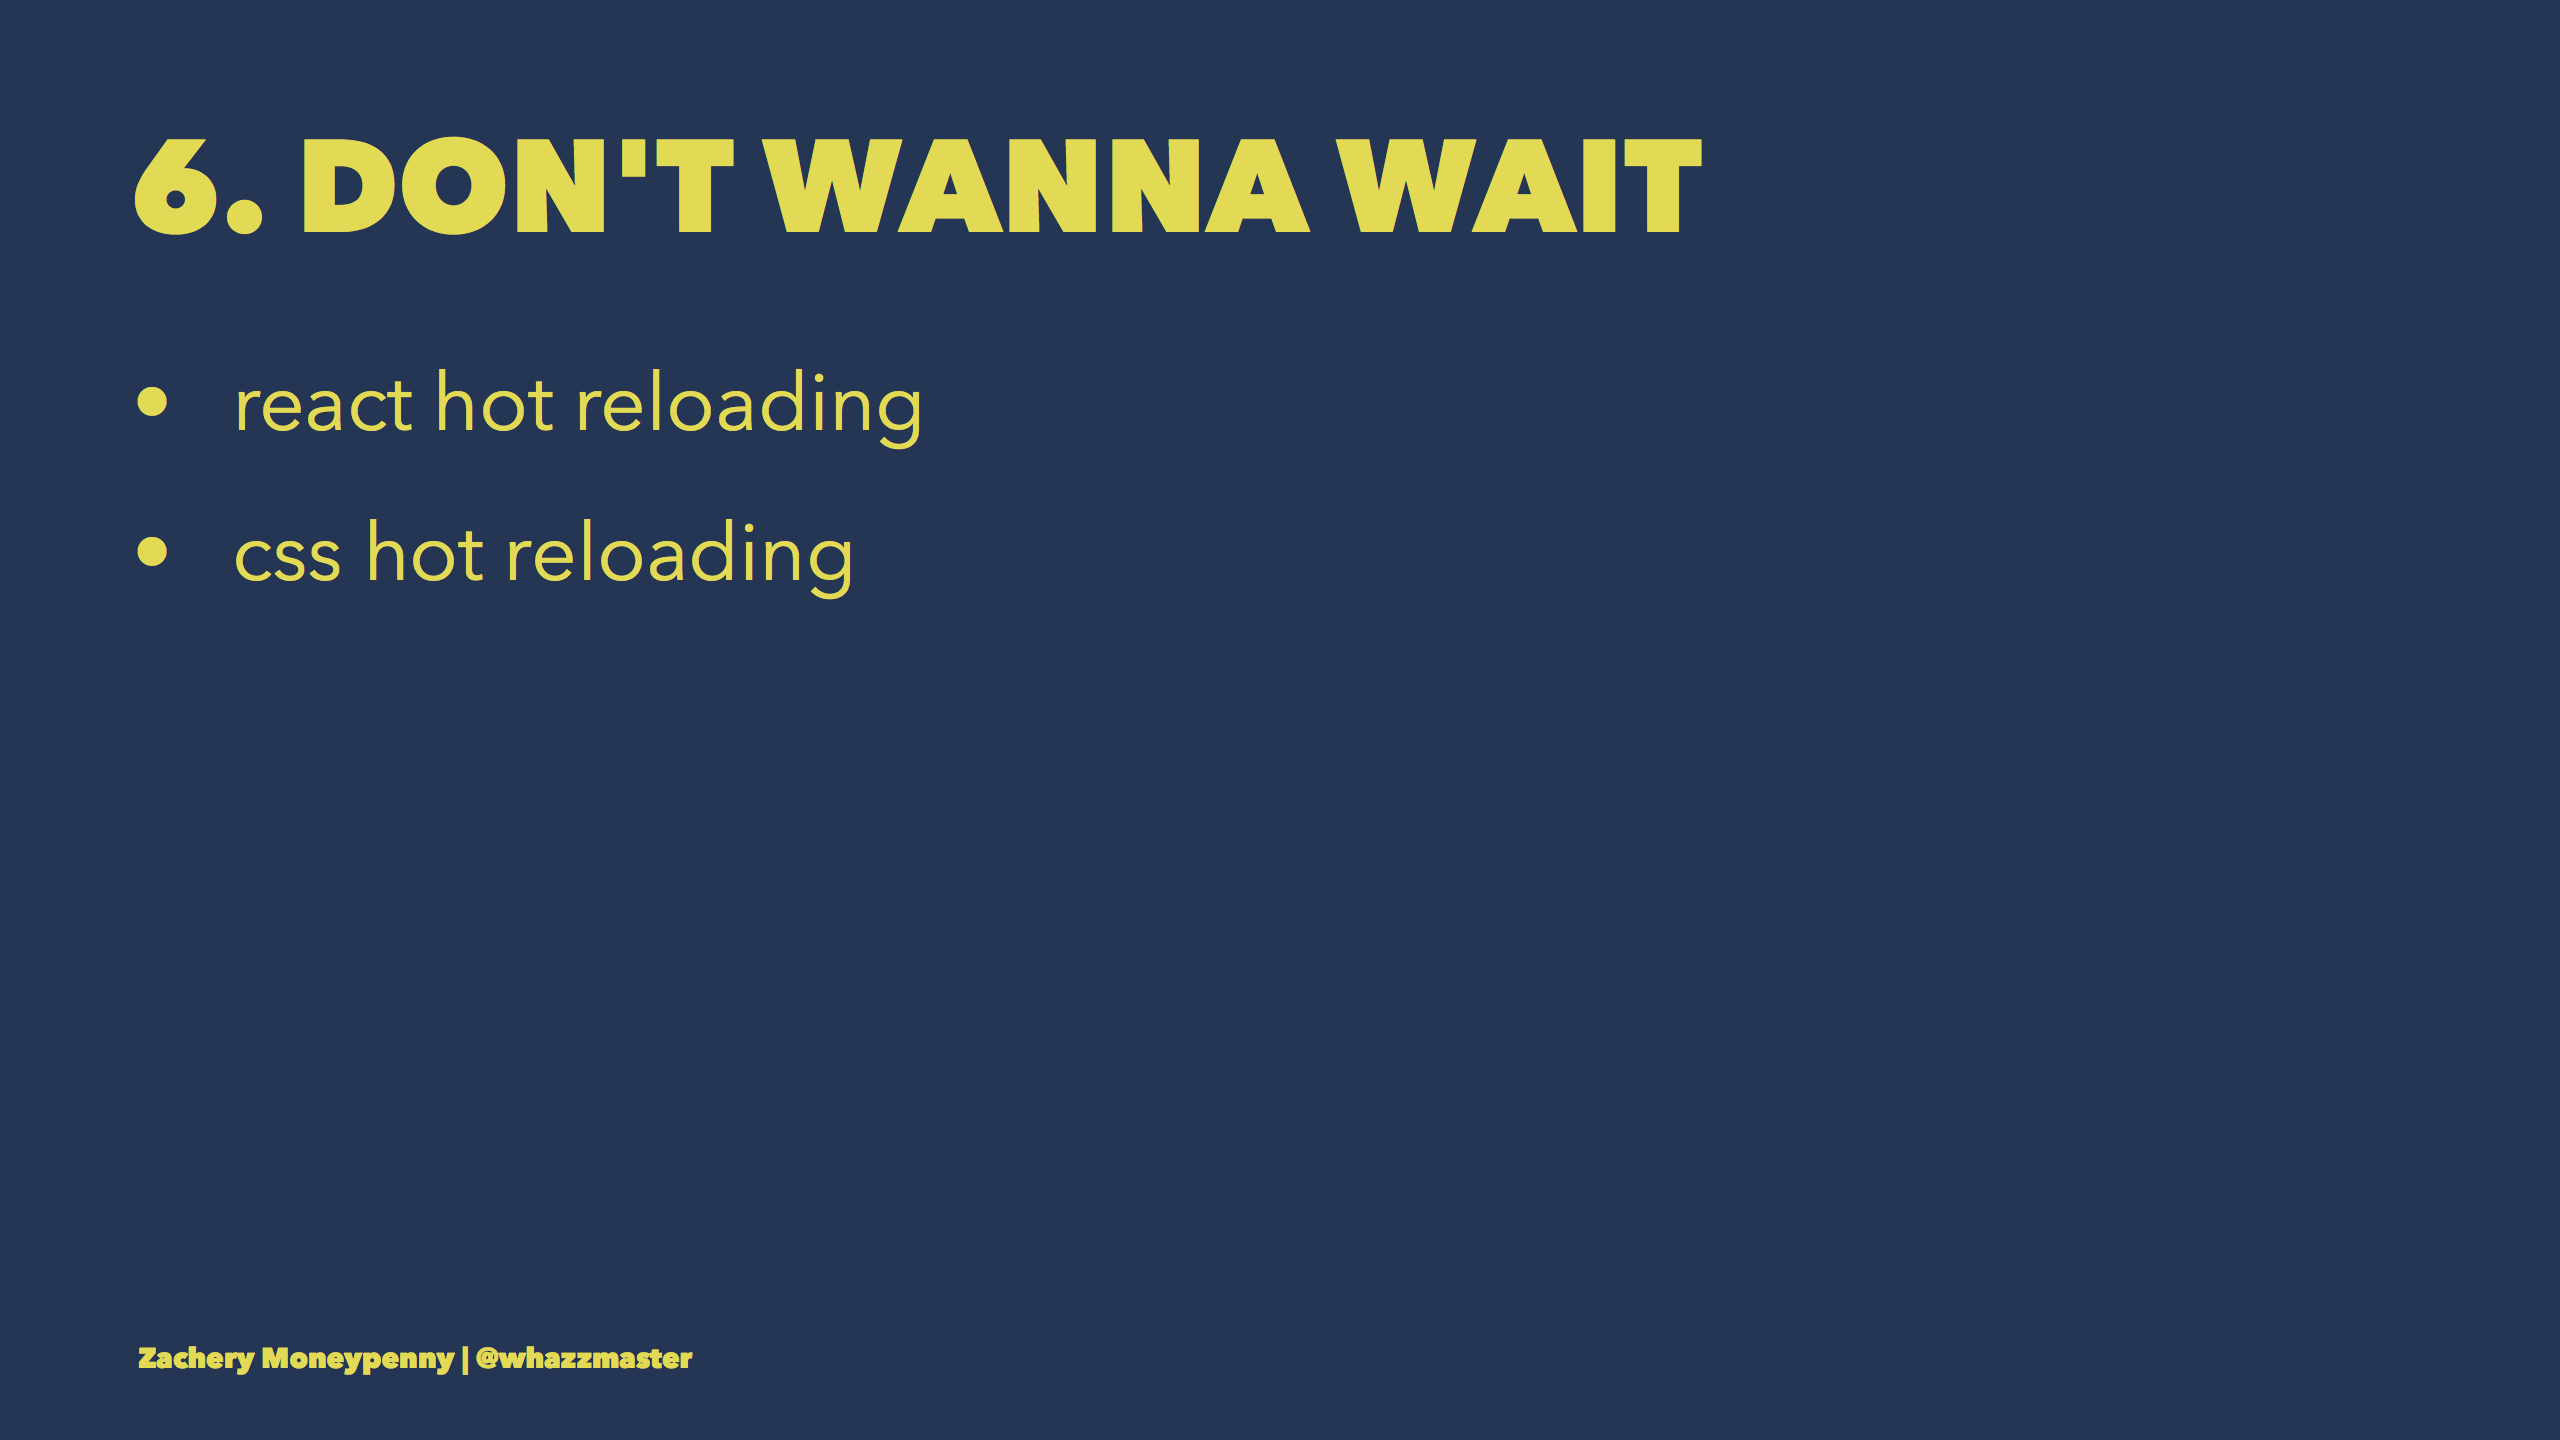
In the second half of the talk, I live-demo how we build out frontend development tooling and functionality. All of the code used is available on Github, along with git tags that allow you to jump between major revisions to follow along with the slides below.

This talk was given at the Madrailers Meetup on August 27th, 2018.


Let's talk about webpack!

Standard introduction. Here is some more information on various organizations appearing on the slide:

  • YWeb Career Academy is a grant- and donation-funded dev bootcamp in Madison, Wisconsin focused on providing software development opportunities to young women and people of color.
  • Technical Interviewing Meetup is a meetup devoted to helping developers practice their technical interviewing skills.
  • Madrailers Meetup is the meetup this talk was originally delivered at. It's a Ruby-on-Rails meetup group.
Let's build a web application!

And when I say web application I'm not talking about a web site or a web page, but an app whose functionality is best expressed via a high degree of interactivity in the browser. Going down the road of webpack and a full-featured javascript framework like react or angular incurs a lot of overhead if you're only trying to get some static content onto the web.

So, uh, where do we start?

Let's peer through the mists of time and look at how Javascript apps have been built throughout the years. We'll pick up in the Ancient Times of 2010 when Javascript started to evolve away from slapping a bunch of jQuery UI <script> tags in your <head>.

If you were a big corporation you likely paid a pretty penny to distribute your assets via CDN. And likewise you may have been advanced enough to hack together some sort of minification and concatting process in your build.

Over the years these techniques became much easier for a project of any size to adopt.

Then, in 2012, Grunt appeared on the scene. It really was makefiles implemented in Javascript; a task runner and nothing more. It was almost purely configuration-based, using one fairly beefy JSON object to define your expected outputs and tasks used to generate them.

One of the major hurdles in using Grunt was applying multiple transformations to source code. You were literally working with intermediate files on disk and using the output of each task as an input to the next task, which could get tricky the more steps you had in your pipeline.

In 2013 𝖆 𝖓𝖊𝖜 𝖈𝖍𝖆𝖑𝖑𝖊𝖓𝖌𝖊𝖗 𝖆𝖕𝖕𝖊𝖆𝖗𝖊𝖉 on the scene, and flipped the process on its head. Gulp's innovation consisted of pipelines as a first-class citizen. Now you could define in code how to pass outputs of previous tasks around and shim the process however you'd like.

In doing so, it moved away from the idea of pure JSON configuration and into a world where your configuration was Javascript code itself, which allowed you to introduce arbitrary middleware-ish functions to handle utility tasks, etc.

Of course, the downside is that the more functionality you need, the more code you'll write. Eventually, configuration to build your web application has as much as code your damn web application.

Something else debuted in 2013, though. Webpack was well off the radar for several years, and even today has a not-entirely-undeserved reputation for being difficult to understand and configure.

So let's talk about what webpack actually is and how to configure it!
Webpack can create a static graph of your entire frontend code base. This includes your Javascript source, but also includes your images, stylesheets, templates and HTML files.

You implicitly define these dependencies merely by including, say, a path to an image in the src attribute of an <img> element. Your HTML now depends on that image in order to deliver the whole page.

Webpack's innovation is to facilitate making all of those implicit dependencies explicit in your code. And once your dependencies between Javascript, HTML, CSS and images are defined webpack can start doing very interesting things!

Webpack ultimately takes Gulp's view of JS code as configuration, but due to the use of loader and plugin abstractions much of the code is abstracted out of the configuration source code and it collapses to a JS object definition. You may also include your own utility functions or compile-time logic to influence the configuration.

Additionally, any sufficiently complex code to invoke on resource import or bundle generation can be packaged into your own loader or plugin, respectively.

Before we start to define and investigate the abstractions that webpack uses, we first need to clarify what we mean when we say "a resource is imported." In Javascript (and by extension Typescript and other transpile-to-JS languages), there are several ways to import code from another file into the current file.

CommonJS uses the require function. This is the default way that NodeJS handles module import.

ES6 and Typescript use the import statement to import modules. Until very recently, this usage was transpiled to require calls by tools like babel, but as browsers are starting to support import directly, you may see this code run in the browser directly as more and more browsers support it.

So, with that clarification in mind, webpack establishes the static graph of all your frontend assets by using various loaders to process the different file types.

In order for it to do so, you must require all of your assets into your Javascript files. Once required, these assets are now available to whatever pipelines you define in your webpack config, and your ability to mutate, shim or optimize is almost limitless.

Ahem. «holds out hand» All your assets please. Yep, need them all.
No, all of them. I see that vendor.css you have behind your back.
And that SVG logo.
Are you weirded out yet?
We need everything...
...in order to soar into the wild blue webpack yonder.
First let's discuss what loaders are in webpack.
Loaders are Javascript modules that are invoked every time a resource is required into another file. They're configured to be invoked on files that pass a regex defined in the config object.

Here's a fairly extensive example of how different loaders may be used in a simple component.

  • Using the svg-inline-loader, we can import our logo directly into a variable and then bind it to the src attribute of the <img> element.
  • Using a combination of the sass-loader, css-loader and style-loader we can import our SCSS files into a variable that contains the compiled styles that we can then apply to our component.

Importing a config.json used to require a json-loader to be configured, but since webpack 2.0.0 it's now enabled by default.

The minimal configuration for the svg-inline-loader is simply a regex test for the file type, and the loader to apply to files that pass the regex test.

A new fantastic point of view!
Let's move on to discuss plugins.

Once webpack has a detailed static graph of your application, plugins may be applied. They hook into lifecycle events and are mainly used to influence how the graph is converted into bundles.

As an example we'll look at the ExtractTextPlugin, which can be used for many purposes but we're going to discuss how we use it to spit out a CSS file once all of the styles have been processed by our loaders.

Let's look at a fairly common configuration of the plugin: splitting your CSS into an app.css and vendor.css that may be cached differently.

Here we create two instances of the plugin in our configuration. One of the plugin instances will process any bare CSS files using css-loader and postcss-loader and funnel the output to one file. A second instance will process all LESS files we use with less-loader and css-loader and funnel that output to a different file.

Now the vendor CSS we include for whatever third-party styles we use may be output into a separate file from the styles we write in our LESS stylesheets, and we can define different caching policies for each.

Next we'll take a look at the HTMLWebpackPlugin, which "simplifies creation of HTML files to serve your webpack bundles."

Typically, a forgotten and annoying part of bootstrapping a new JS application is to build out the index.html that hosts everything. This plugin builds a file to host the output bundles dynamically. And once you've moved beyond the bootstrapping phase, you can pass a template to the plugin configuration and the plugin will apply the appropriate <script> and <link> elements based on the bundles created by the build.

This is a minimalist configuration for the plugin. It will create an index.html in /dist and include a <script> tag that pulls in /dist/index_bundle.js.

Now, we've covered what loaders and plugins are, let's explore some of the cool stuff we can do!

this is cool
i am xecite

Optimizing image files for the web involves trade-offs: image size vs. network overhead is one of them. At a small enough size we may just want to inline a Base64 representation of the image data rather than fetching an additional file over the network.

This configuration instructs webpack to inline the image data if its under 8MB in size, otherwise copy the file to the output directory and link to it from the markup. Of course, should you do this yourself you'd likely choose a far smaller size than 8MB, but it shows that you can control the configuration with very little code.

Ok, let's move on to simple but important concepts: entry points and output configuration.

It's required to instruct webpack where the root of your dependency graph lies. If you're creating a simple application you may have an app.js or index.js file that has bootstrapping code or a top-level component.

If you desire your code to be split into multiple bundles based on different entry points, that's fine too.

You also must instruct webpack where to place the bundles once they're created. The simplest configuration is a filename and a directory.

You may also use template-like placeholders in your output configuration. This way, if you have multiple entry points as previously mentioned you'll end up with app.js and vendor.js in the /dist directory.

Soaring, tumbling, freewheeling
Through an endless diamond sky

Now that we've worked through the basics of how webpack works and how we configure it, we can move on to how we do this in a Rails application.

And now that we're in the context of Rails, you may be asking, "Why not use the asset pipeline?" I should address that before we proceed.

I preface all this by saying that, when it was introduced, the asset pipeline was revelatory. It was so much better than everything that came before it and it brought some sort of order to the chaos of managing a ton of jquery plugins plus some random utility functions you wrote to perform client-side email address validation.

The longer it stayed static, however, and the faster the frontend ecosystem started to evolve, the more we found ourselves working against the asset pipeline rather than with it. It offered minification and concatting by default. You want to do more? Install a gem. You want to do something else? Install another gem. You want a packaged version of Foundation? Install a gem that literally repackaged the CDN build and mimicked the version. Now that you have all these gems installed, some of which are literally just ruby buckets holding a javascript file, I hope you have the patience to work through integrating them all at once.

Coffeescript deserves tons of kudos in jumpstarting the evolution of Javascript as a language, influencing features that itself borrowed from Ruby. However, it was also emblematic of an attitude that kept Rails interaction with Javascript tinged with disdain for years.

Rails preferred to keep Javascript itself hidden away, which became a hindrance once the JS ecosystem started moving much faster than Rails was. Something as simple as leveraging npm to install dependencies was still difficult as of Rails 4.x.

Ultimately, the asset pipeline was table stakes when building a web app circa 2011 (when Rails 3.1 was released) but is now woefully inflexible as compared to the tooling available directly through Node and npm.

With the integration of the webpacker gem in Rails 5.1, however, Rails has embraced the concept of letting us use frontend tooling to build the frontend to web apps. And that is terrific.

Sooooooooooooooo

Before I start with the live demo, let's all say the programmer's prayer.

See git tag 1-generated-structure in the demo app repo.

Firstly let's generate a new application and specify that we want to use the react preset to the webpack integration.

Once generated, cd into the app directory and install webpacker and the react preset with the appropriate commands.

In order to view the results of our changes, we'll need to run the rails server and webpack-dev-server. Run the commands shown in two different terminals and then open the app.

Now let's briefly talk about some of the files that were generated...

See git tag 2-integrate-javascript-packs in the demo app repo.

Out of the box the app generator puts two files into app/javascript/packs: application.js and hello_react.jsx. In order to link those things into our application, we need to add helpers to the layout in application.html.erb.

See git tag 3-configures-eslint in the demo app repo.

Linting is used to flag warnings and errors in your code against a configured set of rules. Linting may address syntactical errors as well as style guidelines and best practices, and you can apply it both to your JS source as well as your (S)CSS code and even your HTML markup for a consistent code style, free of easy-to-catch bugs.

Let's add eslint support to our webpack build! Eslint allows you to extend known rule sets so that it's easy to establish a baseline; we'll use the venerable airbnb rule set.

In addition to adding the eslint dependency and config, we're adding a new directory at config/webpack/loaders to hold one file per loader config. Let's look at the contents of config/webpack/loaders/eslint.js:

module.exports = {
    enforce: 'pre',
    test: /\.jsx?$/,
    exclude: /node_modules/,
    loader: 'eslint-loader',
    options: {
      cache: true,
      failOnWarning: true,
    },
};

Note the value of the test regex: we're applying the linter to all .js and .jsx files. Restarting both the rails server and webpack-dev-server, we should now see...

See git tag 4-fixes-eslint in the demo app repo.

...that we have some errors! But we know where the issues are now, so we can fix them!

See git tag 5-develops-application in the demo app repo.

In order to show the benefits of hot reloading, which we'll do next, we first need an app that has component state. Once we jump to the 5-develops-application git tag we'll restart the rails server and webpack-dev-server, and then refresh the homepage and have a look at our todo app. It's a typical todo demo app, where you can add tasks, complete or uncomplete them by clicking a checkbox or deleting from the list of tasks.

The webpack-dev-server does its job to auto refresh the browser when we make a JS or CSS change, but there's a potentially annoying aspect to the auto-refresh. If we have entered state into our app and we're testing out design changes to the component in a certain state, we lose that state when we change code because the browser refreshes and resets the component.

See git tag 6-hot-reloading in the demo app repo.

The solution is to take advantage of webpack's hot module replacement feature. Using the react-hot-loader, it's a simple change to our app (plus only one very small configuration change) to enable our application to hot reload the application on code and style changes without losing your component state.

Once these changes are made, we can load the page, add some tasks, complete a few and then change the h1 value from "Todos" to "My Tasks." We should see the header change in the page without losing the task state we already had. This is a huge win for our produtivity when adjusting the design of complex components!

So here's what we've accomplished:

  • We built a minimal webpack configuration that handles our small react application and SCSS stylesheets.
  • We've added linting to the build process and ensured that it will give us feedback in the browser as well as the console when our frontend code is not acceptable to the linter.
  • We added react and css hot reloading support, so that our components retain state even after they're updated by JS/JSX/SCSS file changes.

Above all, we're leaning into the frontend ecosystem!

Is webpack the end-of-the-line for frontend tooling evolution? The idea of a "bundler" of frontend assets has likely hit a local maxima of mindshare, but there are other projects that are competing to be the best bundler.

Parcel is similar to webpack but its ideal is no configuration at all. It endeavors to determine the best way to generate bundles from your package.json and entry point.

rollup.js is slightly different than webpack and parcel, but it purports to do tree-shaking very well.

«soaks in adoration and applause»

Thanks coming out tonight! Check out the demo application repo and you can use the git tags noted above to see which changes enabled the related functionality.