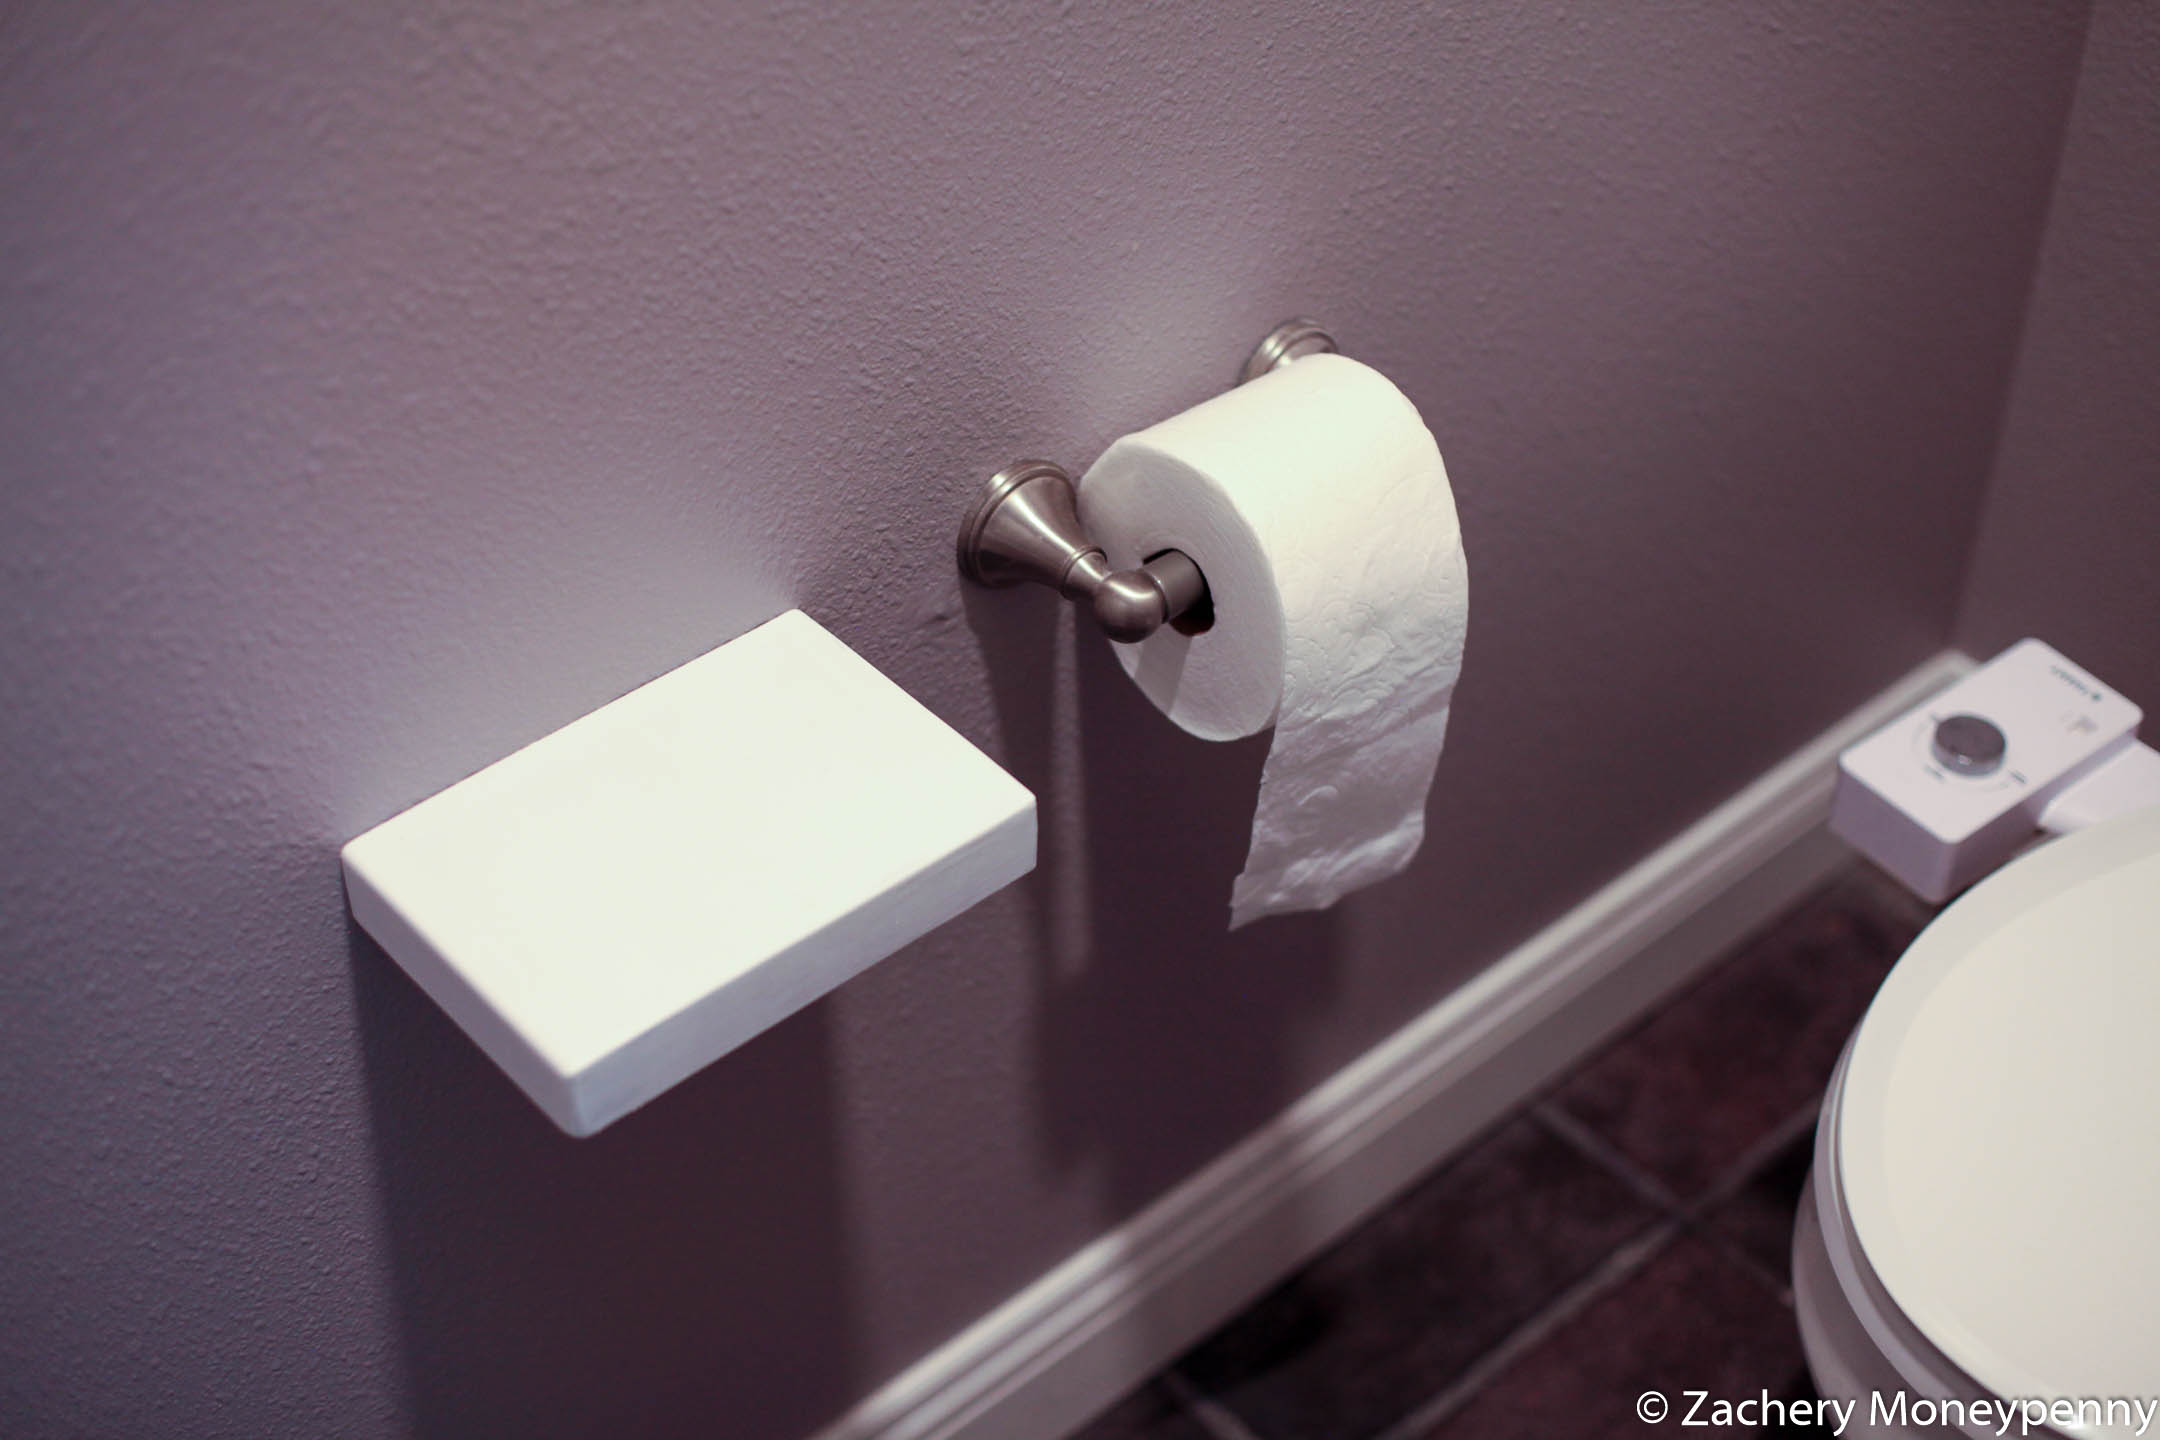
I got it in my head that it would be nice to have small floating shelves next to the toilet paper in the bathroom. Somewhere to put a phone, perhaps. A weekend project was thus born!
Wood
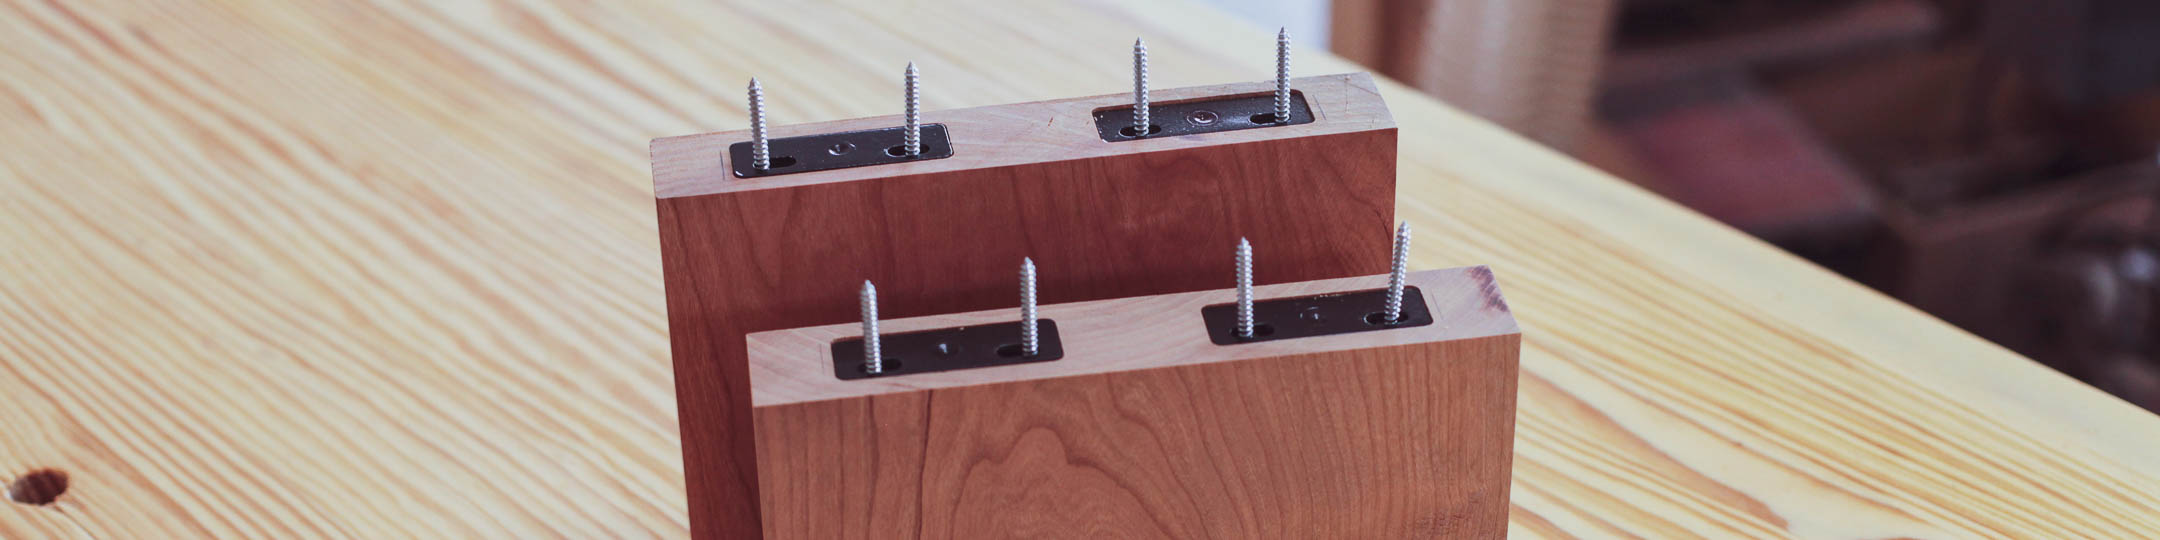
I had two end cuts of 8/4 cherry in my scrap pile that were a perfect size. The only constraint was that they needed to be at least 3” wide to accommodate the floating shelf supports I’d ordered from Amazon.
I squared up the blocks on the miter and table saw, and then sanded up to 180 grit. At that point I had to figure out how I was going to mortise the recesses where the floating pin base was to go…
Mortising
As I have so often in the last 2 months, I revisited The Wood Whisperer’s video on building custom mortising jigs for the router.
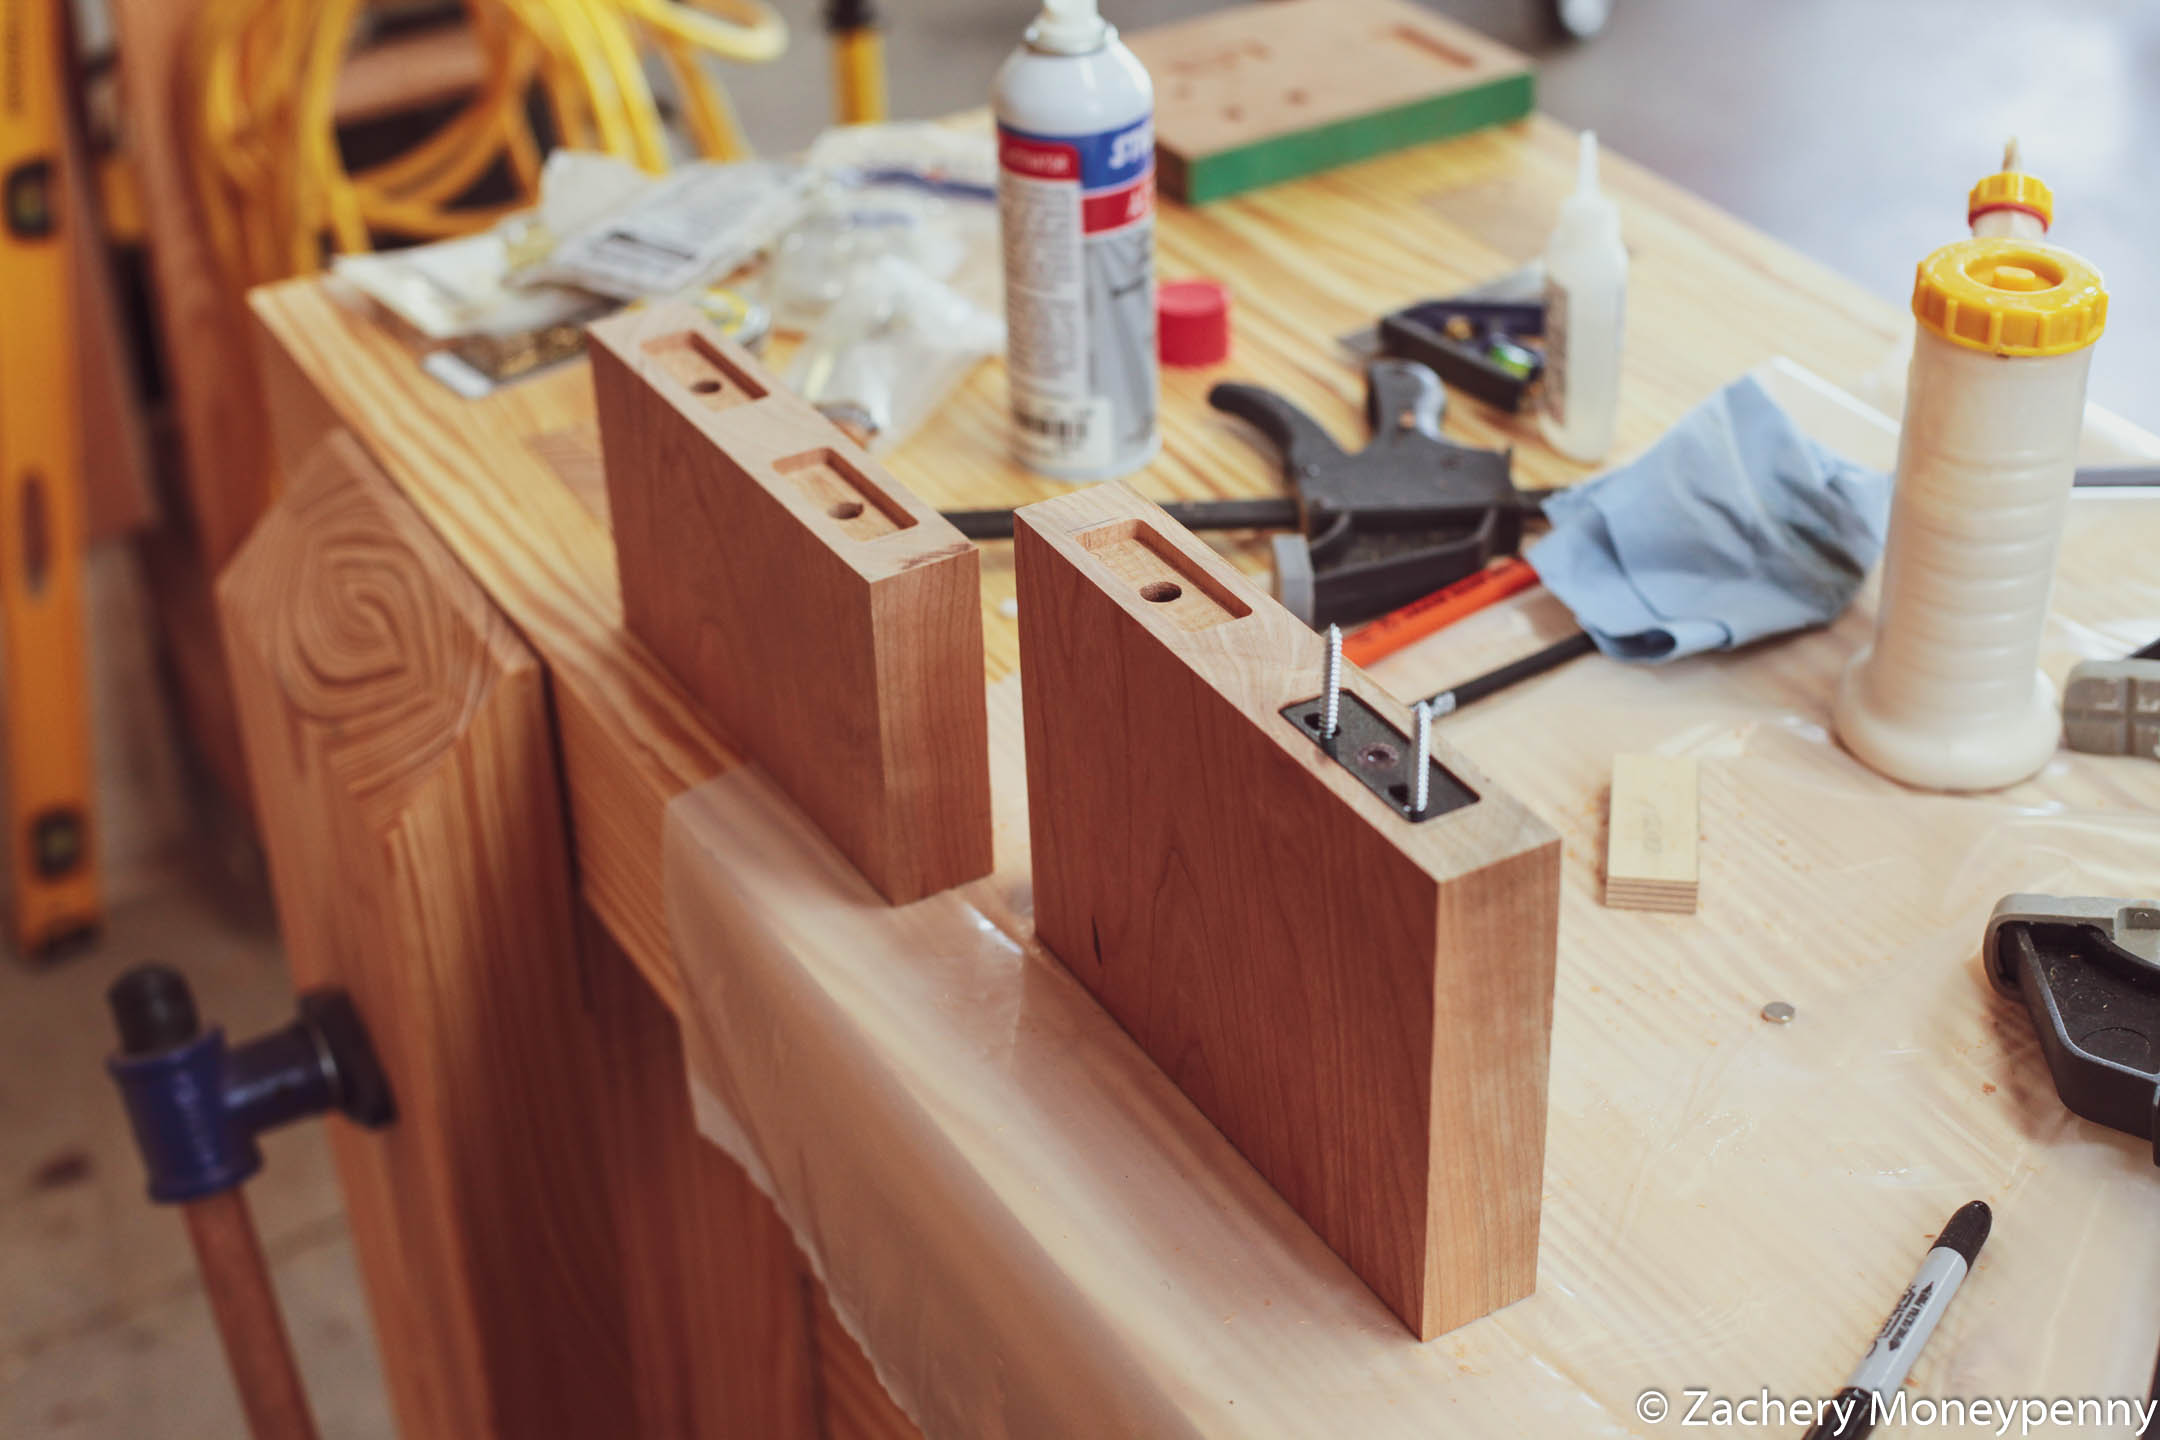
I was able to glue up a jig with wood and CA glue that lasted just long enough to route out the recesses before it fell to pieces. Then I chucked it into the garbage. Thanks Mark!
Over to the drill press to drill out the hole for the support pin, which was a little harrowing due to the depth of hole needed. My drill press made a sound like it was haunted.
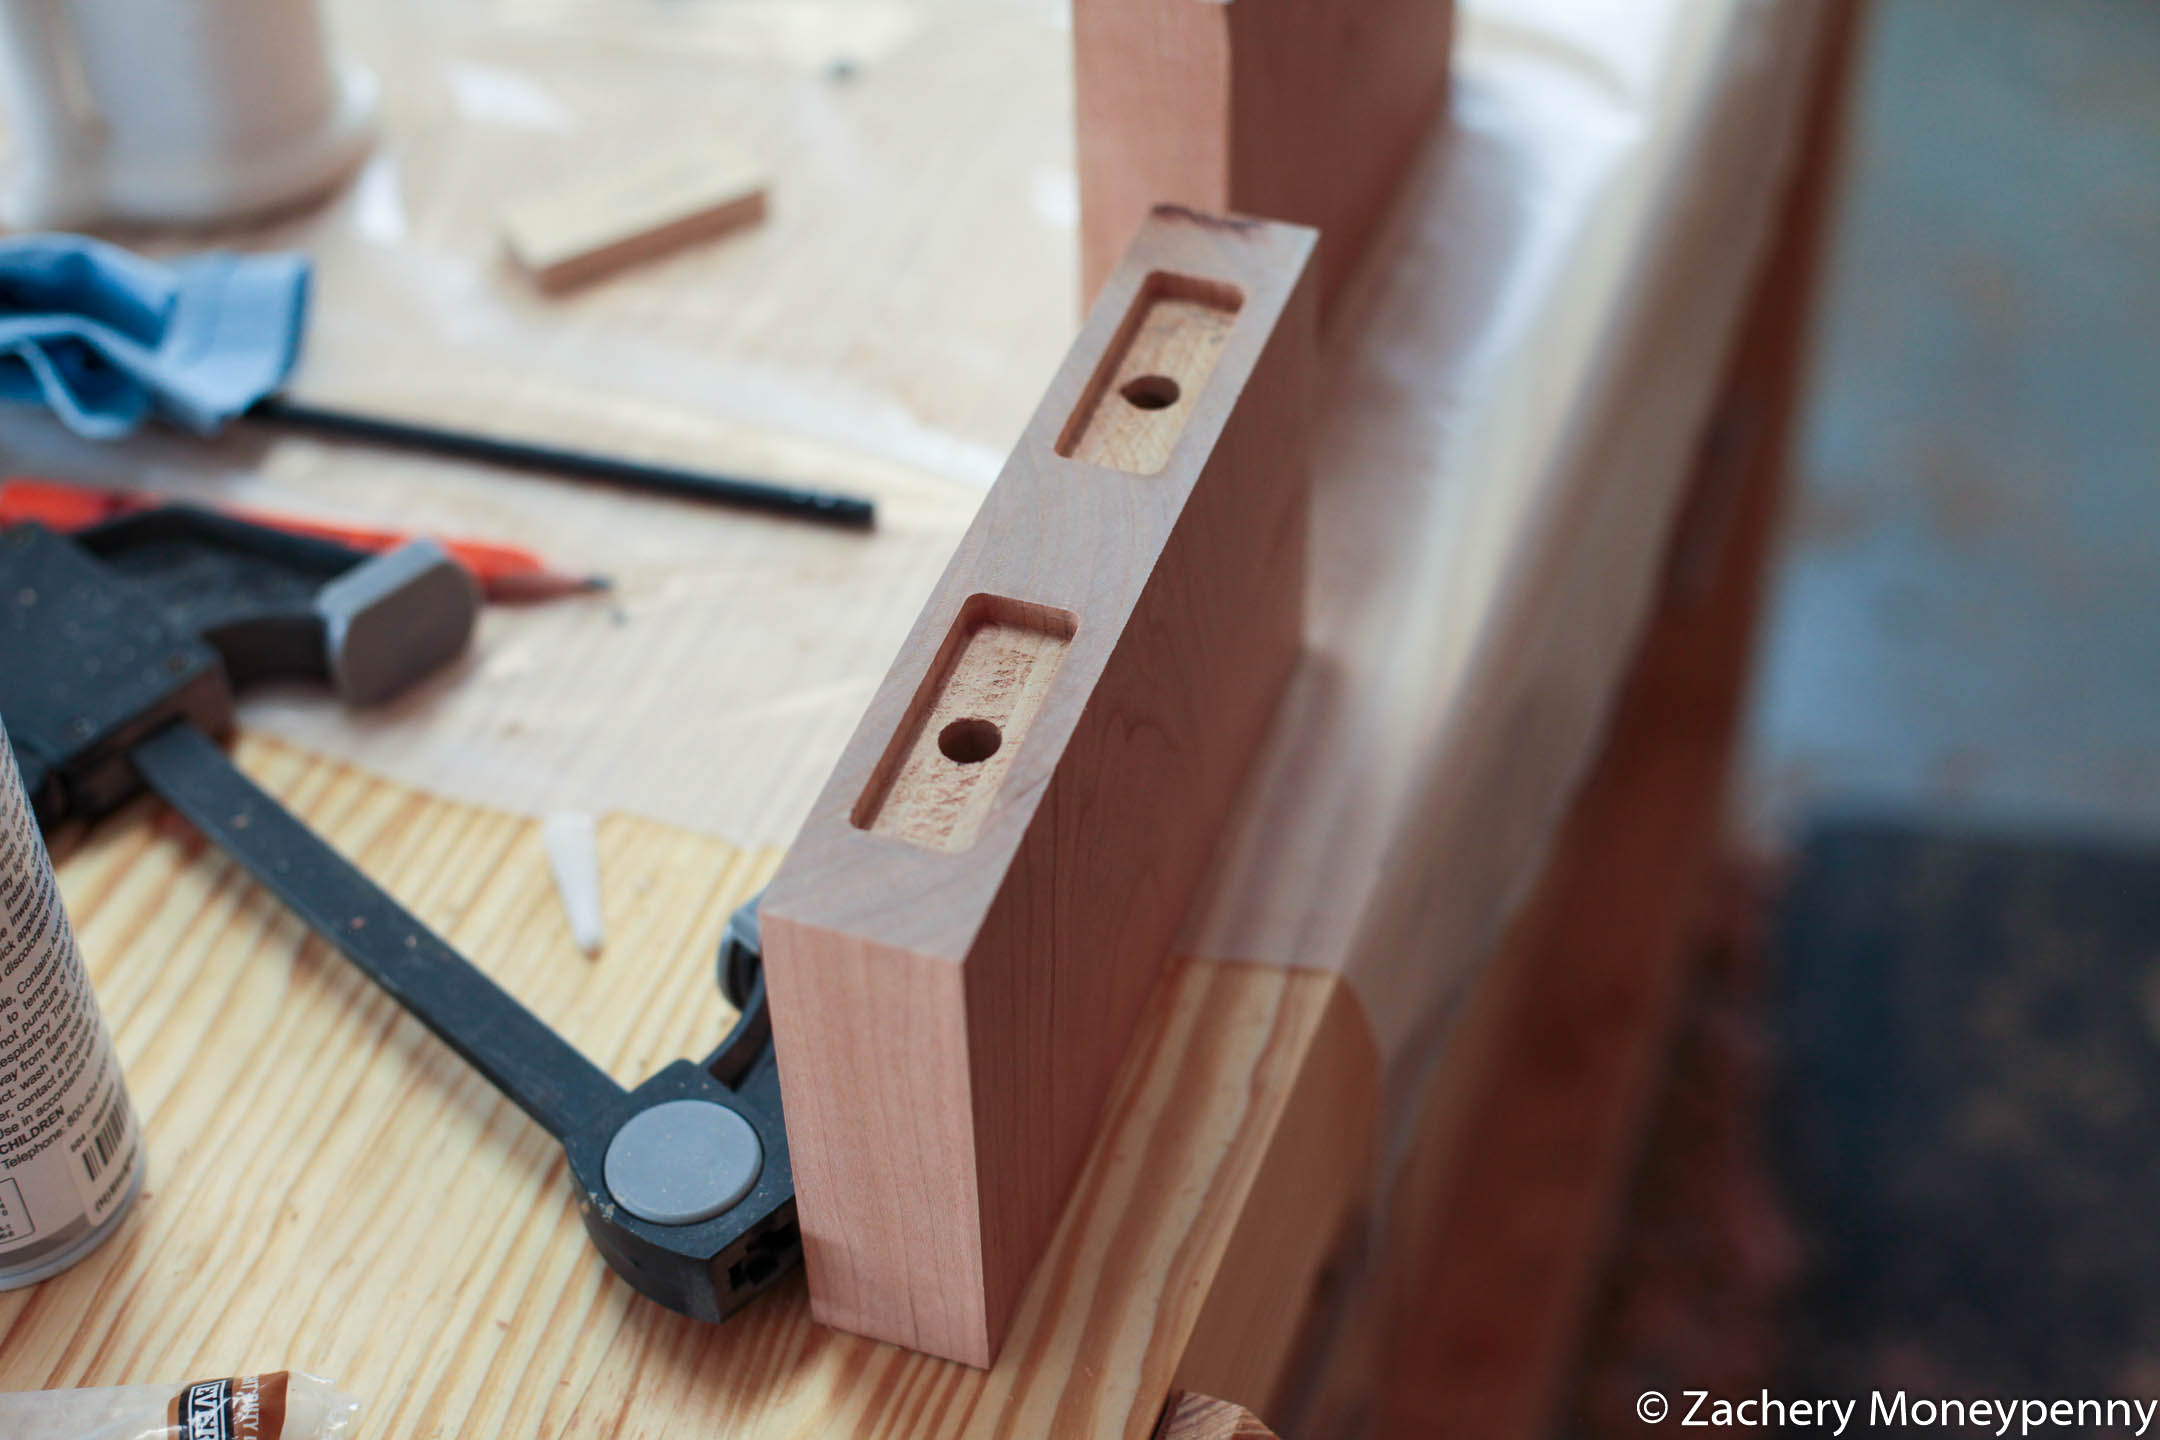
Though I’d been checking and rechecking the mortise depth so as to perfectly fit the base throughout the process, I still held my breath testing the fit once the holes were drilled for the pins.
The Magic of Magnets
I was trying to figure out how I was going to have the shelf “stick” to the wall once threaded onto the pins. Luckily, I had some very small neodymium magnets that I had purchased for a previous project and never used.
I used some 5 minute epoxy to glue them to the inside of the shelf, so that when brought close to the metal base screwed to the wall they would hold.
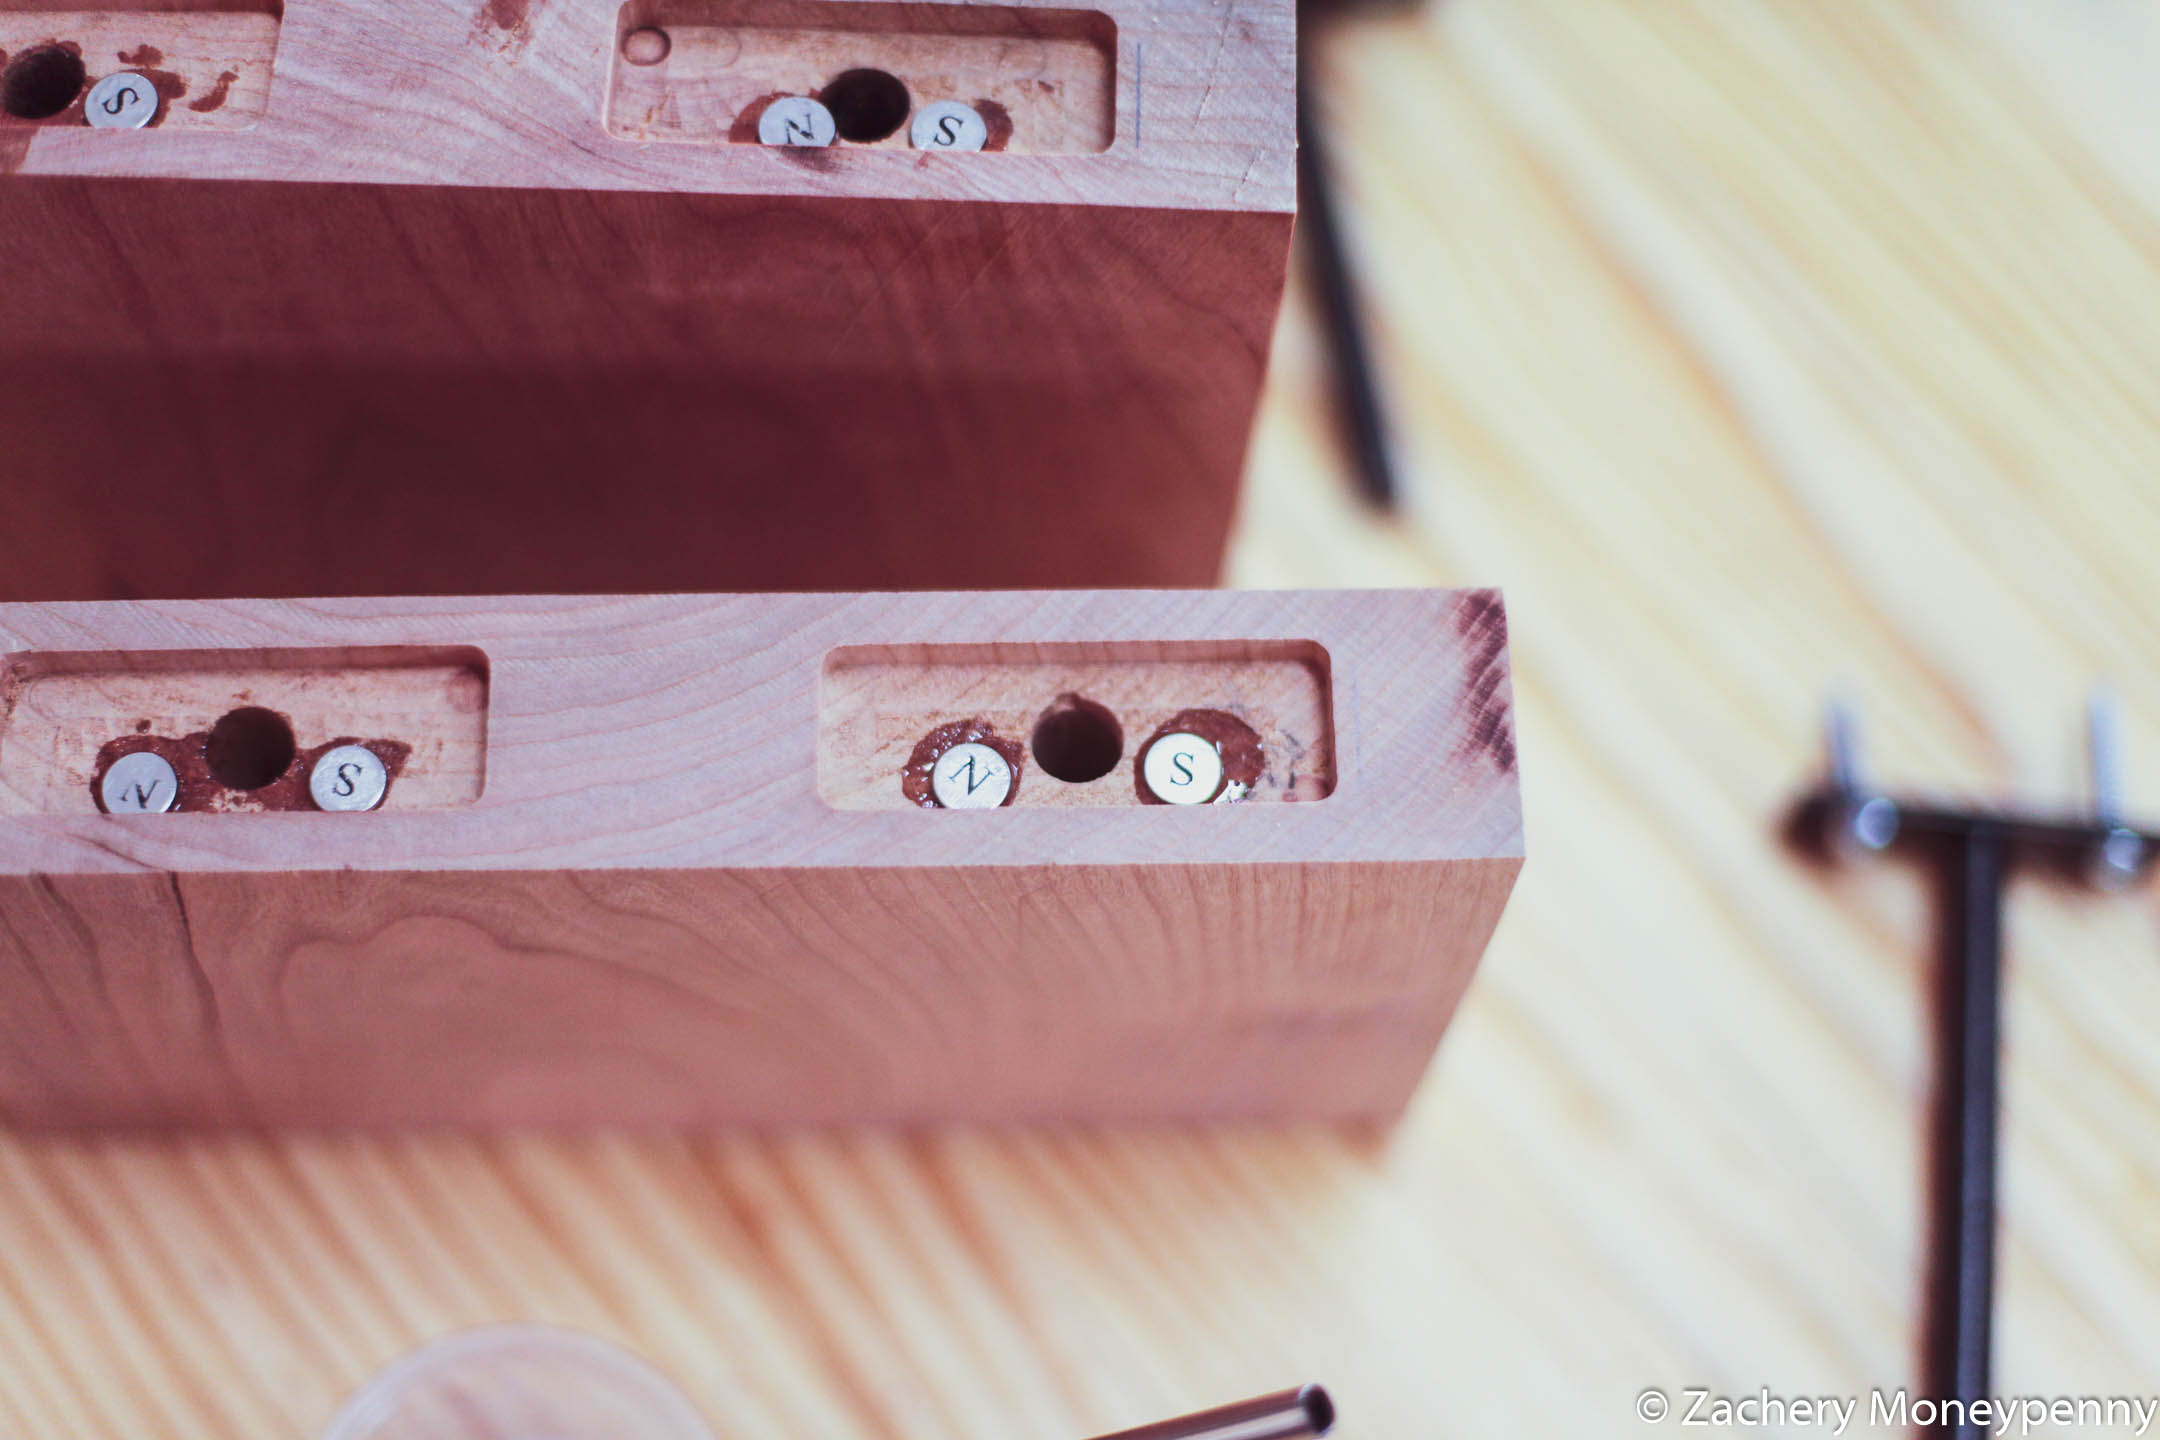
On the plus side, the magnets only flew away and stuck to screws or other nearby parts a dozen or so times. No biggie.
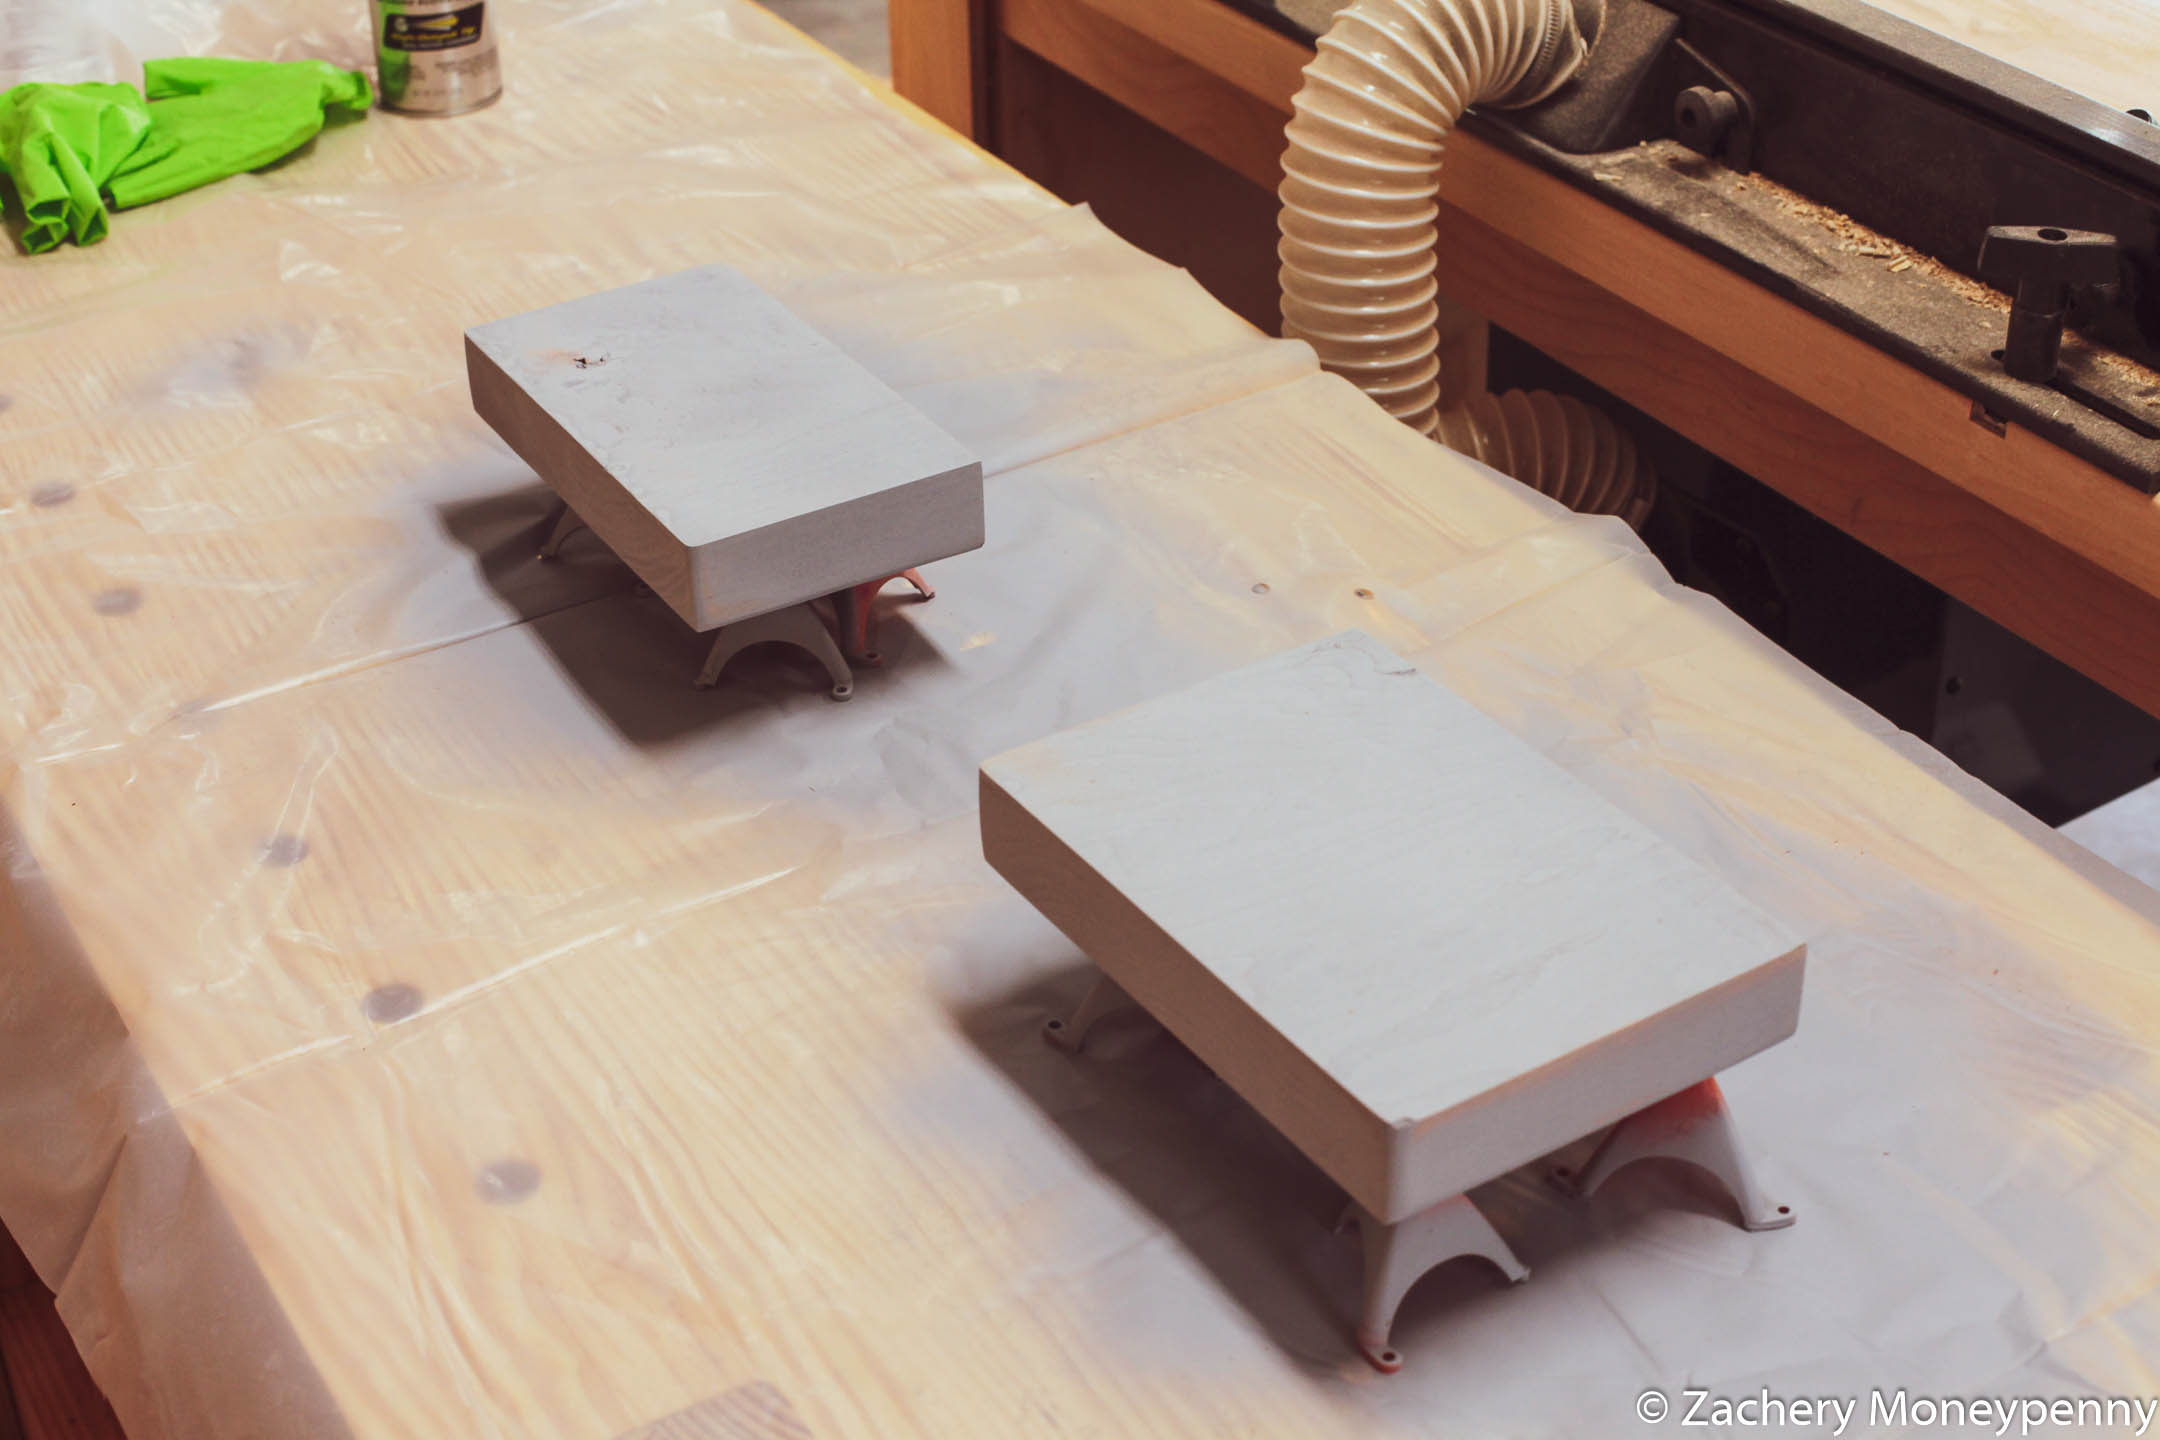
Prep and Paint
The cherry was lovely by itself but unfortunately would not have gone with any of our bathroom decor and so I decided to paint the shelves white to match the trim in our bathrooms.
First I hit them with some spray primer.
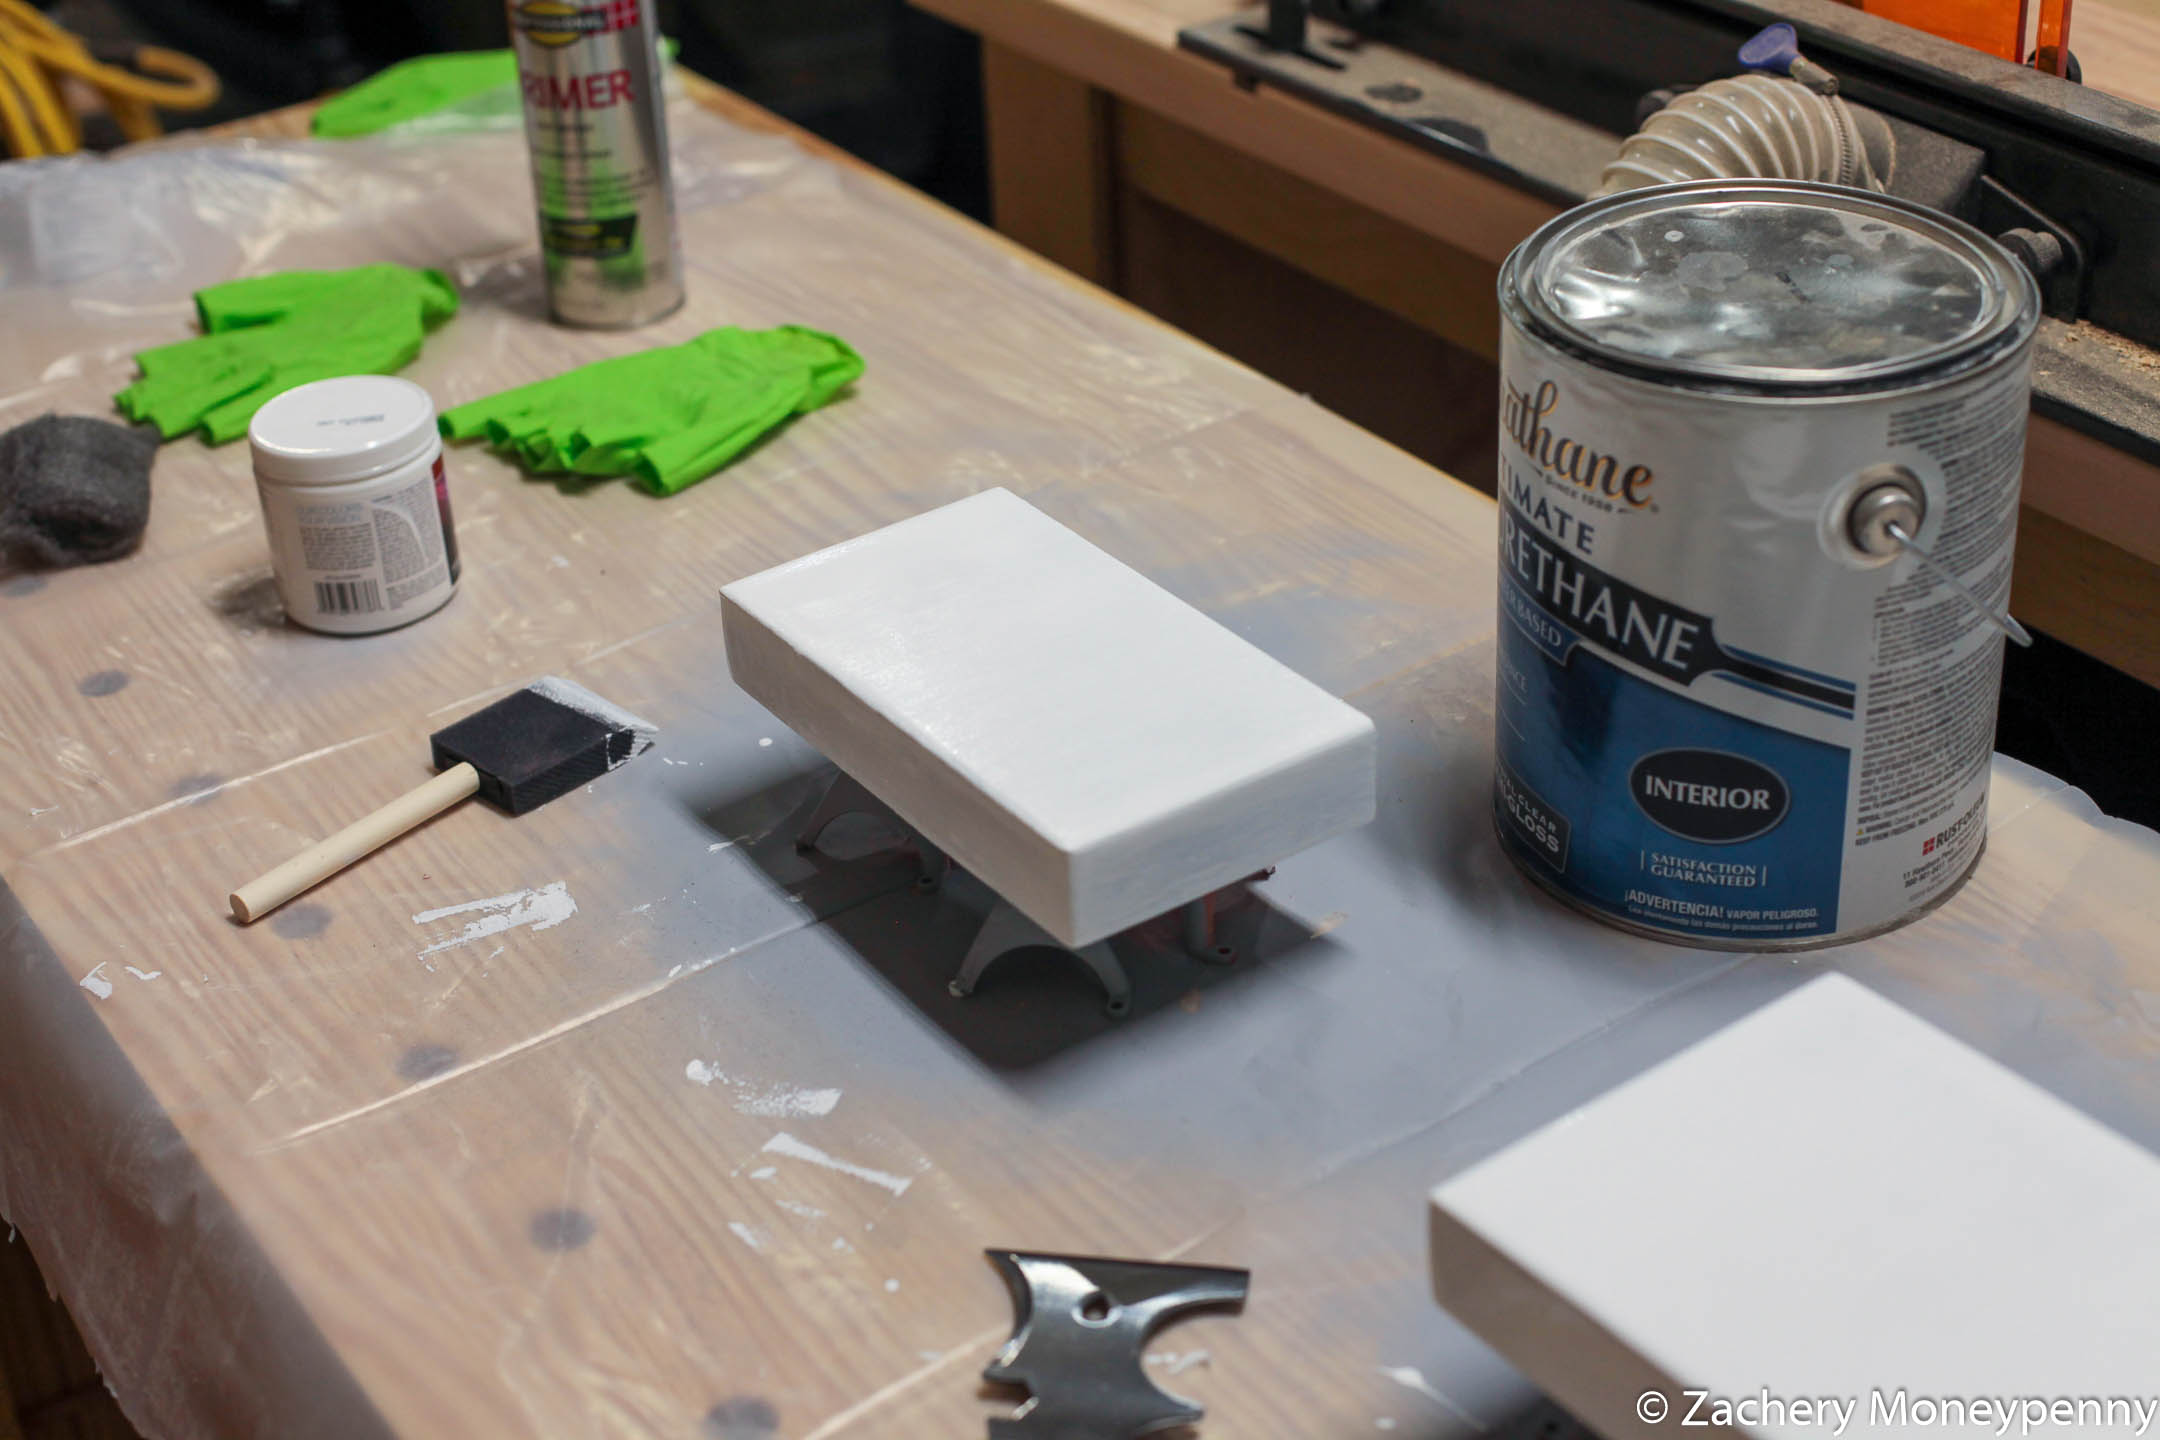
Next I used some pure white acrylic paint I picked up at Home Depot. I think I ended up doing 3 or 4 coats, sanding in between.
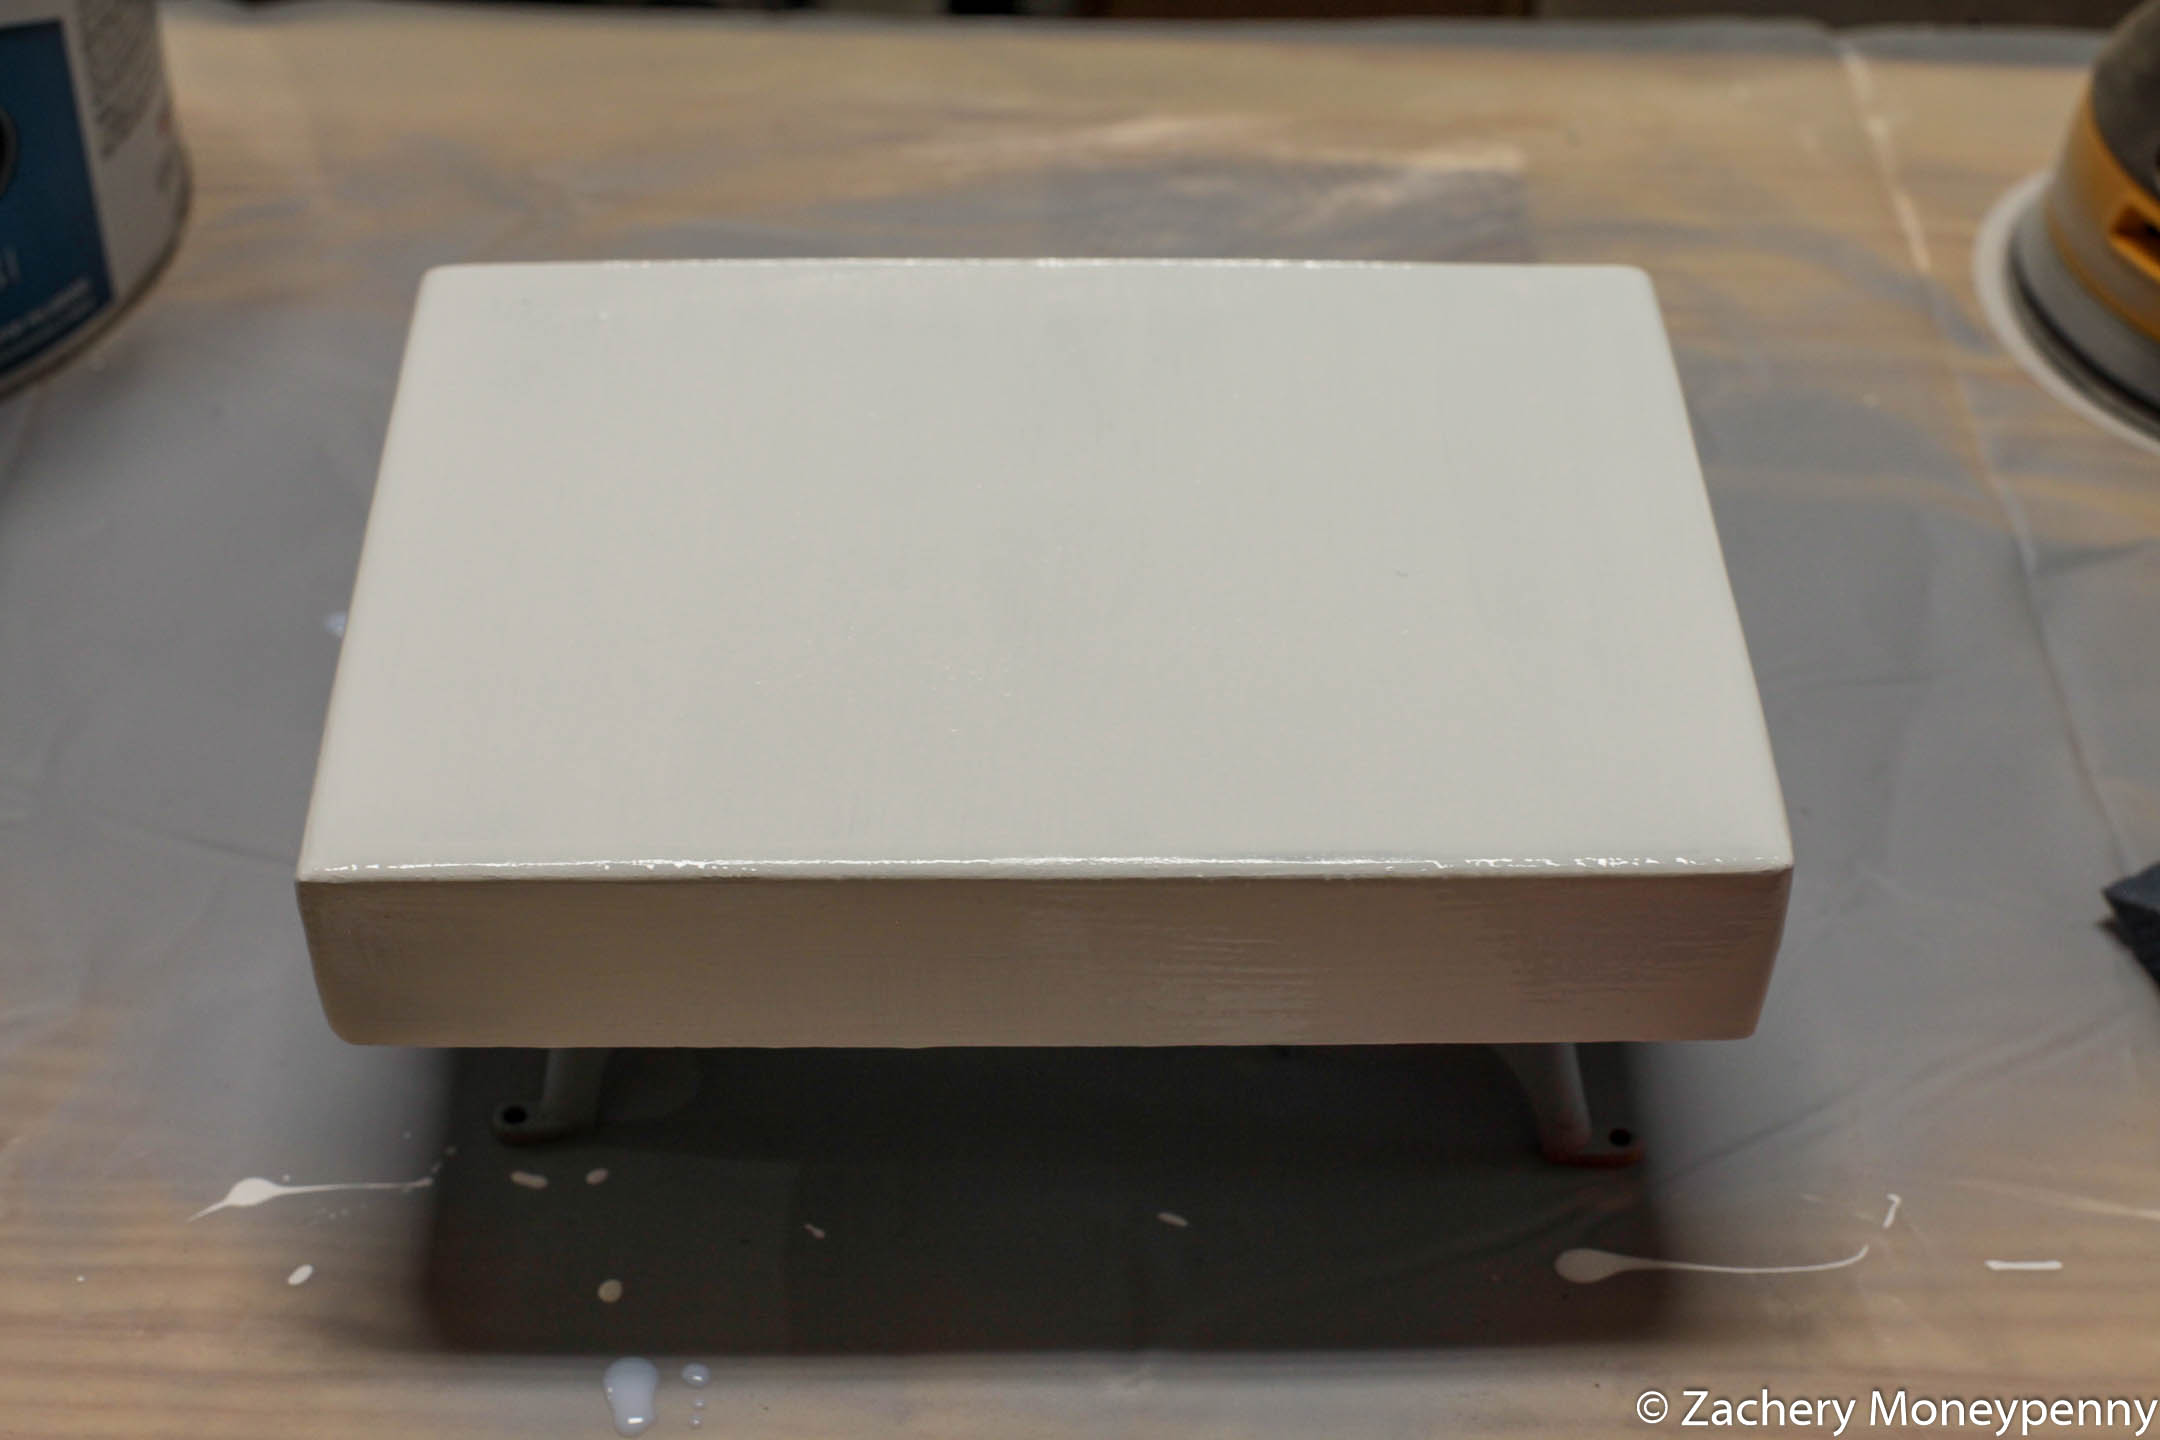
After a final coat of paint I added two coats of water-based polyurethane over the top. This added some nice smooth texture as well as protection.
Installation
I was warned off using the included drywall anchors and screws that came with the supports by the comments on the Amazon product page. It just so happened that I had some 100+ lb rated drywall anchors from hanging the large picture frame a few weeks ago, so I used those.
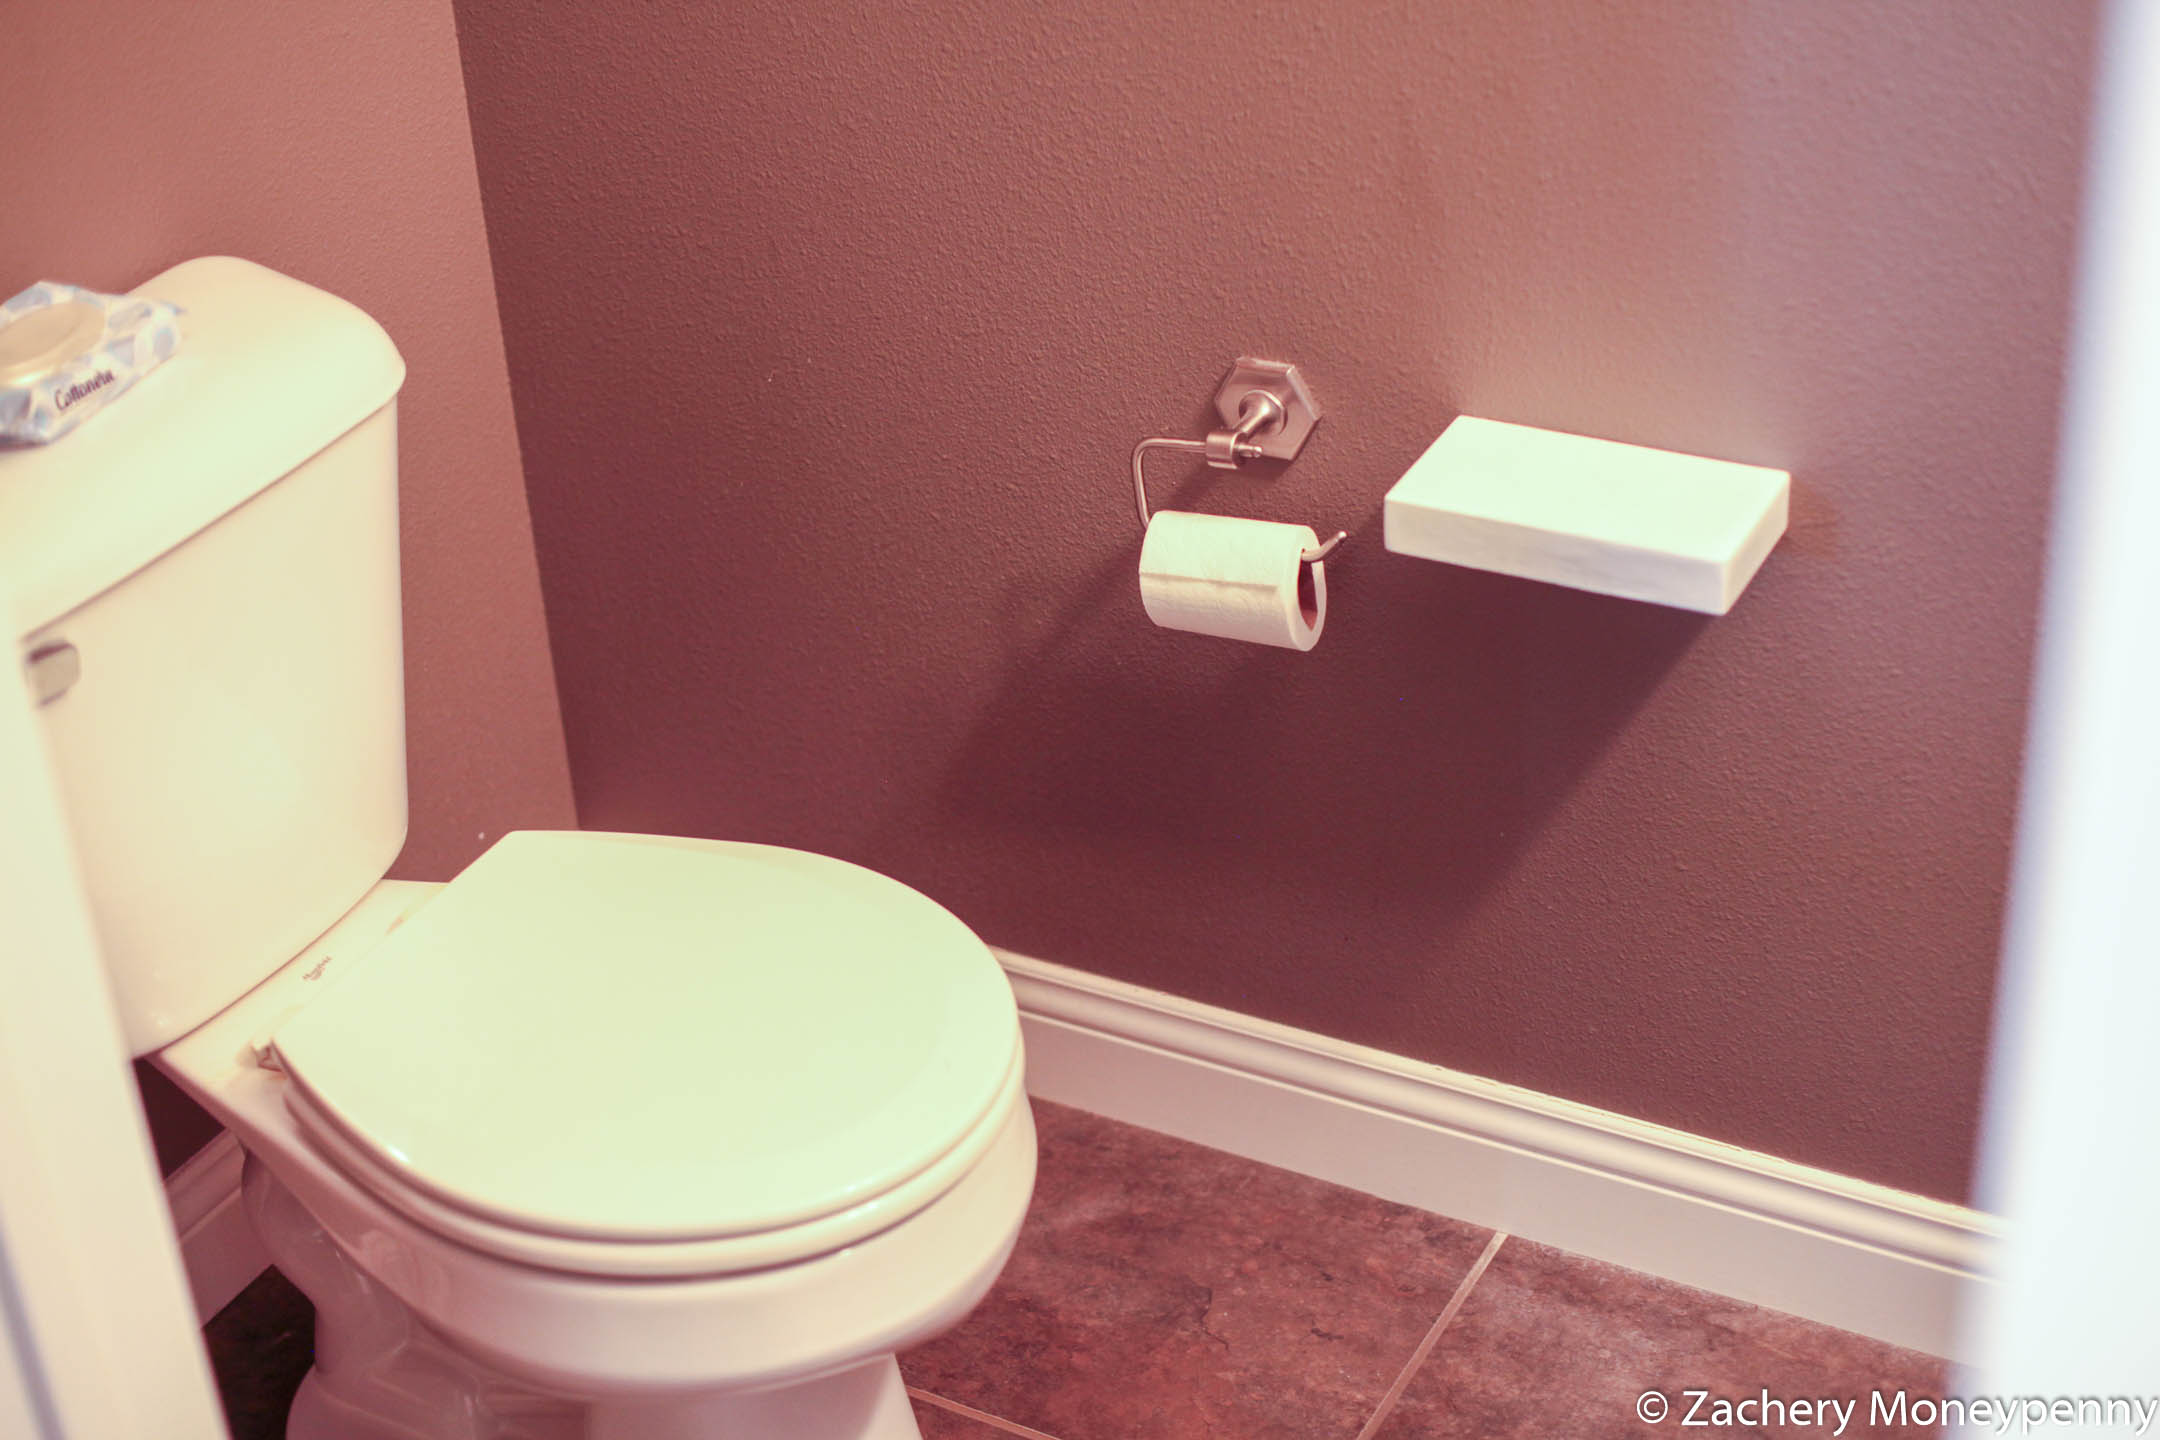
It only took a few swear words to coax things into alignment! I was pretty happy!
Reflections & Learning
- For a two day project this went off quite well.
- I really, really wish I’d setup my HVLP sprayer to apply the white paint and polyurethane. Up close you can really see the brush marks, and when I tried to sand them off I ended up sanding through the whole coat of paint. Next time I’ll spray on the paint and topcoat instead of brush.
- I’m so glad I was able to use those offcuts. It validates me saving stuff like that to put it to good use on a one-off project like this.
May 31st, 2020