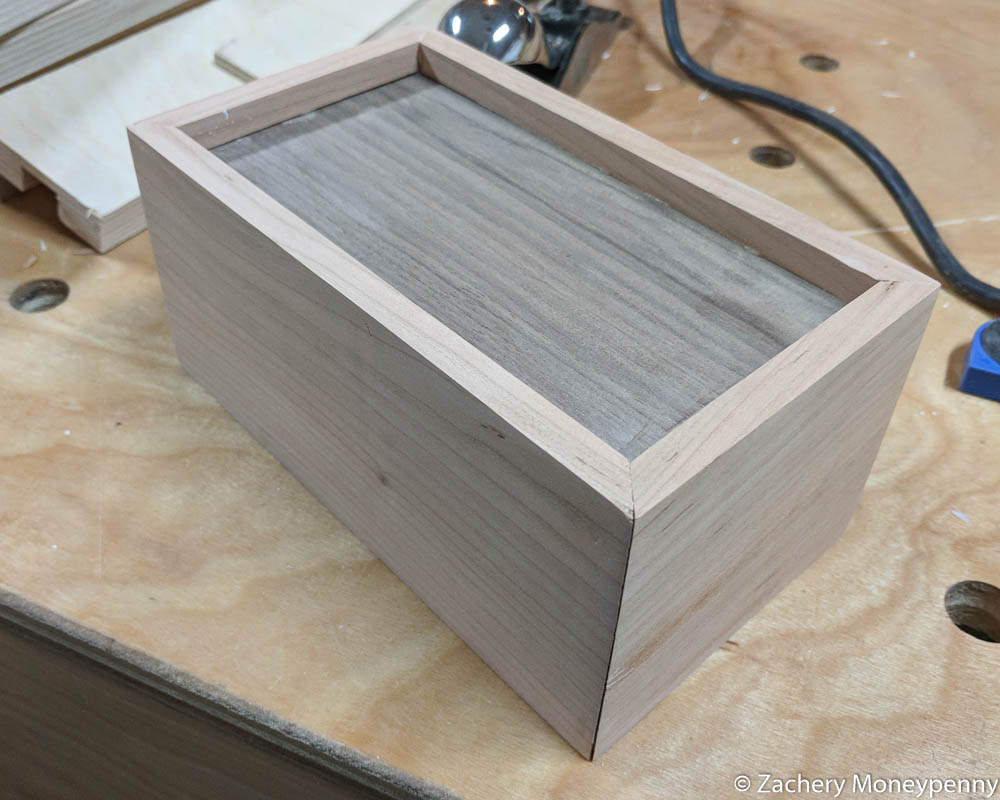

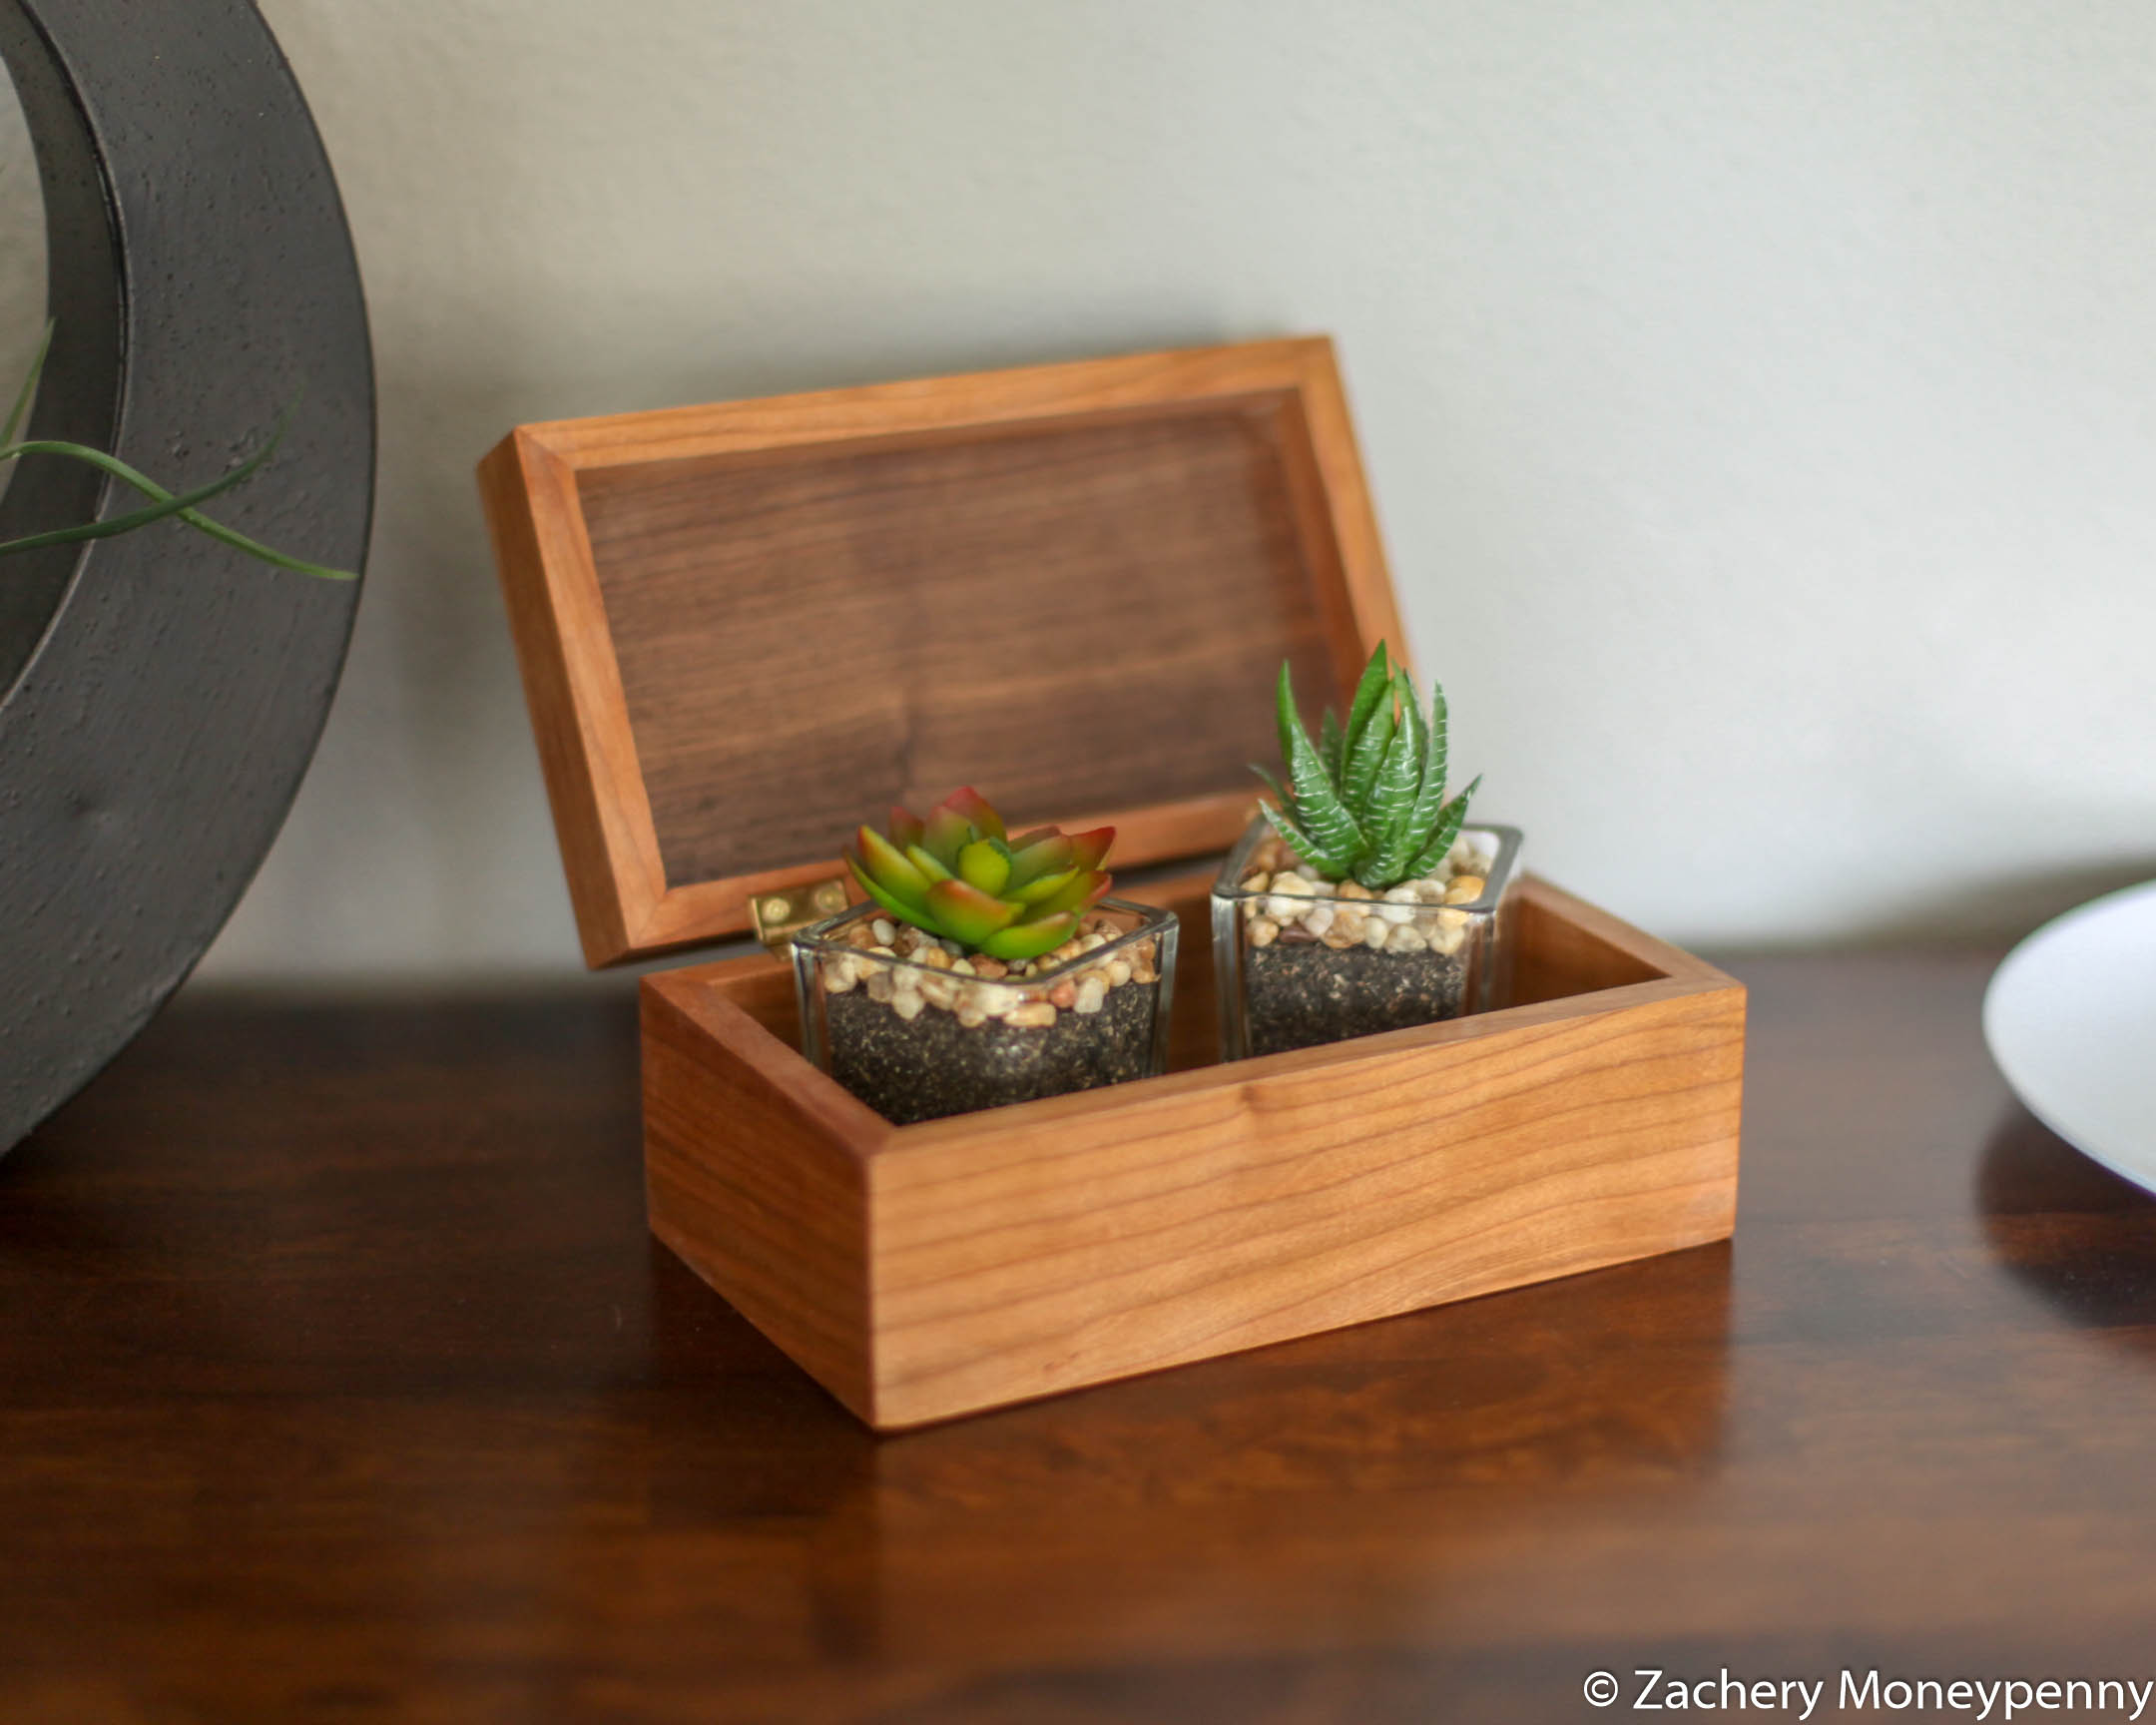
Two days before Valentine’s Day this year I had an idea to use some spare cherry and walnut to make a keepsake box for my wife. It was my first attempt at making a box, and I thought I could knock it out pretty quickly.
Design
Due to time constraints, I wanted the design to be very simple: no flocking or advanced joinery. The plan was also to go pretty small, with no internal shelves or other structure.
Wood
I had a bunch of cherry from last year’s Craigslist purchase, and a single (extremely overpriced) S4S walnut board I bought at Home Depot awhile ago.
Build
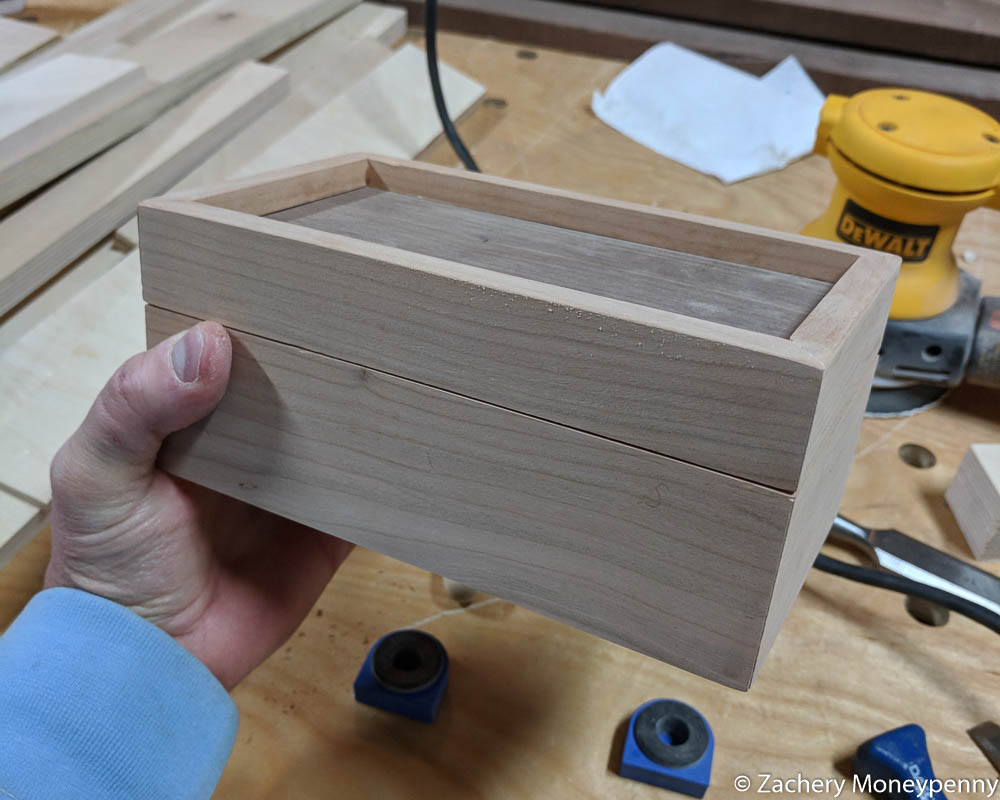
The toughest part of the build was to get the wood I had down to the very thin thicknesses needed for the box I had in mind. I started with 4/4 walnut and 8/4 cherry, and I needed to get that down to 1/8” and 3/8” thick, respectively.
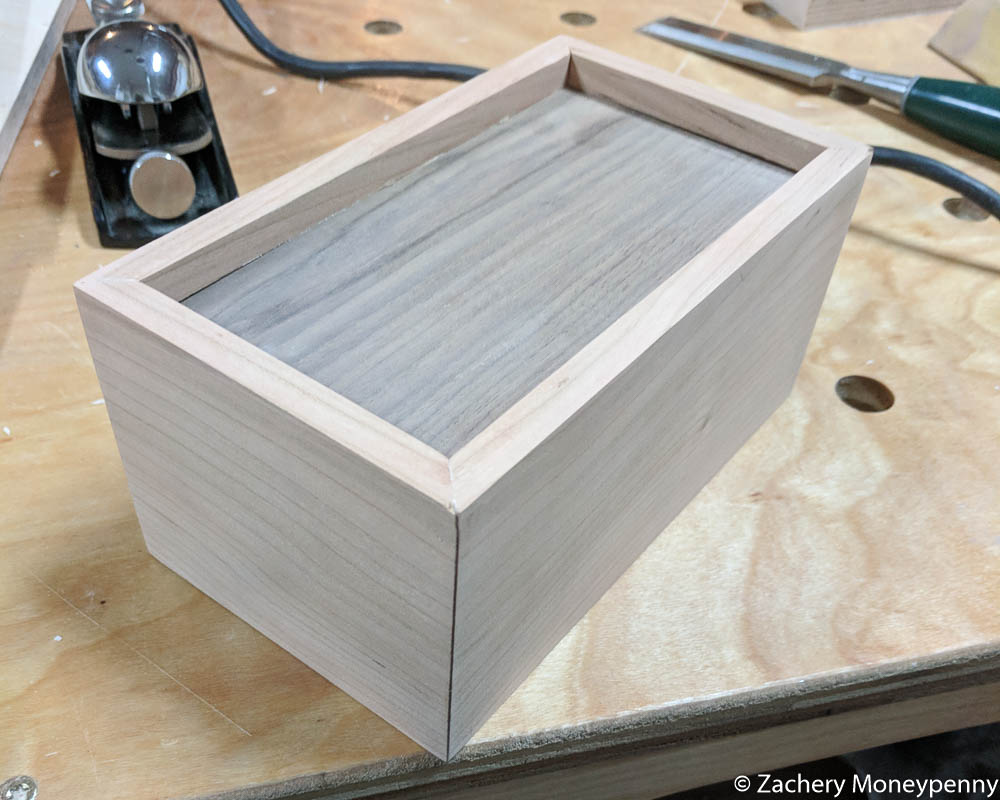
Once I had the pieces milled, however, things went together very smoothly. I glued the box up using painter’s tape, and then sanded using my orbital sander and 100/120/220/320 grit sandpaper.
Finishing
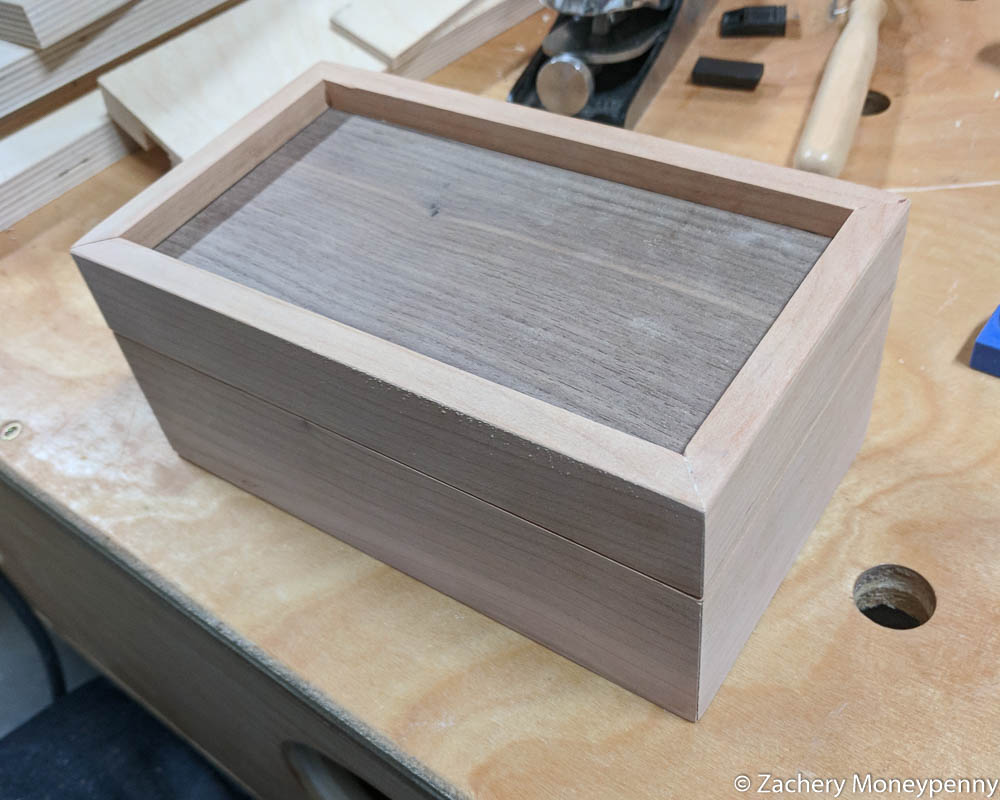
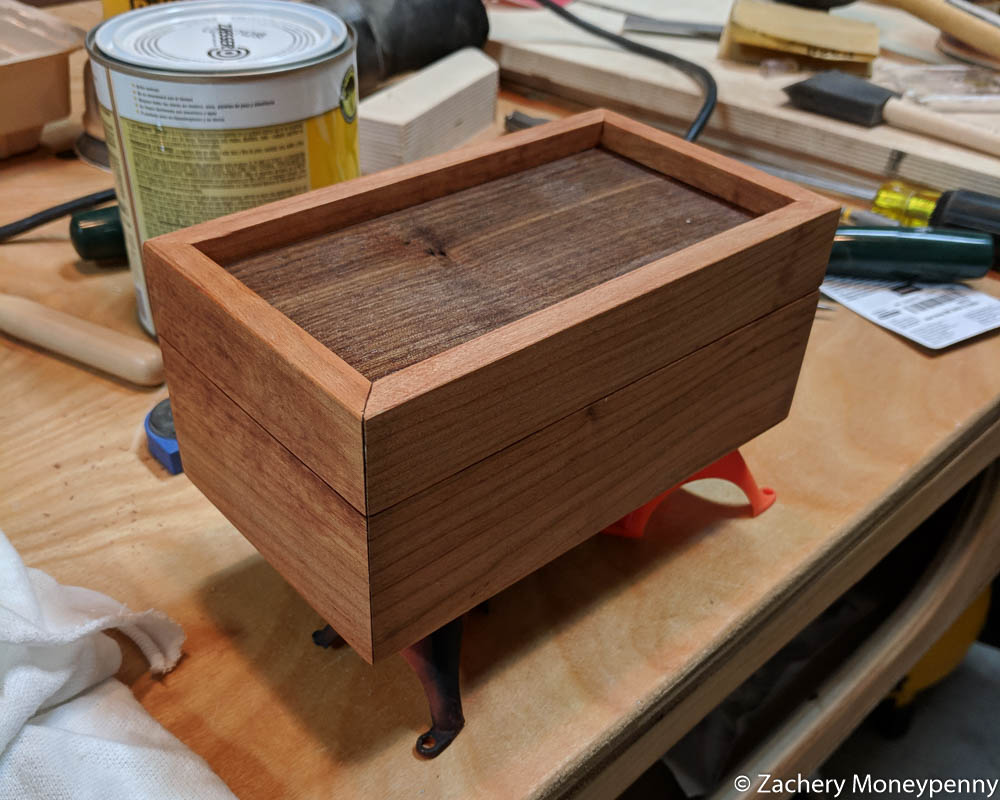
At the time, I didn’t have many finishes in stock in my shop, so I turned to
what was on hand: Shellac. I did three coats of Rust-Oleum
Clear Shellac, using #0000 steel wool in between each coat.
I likely should have gone one more coat, but it was Valentine’s Day and I needed to give it to her!
Reflections & Learning
From conception to finish this project took two days. It was a 2 Fast 2 Furious build where more things went right than wrong, considering it was my first time.
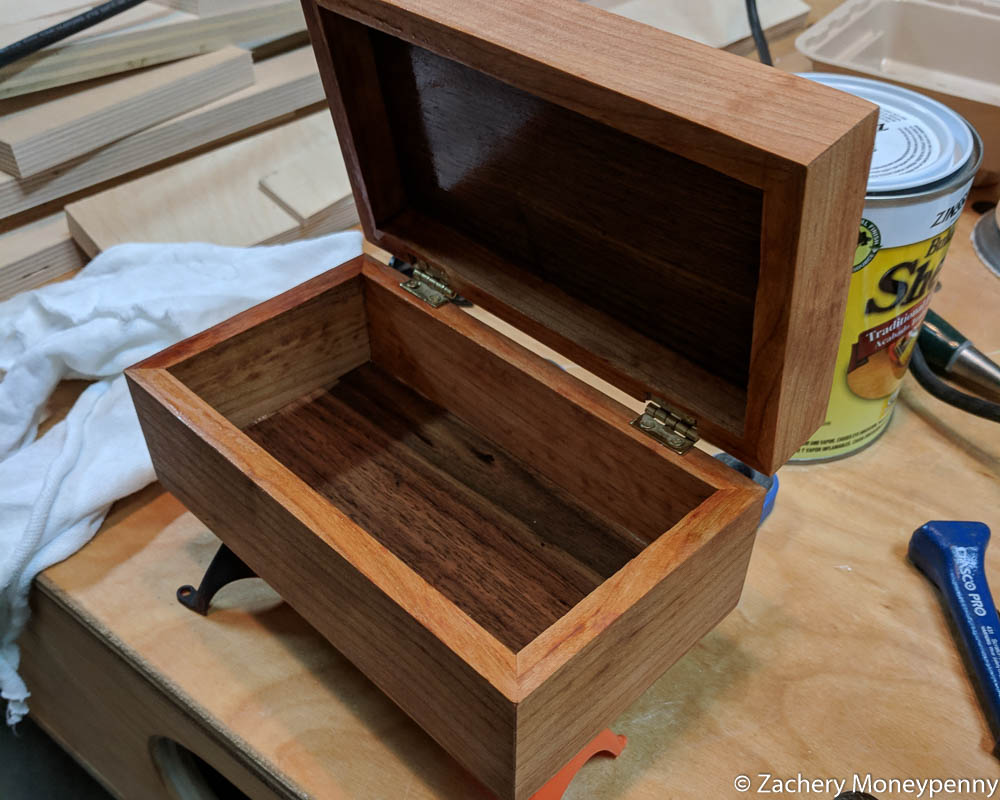
There are two defects in this piece:
- One corner didn’t glue up flush, which you can see in the slideshow at the top of the page. This was hidden slightly by the sanding and finish, but it still bothered me. Next time I’d spend more time setting up the tape for the glue-up to try to get things more flush.
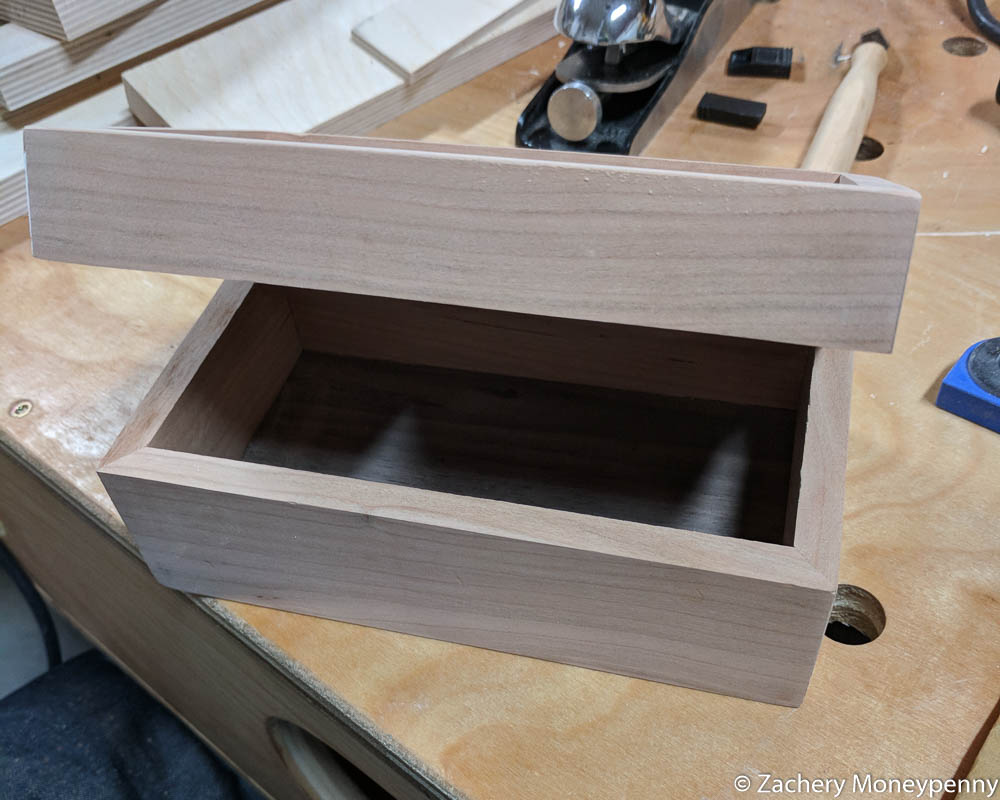
- I cut the mortises for the hinges wrong. The first set I cut, on the bottom part of the box were twice as deep as they needed to be. To compensate, I didn’t cut any at all on the top part. This was just a straight-up mistake, which is probably not as noticeable to anyone but me.
Next time I make a box here are some things to keep in mind:
- Have enough time to go slow! Rushing through this is where I got into trouble. The learnings from this time, along with more time in the schedule, will help on the next box I make.
- Don’t try to plane a board to 1/8” thickness. “Duh,” you may say. And you would be right, but I tried it anyway and the planer annihilated the board I sent through. What I really need is a drum sander to get down those thicknesses.
- Tape works well as a clamp to glue-up small boxes. A lot of my inspiration/instructions for this build came from Jay Bates video on how to make a wooden box. In that video he details how to use painter’s tape to clamp the box together enough for the glue to dry. It worked great.
February 14th, 2018