One of the first woodworking-related YouTube videos I ever watched back in 2016 was Jay Bates’s “Build A Woodworking Workbench for $110 USD”
I wasn’t necessarily drawn to the price (which is good, because it cost much more than $110) but rather to the simplicity in form and function. I had no room for a shop in the house we owned at the time and so the idea of a dedicated work surface just struck me as the pinnacle.
When we moved into our new house and I decided to dedicate the 3rd garage bay to a workshop I had no tools, no experience and no plan. Without tools I was incredibly intimidated by the idea of gluing large beams (I had no clamps either!) and without tools or chisels I had no idea how I’d cut the joinery for the legs and top. Instead I built shop furniture out of plywood, which I could easily cut with my circular saw and assemble with pocket holes and screws.
I ended up building a modified Paulk workbench, along with several small work tables, and those worked well for me for two years.
Eventually I found myself limited by the clamping and vise options available to me on those work surfaces, however. I wanted to be able to plane, chisel and shape work pieces effectively but was unable to because of the configuration and bounce of the plywood work surfaces.
Finally, I realized that my current tool and work environment had far surpassed my earlier limitations and I could now tackle making a real woodworking workbench. So with that in mind I turned back to the original video that inspired me and purchased Jay’s plans for the workbench…
Wood
…and I immediately realized that it would be difficult to use what Jay used in the video: southern yellow pine. It’s common at home centers in the south, but here in Wisconsin the primary construction-grade lumber available is douglas fir. It’s a fine option for a workbench, but I did love the look of the southern yellow pine in Jay’s video and so I did some searching.
Home Depot definitely didn’t sell it, but the local Menards said they could deliver to my home and it was in stock! I was surprised! It was also not true! Days after I ordered it I received a notification that my shipment was leaving a warehouse in Ohio. It eventually made its way to my house, but I got lucky insofar as the stock was mostly clear and usable.
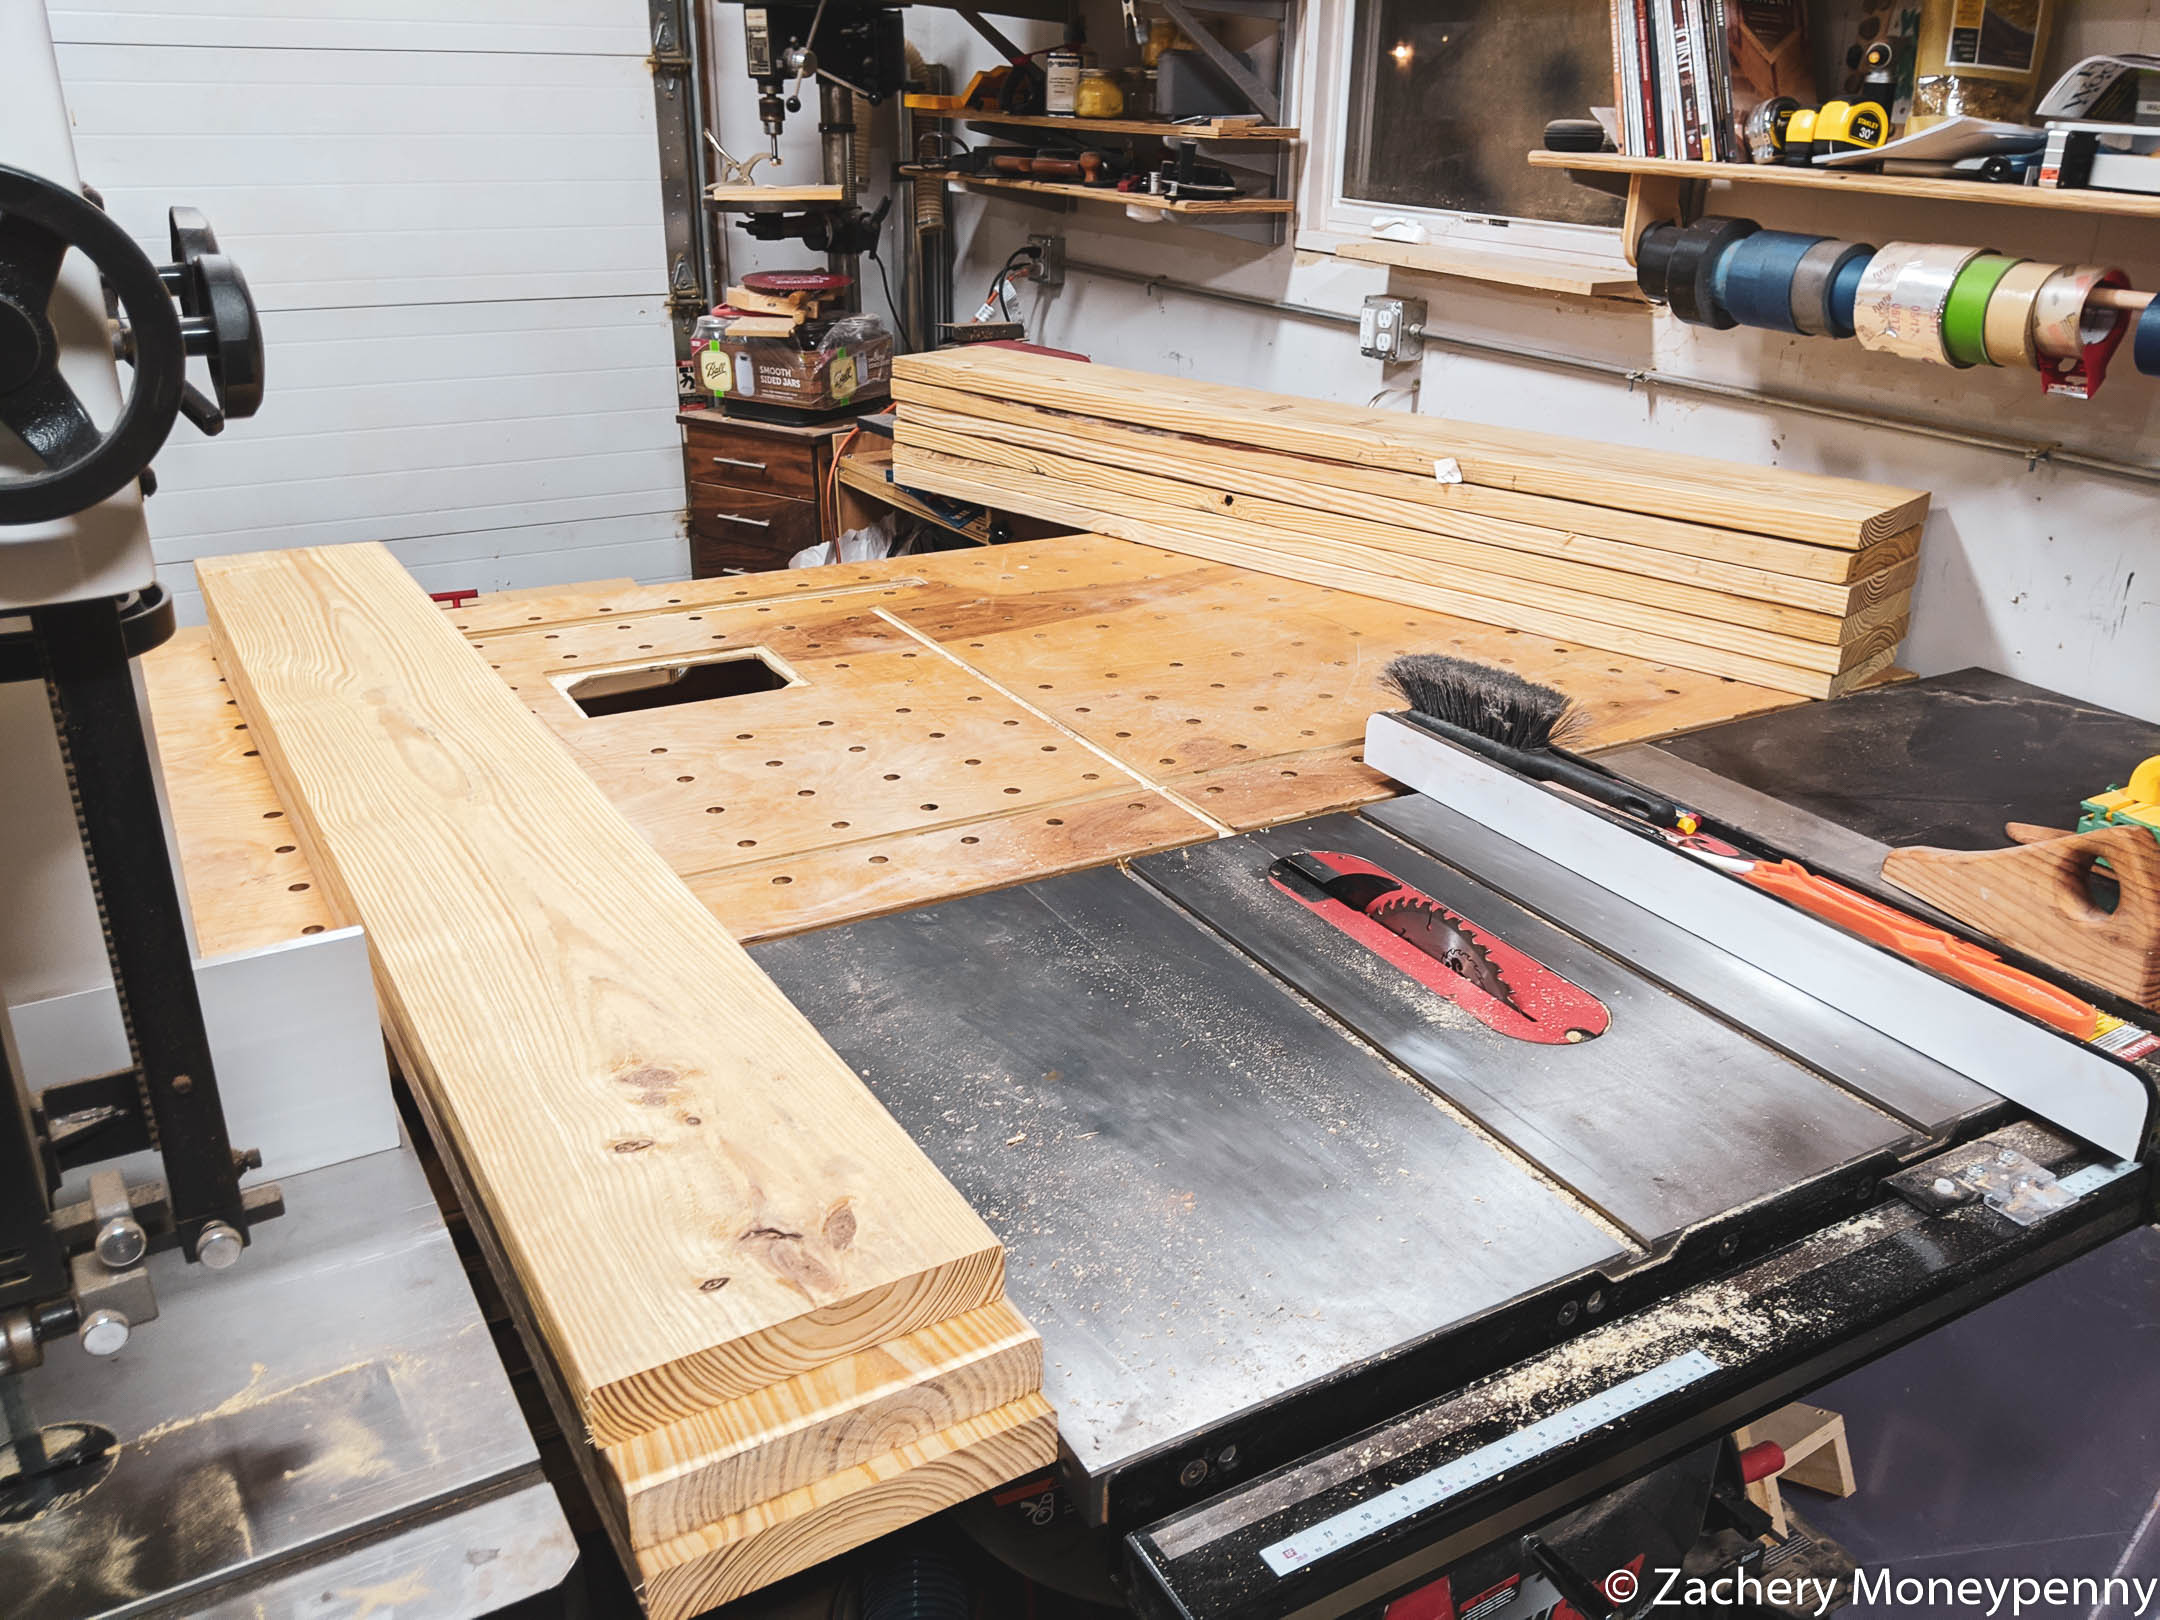
After roughly breaking down the 12’ boards into 6’ segments I took considerable time sorting and planning how I would cut them up to get the best pieces for the top and legs. I then put my planer to the test (which it failed) while jointing and planing all the stock.
Component Glue-Up
This was a stage that I’ve been kicking myself for not taking pictures of; I glued up the leg and top beams, and then, with much apprehension I glued up the top beams into the single top.
I used just about an entire gallon of Titebond II here, but ended up being very happy with the top. I did use my biscuit joiner to align the top beams, which worked incredibly well and left me with very little misalignment that needed flattening.
Joinery
Once everything was glued up I let it all sit for a few weeks as I contemplated where to start on the joinery. Then the covid-19 pandemic started and I found a lot more shop time on my hands. One of the first weekends after the Wisconsin SaferAtHome order began I decided to jump in and Just Start™ on the mortises in the top.
My first idea was to remove much of the waste using a router without a guide. I quickly realized this was a bad idea, in addition to the fact that even my largest 1/2” spiral upcut bit didn’t reach halfway through the 4”+ thick top. This meant that even if I stayed inside the marks perfectly (narrator: he didn’t), I wouldn’t get all the way through the top when plunging from both sides. After routing I used my 3/4” boring bit to drill out the rest of the waste, and then attacked what remained with chisels. The result of that first mortise was… disappointing to say the least.
Luckily, while I was pondering what to do next I happened upon an older Wood Whisperer video on quick mortising jigs:
This inspired me to build a custom jig I could use with my 1/2” router bit and a guide bushing.
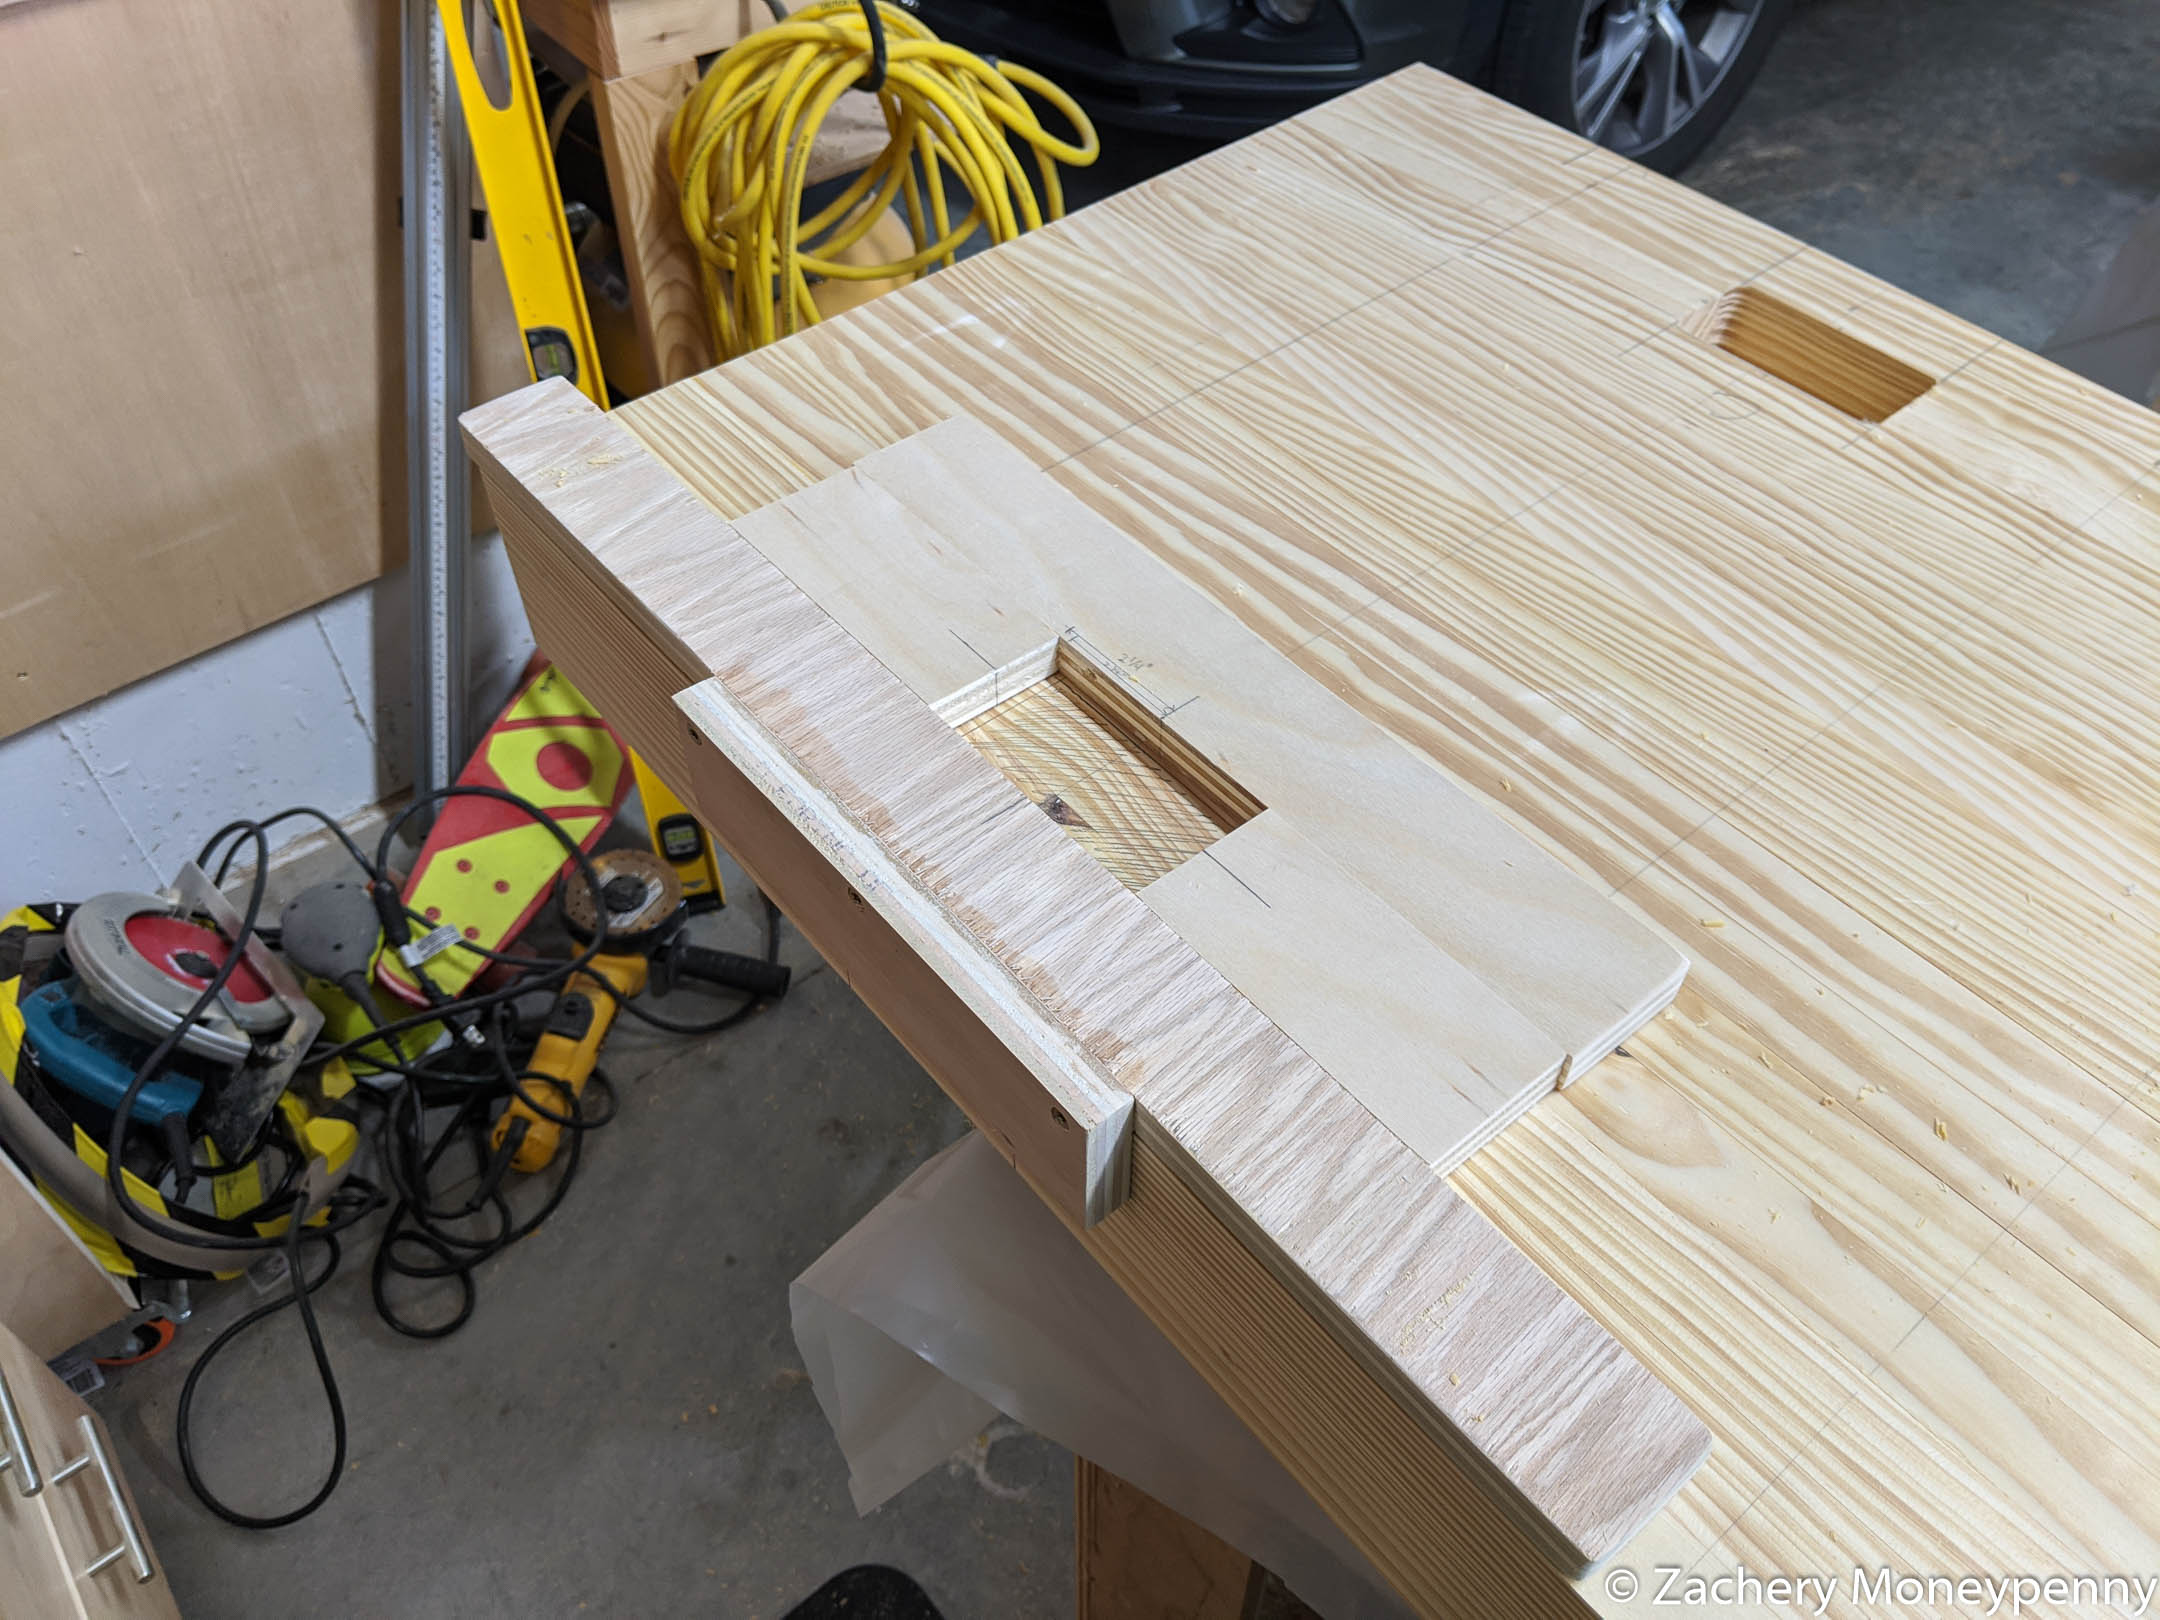
The jig made routing much easier, faster and repeatable! I still had the problem that I had a 1 3/4” deep hole from both sides, which left me with 1/2” of material in the middle of the mortise to chop out, but because the walls were established by the router the chiseling became much easier.
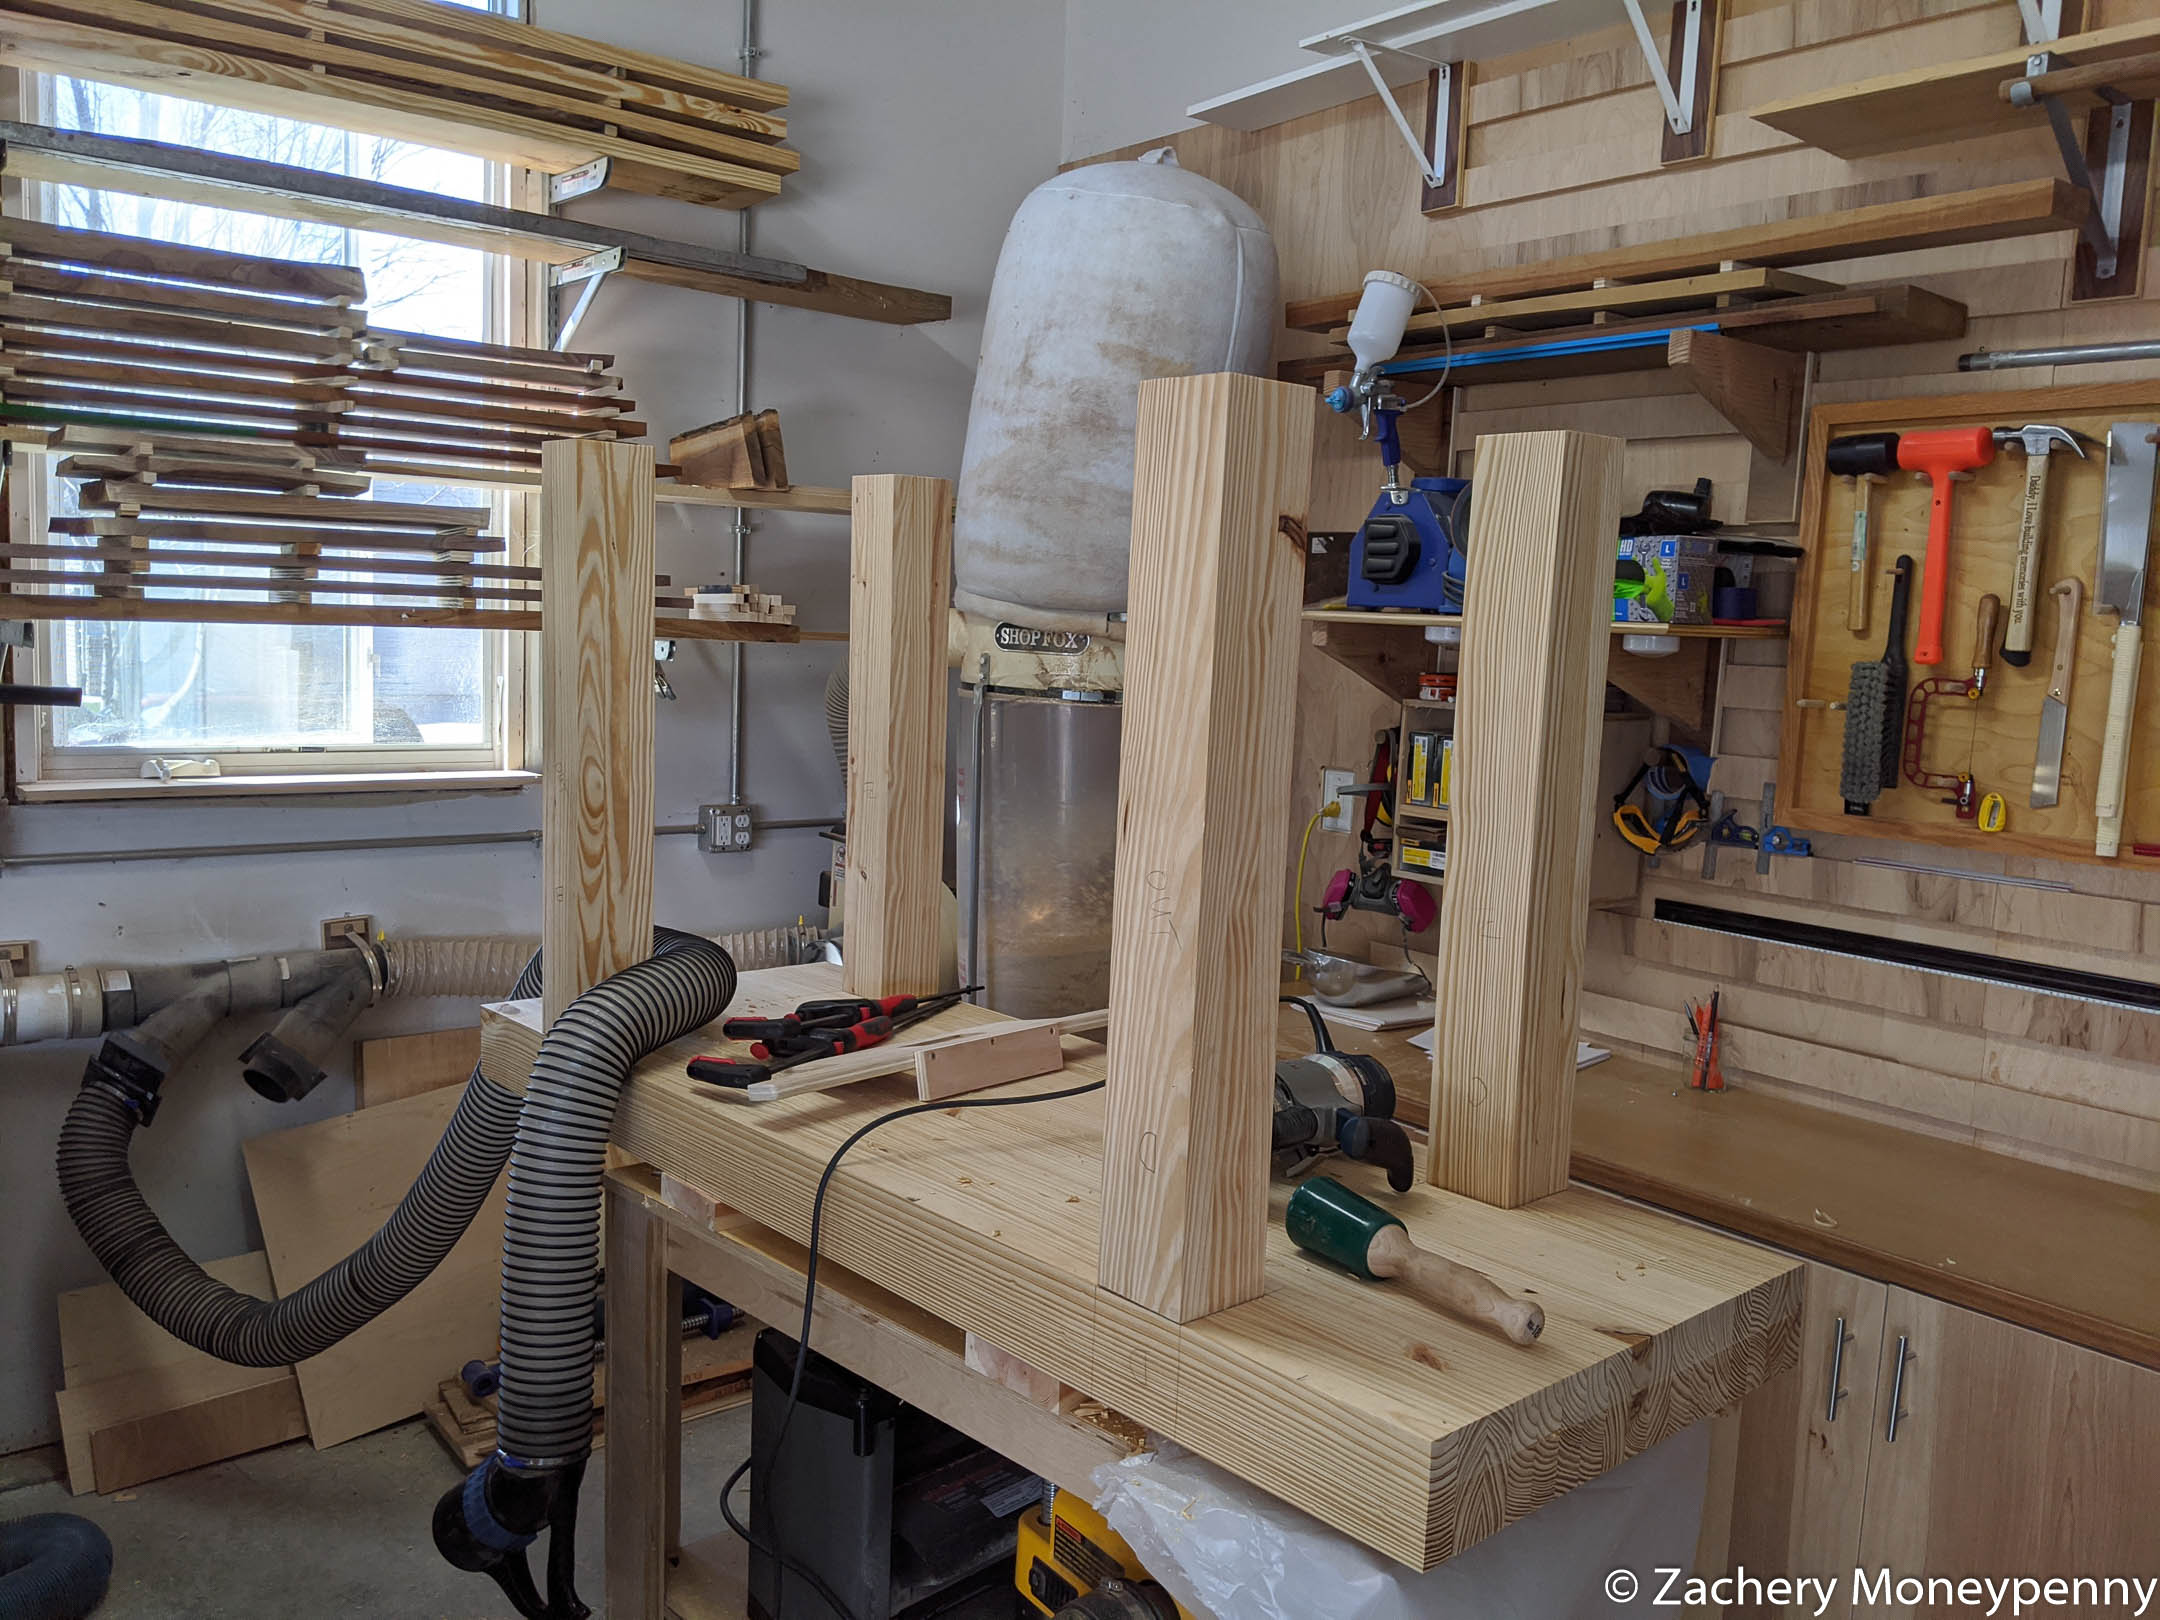
Once the mortises were finished I could start cutting the half-laps on the legs and stretchers. This went much quicker than anticipated, and I was very very happy with the results!
Before cutting the into the legs I first sized the stretchers to each individual position.
I should note that, per Jay’s instructions I was not going off of plan measurements at this point. All cuts were based off the measurements of the actual components since I was trying to maximize length and width of the workbench given the wood I had.
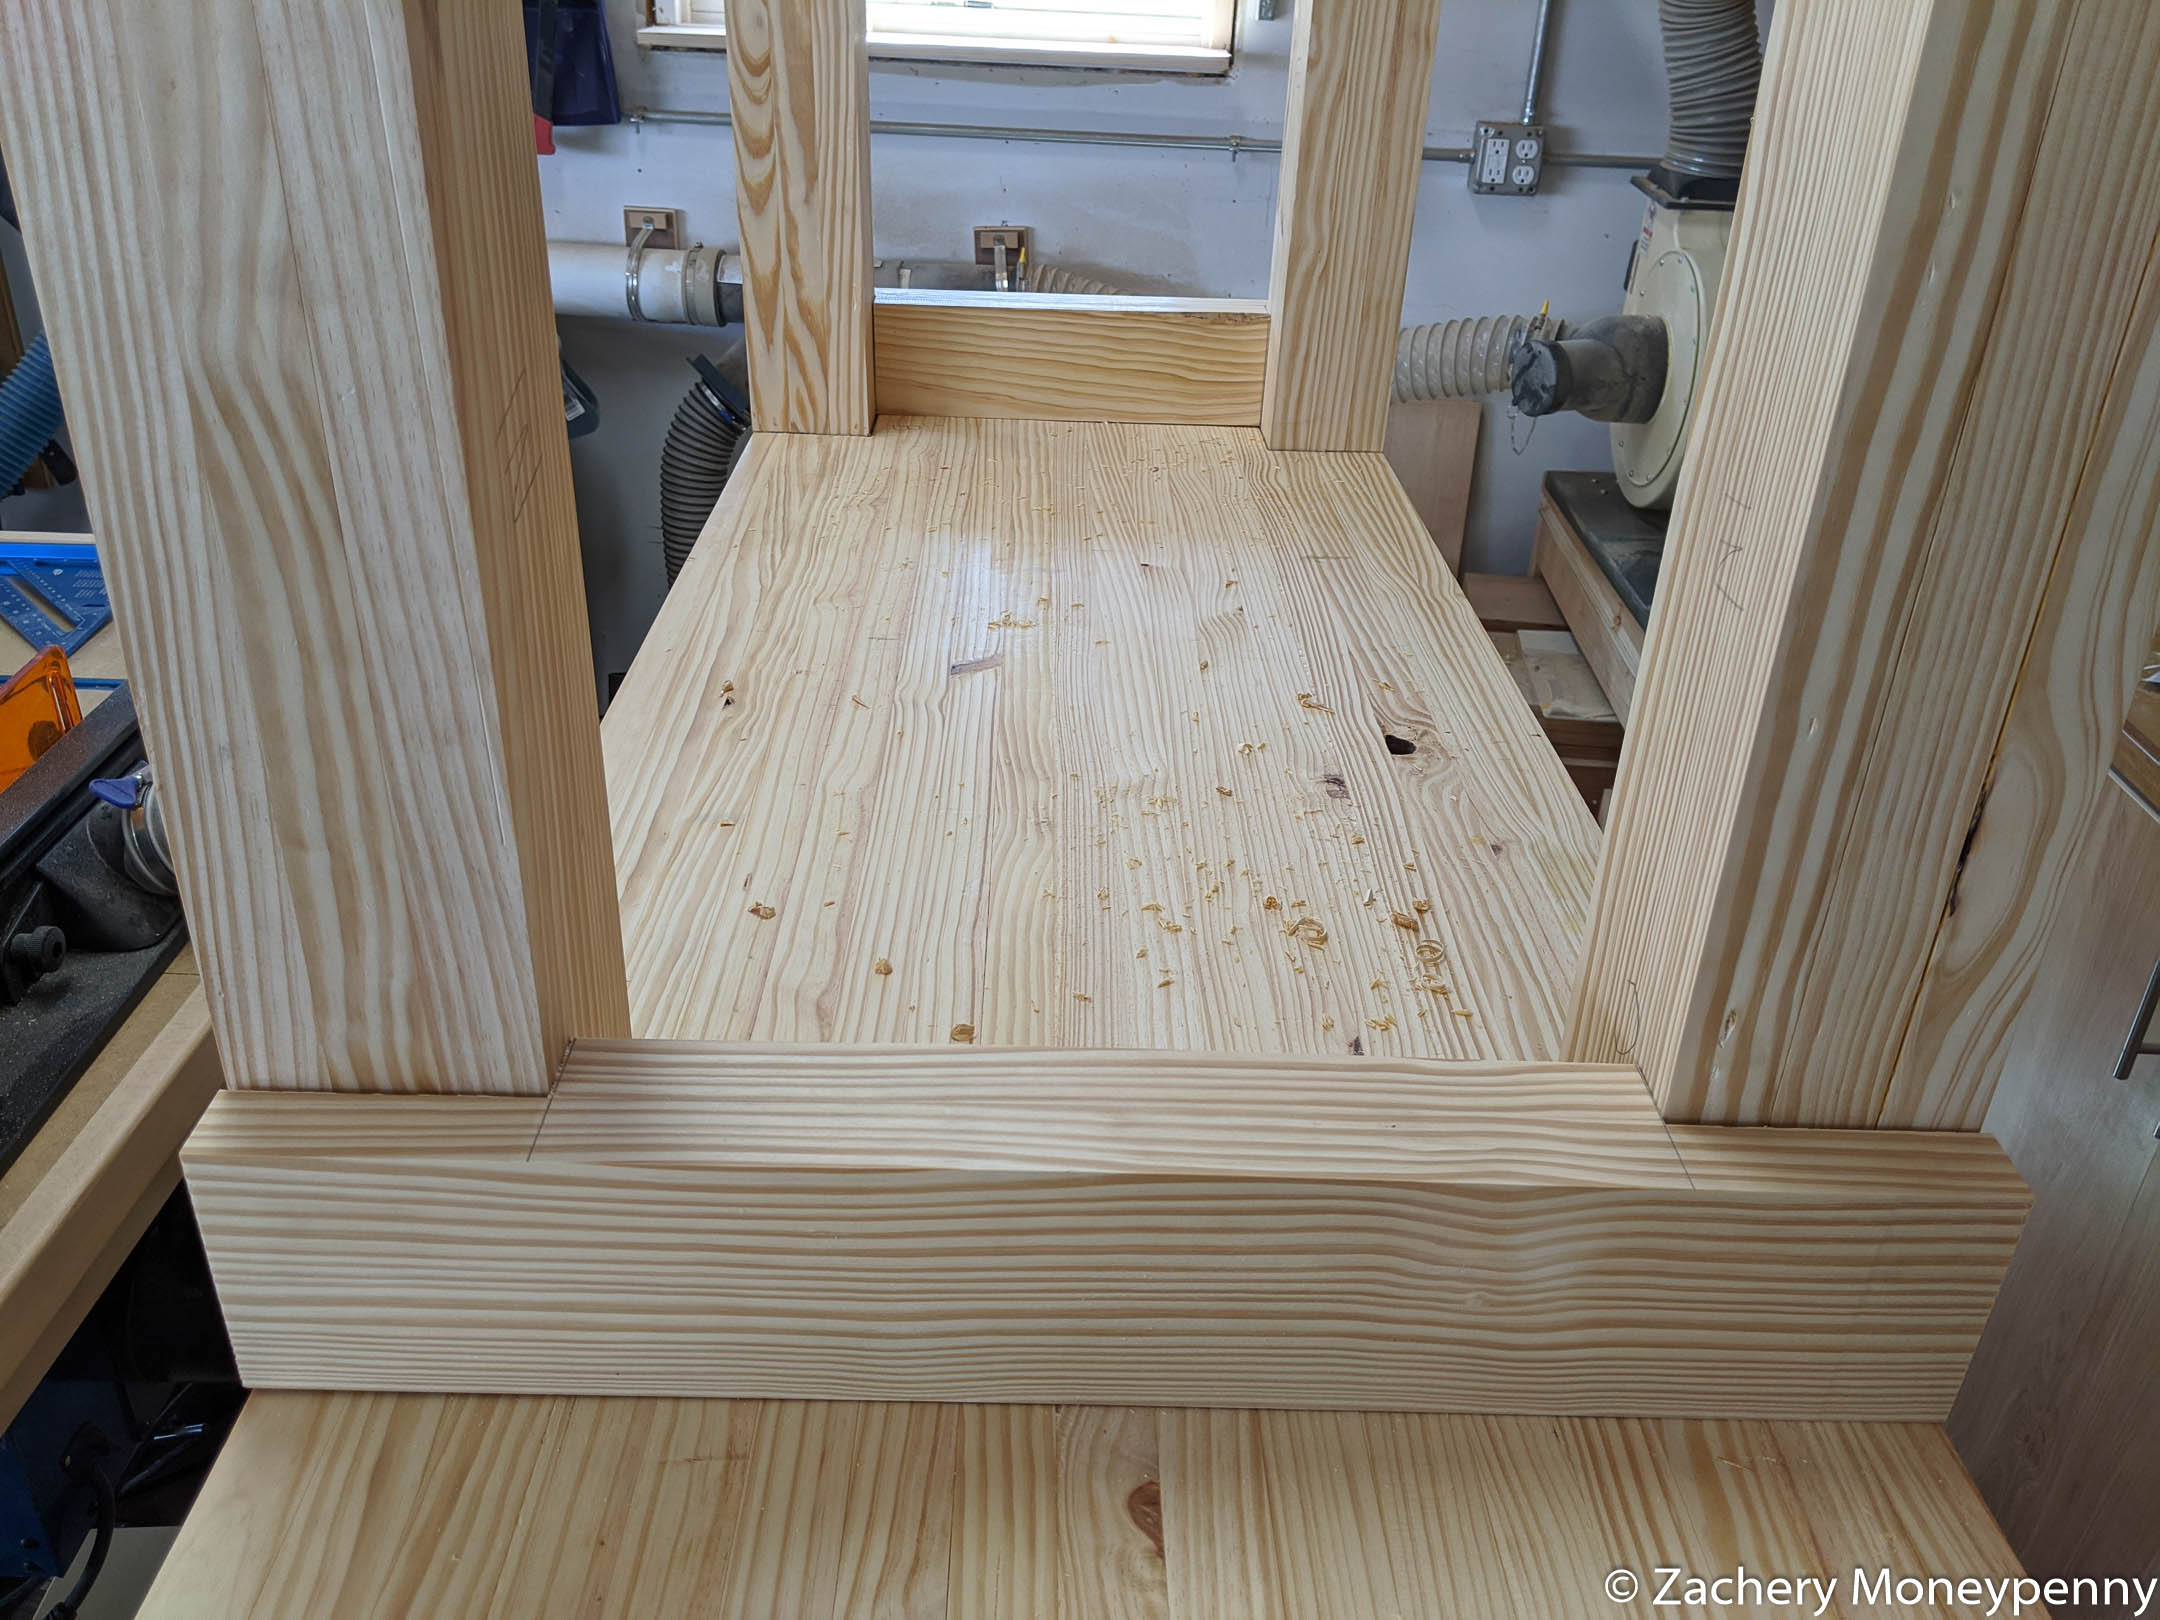
Once the stretchers were cut to size, I could start marking up and cutting the half-laps on the legs themselves. This was the moment of “measure fourteen times, cut once” on the project.
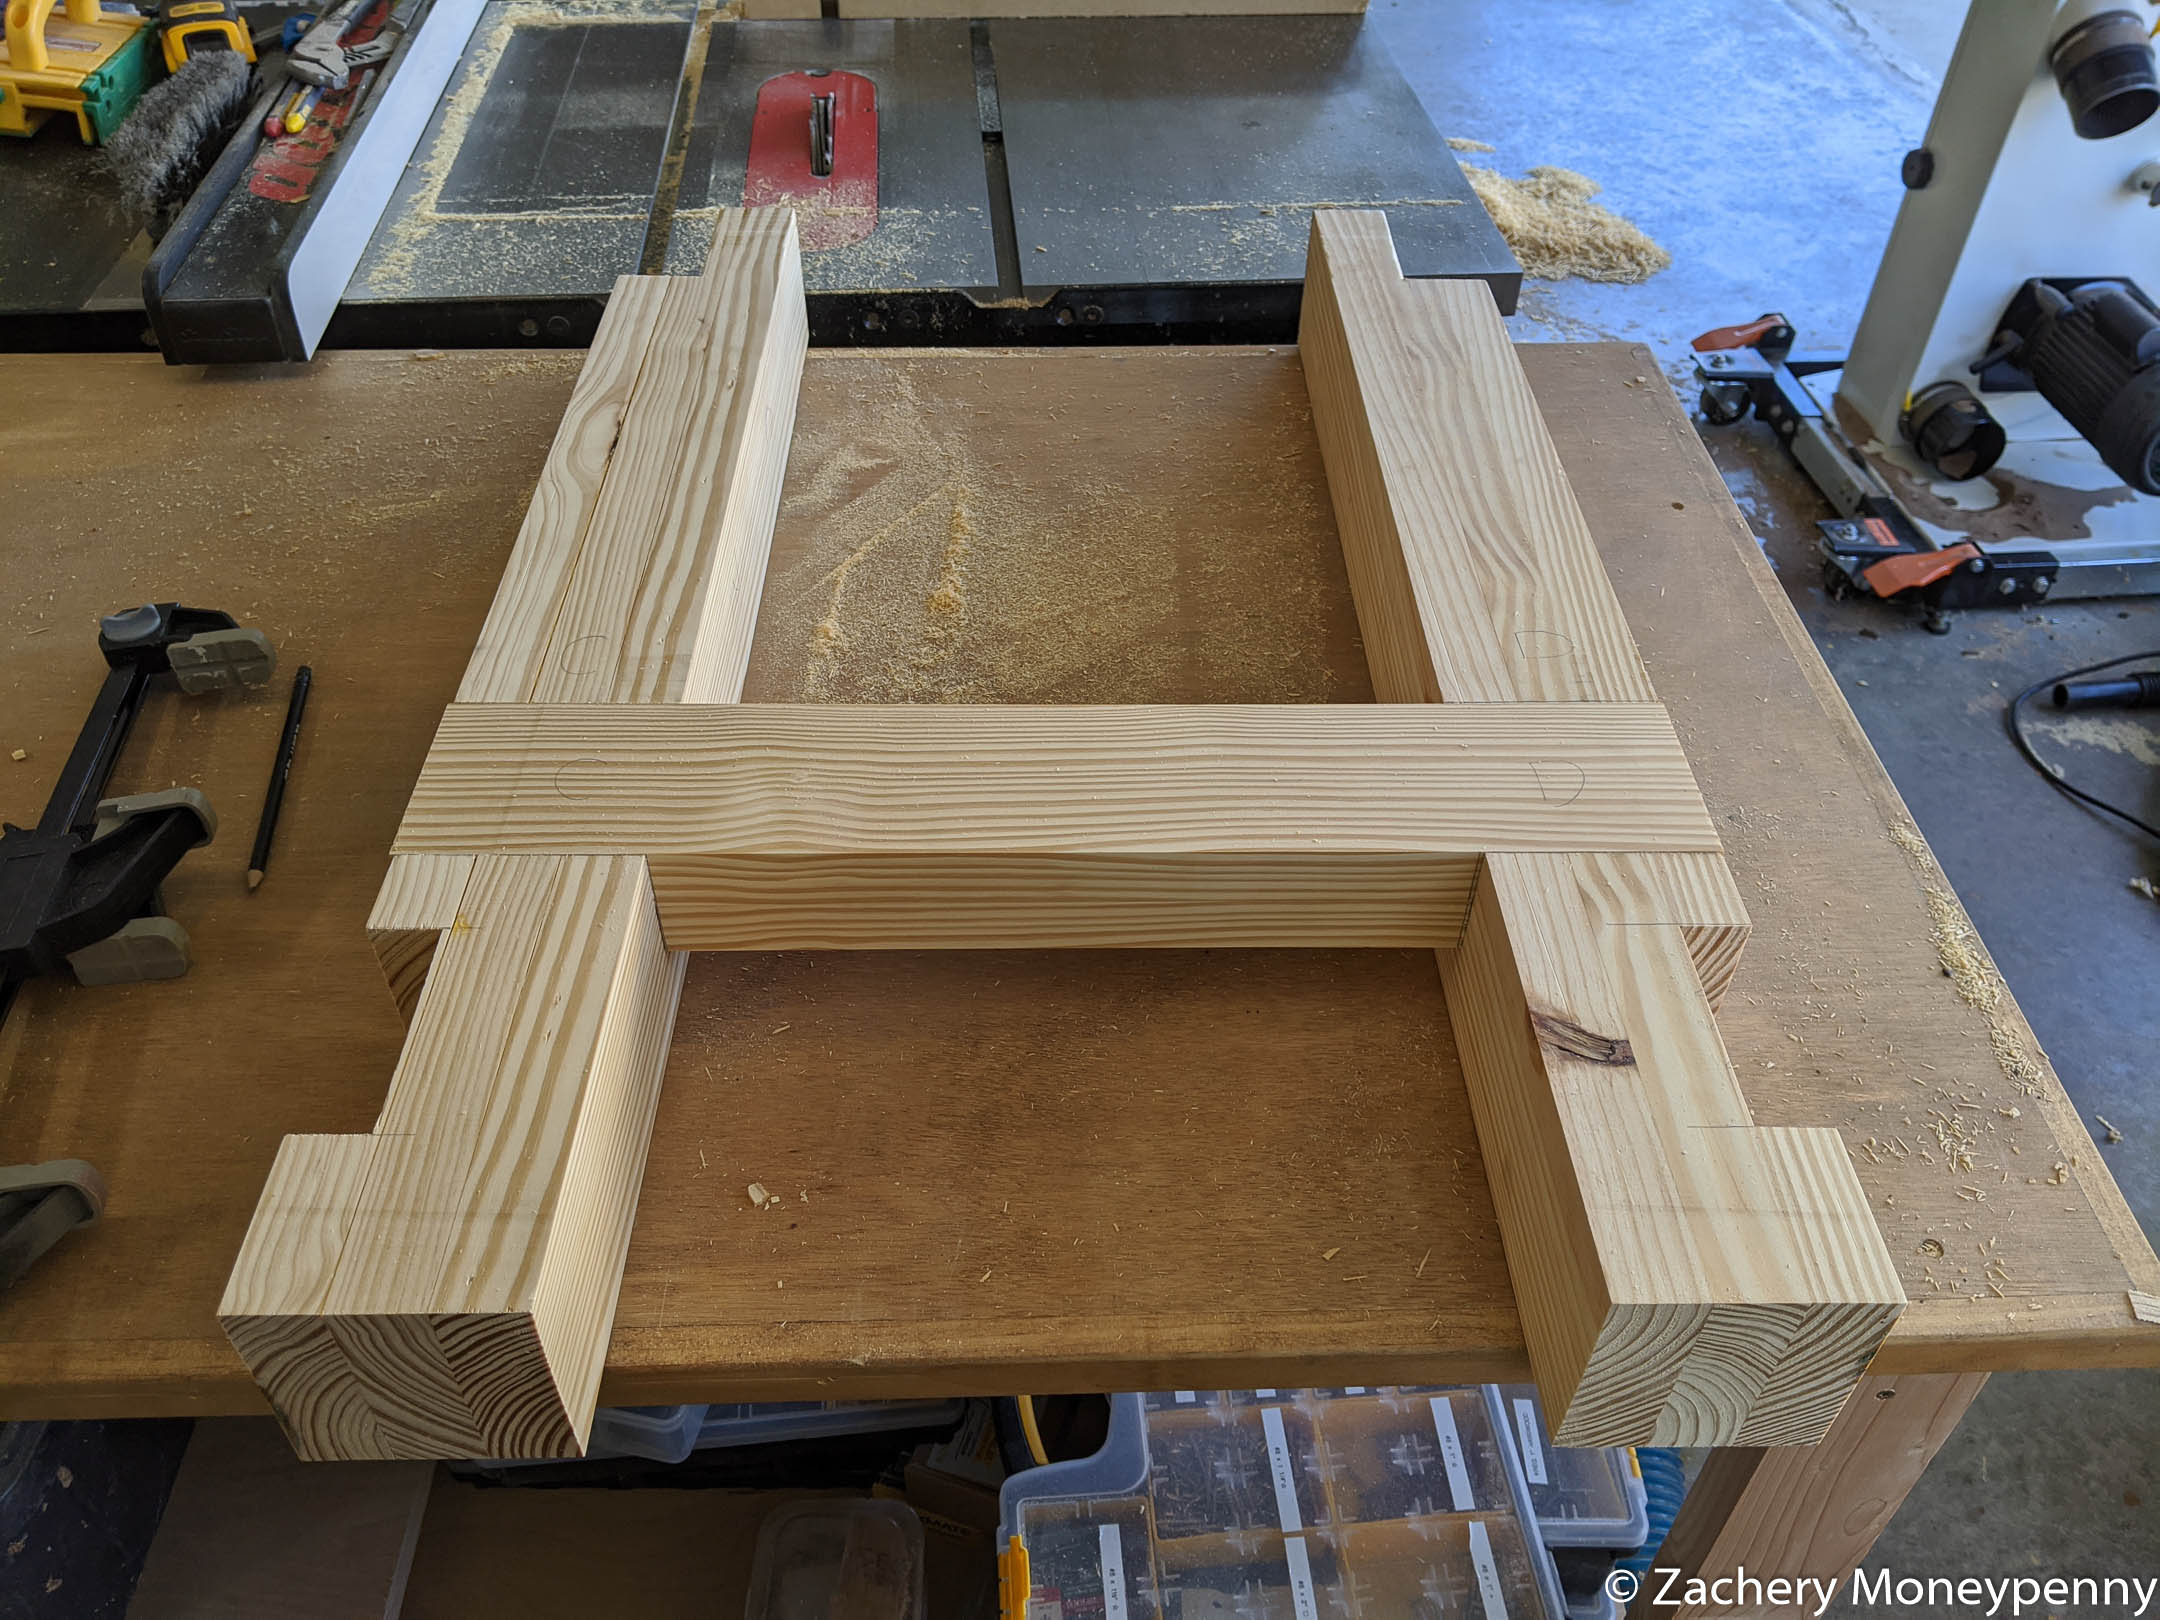
The challenge here was that I didn’t have a whole lot of wiggle room on the stretchers extending beyond the legs. Two of the 2x12 boards were unusable, which left me with no room for error. As a result, each stretcher only stuck out past the leg by 1/8” or 1/4” at most.
Once completed, I screwed in the stretchers to the legs, and then it was downhill from there!
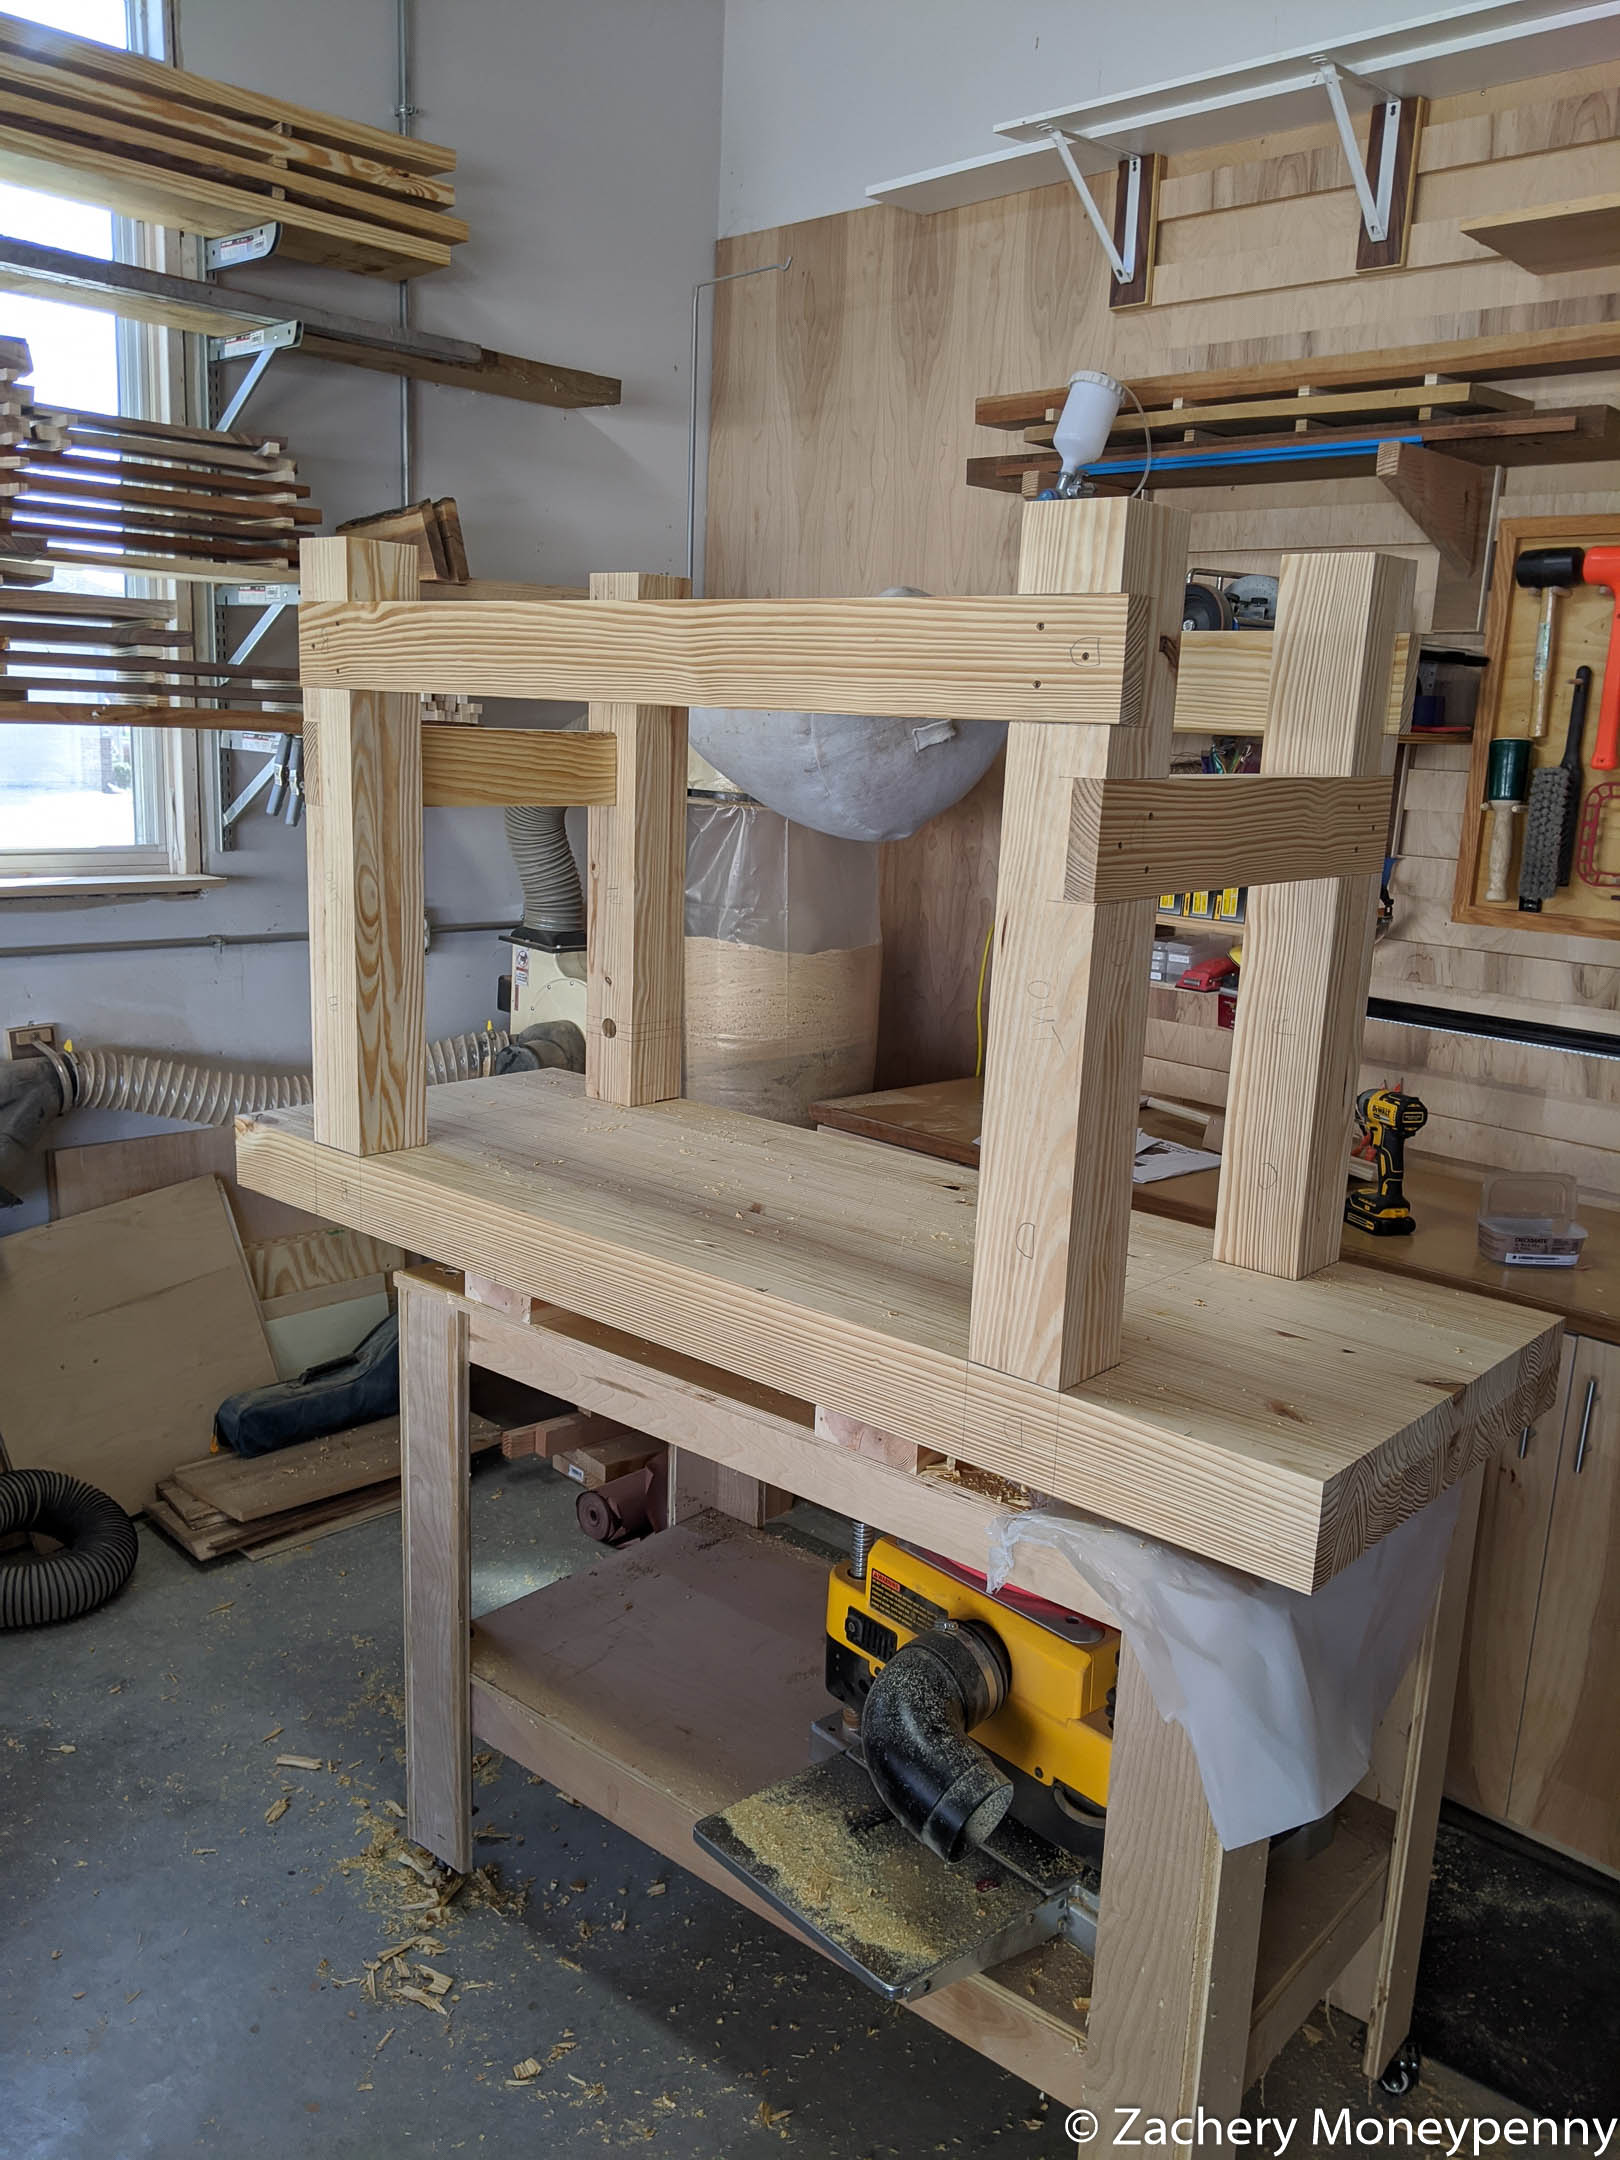
While contemplating how to glue the leg tenons into the top mortises, I remembered back to how Jay approached this solo in his shop: by levering the entire workbench up onto two tables on casters, and then pounding the tenons downward.
I manuevered the bench in-between two small work tables and lifted each end onto one in turn.

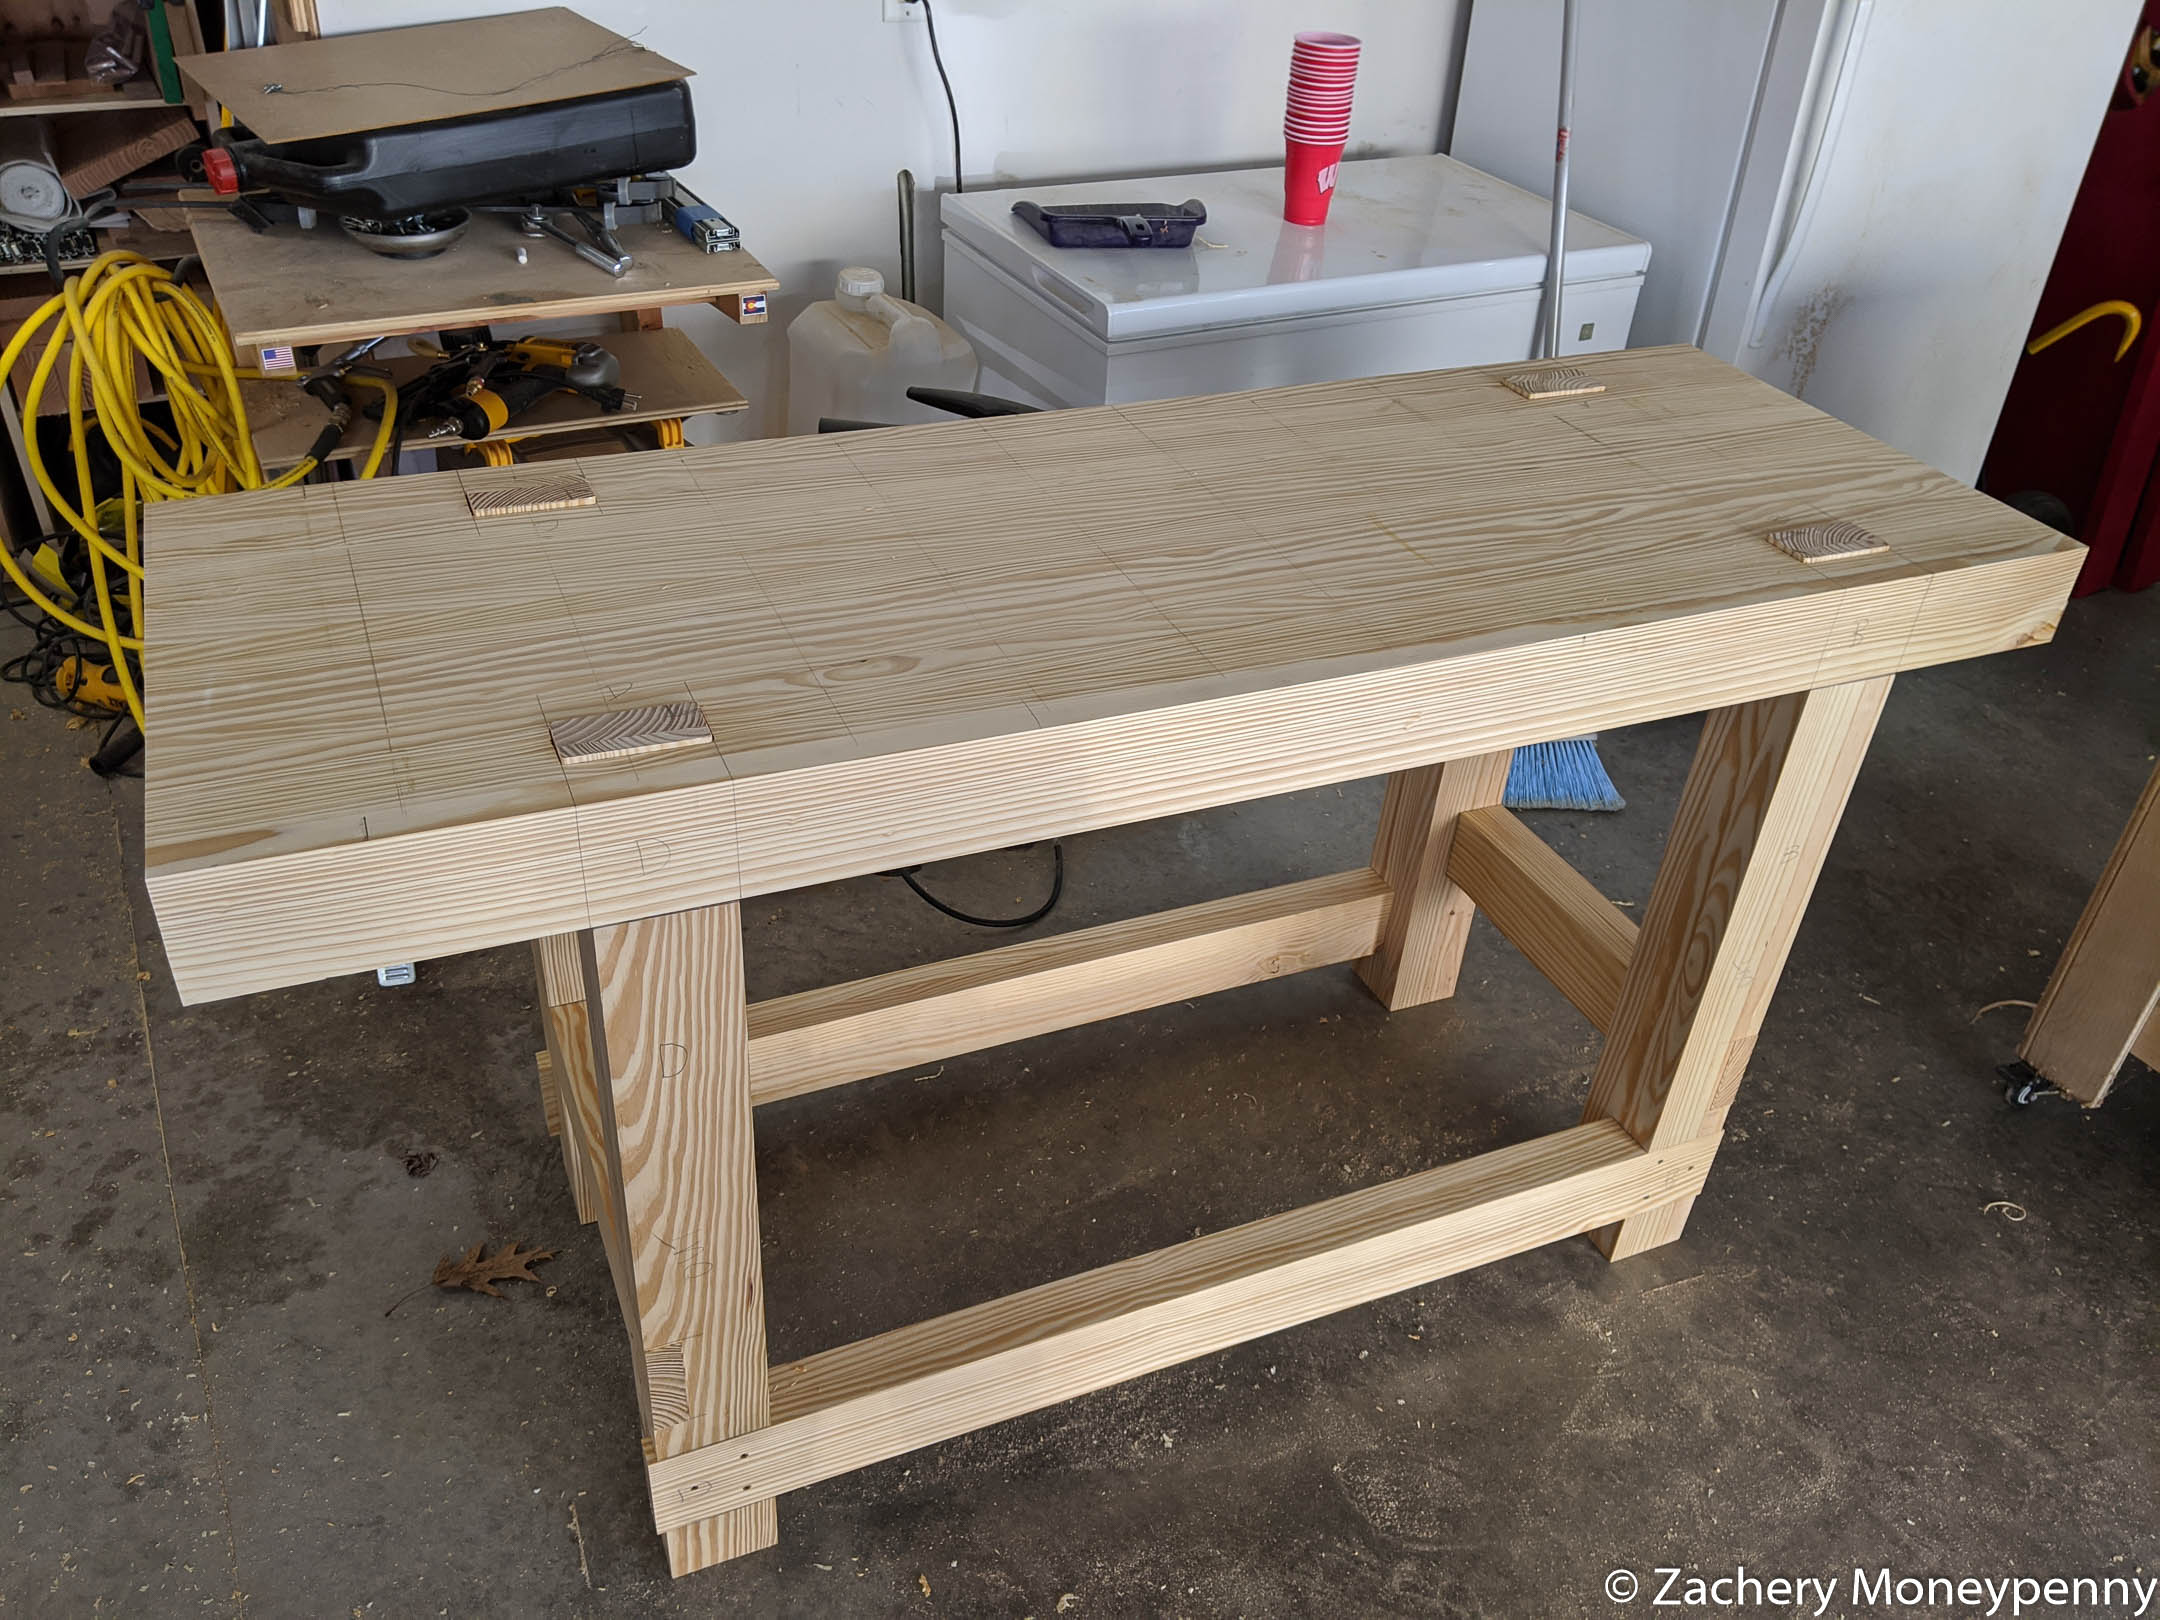
Once the glue was on, I could slam each end on the ground to seat each tenon into the mortise, and then check for flush joints at each leg. And at that point, the main assembly was complete!
Cabinet
I’d always planned to build a cabinet for underneath the workbench, but I was going to do something a little different than the one in Jay’s plans. His cabinet had two banks of drawers, each facing a different side of the workbench. I planned on mostly working from one side, and wanted all my hand tools accessible from that side (planes, chisels, marking tools, etc.)
I built the cabinet carcass and drawers from recycled 3/4” and 1/2” plywood I took from the dissassembled Paulk workbench, and built a nice little cabinet to go underneath.
Crucially, there is enough room above the cabinet for my holdfasts to mostly work, and it’s a convenient place to put all my hand planes for easy access. I plan to eventually add some kaizen foam to the drawers that have my chisels and marking tools, but for now I was happy to clear all my hand tools off my counter and into real storage.
Vise Installation
The most important need I had for the new bench was better work-holding options, and so I wasn’t about to stop now that I had something to attach vises to.
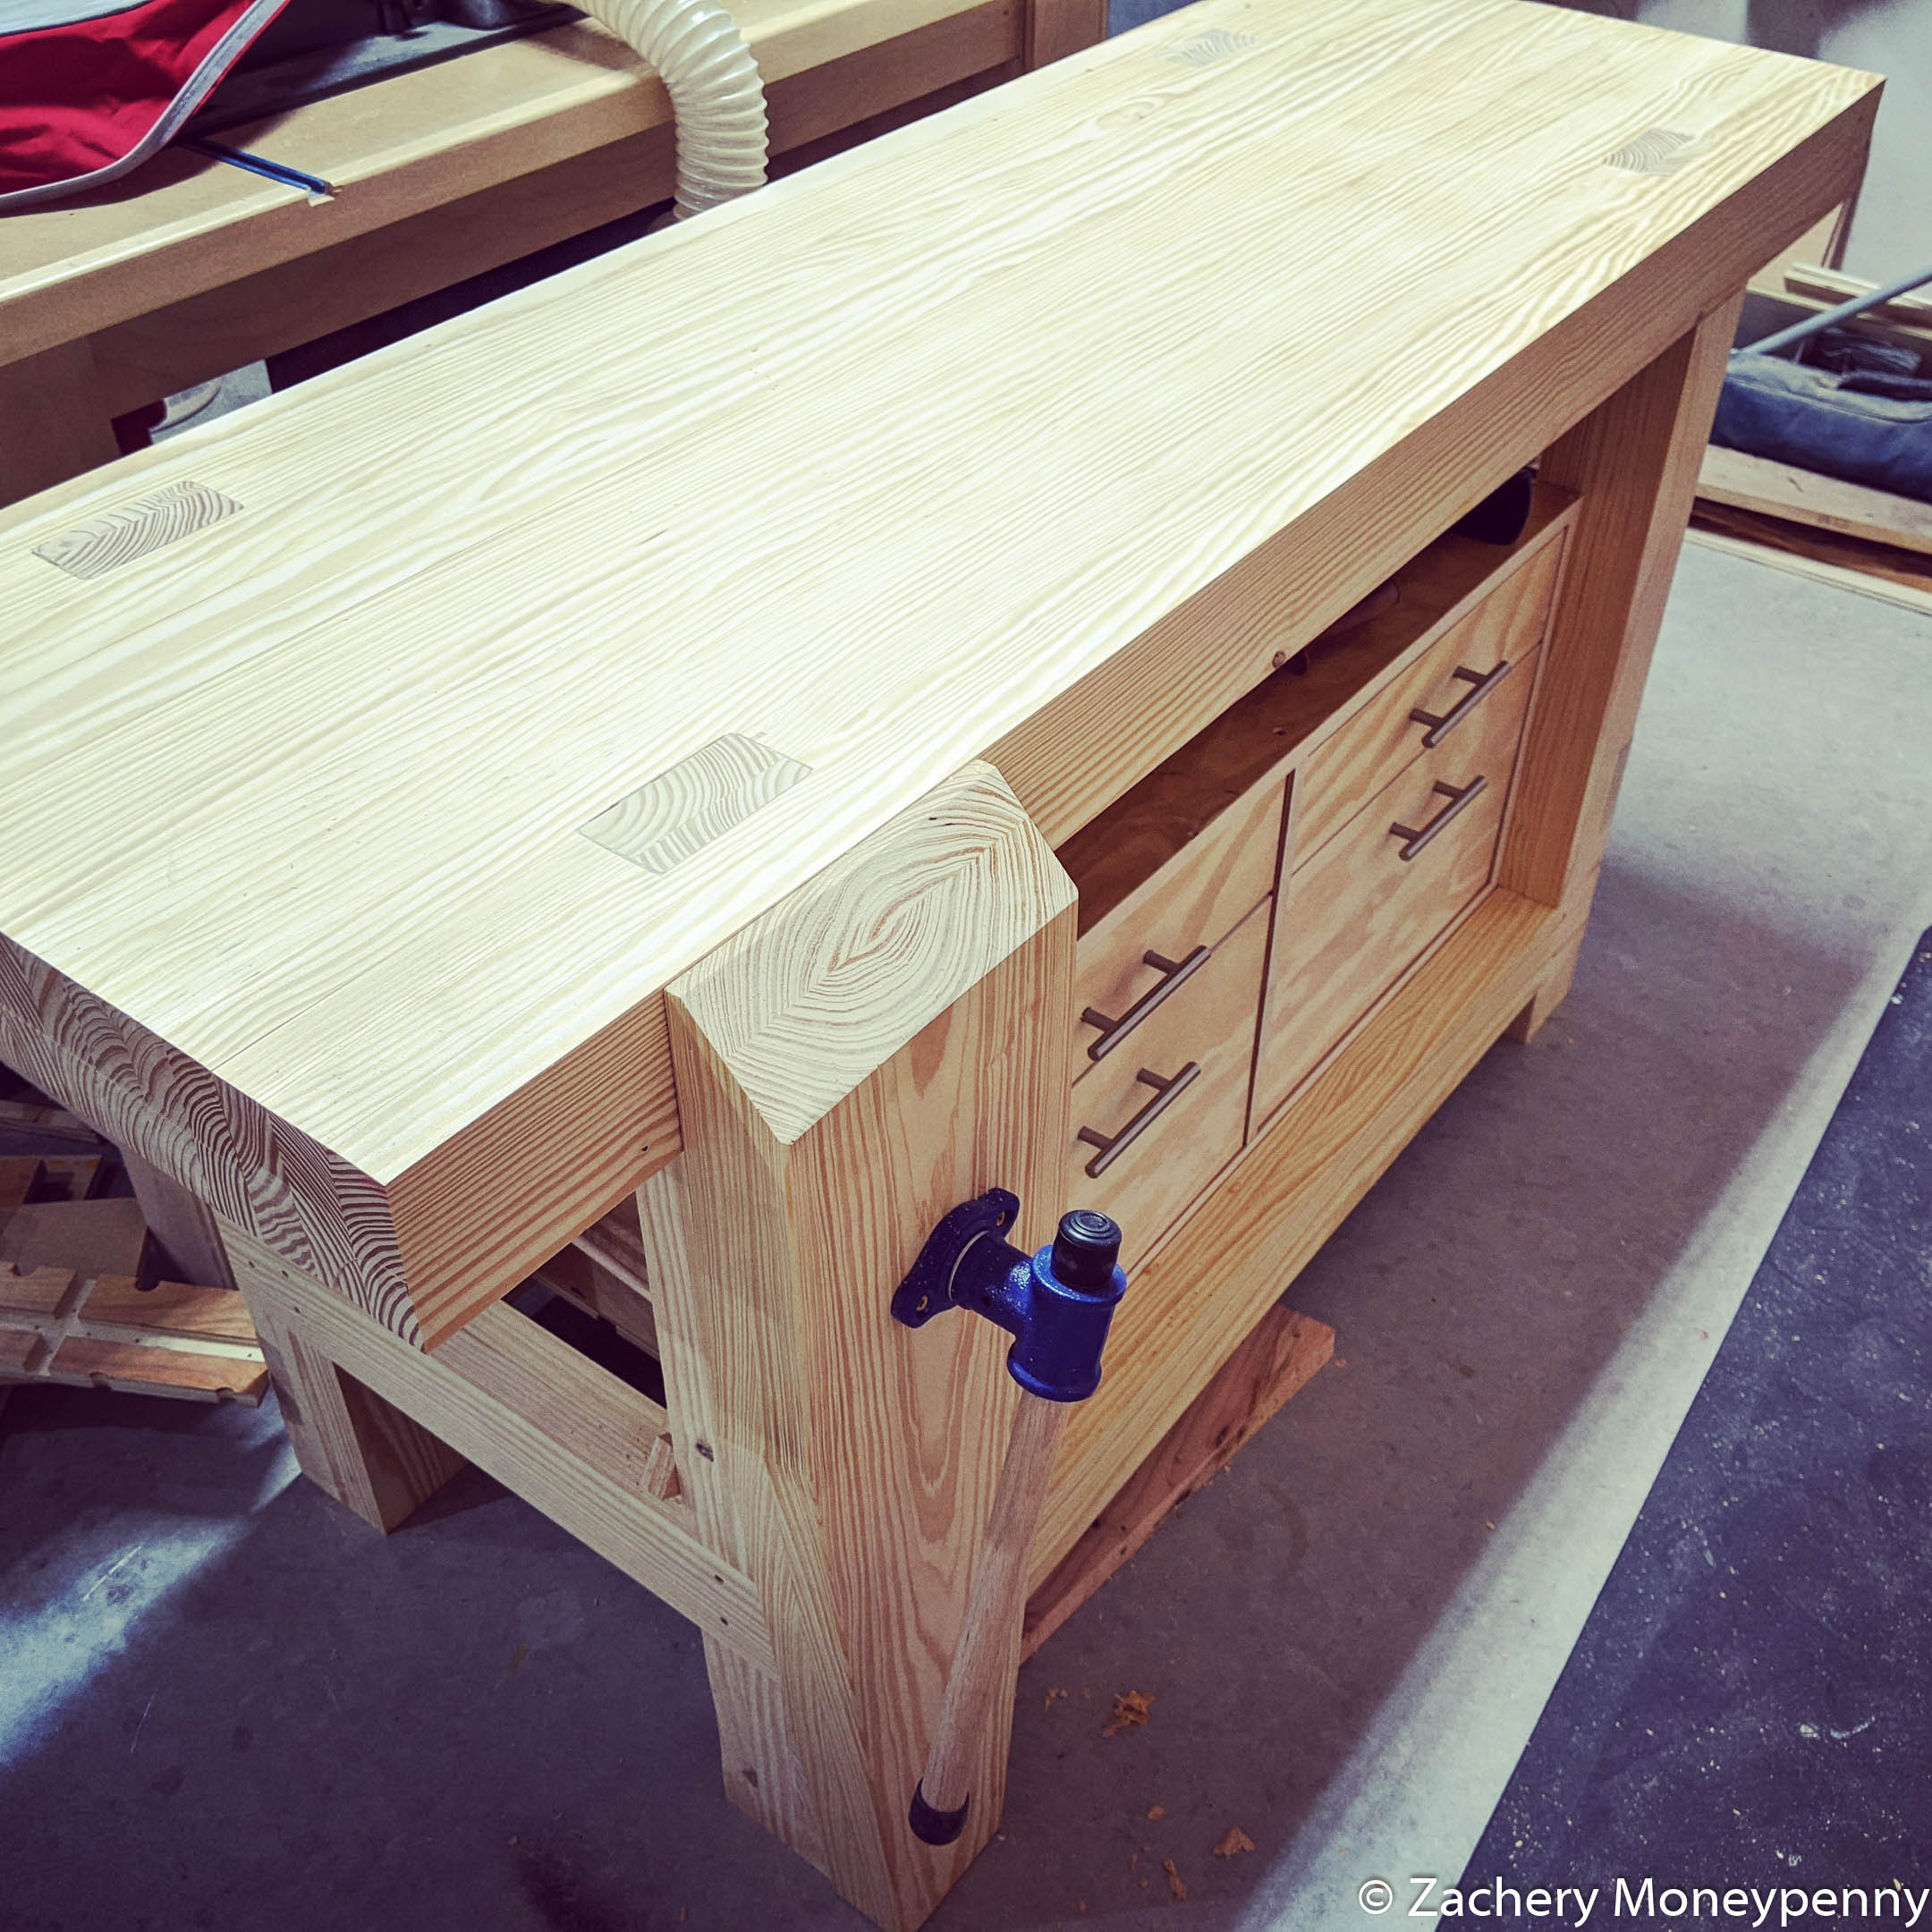
I ordered a Rockler end vise, and then while waiting for it to be shipped I got to work on the leg vise.
I had already rough milled and glued up the leg vise chop alongside the other component, but now I had some shaping to do. It wasn’t difficult using the bandsaw to roughly shape the V portion to the bottom, and then the miter saw to cut the very large chamfer sloping in towards the top.
There was some test fitting to be done with the vise screw I bought on Amazon, and another “measure twenty times, cut once” moment in drilling the hole through the chop so as to match up with the hole I had previously drilled in the front left leg, but in the end it all went together without any issues.
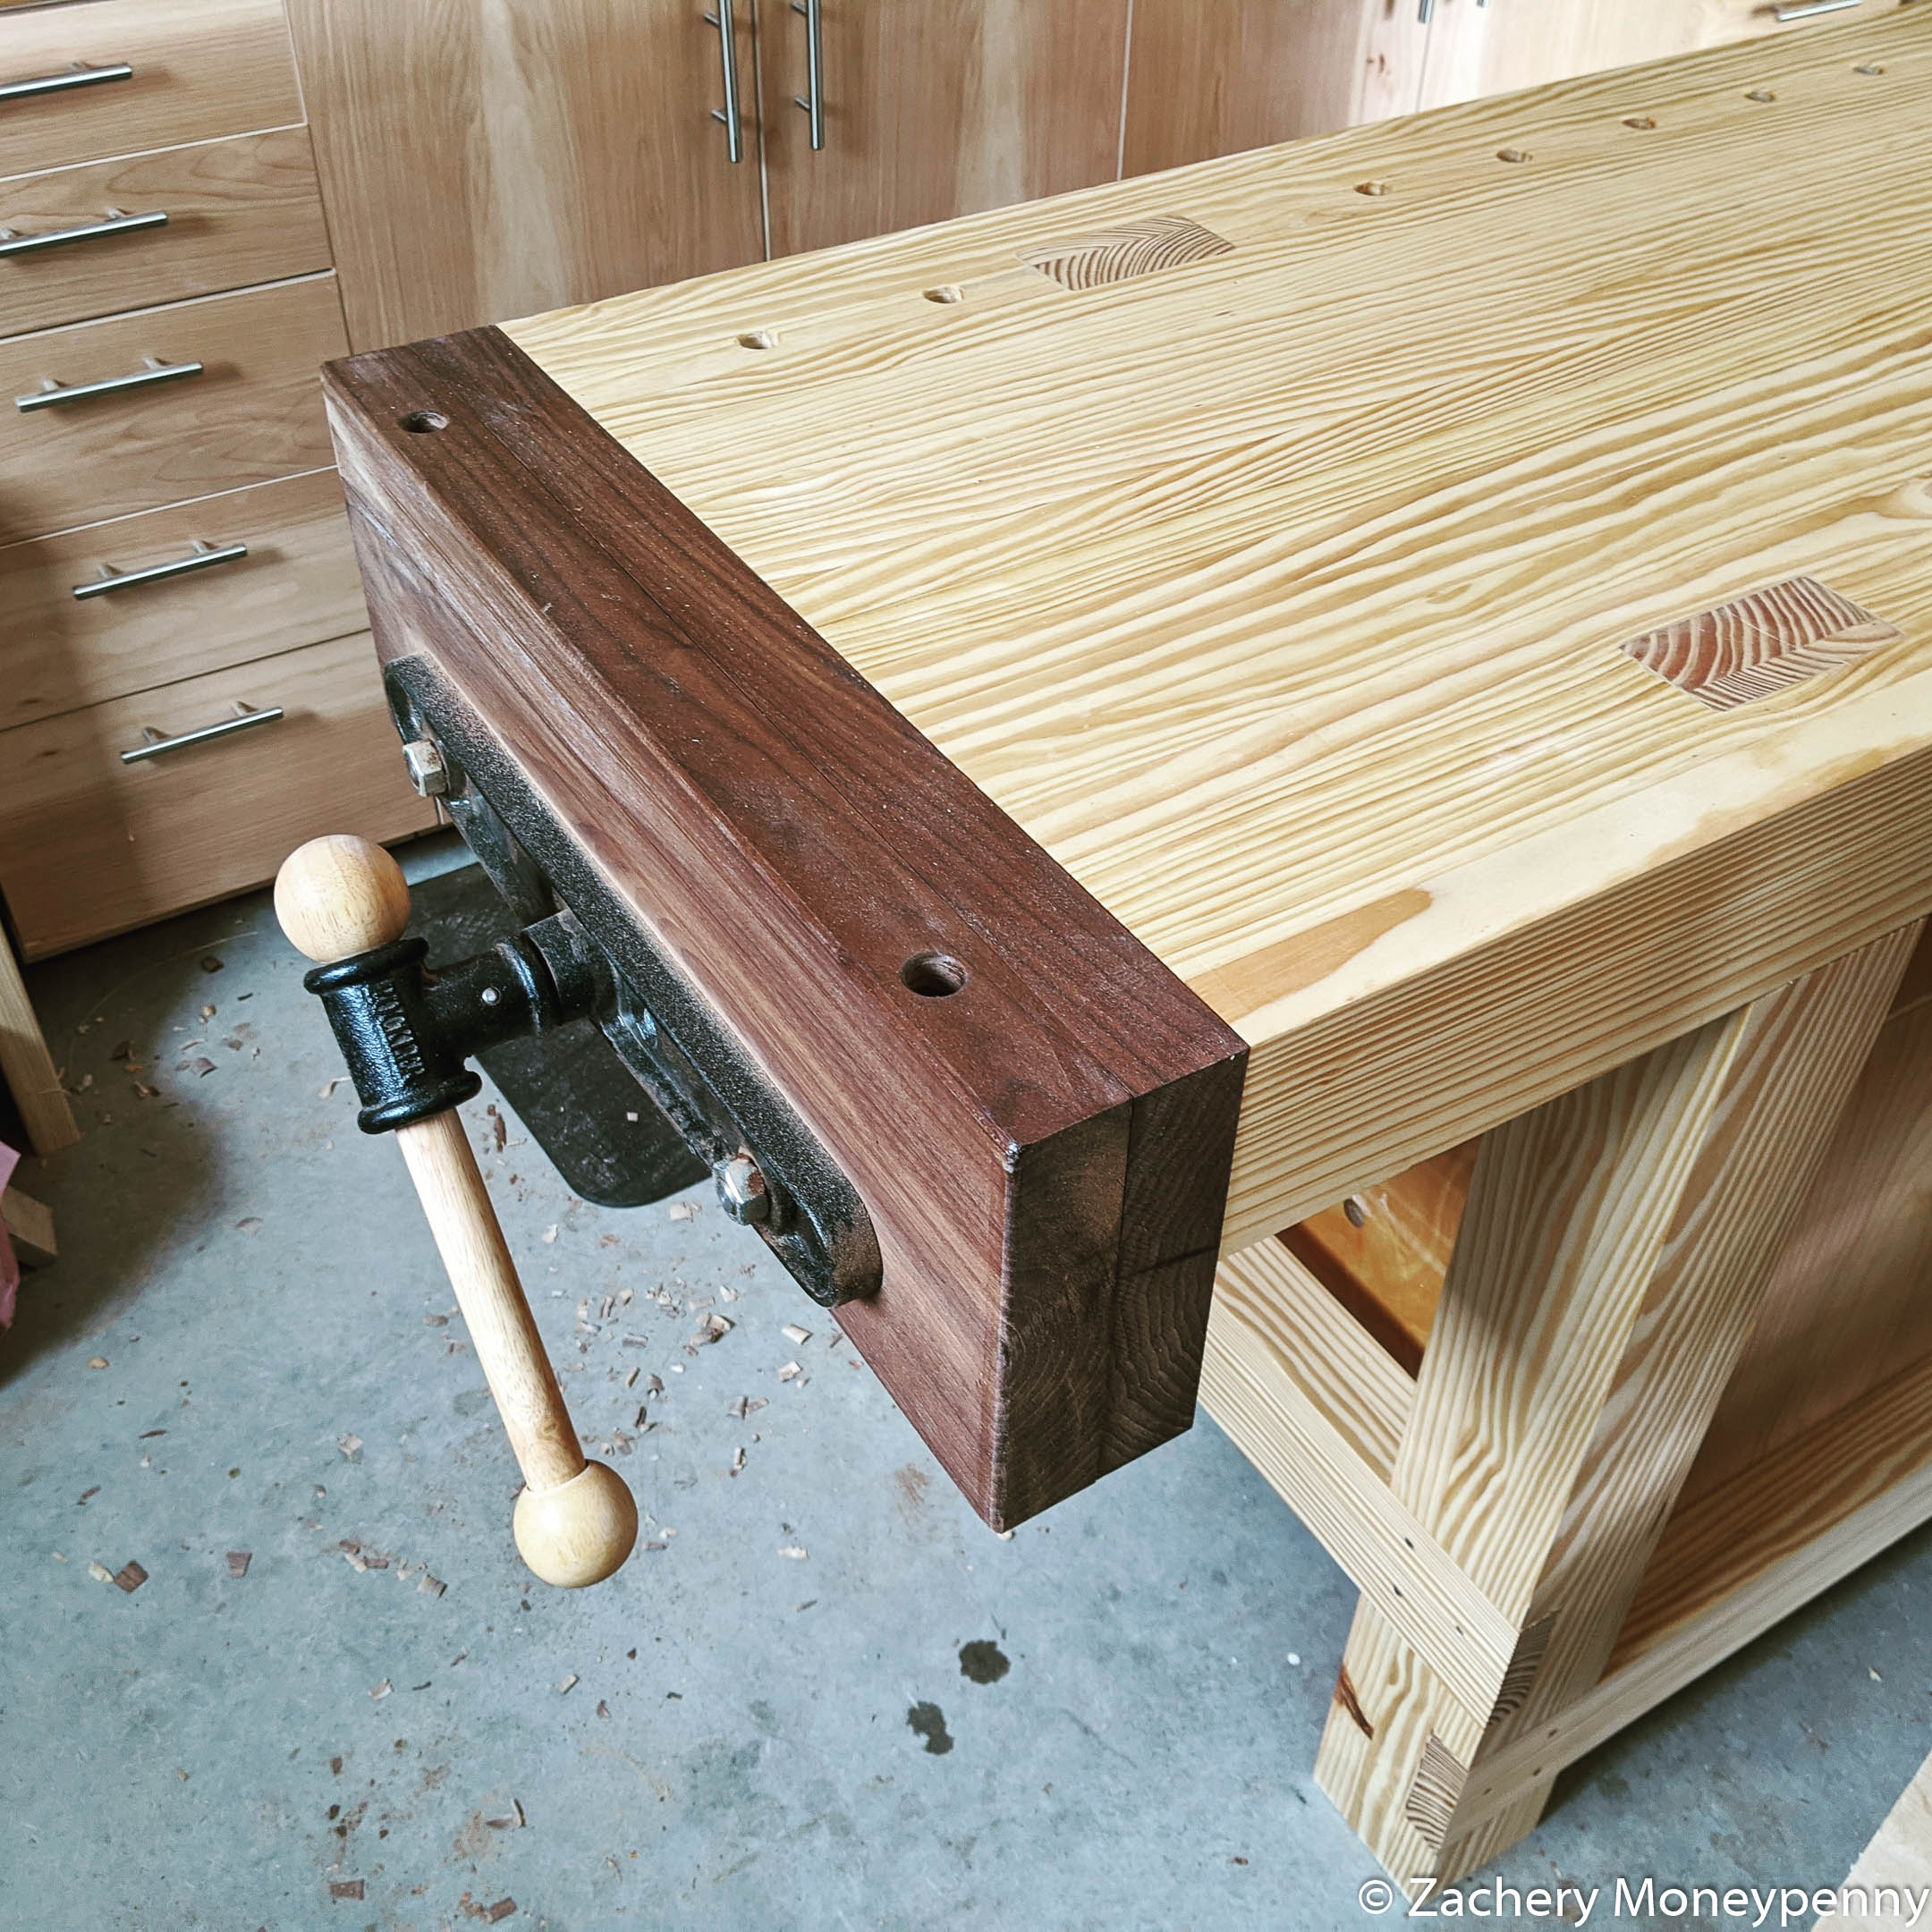
Next I started thinking about what to use for the end vise jaws. My favorite wood species is mostly a tie between walnut and cherry, and I really wanted to trim out the workbench with a little something “extra” so I hauled down a piece of 8/4 walnut I had from a previous project and started sizing things up.
I found a great video online that made installing the end vise a snap:
In doing so I drilled out dog holes in the outer jaw, and then went ahead and drilled the line of dog holes across the entire bench as well.
Flattening & Finish
The final step was to flush up the vise jaws with the top, and then do a final flattening and some quick sanding before I laid down some finish.
My Lie-Nielson No. 62 Low Angle Jack Plane made the flattening go quickly and easily, and then I sanded a few times with 100/150/180 grit. I was paranoid about retaining flatness and so I didn’t want to attack it excessively.
The finish was one coat of clear Danish Oil for the entire workbench, three coats total for the top of the workbench, and then two coats of water-based polyurethane for the top. I wanted to make sure that glue drops could easily be removed if need be.
Reflections & Learning
I’m so happy this project is complete, as it opens up so many more options for me to use when working on future furniture projects. I’ve already found it indispensible for two other projects I’ve started since completing this one.
I’m also happy that it brings me full-circle back to where I started in 2016 watching Jay’s video. Since starting to build my shop in March 2017 I’ve found a lot of joy in building projects and furniture for family and friends, and expanding those abilities makes me so excited for the next three (or thirty) years!
- Just Start™: I had a lot of momentum on the project right up until I had to chop the mortises in the top. It intimidated the hell out of me and I feared messing it up. Once started, it didn’t get easier as I worked on them first with a router, then with chisels and then back to the router with a handmade jig. Waiting made it no easier, so I should have just got started.
- Measure space for holdfasts: I thought I’d left enough clearance above the cabinets for a holdfast to go all the way to the top from above, but unfortunately I didn’t measure exactly and so the cabinets were 1/2” too tall. That means I can’t use holdfasts on any board more than a 1/2” thick between the legs. I can, however, use the holdfasts in any doghole outside the legs.
- It’s Great: within a month of completing the project I’ve gotten so much use out of this workbench as compared to my old Paulk assembly table. The ability to hold work pieces at any angle, along with the ability to chisel without any underlying bounce from the work surface is exactly what I was looking for in a workbench.
May 18th, 2020